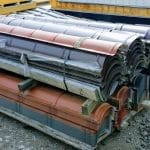






Getting a hall ready for machinery delivery with sandwich panels
Sandwich panels
The delivery date for a large machine helps determine the sequence for installing sandwich panels. The machine must get inside, turn and reach its prepared position, while the rest of the hall may already need protection from rain. Start by marking the transport route and the entry point on the floor plan. Ask the designer and installers whether the permanent door provides enough space or whether a temporary installation opening is needed. The answer affects panel layout, delivery order and the work needed to close the wall.
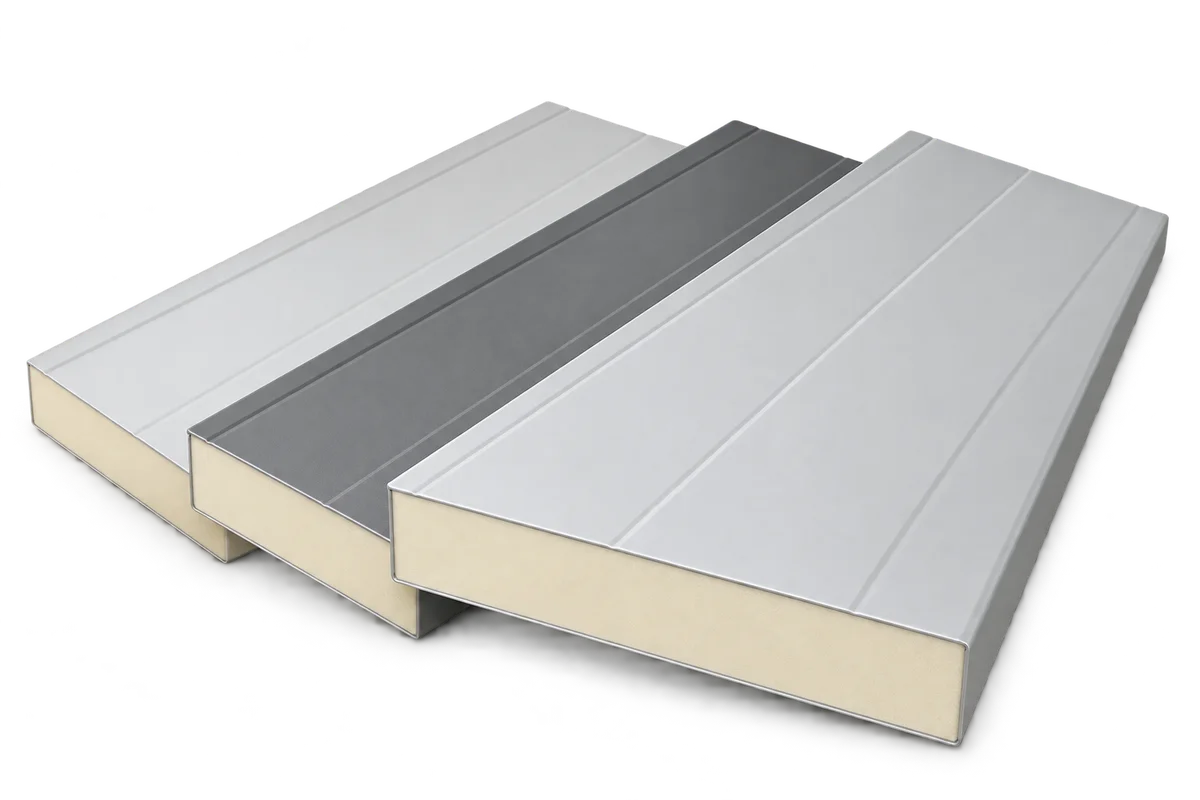
Check the dimensions of the loaded transport unit
Ask the machinery supplier for the packed dimensions and the handling method on the final leg.
Check handling height, loaded width and turning space against the clear route. A door track or temporary fitting just inside the outer wall may reduce clearance.
Choose the entry bay
Mark the columns on the elevation and draw the opening between them. If the machine will bypass the permanent door, the designer needs to specify the permissible condition of the partially clad structure.
Agree where the installers will work once the machine is in place. Allow access to fasteners, joints and trims from the side required by the system, including the space needed to handle the last panel safely.
Allocate panels to installation stages
Add an installation stage to each panel number. Give the same list to the manufacturer, haulier and foreman so the pack for the last bay can be stored clear of the machinery route.
Allocate base, corner and opening trims to the final stage too. Small flashings take little space, yet a missing piece can delay completion of the weatherproof enclosure.
Plan protection at the temporary opening
Mark the area exposed to wind-driven rain through the opening. Agree storage locations for moisture-sensitive materials with the person responsible for them.
Specify temporary weather protection and its anchorage for the site conditions. Agree who removes it before entry and who secures the opening if the delivery is delayed.
Agree when the wall can be closed
Agree a clear release signal. The person receiving the machine confirms that the carrier has left and the bay is available. Include any further components due through the same opening.
Before lifting the final panels, compare their numbers and lengths with the actual opening. After several work stages, also check that temporary fittings have been removed as agreed.
Inspect the completed bay
At handover, inspect panel joints, seals and base flashing across the boundary between the two stages. Record the condition of the panel skins along the former access route, where handling damage may have occurred.
Identify the installation opening on the as-built plan for future machinery replacement. Any proposal to reopen the bay will need assessment against the building condition and connections at that time.

Free quote
What to include in your enquiry
Tell us how you plan to use the material, the dimensions and the quantity you need. Include the thickness, grade or variant name, along with the delivery town or your preferred collection branch. For a specific product, add its name or a link to the product page. We will reply to the email address you provide to discuss availability and the terms of your order.
More from the building guide
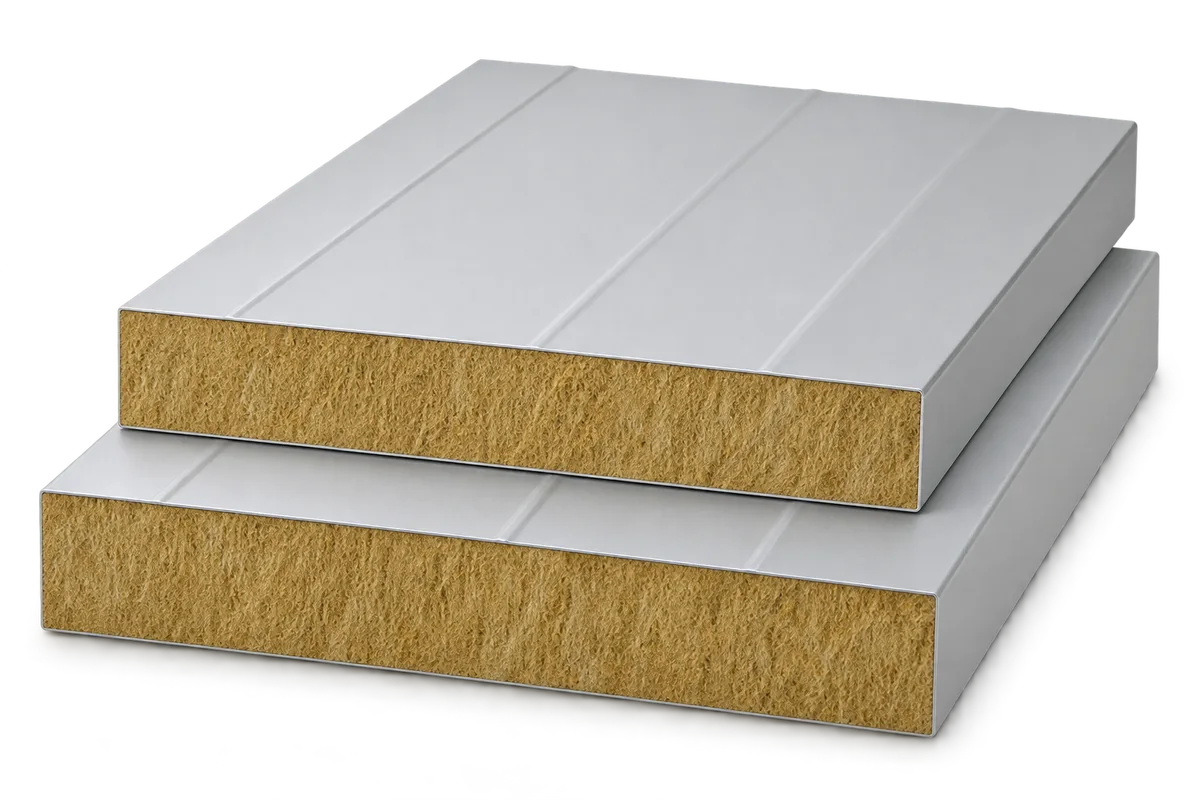
Fire safety depends on choosing a panel with documented performance and installing it in the assembly covered by that documentation. The core…
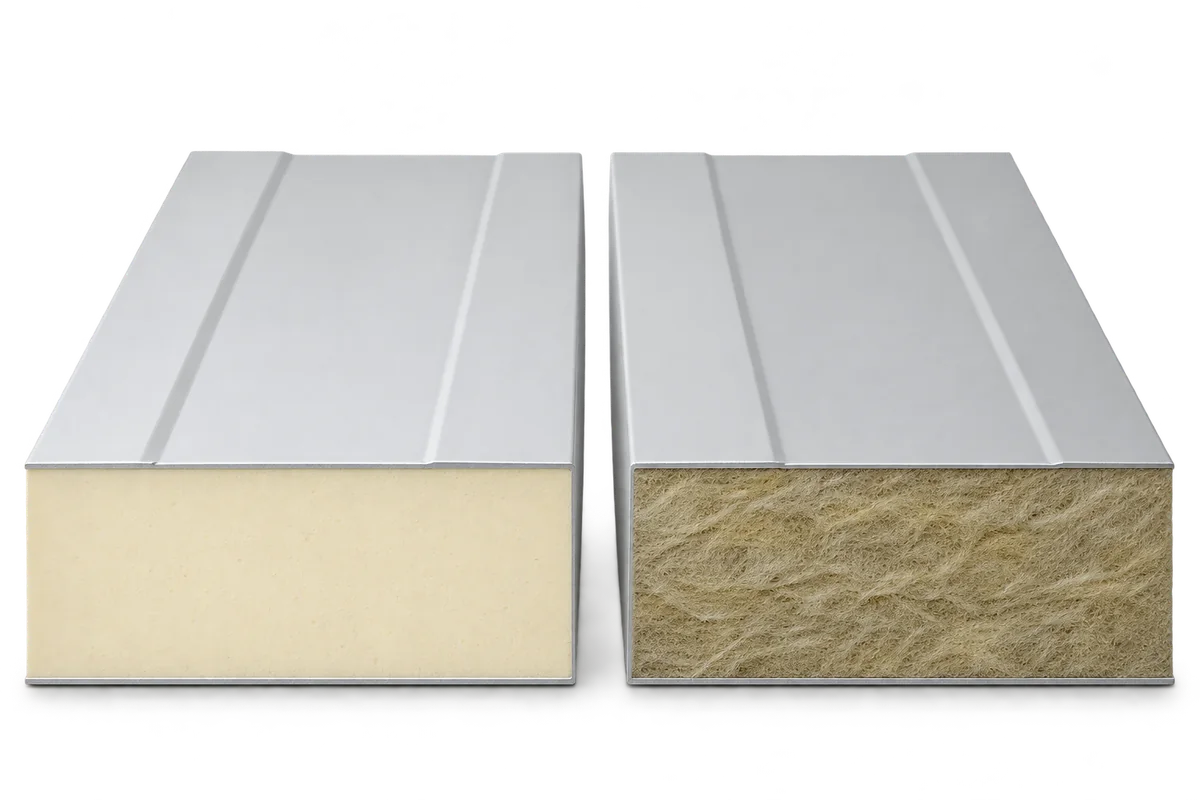
The designations EI and REI describe how a wall or roof performs when exposed to fire. Each letter identifies a function and…
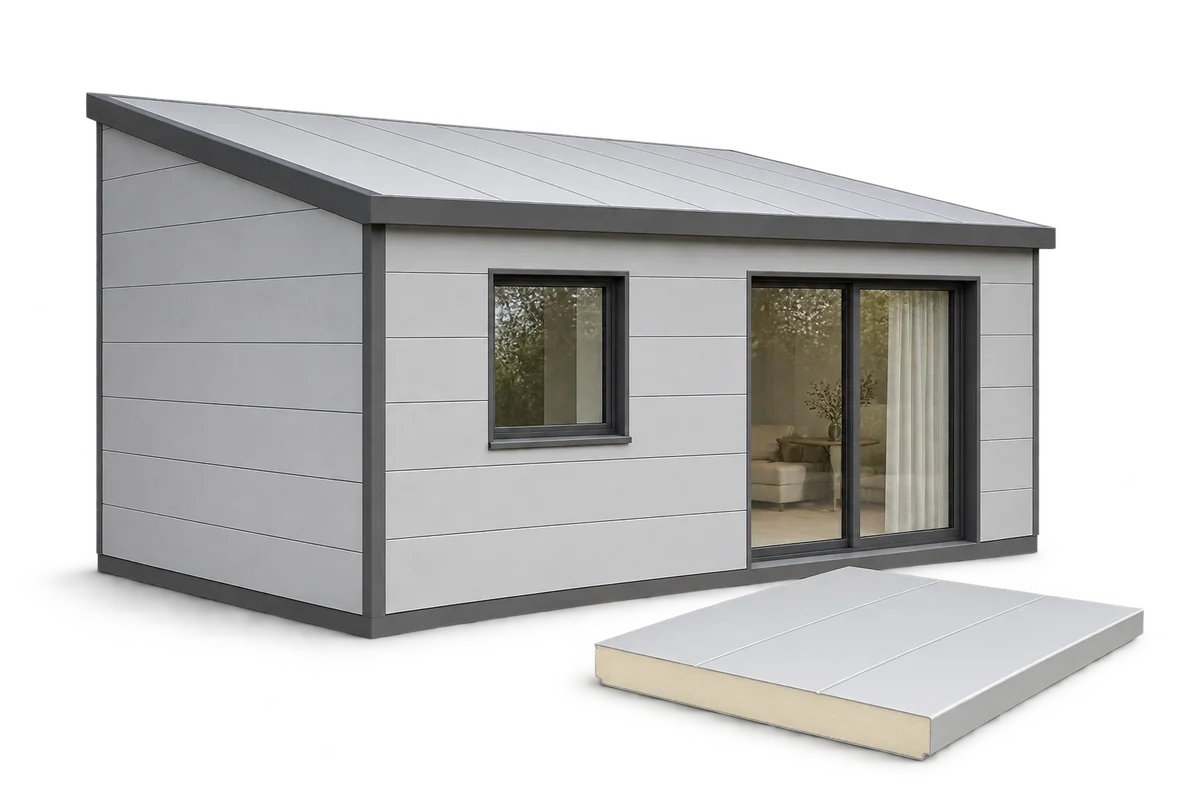
Sandwich panels can form the walls and roof of a home, but the panels alone do not make a complete building system.…
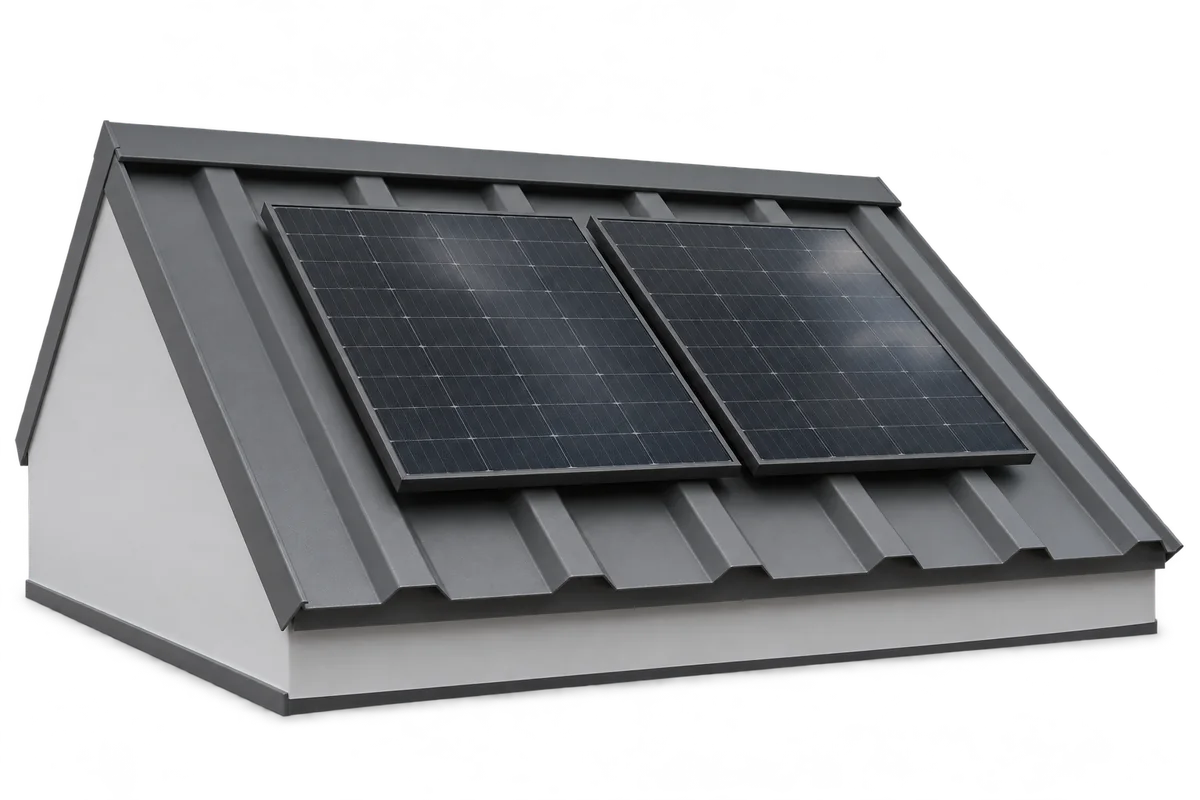
The fixings for a photovoltaic array must suit the specific roof and the loads it will carry. Metal tile roofing, trapezoidal sheets…
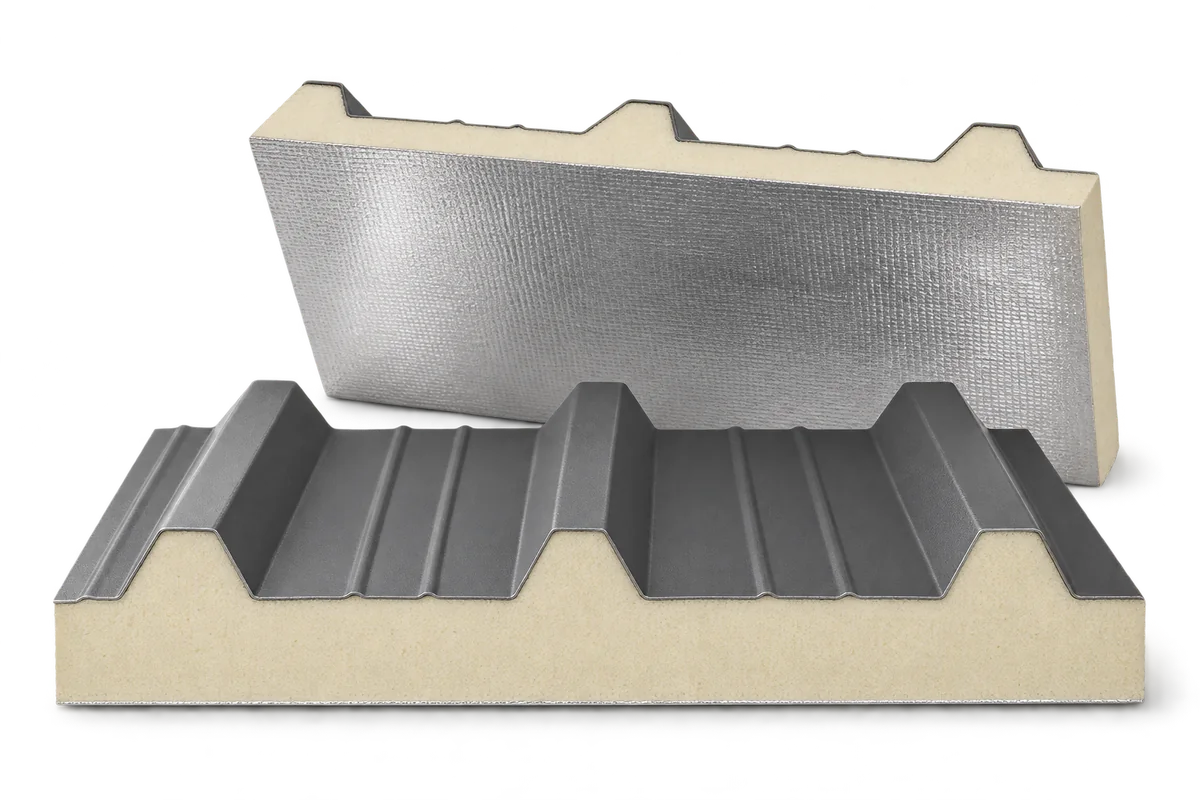
Renovating an old industrial building need not mean replacing it. Sandwich panels can provide a new outer skin and insulate the walls…
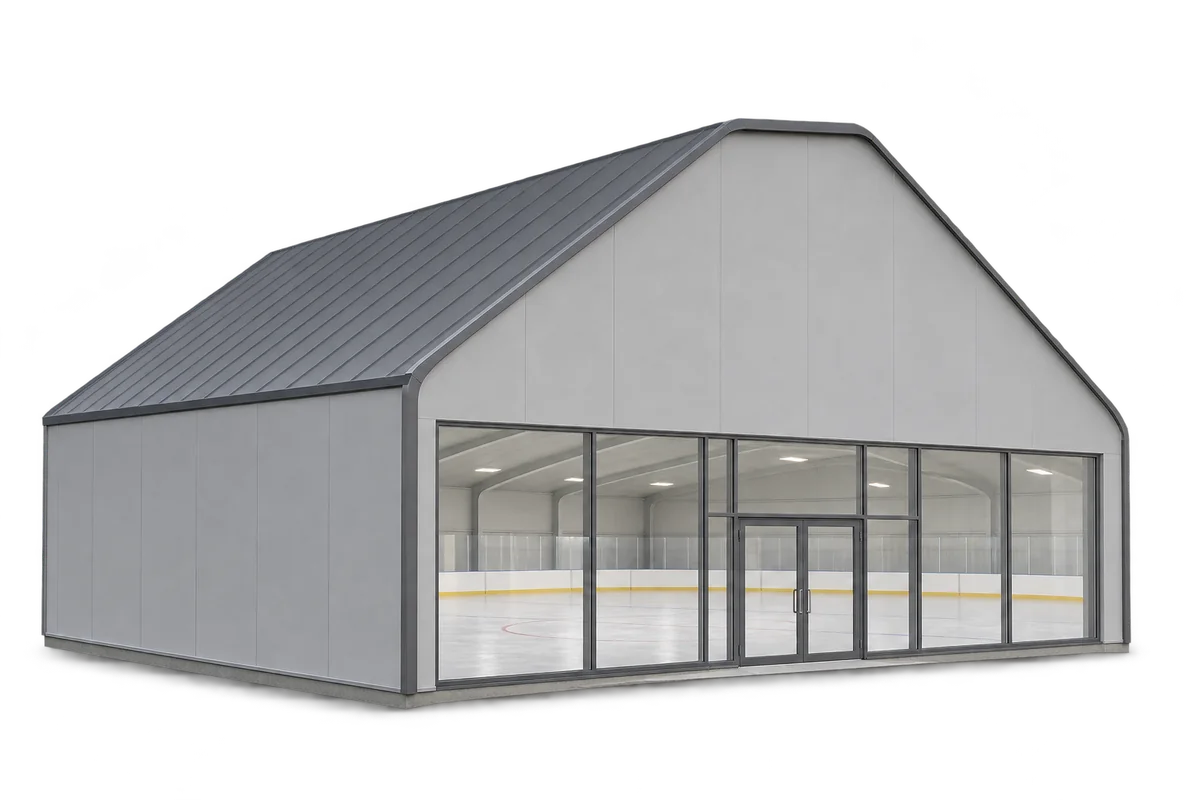
Sandwich panels can form the walls and, in some designs, the roof of an indoor ice rink. They limit heat transfer and…
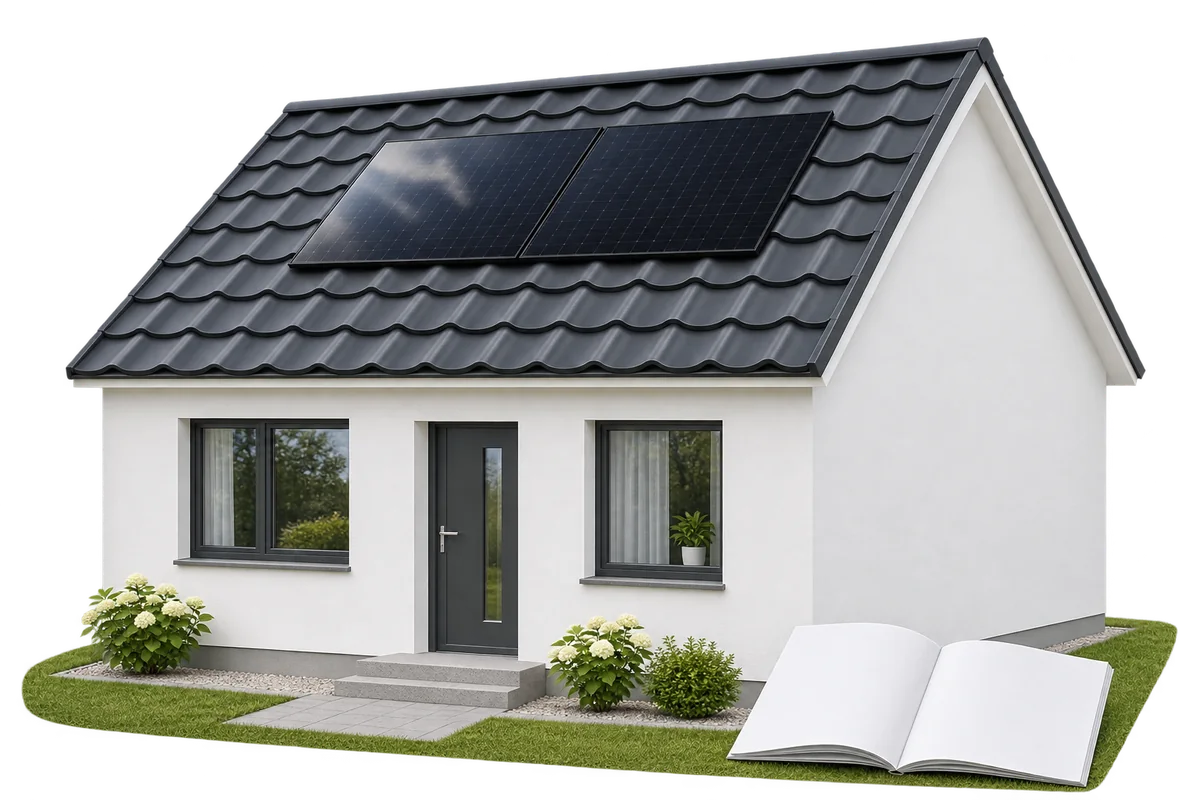
The instructions for your roof covering tell you where PV mounts may be fitted, how to seal penetrations and how to protect…
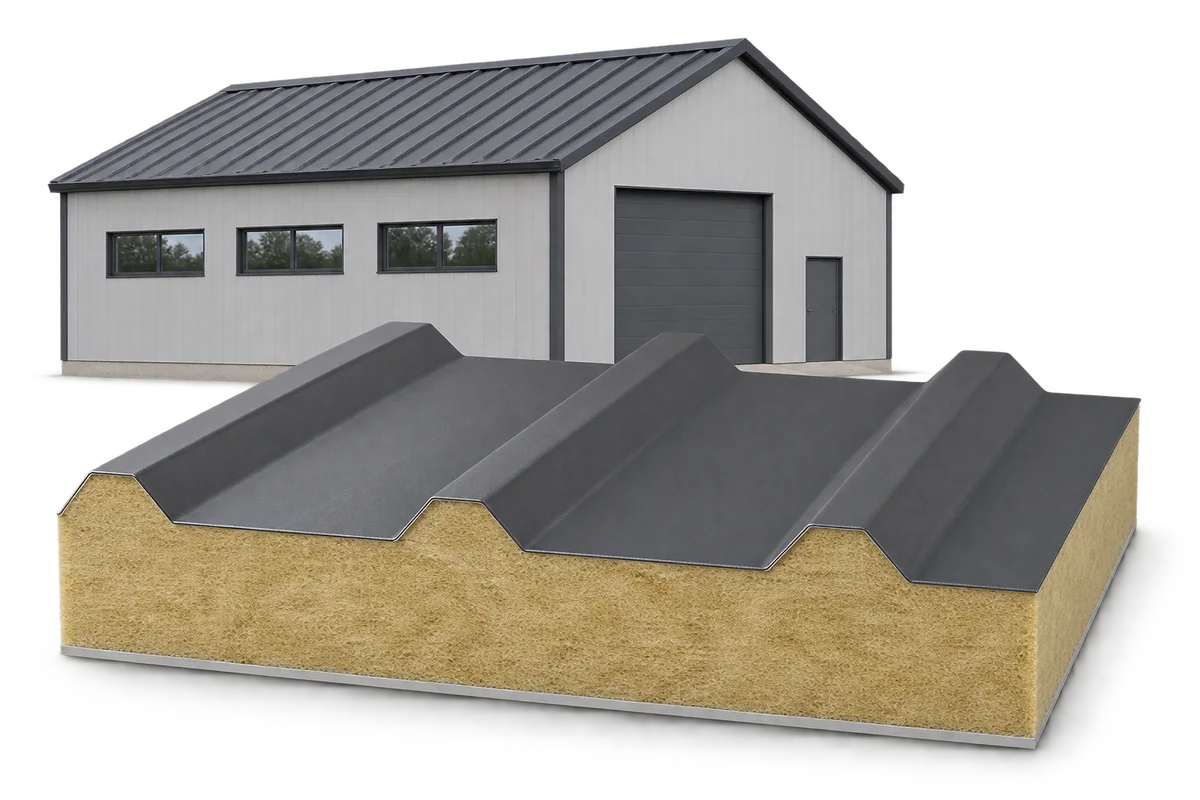
A building envelope must limit heat loss and meet the building’s safety requirements. When choosing sandwich panels, consider those two tasks together.…