






What should you check on a roof in autumn before the first frost?
Repairs and maintenance
Start an autumn roof inspection from a safe place beside the building during rain. Watch whether water reaches the gutter, where it overflows and whether the outlet takes it away from the walls. Then inspect accessible parts of the loft and note fresh damp marks. Give the roofer photographs from both sides, rainfall dates and a record of recent work on the chimney, aerial or solar panels. Before frost sets in, clear drainage, address identified fixing or flashing defects and confirm safe access to equipment. Inspection and repair on the roof require a properly equipped team.
Why compare the roof with last autumn?
Photograph the slopes from the same places as last season. Compare images taken after hail or high winds with older ones and record when a new stain first appeared. Add recent work to the record. A mark below a new cable penetration gives the roofer a specific point to inspect.
A reddish spot after drilling may come from swarf lying on the finish. Before repair, determine whether the damage reaches the sheet itself. Schedule work for weather that meets the repair product’s requirements, particularly temperature and substrate condition. Mark the location on a photograph.
How do you check gutters and outlets?
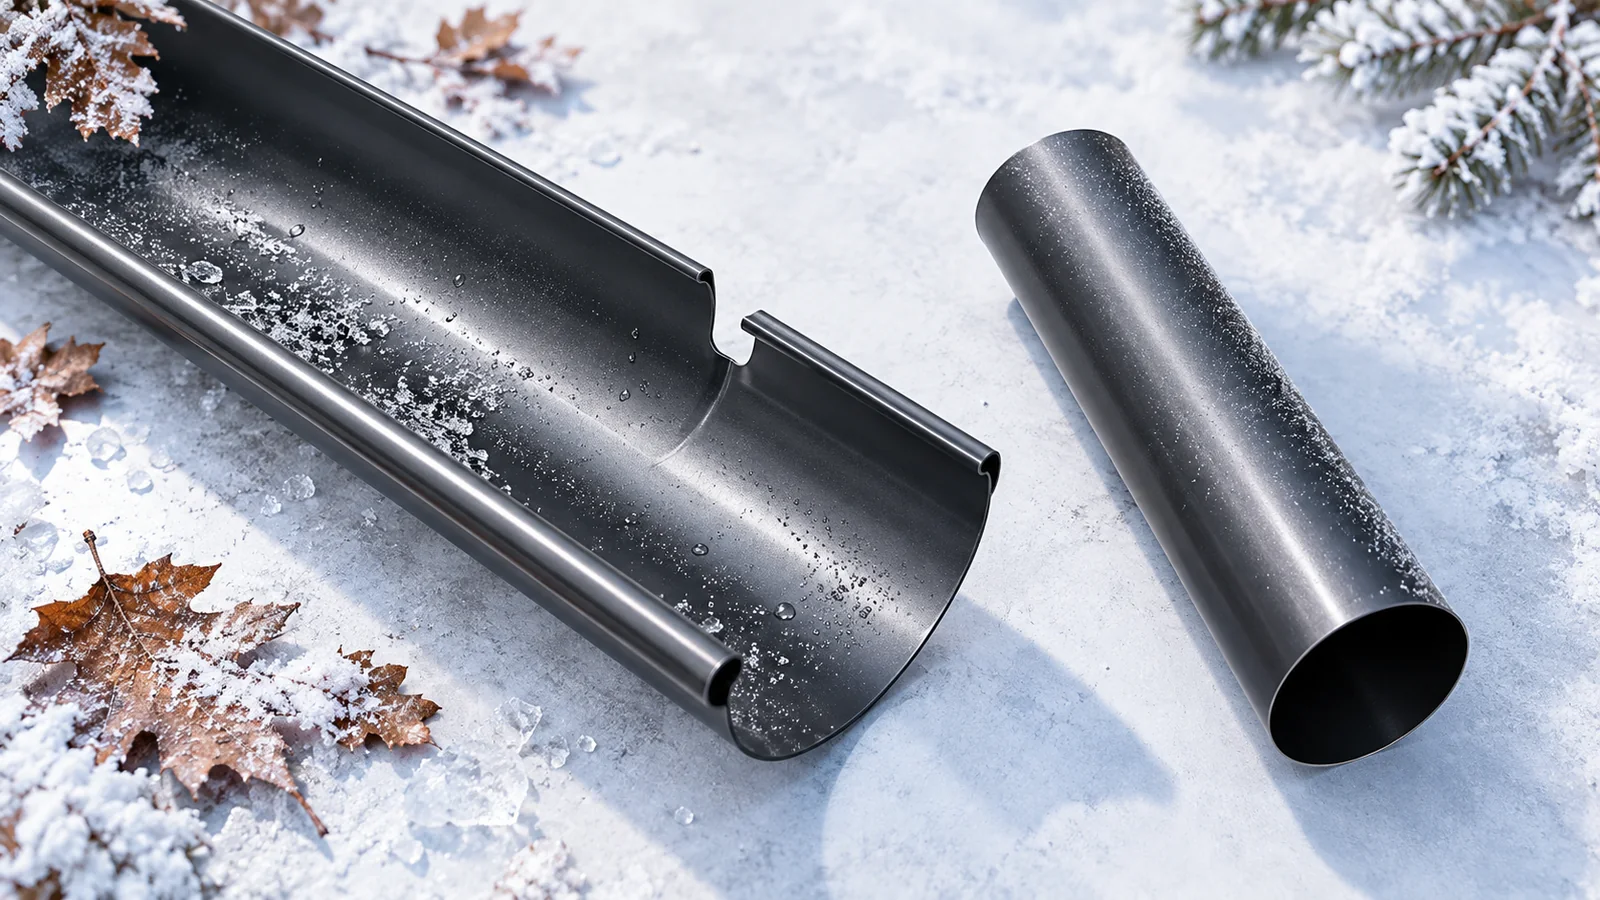
Trace the route from the gutter through the outlet and downpipe bends to the silt trap or discharge point at ground level. Look for leaves and places where water spills against the facade. Arrange cleaning of inaccessible sections, then check the flow from the ground at the next rainfall.
Have brackets and joints checked where a gutter sags or leaks at a connector. Any repaired joint should still allow for the system’s thermal movement. With a concealed gutter, inspect behind the cover and check adjacent layers for damp.
Which roofing details deserve attention?
From an accessible position, look around the chimney, roof windows and wall junctions. Photograph lifted flashing edges, open laps or leaves in a valley. The roofer can then check on site whether water passes over the correct face of the flashing and whether the seals are sound.
After service work, identify the access route and places where tools were set down. These are useful points to inspect for scratches and washer damage. Assess suspect sheet fixings individually. Retightening every screw can crush washers that were seated correctly.
What can you learn from the loft?
Indoors, inspect timber, insulation and roof penetrations. Note whether a damp patch grows after rain or also appears on cold, dry mornings. This helps investigate two possible causes: water entering from outside and condensation within the roof build-up.
At the eaves, check whether extra insulation or stored items have obstructed the air inlet. Also have the room-side airtight connections inspected. Before concealing wet insulation, identify the moisture source, restore drying conditions and assess the material.
How should roof access and snow protection be checked?
Agree the access route with the specialist before winter chimney servicing. Walkways, steps, brackets and snow guards need checking for looseness and corrosion. Identify separately which components are designed and approved as anchor points for fall protection equipment.
On a sandwich panel roof, mark rooflights and other openings on a plan before snow obscures them. Share it with maintenance staff. When adding snow guards, check both the design load and how the brackets connect to the structure.
How should findings and repairs be recorded?
For each finding, record the location, date, description and target date for action. Note whether it calls for cleaning, repair or further investigation. After the roofer’s visit, add the material used and a photograph. At the next inspection you can identify recurring symptoms.
After repairs, have offcuts and swarf cleared away. At the next rainfall, observe the drainage again from a safe position and compare it with the photographs. Keep items open in the record where the cause still needs investigating or a service visit is outstanding.

Free quote
What to include in your enquiry
Tell us how you plan to use the material, the dimensions and the quantity you need. Include the thickness, grade or variant name, along with the delivery town or your preferred collection branch. For a specific product, add its name or a link to the product page. We will reply to the email address you provide to discuss availability and the terms of your order.





More from the building guide
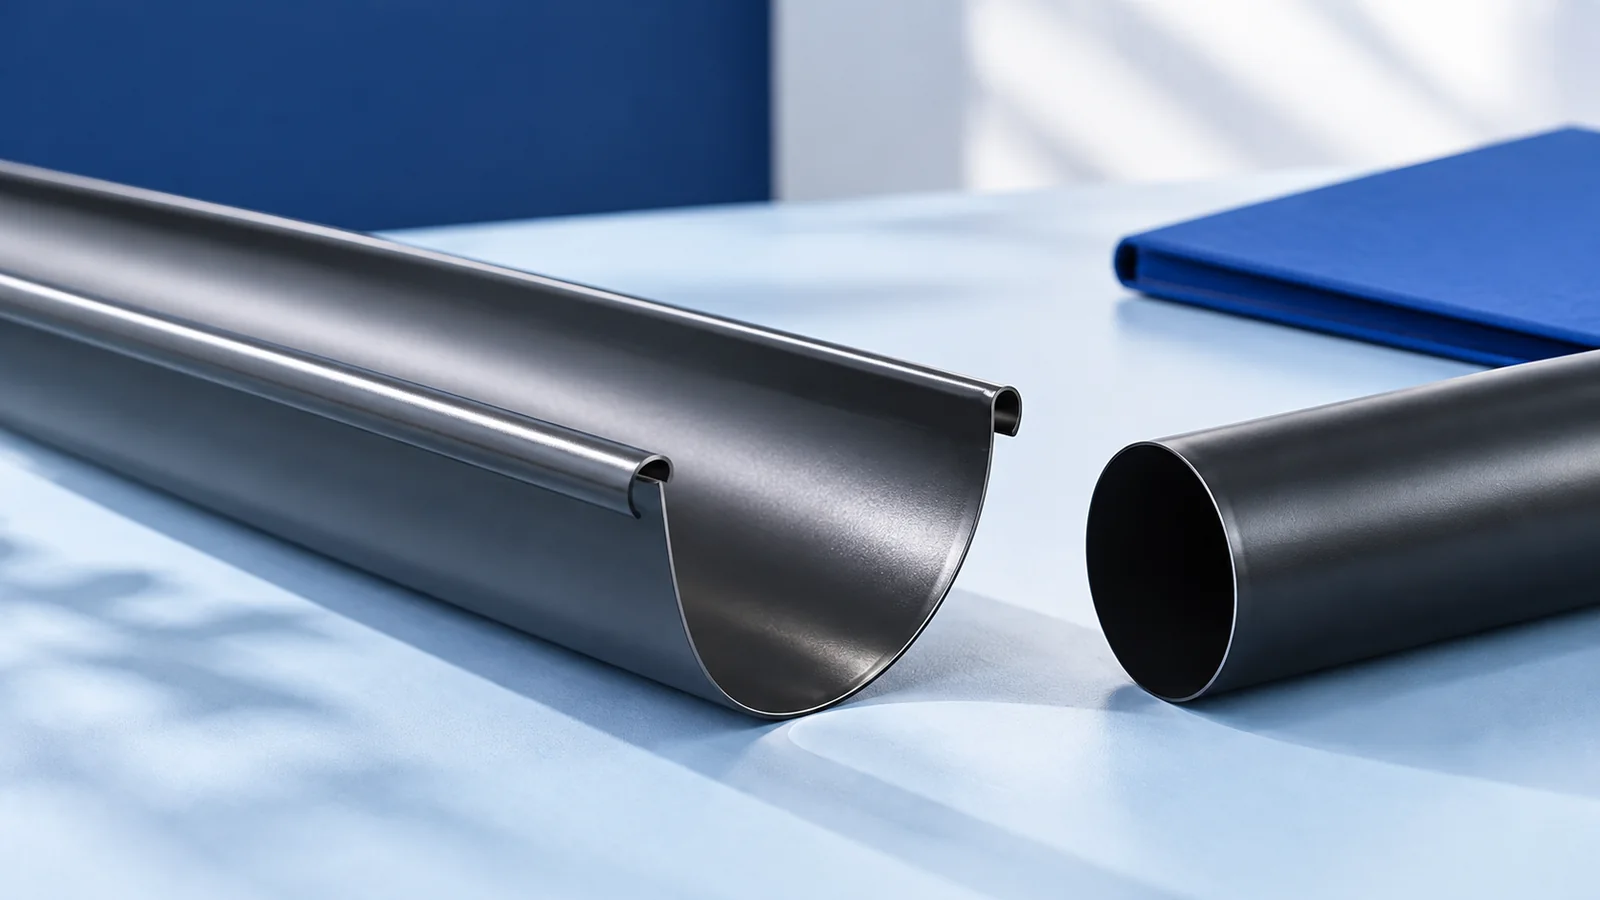
A concealed gutter changes the eaves appearance but must still collect roof runoff and discharge it safely away from the building. Its…
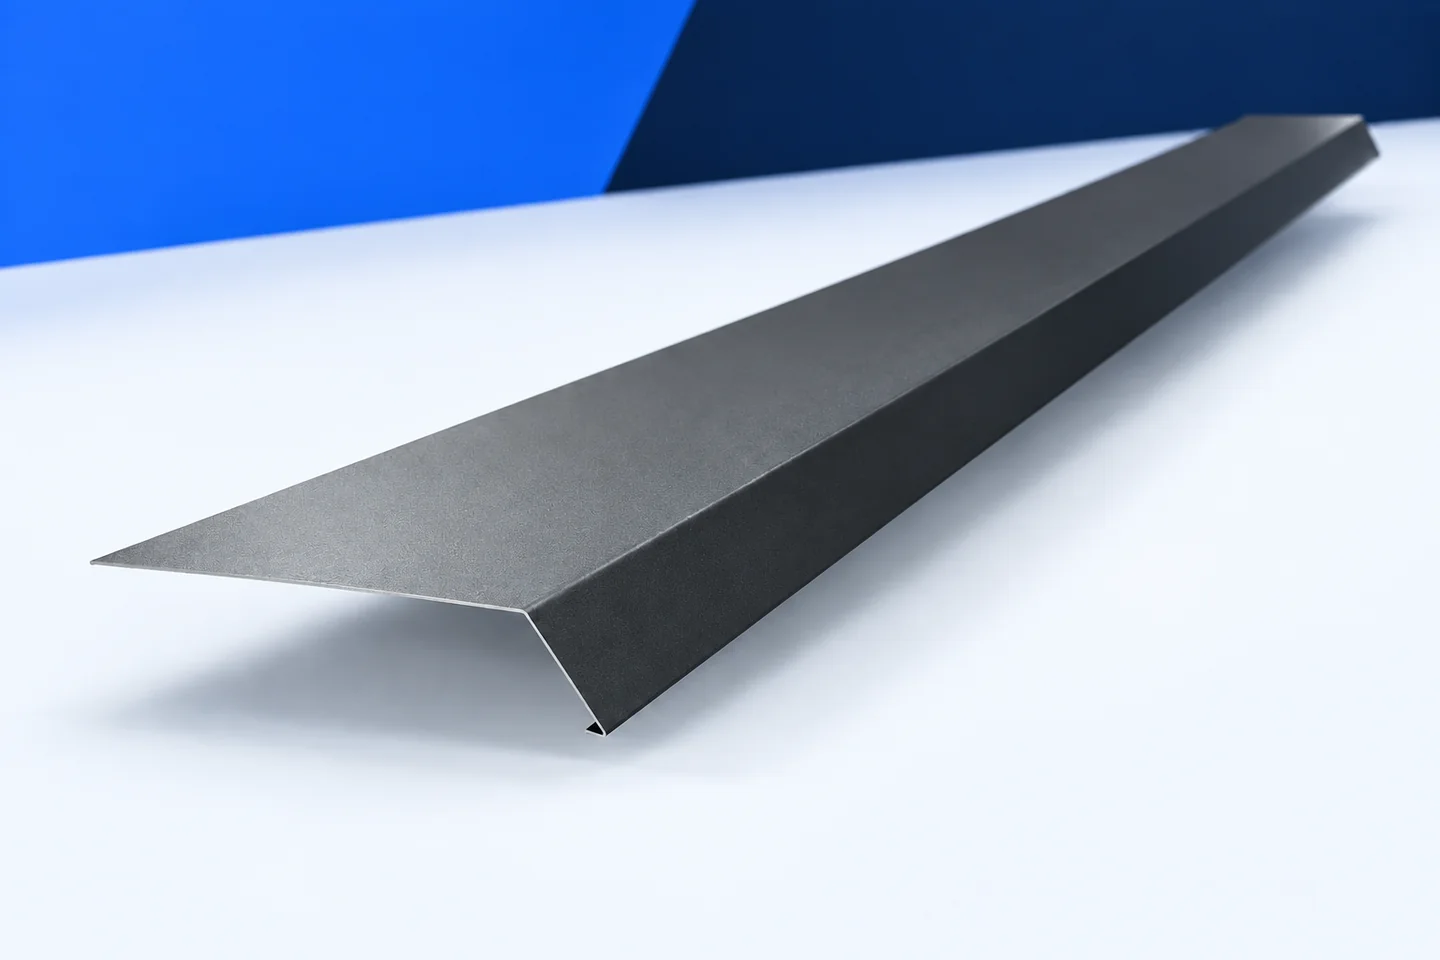
Dark marks below a gutter do not necessarily mean that the gutter leaks. Water can reach the fascia if the roof covering…

Start gutter selection for a metal roof with the amount and direction of runoff, then consider shape and colour. Relevant details include…
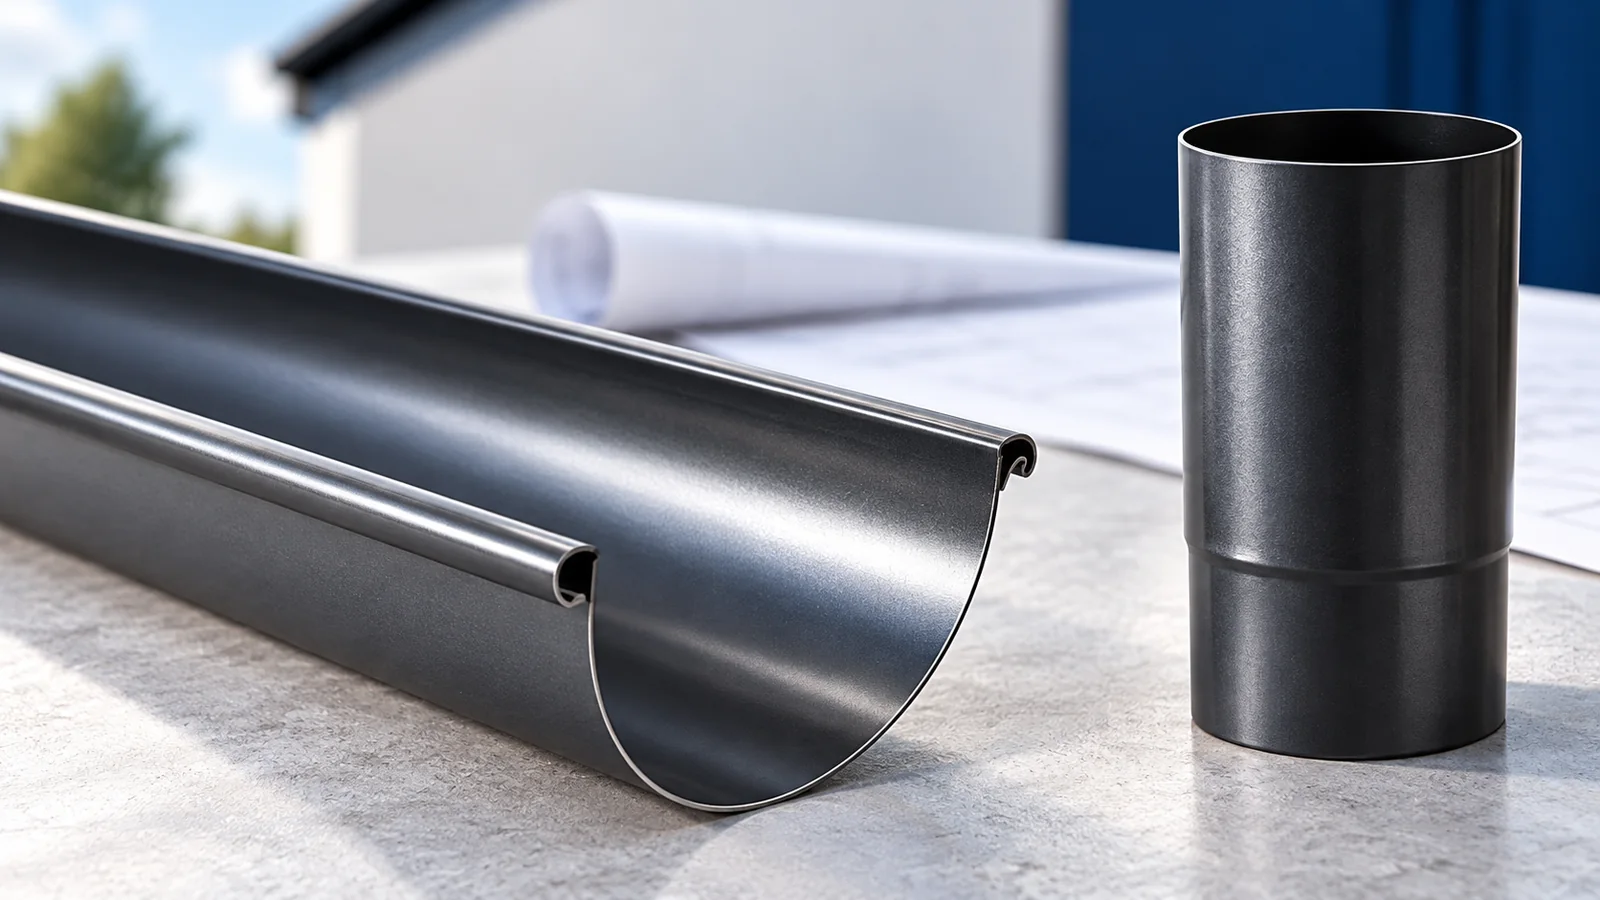
Gutters work effectively when their size, outlets and eaves position match both the roof and the downstream drainage. Before installation, establish the…

Eaves flashing helps deliver runoff into the gutter and limits water tracking beneath the roof edge. Its effectiveness depends on the complete…
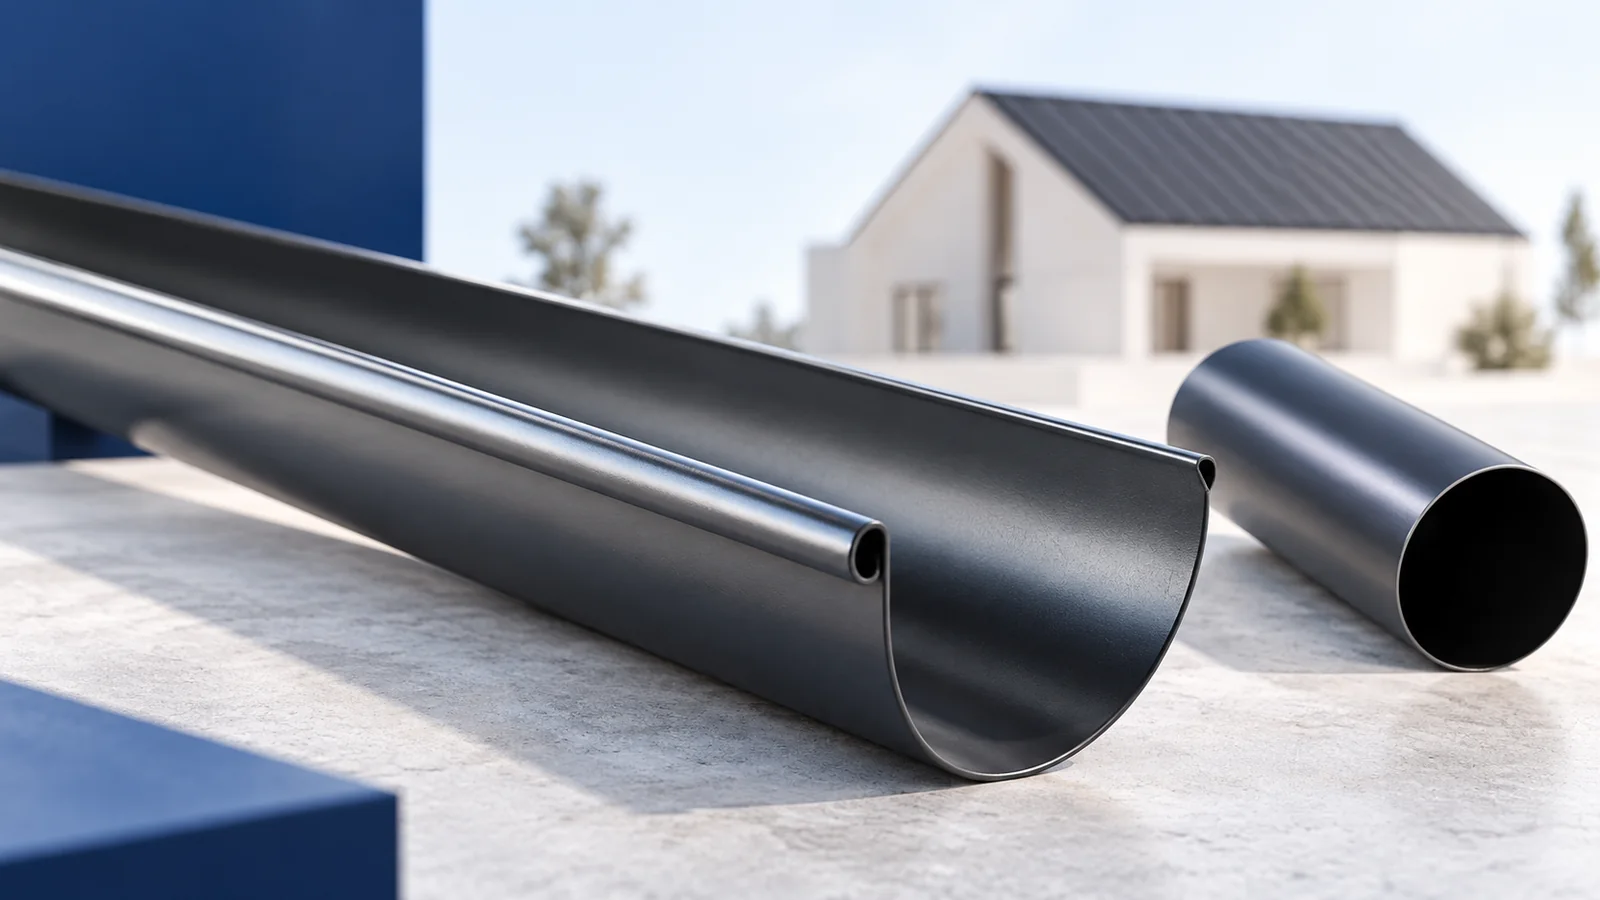
When buying a complete roof, establish where the supplier’s scope ends and the installer’s begins. Structure, substrate, protective layers and covering are…
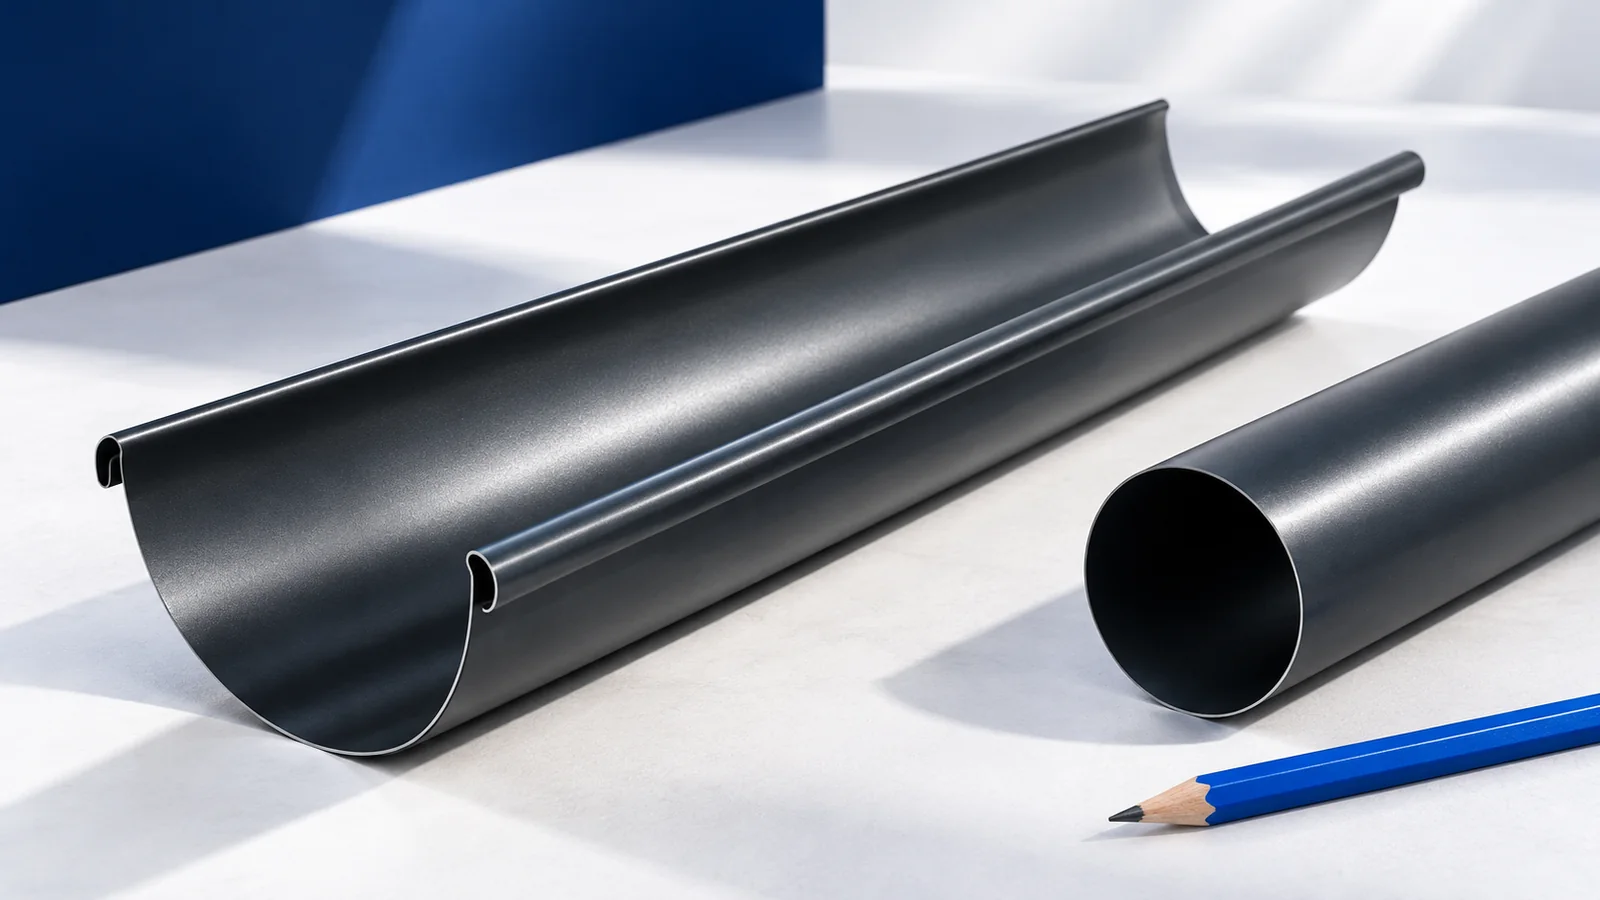
Choose steel or PVC gutters after mapping the route of water from the roof. Material affects stiffness, weight, surface protection and thermal…
Assess the gutter and its discharge route together. A gutter vacuum can collect dry leaves from the channel, but you still need…