






Choosing timber connectors for each structural joint
Roof coverings
Choosing timber connectors starts with the joint drawing and the load path. Supporting a beam end, connecting intersecting timber members and anchoring a structure to concrete require different solutions. Each product’s documentation defines its permitted use, nail or screw arrangement and the conditions behind its stated resistance. A purchase therefore needs to cover the complete assembly: the steel connector, suitable fasteners and protection appropriate to the moisture exposure. This guide works through connector functions, load tables, delivery checks and installation inspection. There is no single load rating or universal nailing pattern: performance depends on the actual structural arrangement and the material receiving the fasteners.

Sorting connectors by their function
Mark the function of each joint on the plan first. A joist hanger provides the specified support at a beam end; an angle bracket transfers forces between surfaces in defined directions. Straps and flat plates serve other arrangements, while anchors transfer loads into the supporting substrate.
Within each connector family, check the bearing arrangement, fastener layout and permitted timber dimensions. Similar-looking hangers need not be interchangeable. An ordinary assembly angle may also lack the properties required of a structural connector; consult the product data rather than its informal sales name.
Reading load-resistance data correctly
When reading a table, match the connector model, substrate, fixing method, timber grade and thickness, and force direction. A result for one arrangement does not describe every possible load applied to that same metal component.
Establish whether the table gives characteristic or design values. Dividing the roof weight by the number of brackets is no substitute for structural calculations: joints may carry unequal forces, and wind can reverse their direction. Interpretation requires the relevant design assumptions.
Selecting the specified nails and screws
Buy the fasteners as part of a specified assembly. Diameter, length and head geometry all influence the connection. Where the manufacturer permits both nails and screws, compare the ratings of the two arrangements separately rather than assuming that screws always provide greater resistance.
A drywall or finishing screw fitting through a hole does not establish its structural suitability. Likewise, bolt length alone is not enough for selection. Ordering the connectors and their specified fasteners together reduces the likelihood of improvised substitutions during installation.
Must every connector hole be filled?
Read the number of fasteners together with their positions. Approved partial nailing means a specific pattern with its associated resistance or loading arrangement. It does not permit leaving out whichever holes happen to be hardest to reach on site.
Do not adapt a poorly fitting connector by drilling extra holes, cutting it back or sharply bending it. Check the selected model and design detail first. A different product or revised connection may be needed, with properties that can be documented during inspection.
Allowing for moisture and corrosion
A dry interior, an open canopy and a humid room present different exposure conditions. Select the connector protection and nail or screw material as a compatible combination. A silver-coloured surface is not a specification of how long its protection will last.
The detail must also protect the timber from persistent water accumulation. Allow inspection access to concealed joints that could be affected by leaks. Even suitable metal protection cannot compensate for poor drainage or replace the service conditions assumed in the design.
Preparing the order and inspecting the work
Link the order schedule to the joint references: model, dimensions, quantity, substrate, protection and specified fasteners. If an alternative is proposed, compare resistance in the same arrangement and its installation instructions. Similar overall dimensions do not guarantee the same number of nails.
Start inspection with the delivered product markings, then check connector contact, complete fastening and the timber around edges. Photograph joints before they are concealed. Each steel component should fulfil its planned function rather than act as an improvised reinforcement with undefined performance.
On a larger project, sort assemblies by their intended location and retain labelled packaging. Mixing similar screws in one container makes lengths and types difficult to identify. Organising the delivery helps prevent the correct connector being installed with the wrong fasteners.

Free quote
What to include in your enquiry
Tell us how you plan to use the material, the dimensions and the quantity you need. Include the thickness, grade or variant name, along with the delivery town or your preferred collection branch. For a specific product, add its name or a link to the product page. We will reply to the email address you provide to discuss availability and the terms of your order.



More from the building guide

Start with the shape of the house, the façade materials and the setting. Charcoal, grey, brown and red can all work well…

Choosing trapezoidal steel roofing starts with the roof: its pitch, supports, loads and intended use. Those requirements determine a suitable profile and…

The cost of mineral-wool wall panels depends on the variant, thickness, facings and order size. A price per square metre covers only…
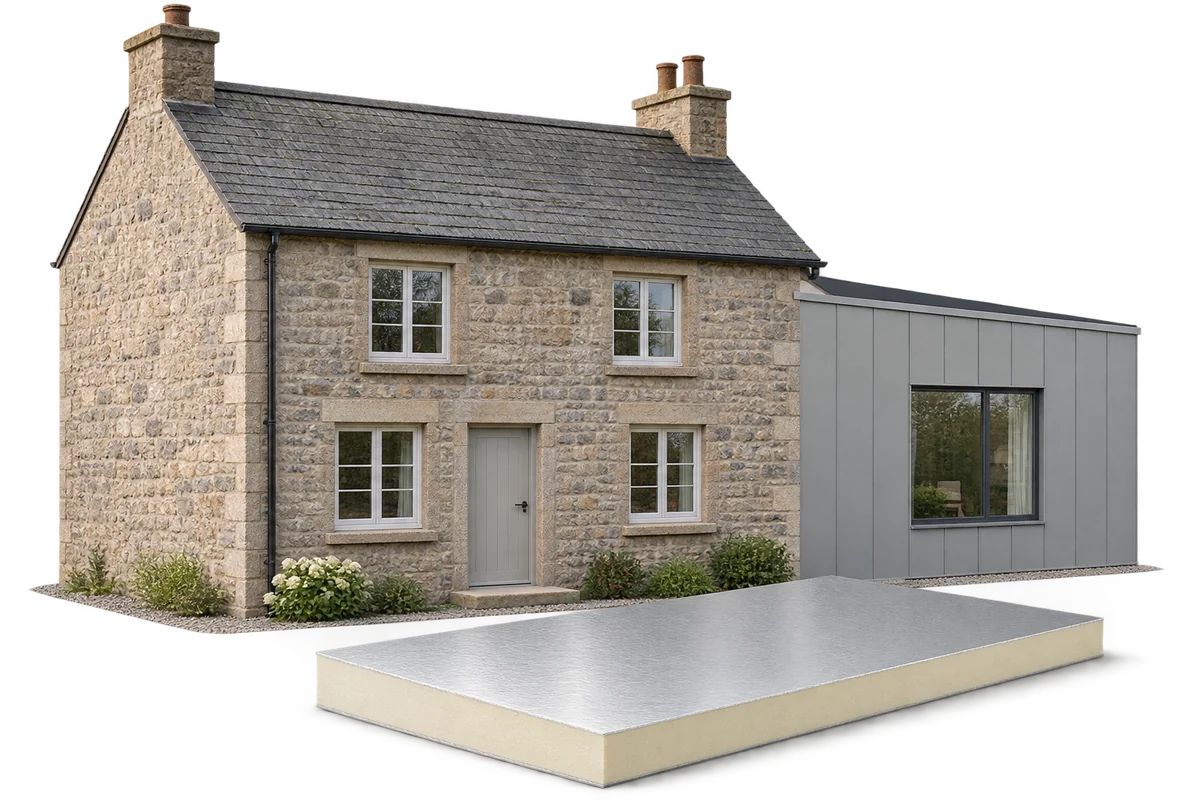
Before altering an old house, describe the proposed work and assess the building’s condition. This gives the designer a basis for deciding…

The cost of 100 m² of roofing sheet cannot be compared with a quotation for 100 linear metres until the sheet's cover…

Whether insulation work qualifies for a grant depends on the scheme, the building, the work proposed and the thermal performance required of…

The price of sandwich panels is not the price of a house. A complete budget depends on foundations, supporting structure, building services,…

Before comparing roof repair quotations, gather information about the building and the proposed task. The contractor needs a defined scope, available records…