





Planning chimney flashings on a metal roof
Roof coverings
Chimney flashing on a metal roof must intercept water flowing down the slope and guide it safely around the obstruction. The front apron, side flashings, back section and chimney-wall termination form an assembly that also works with the layer beneath the covering. Sheet geometry, chimney dimensions and finish, and movement between components determine the detail. Sealant supplements correctly arranged joints rather than replacing their shape. This guide covers detail checks, material compatibility, installation and leak diagnosis. Actual widths, laps and fixings must follow the selected roof and chimney systems instead of a single arrangement applied to every roof.
Why does a chimney need a carefully designed junction?
Water must change direction at a chimney, while the covering and chimney do not necessarily move together. An overly rigid junction or incorrectly directed lap may open only after temperature changes and structural movement. Initial contact alone is not enough.
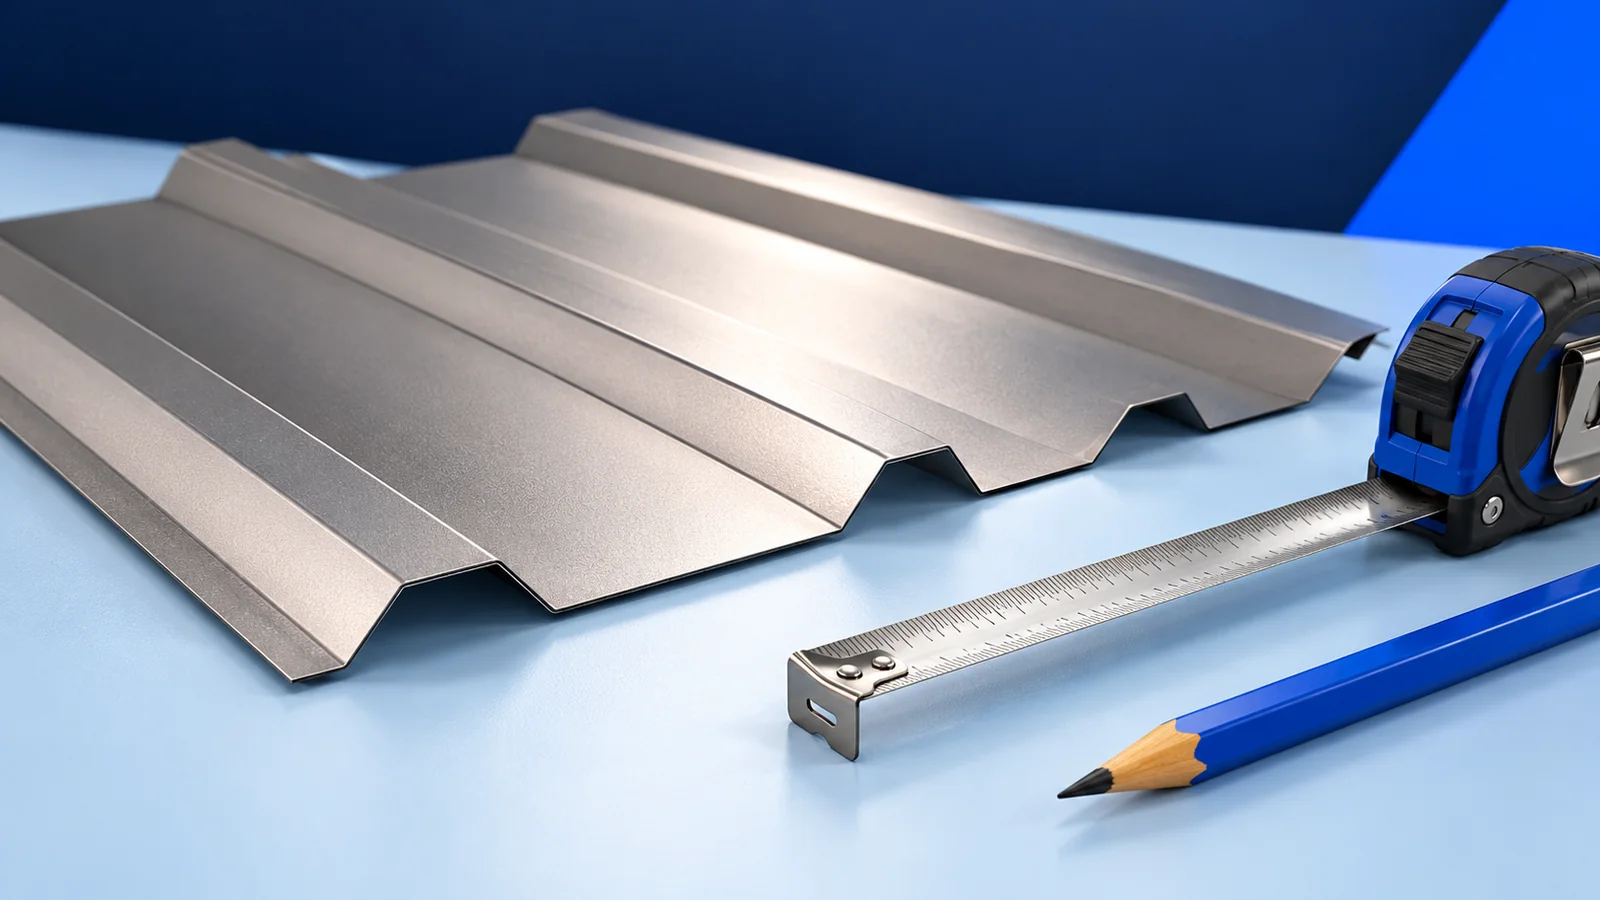
Allow for transverse steps on metal roof tiles and for ribs and valleys on T18 or T35 sheets. A flat flashing does not sit on these profiles in the same way. Trace the drainage route to avoid creating pockets of standing water beside the chimney.
Before ordering flashings, assess the chimney walls and their finish. Render, cladding and a proprietary chimney casing may require different fixing arrangements. Do not assume that every visible surface provides equally reliable anchorage for the termination.
What do the separate flashing sections do?
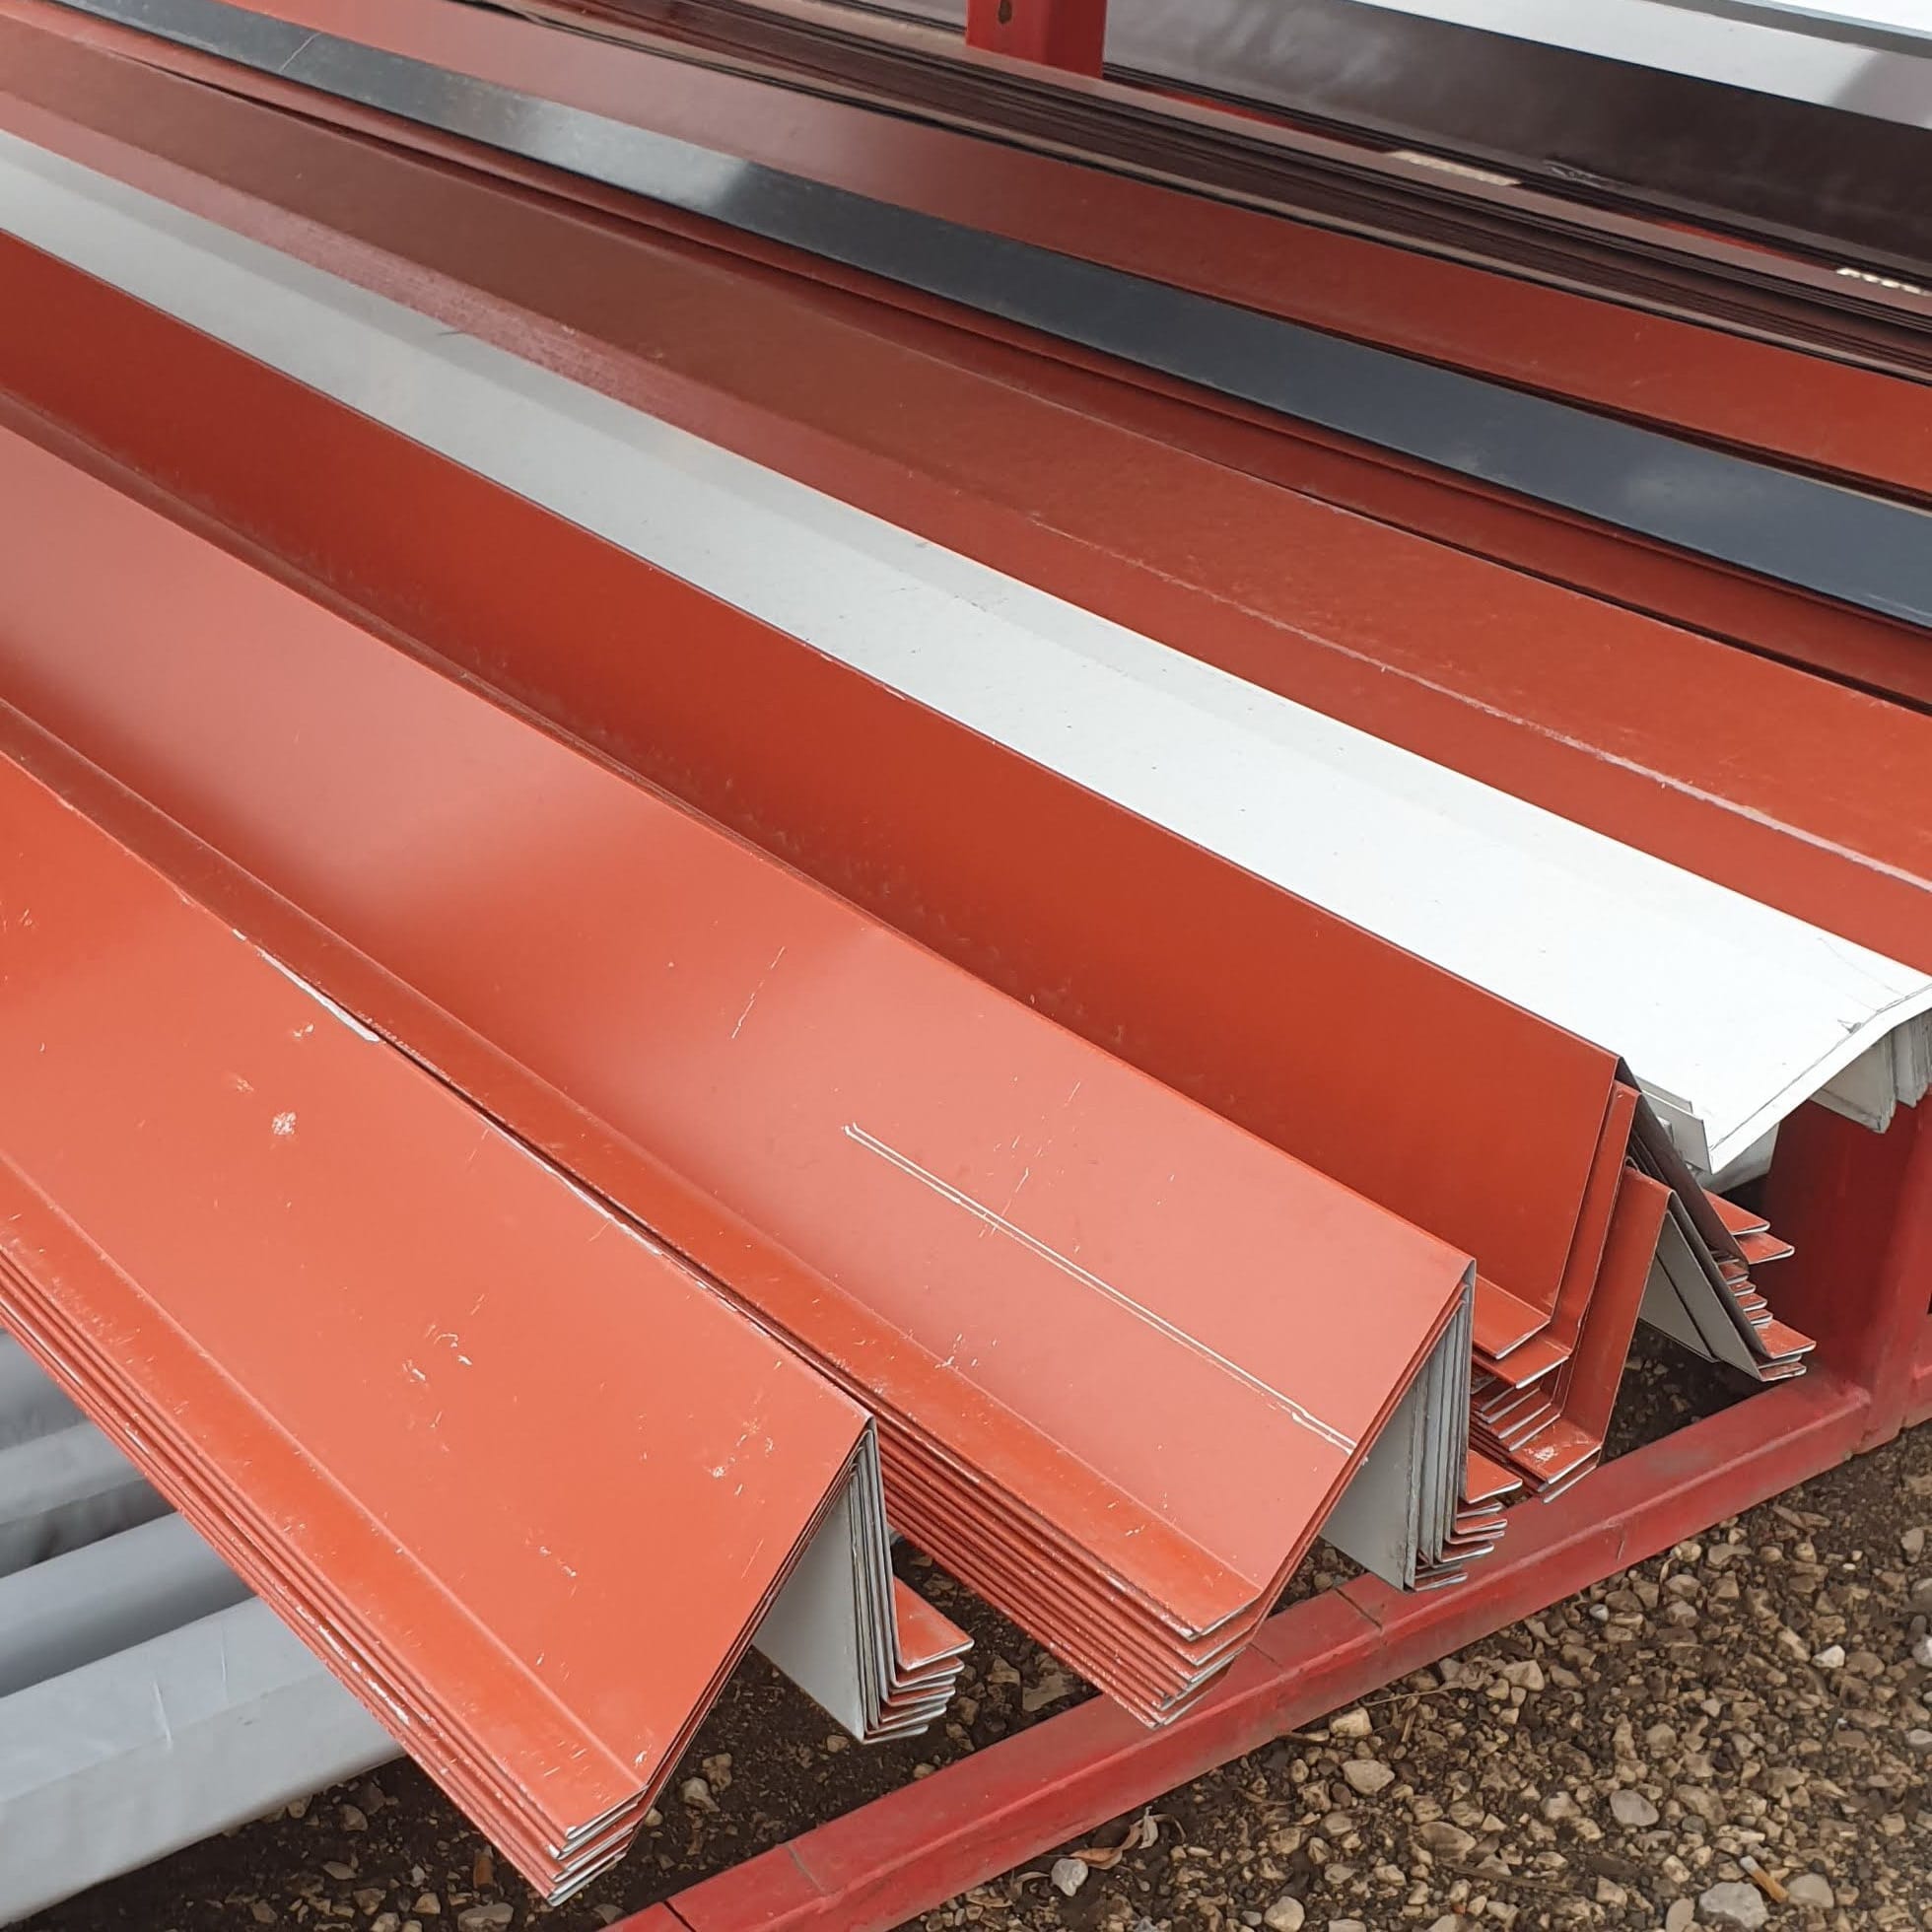
The lower apron discharges onto the covering below the chimney, the sides guide water past it, and the upper section collects runoff from above. Behind a wide chimney, consider the catchment and how water is diverted sideways; a short flat strip is not a universal solution.
Choose the wall termination for the actual chimney. Any chase, fixing and seal must be suitable for its construction. Do not transfer a traditional masonry detail to a prefabricated casing without checking the chimney-system manufacturer’s requirements.
Preparing the layers beneath the visible flashing
With the roof opened up, check the underlay upstand and its drainage around the chimney. New visible flashing will not automatically repair a missing detail below the sheet. This is particularly important during refurbishment when part of the existing assembly is retained.
Treat weather sealing separately from temperature and fire-protection requirements. Check material clearances and insulation types for the particular chimney. Ordinary installation foam is not a universal filler for the space around a hot flue.
Selecting metal and sealants
Compare the flashing and roofing materials for corrosion resistance and compatibility where they contact each other. Differences in colour or texture will also be visible around a large chimney. Matching the colour does not replace checking metal compatibility.
Select sealant for the substrate, temperature and weather exposure, preparing the surface as instructed. Adding another layer over dirty or detached material may only conceal the defect. Correct a faulty junction and its geometry first.
Inspecting the installation
Check that lap sequence follows the drainage direction and that fixings avoid unintended water-concentration points. The cut-out must allow the specified component movement. Both an overly tight junction and excessive exposure of the opening require attention to the detail.
Remove swarf and inspect the coating, corners and folds after installation. Check behind the chimney too, as this area cannot be seen from ground level. Photographs taken before completion record the junction sequence and help diagnose later problems.
Tracing a chimney-area leak
A stain below the chimney does not prove that the lower apron is leaking. Water may arrive from farther upslope, a wall crack or another defect and travel through the layers. Diagnosis should include its route beneath the covering.
Plan repairs after identifying the cause rather than repeatedly adding sealant. Provide the contractor with photographs of all sides and details of the roof covering and chimney. Arrange safe inspection access; viewing from ground level is not a full acceptance check of the junction.

Free quote
What to include in your enquiry
Tell us how you plan to use the material, the dimensions and the quantity you need. Include the thickness, grade or variant name, along with the delivery town or your preferred collection branch. For a specific product, add its name or a link to the product page. We will reply to the email address you provide to discuss availability and the terms of your order.

More from the building guide
A roof without projecting eaves needs careful coordination of the covering, façade and drainage. A clean outline does not remove the need…
Assess an external steel window sill as part of window drainage, not simply as a coloured façade accessory. Low weight, made-to-measure dimensions,…
A sandwich-panel roof costs more than the panels alone. Flashings, fasteners, seals, transport and installation must be included, while the supporting structure…
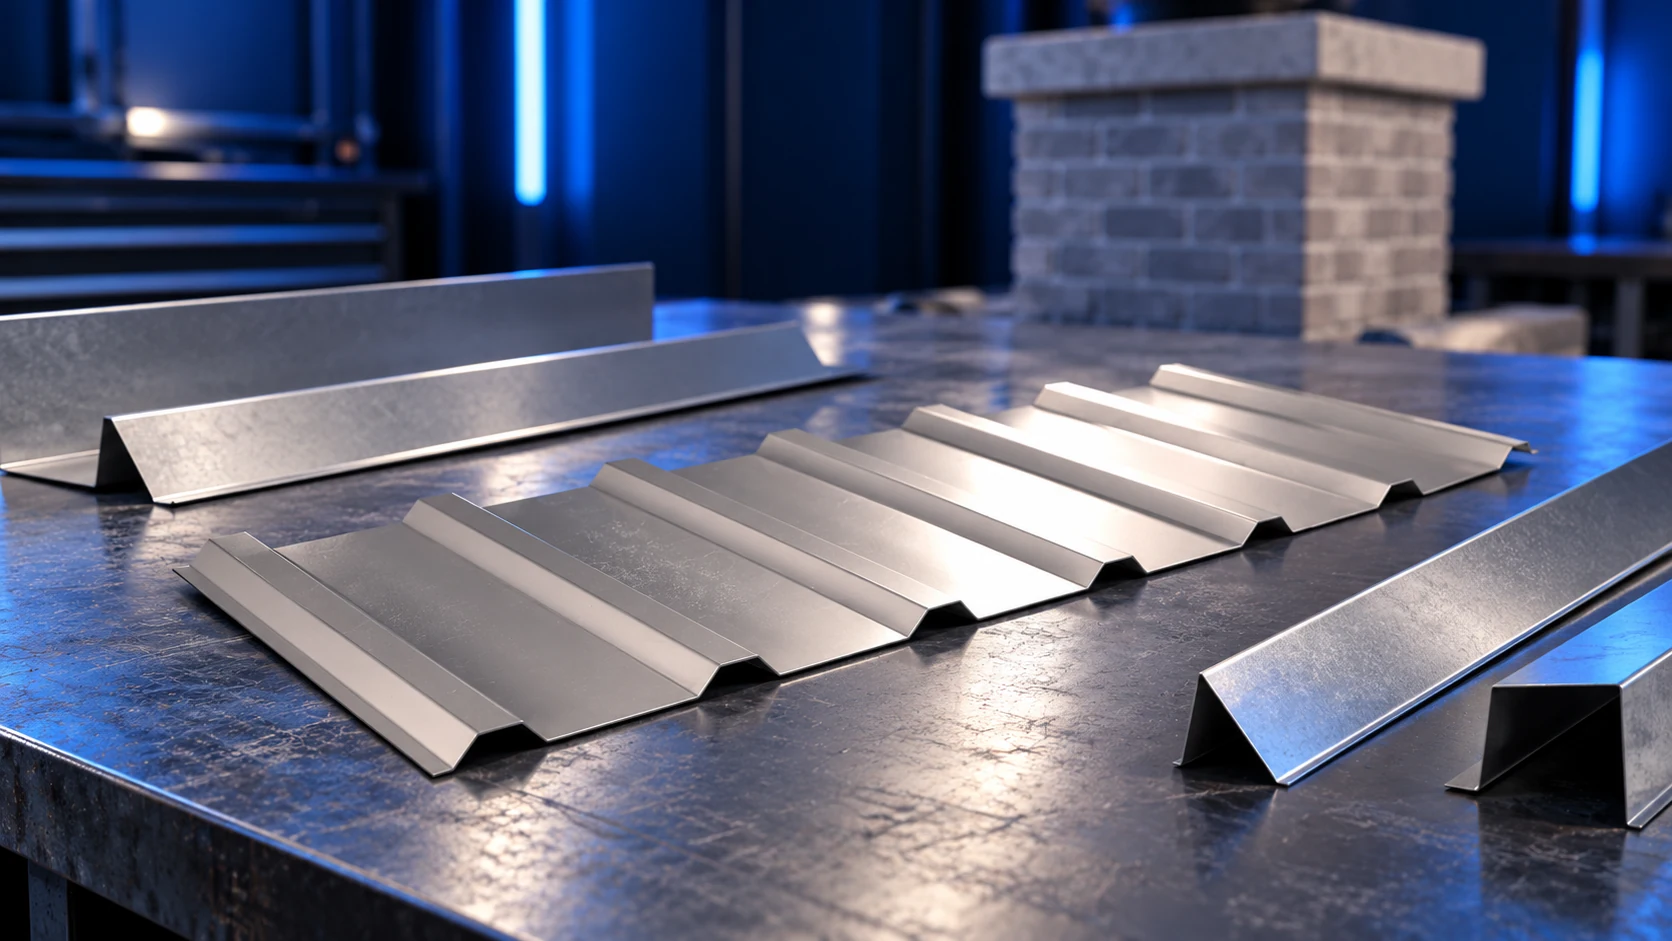
Chimney flashing must return water to the roof covering while accommodating movement between the roof and chimney. A strip of sheet metal…
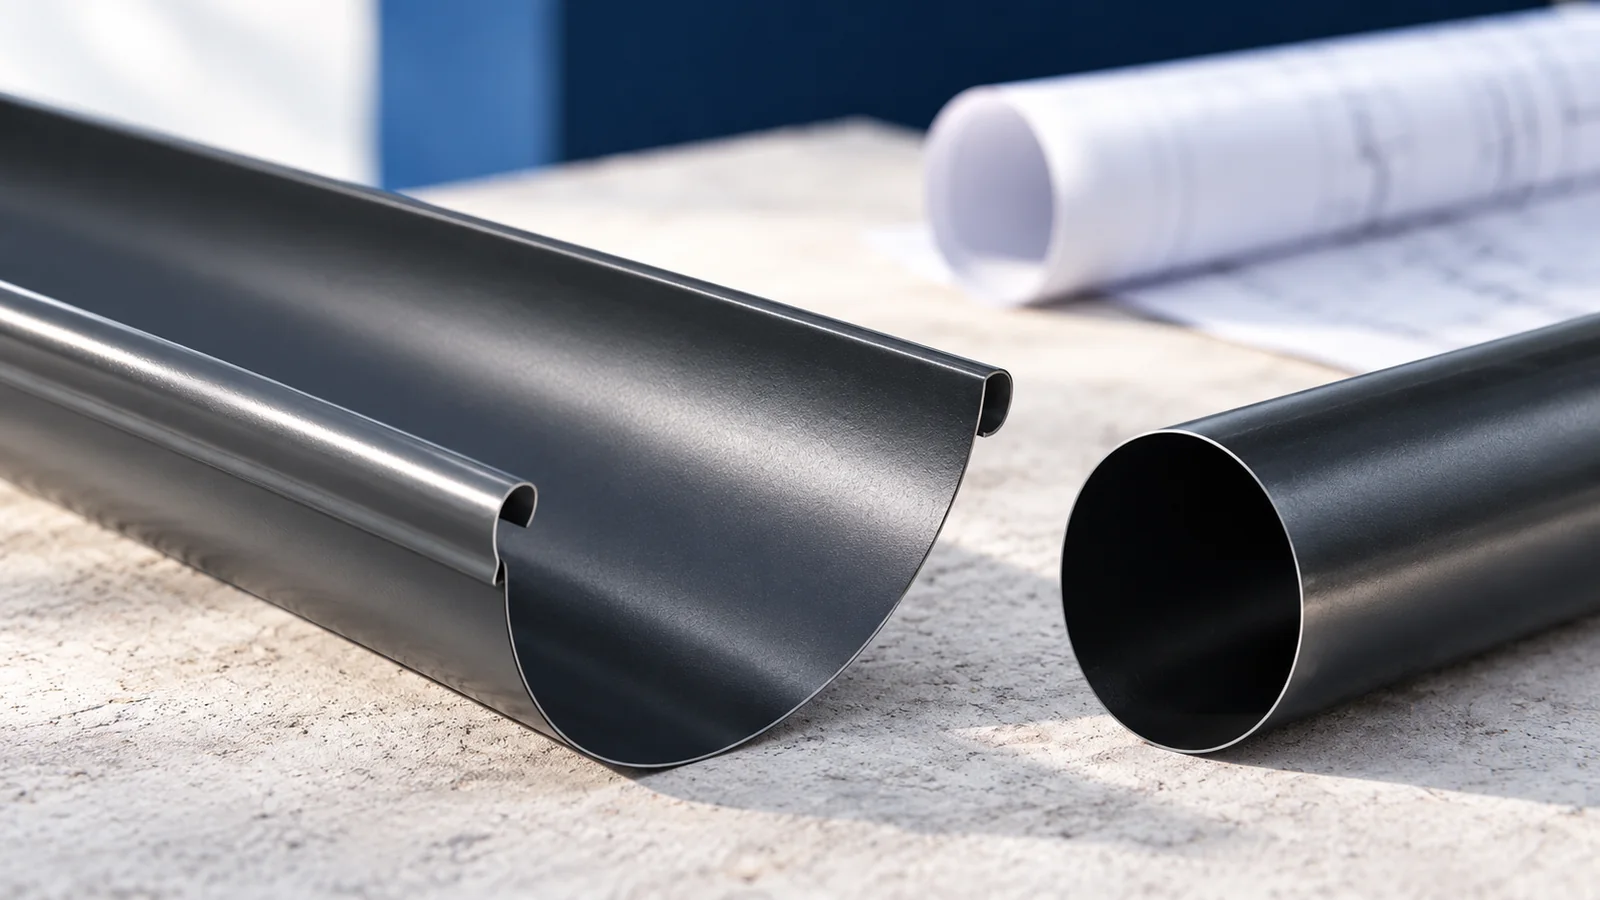
Flashings are needed wherever the normal covering arrangement stops directing water safely. That includes eaves, verges, valleys, ridges and junctions with walls…
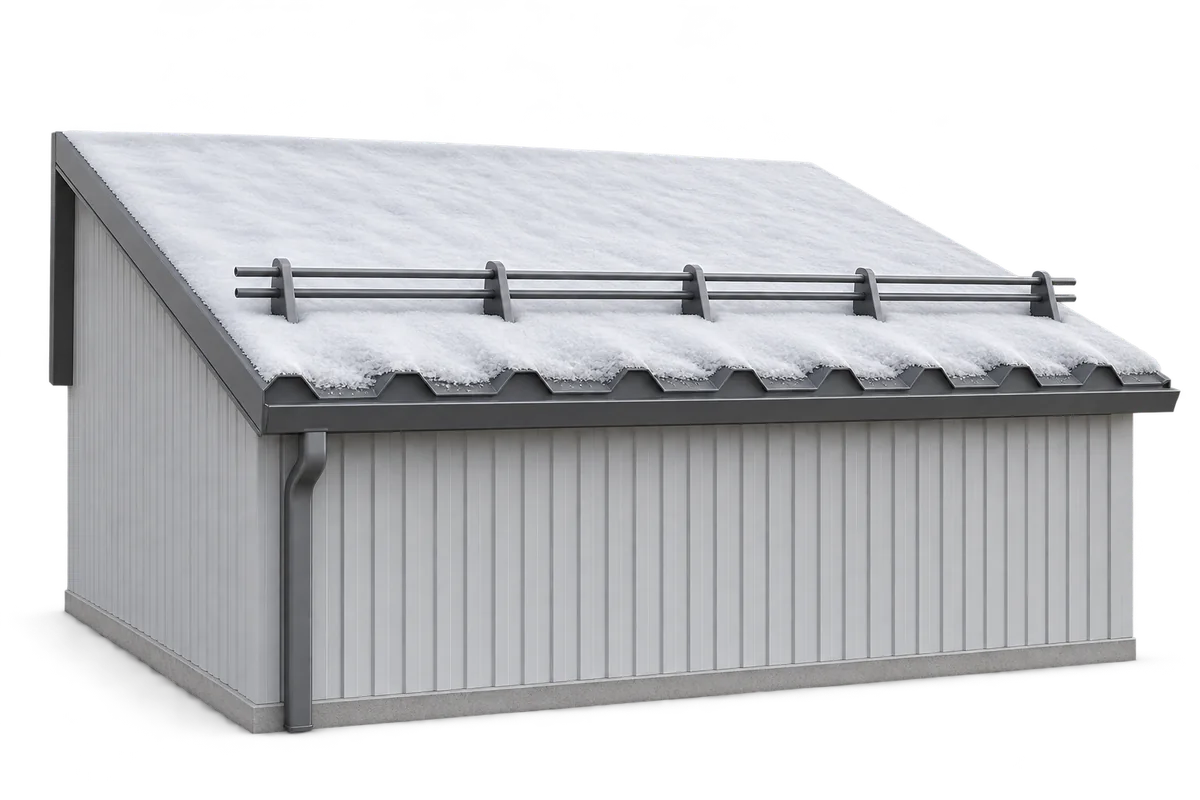
Snow depth alone does not tell you when a roof needs clearing. What matters is the weight and distribution of the snow…
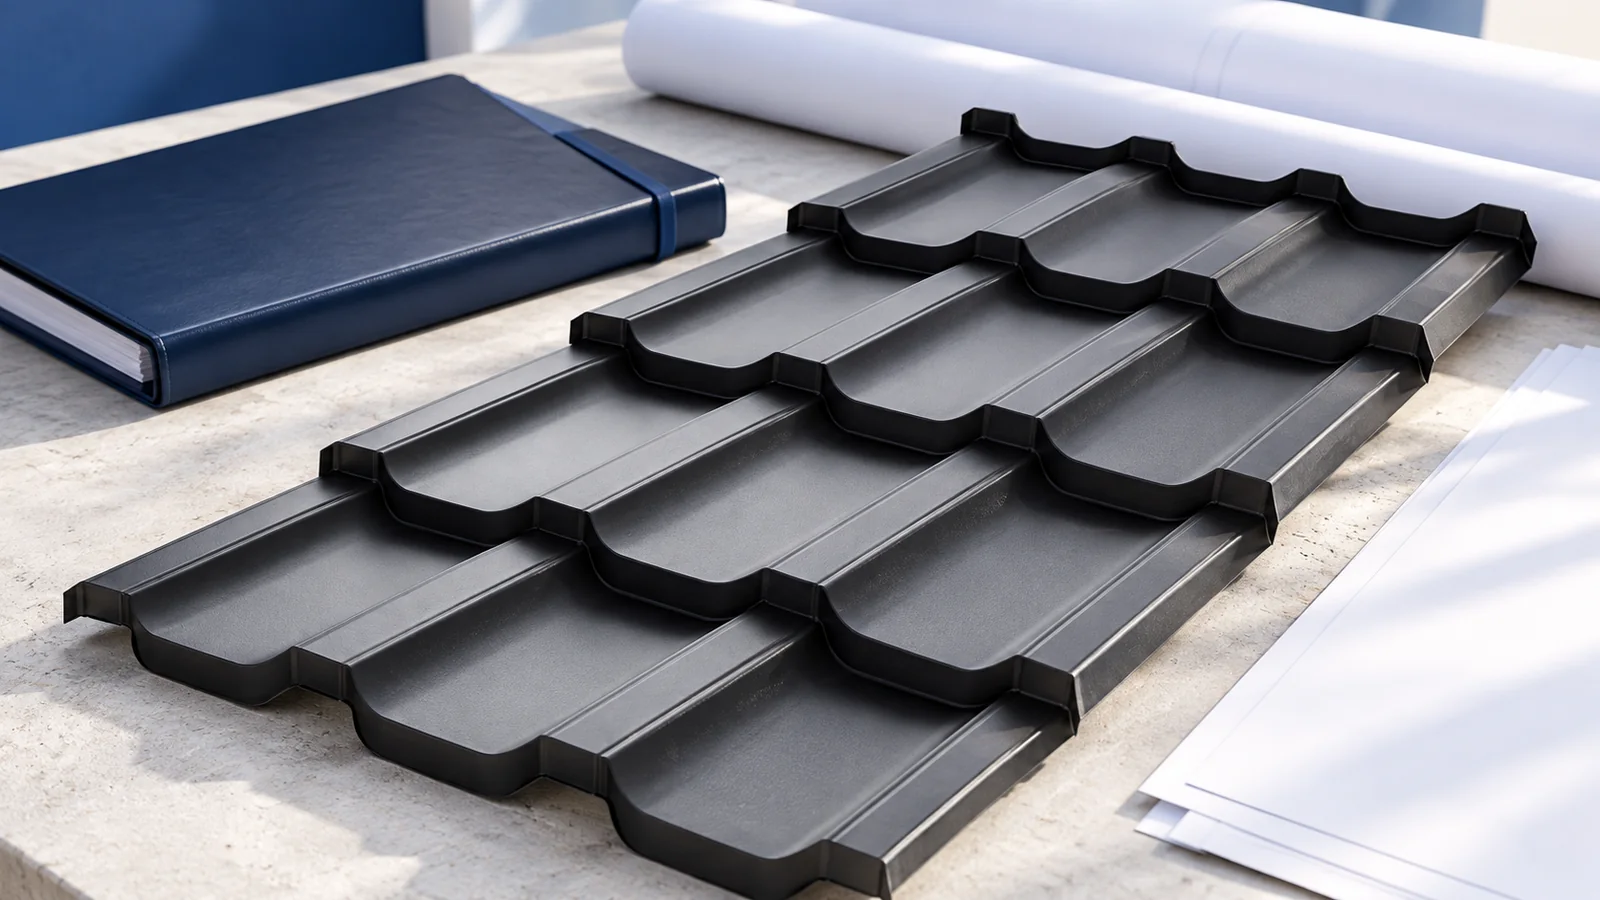
Organise documents for building in Poland around the decisions they support. Plot information establishes development possibilities; the design specifies structure and materials;…
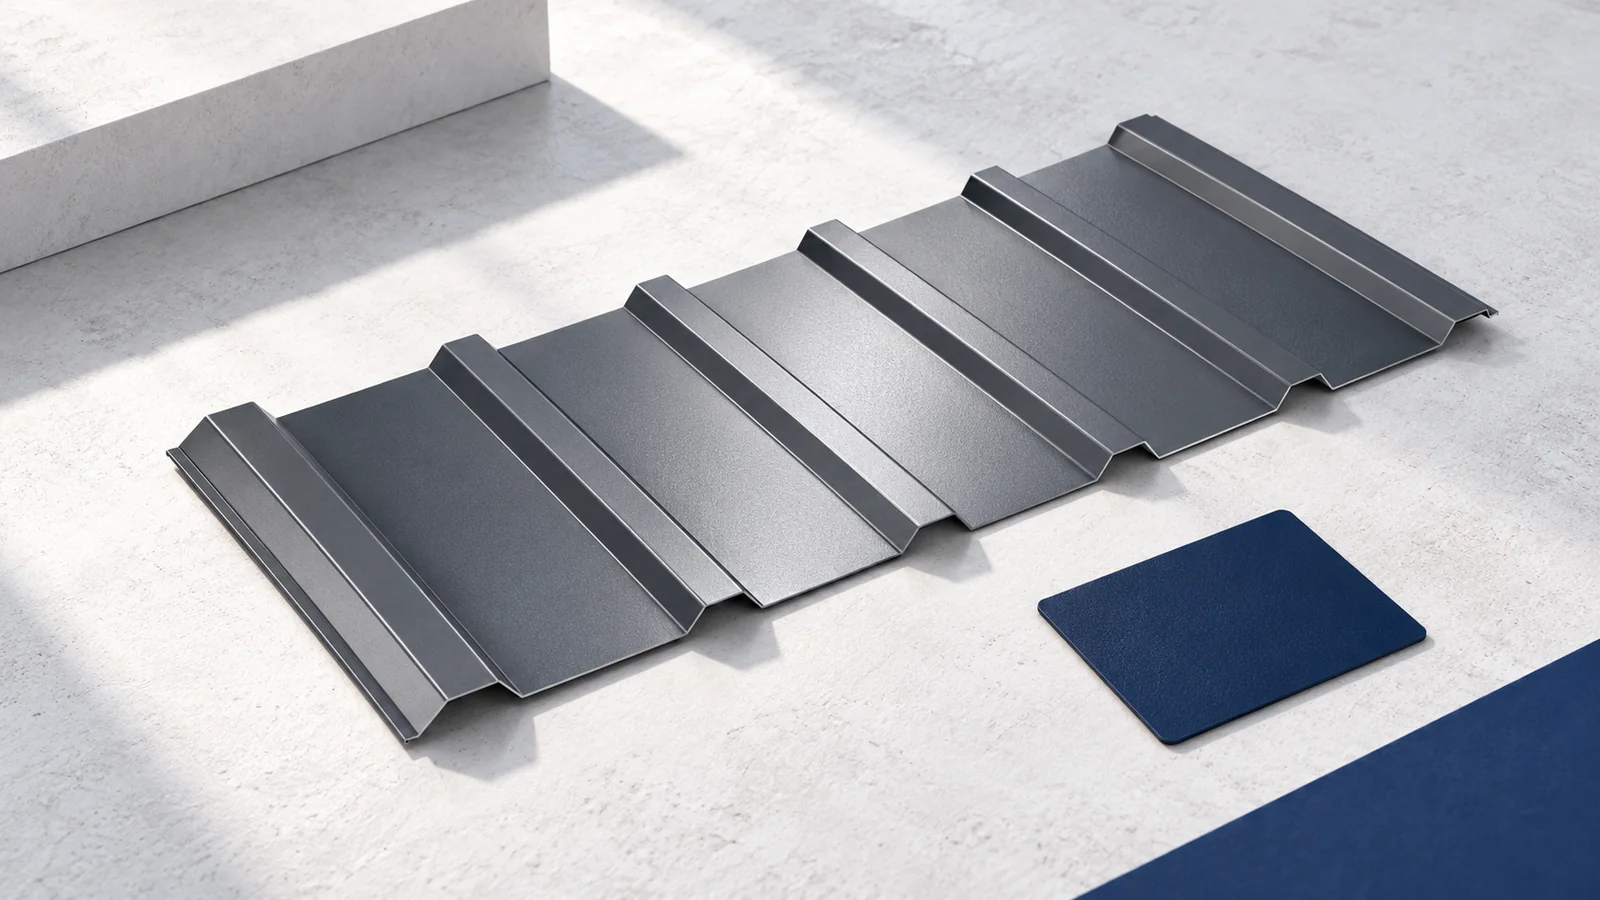
A mansard roof changes pitch: its lower section is usually steep and its upper section shallower. This cross-section can create more usable…