






Gutters and a rainwater tank: plan where excess water goes
Roof details
Connecting a rainwater tank to a downpipe does not complete the drainage plan. Establish where water goes when the tank is full, out of use or being maintained. The gutters must still drain the roof, while storage needs to work with the onward discharge route. This guide prepares a discussion with a designer or installer: identify contributing roof areas, the flow-diversion point, filter access and the overflow route. It does not size tanks or pipework from house floor area alone. It sets out the information needed to combine rainwater collection with functioning building drainage, without relying on an occupant regularly emptying a barrel.
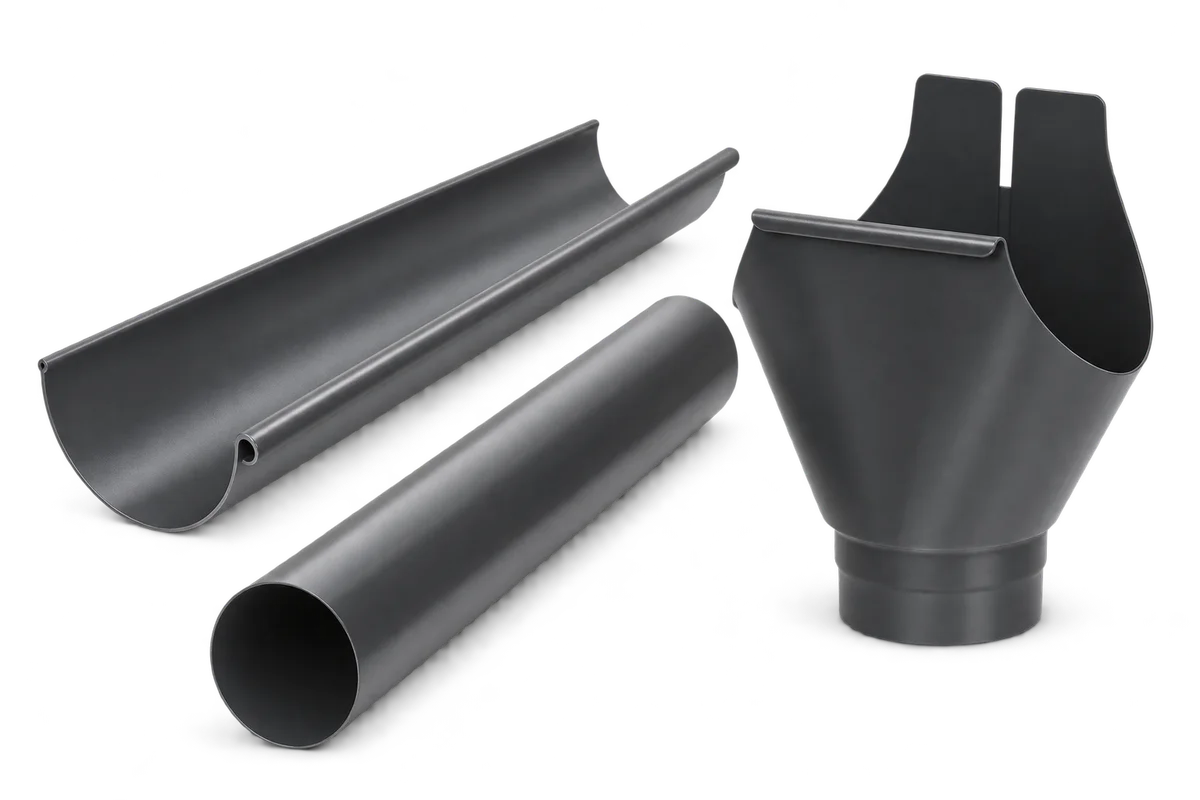
Draw the arrangement before choosing a tank
Start with a simple drawing: roof, gutter, outlet, downpipe, diversion fitting, tank and onward discharge. Label each arrow as normal flow or overflow. Do not let the diagram end at the tank symbol.
Record the intended use of collected water. Garden watering and supplying fixtures inside a home involve different system scopes. Do not connect the tank to drinking-water plumbing with an improvised hose. Indoor use requires a separate design and appropriate separation of the supplies.
Identify the roof areas feeding the inlet
Mark which roof slopes feed the selected downpipe. Do not assume equal contributing areas merely because downpipes are evenly spaced on the façade. Include a lower canopy or extension if its runoff is intended to reach the same point.
Storage capacity and drainage capacity answer different questions: how much water can be held, and how flow is conveyed under the design conditions. A larger tank does not fix an undersized or blocked pipe. The components need to be checked together, not just by the number of litres in a product description.
Plan for a full tank
Identify the overflow or bypass arrangement for a full tank. Some systems use a downpipe fitting; others have a separate tank outlet. Check the actual kit’s instructions. Do not assume every filter automatically provides the same protection against overfilling.
Agree the excess-water route all the way to a suitable receiving point. Ending a pipe beside the wall does not establish acceptable disposal. Site conditions and the permitted discharge arrangement need checking separately. Do not direct flow onto an arbitrary nearby surface simply because it is convenient.
Retain access for maintenance
Before positioning the tank, check that the filter can be removed and cleaned and connections serviced. A narrow wall-to-tank gap can obstruct a task that looks easy on a drawing. Allow for later fencing, planting or enclosure too. Establish the necessary clearance from the particular system.
Agree who checks for blockage and where the instructions are kept. Do not copy another tank’s cleaning intervals without checking the application and surroundings. Distinguish filter, gutters and storage vessel in the maintenance record. Access to one does not establish access to the others.
Agree how drainage works during downtime
If the tank is taken out of use seasonally, check the specified operating arrangement. Roof runoff continues when storage is unavailable. Do not leave an improvised open downpipe termination after disconnecting the vessel. The system instructions should explain inlet and connection arrangements during downtime.
Agree temporary drainage before disconnecting a tank for alteration or replacement. Ordering a new vessel does not address the interval between removal and installation. Where two contractors are involved, assign responsibility for the interim arrangement before rain makes the issue urgent.
Check the complete water route at handover
At handover, ask for a demonstration within the system’s specified checking procedure. Clarify full-tank behaviour and the switch to non-collection mode. Do not block outlets yourself to simulate overload. The installer should determine the test method from the applicable documentation.
Keep an as-built diagram, component identification, downtime instructions and a service contact. A later filter or tank replacement can then be matched to the existing arrangement. Rainwater storage is useful as part of a system that also provides for excess water.

Free quote
What to include in your enquiry
Tell us how you plan to use the material, the dimensions and the quantity you need. Include the thickness, grade or variant name, along with the delivery town or your preferred collection branch. For a specific product, add its name or a link to the product page. We will reply to the email address you provide to discuss availability and the terms of your order.
More from the building guide

Removing an old asbestos roof and buying its replacement are separate expenses. A grant may cover only one of them. Before ordering…

Start with the shape of the house, the façade materials and the setting. Charcoal, grey, brown and red can all work well…

In Poland, the procedure for work on a roof depends on what will actually change. Are you restoring the roof, altering its…

In Poland the construction site manager (kierownik budowy) organises and directs the work in accordance with the design, applicable rules and safety…

The financial return on rooftop solar depends on how much electricity you use on site, when you use it and how your…

Insurance for a house under construction should reflect the stage the work has reached. An open structure faces different risks from a…

How much noise you hear under a metal roof depends on the entire roof assembly and how well it was installed. A…

A gable roof has two slopes that meet at the ridge. This simple shape makes the roof covering easier to lay out…