





PIR insulation: define the heated part of the house first
PIR insulation
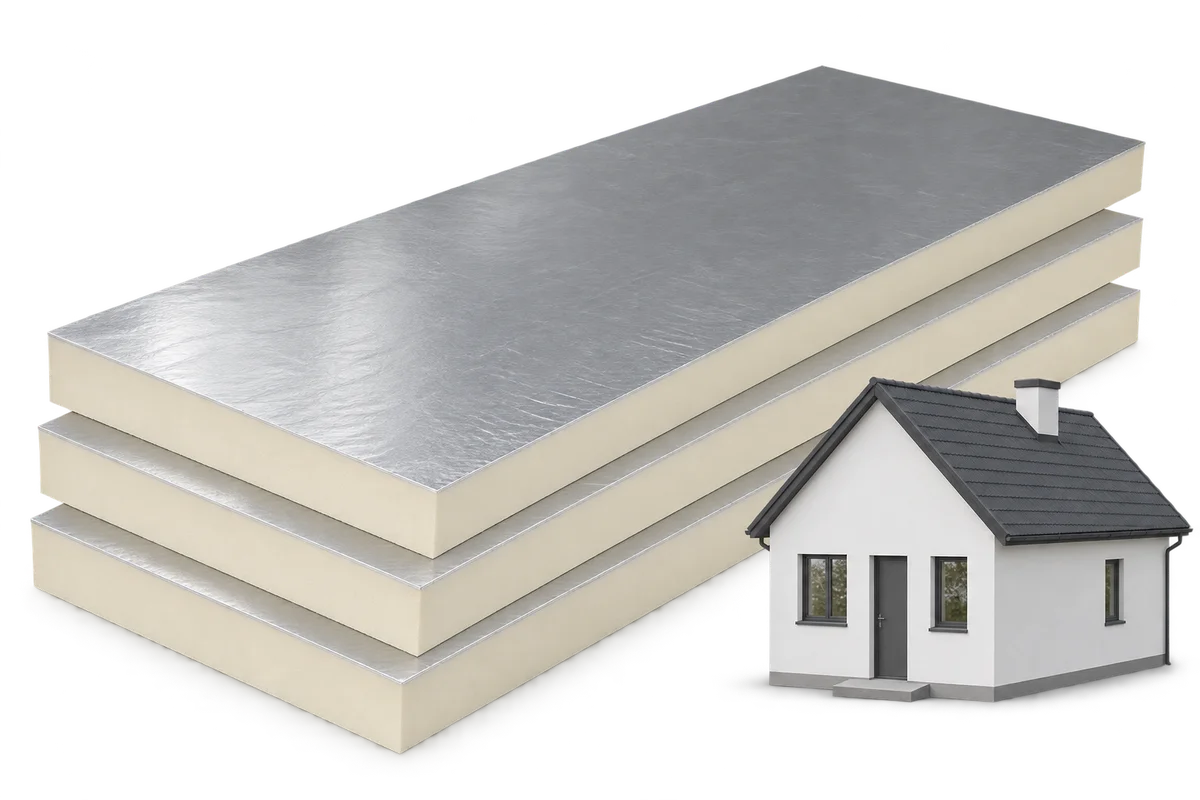
Planning PIR insulation should begin by identifying which rooms will belong to the heated part of the house. The roof, a ceiling beneath an unused loft and a wall beside a cold garage play different roles in that plan. Buying a particular area of boards does not decide where the insulation should run. This guide helps prepare a diagram for a designer or energy adviser: current use, intended changes, boundaries between zones and places needing detailed design. PIR can be one material used in the building envelope, but its grade and thickness depend on the complete assembly. Defining the heated space helps target heat loss instead of insulating arbitrary surfaces.
Draw the space you heat
A diagram of the heated area starts the discussion; it is not a finished design. It should expose uncertainties about use rather than hide them behind a single floor-area figure.
On each floor plan, mark continuously used rooms, intermittently heated spaces and unheated areas. Add how each space is used, not just its name. Two rooms called workshops can have very different requirements if one is occupied daily and the other only stores tools.
Distinguish the roof from the loft floor
Separate present use from intended use. If the loft is to become living space later, compare the immediate option with the final arrangement. Do not automatically add together two independent insulation orders; the plan should explain which layers will remain useful after the change of use.
With an unheated loft, the heated boundary may run along the ceiling of the top storey. With occupied loft accommodation, it usually includes different surfaces, including roof slopes and relevant walls. The choice needs the full section, service access and moisture conditions checked; ease of laying boards alone does not determine it.
Include the garage and service rooms
Mark hatches, stairs and doors between storeys separately. Even a carefully described ceiling area does not explain these transitions. The design brief needs to state whether an opening is intended to separate zones or remain an open connection between them.
Do not treat a wall between a room and a cold garage like one between similarly heated rooms. Mark the garage ceiling too if living accommodation sits above it. Selection requires thermal assessment and other requirements, including fire protection; the PIR name alone does not establish compliance.
Trace the boundary between zones
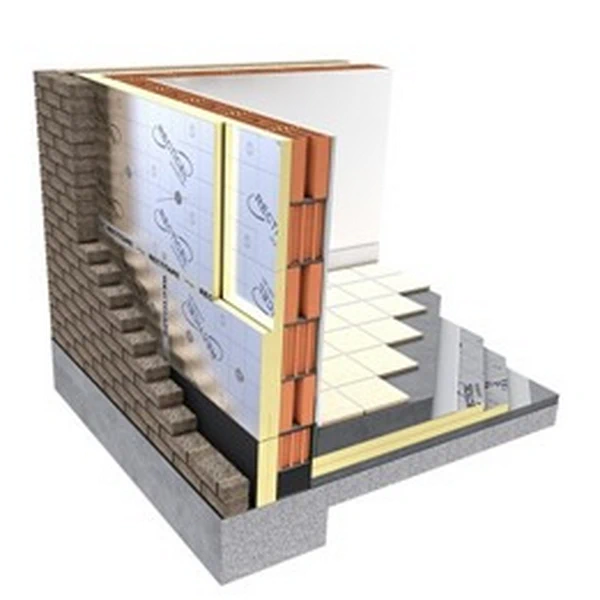
For a basement, identify the rooms intended for heated use and those remaining outside that zone. Do not transfer an above-ground wall solution to a ground-contact area without checking moisture and loads. The thermal boundary and protection against water need coordinated consideration.
Trace wall junctions with ceilings, the roof and floors on a section drawing. If the insulation line stops, flag the location for a detail. Do not assume that a thicker board in the middle of an area compensates for any interruption at its edge.
Select materials for each building element
The planned airtight layer can be marked separately on the same diagram. Thermal insulation and limiting uncontrolled airflow are different functions. Do not close air inlets or required ventilation paths; their arrangement needs coordination with the designer and building services.
Prepare the insulation-type schedule only after the building-element boundaries are established. For PIR, check the actual facing, intended use, declared properties and compatibility with adjoining layers. One board need not be suitable beneath a floor, on a roof and within a façade system alike.
Have the diagram checked
Split the material enquiry by application and attach the relevant drawings. Do not combine unverified thicknesses into a single “house insulation” item. A clear breakdown helps check whether the quotation matches the design and includes accessories for the specified junctions.
Keep the agreed diagram with its temperature and occupancy assumptions. If the loft, garage or basement changes use, revisit those assumptions before another purchase. Lower heat loss comes from matching the complete envelope to the home’s needs, not merely having PIR boards somewhere in the building.

Free quote
What to include in your enquiry
Tell us how you plan to use the material, the dimensions and the quantity you need. Include the thickness, grade or variant name, along with the delivery town or your preferred collection branch. For a specific product, add its name or a link to the product page. We will reply to the email address you provide to discuss availability and the terms of your order.

More from the building guide
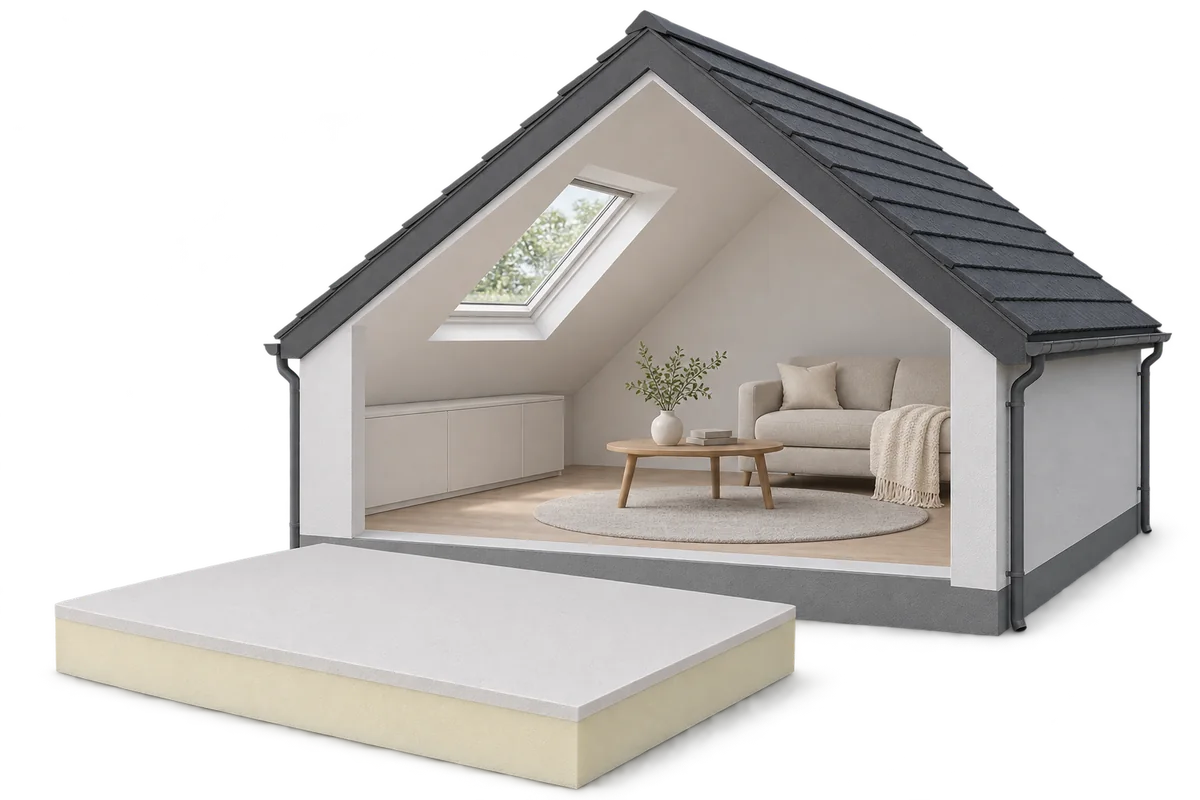
Insulating a loft from the inside can make it more comfortable without taking the roof covering off. PIR bonded to plasterboard provides…
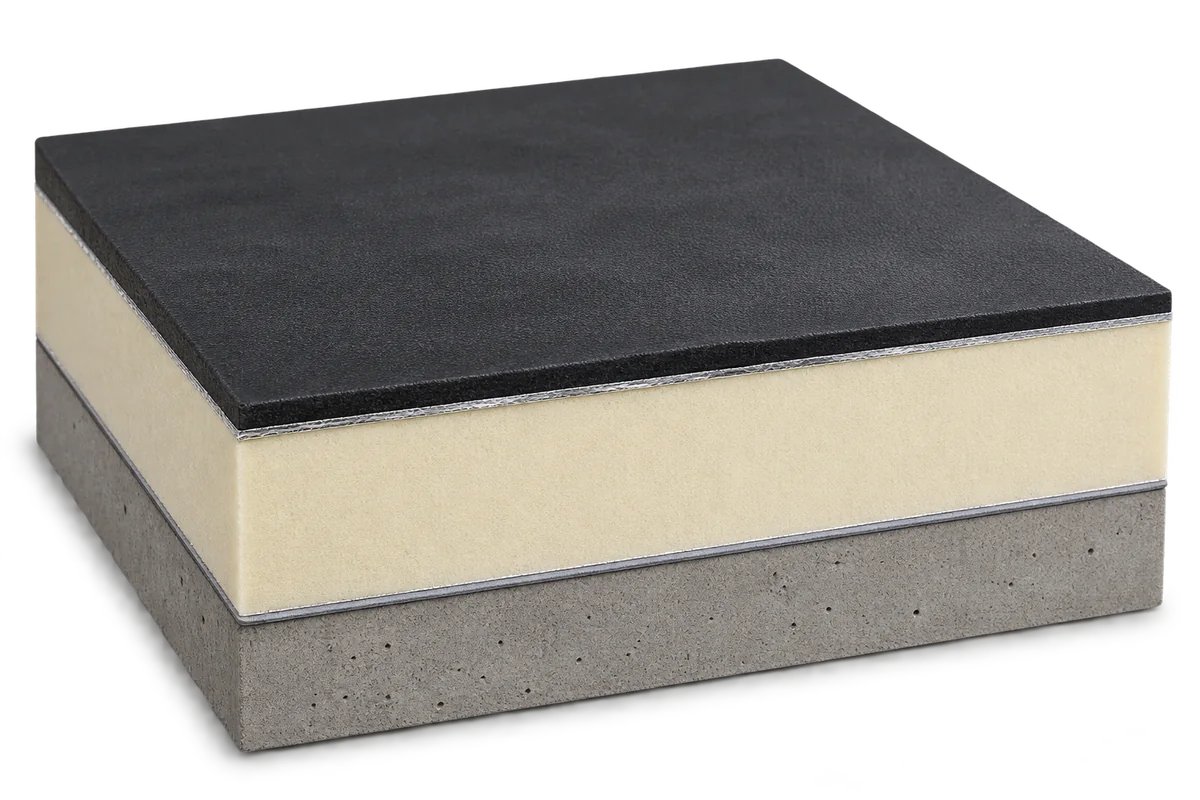
Choose the waterproofing and insulation for a flat roof together. The deck, layer order, fixing method and intended use determine which combinations…
When damp repeatedly appears at home, gather organised observations before choosing a repair. A mark beside a window, a wet corner and…
On a terrace above a heated room, the door threshold alone does not determine how much PIR insulation will fit. The available…
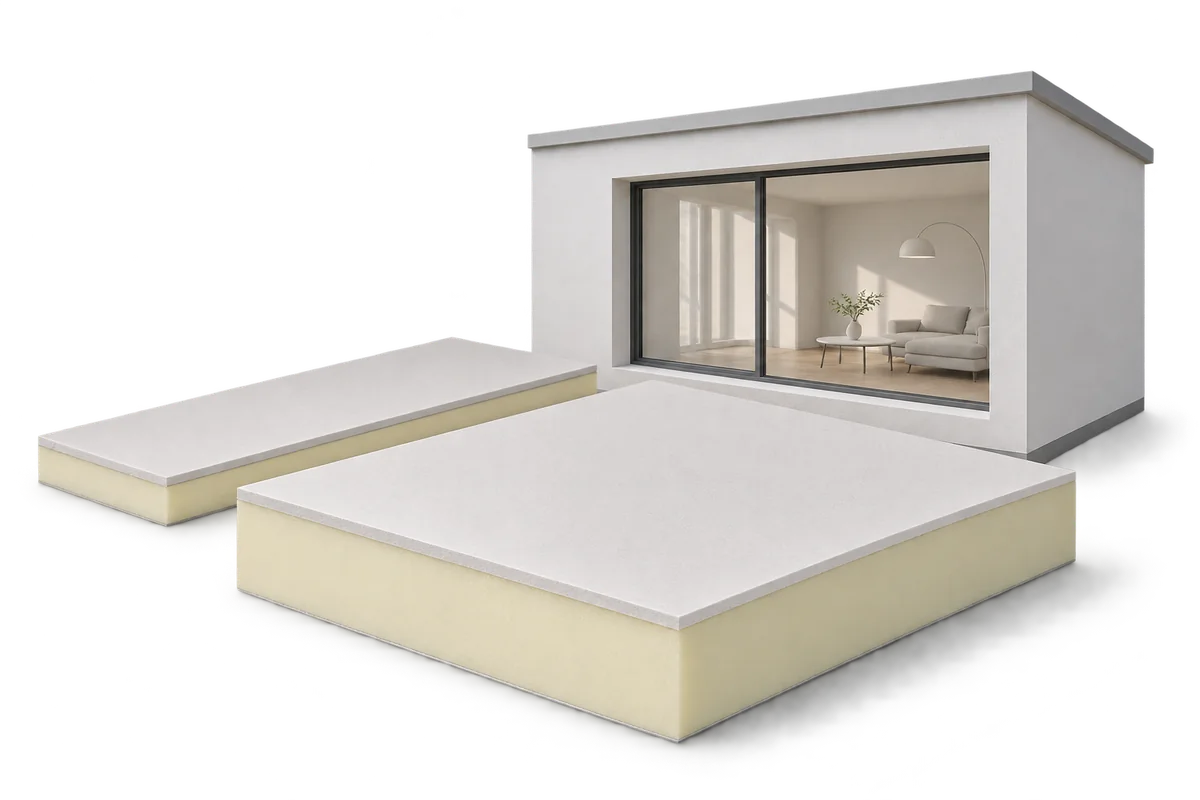
Every centimetre counts when insulating from the inside, particularly in a hallway or under a sloping roof. PIR boards can reduce the…
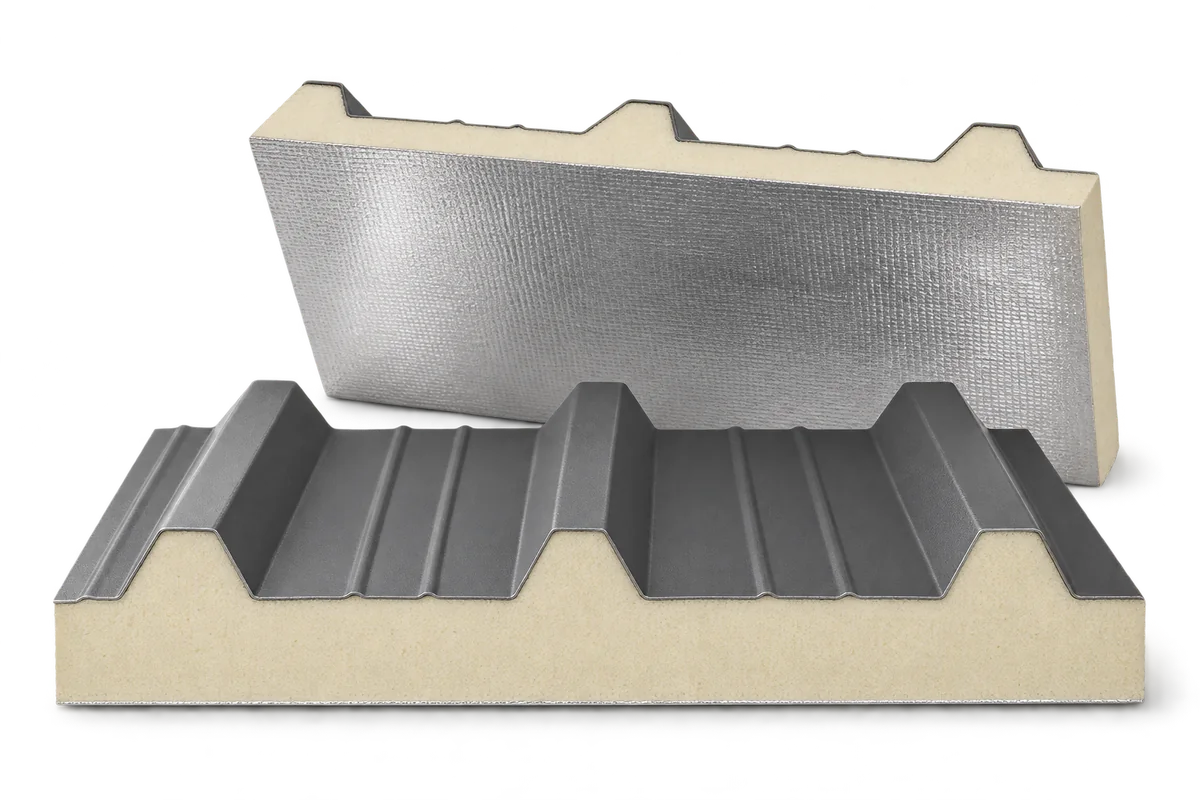
Renovating an old industrial building need not mean replacing it. Sandwich panels can provide a new outer skin and insulate the walls…
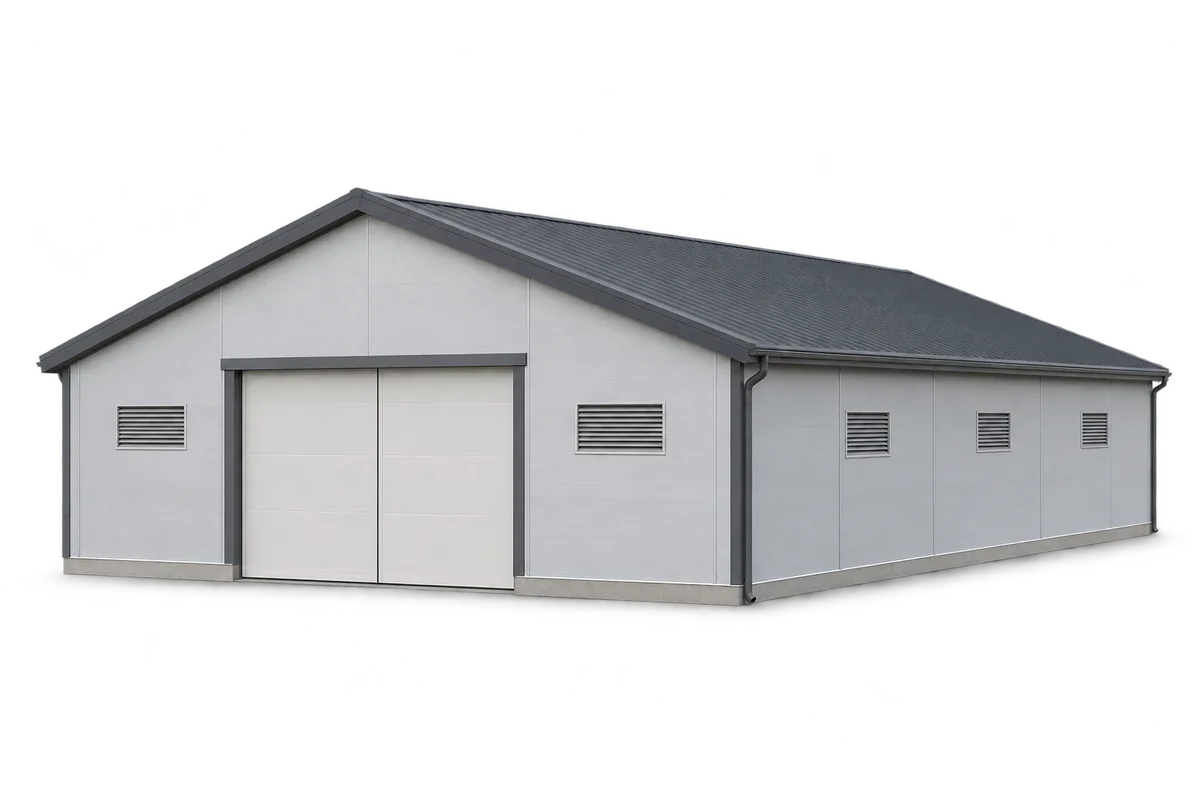
A well-designed pig house keeps conditions suitable for the animals, can be washed efficiently and is straightforward to operate. Insulated walls and…
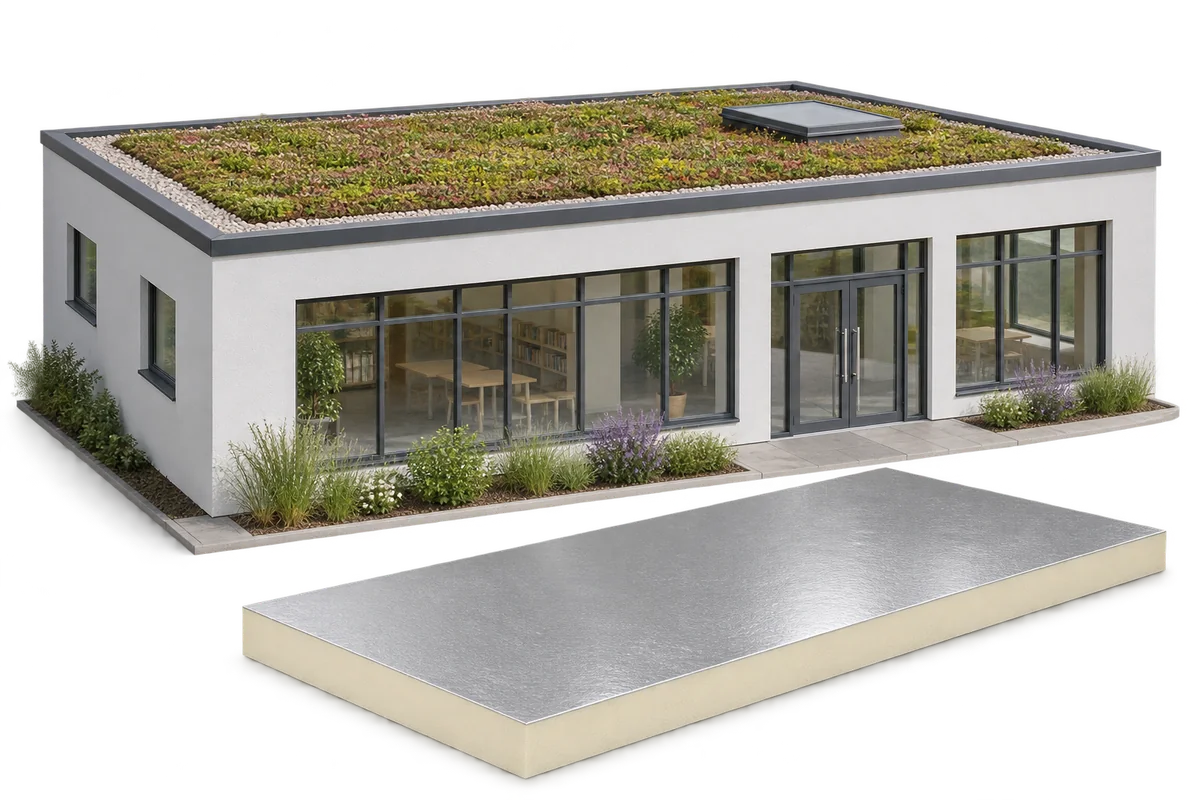
A green roof can form part of a nursery retrofit. The structure must support the full build-up and the insulation must be…