






Installing gutters: plan the complete route from roof to drain
Roof coverings
Gutters work effectively when their size, outlets and eaves position match both the roof and the downstream drainage. Before installation, establish the entire rainwater route rather than just a line for the brackets. This Budowlanka.org guide follows that process from measuring the roof to checking the first rainfall. It covers load-bearing fixings, thermal movement and cleaning access, all of which matter more than matching the gutter colour to the roofing. Falls, support spacing and joint details must follow the selected system and drainage design. Similar diameters do not make components interchangeable. The outlet must remain effective after the façade, paving and garden are finished.
Start with the drainage layout
Mark the roof areas feeding each gutter and the downpipe positions on a sketch. A long run serving a large roof needs a different assessment from a small canopy. Select capacity from system data, not fascia width.
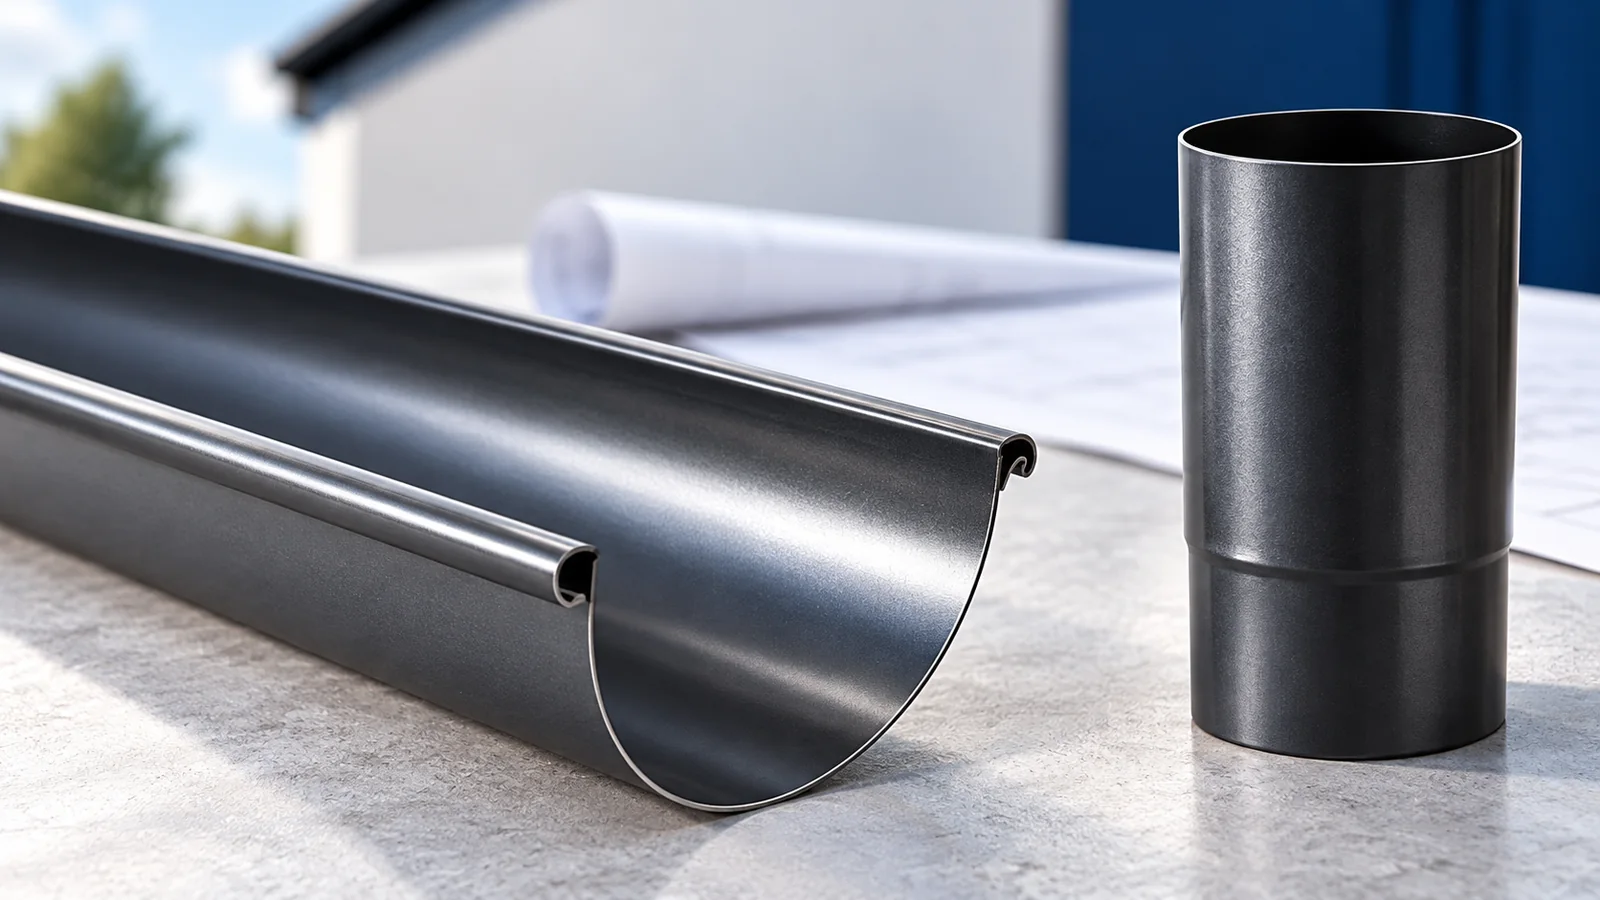
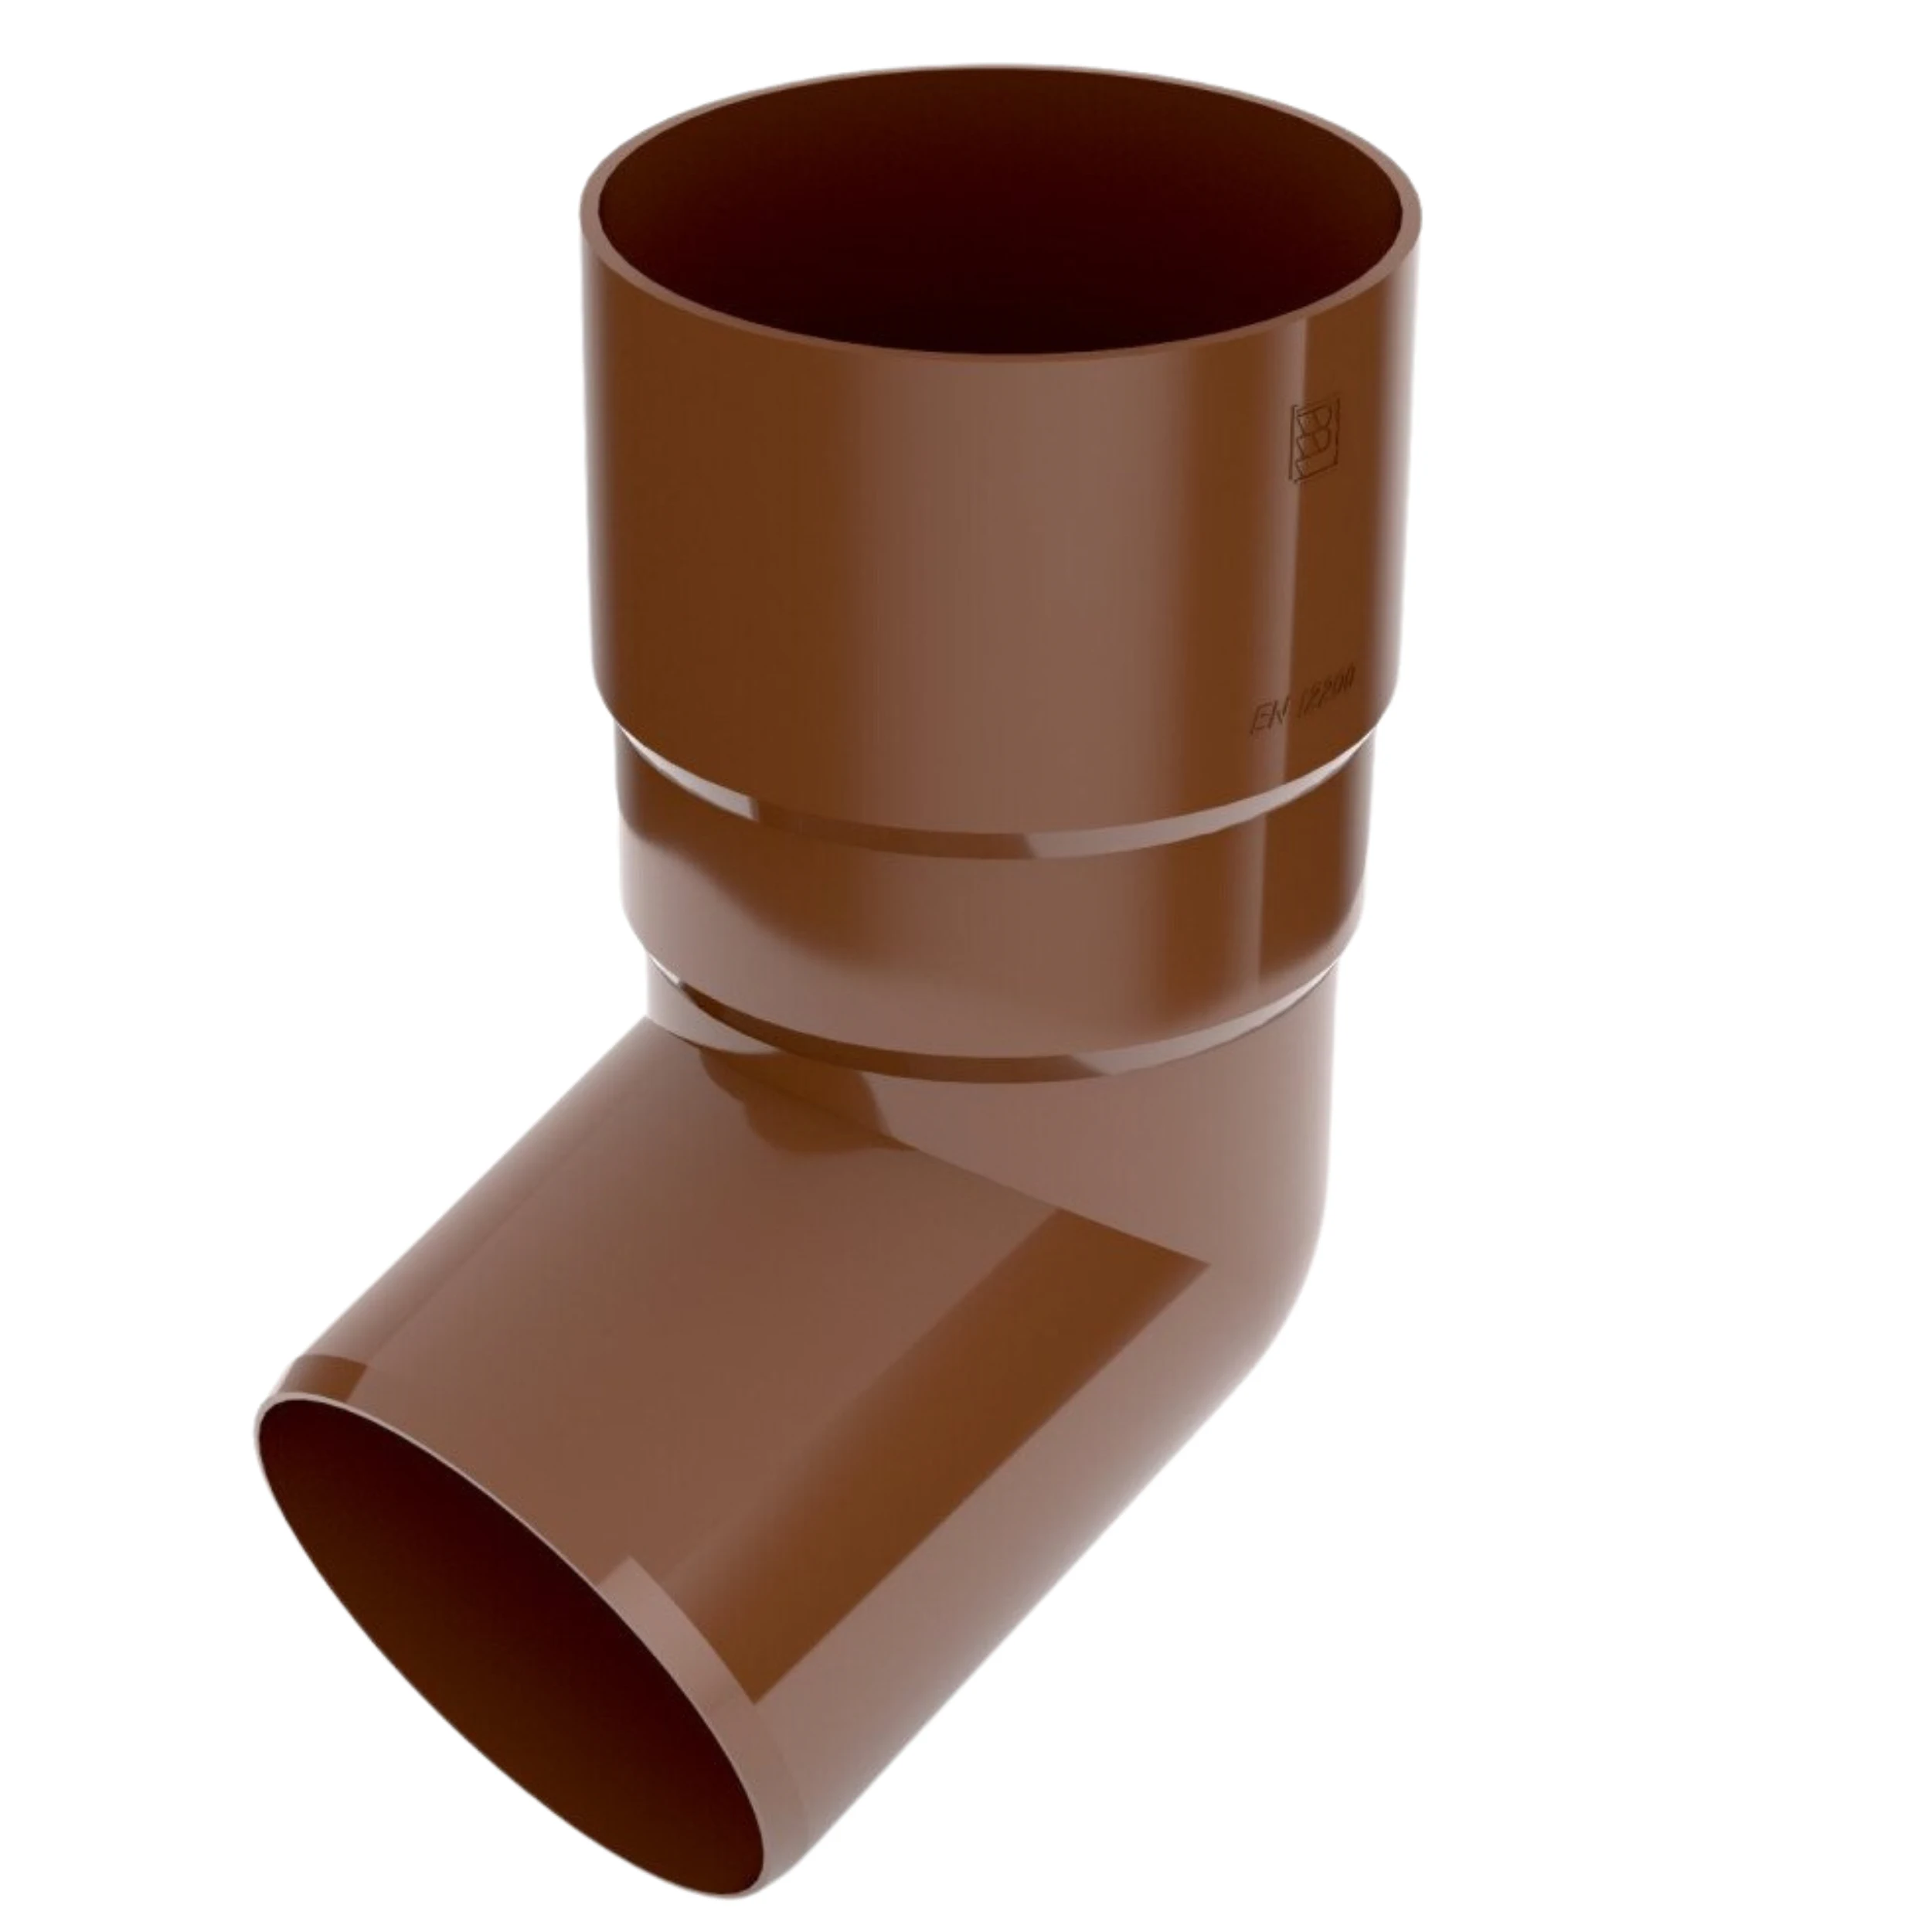
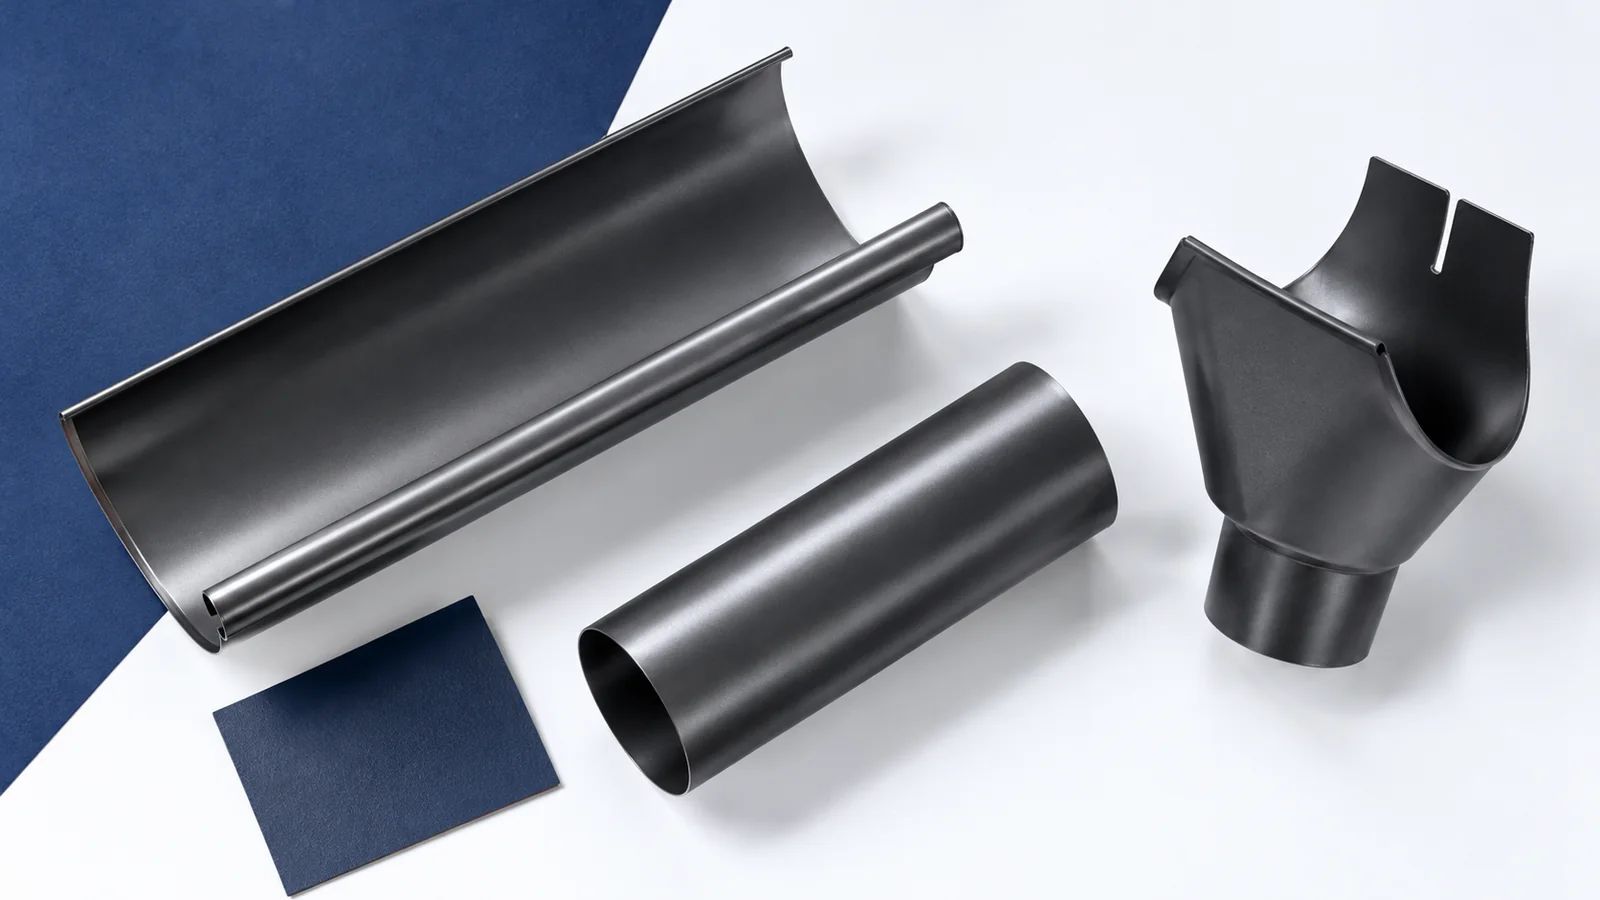
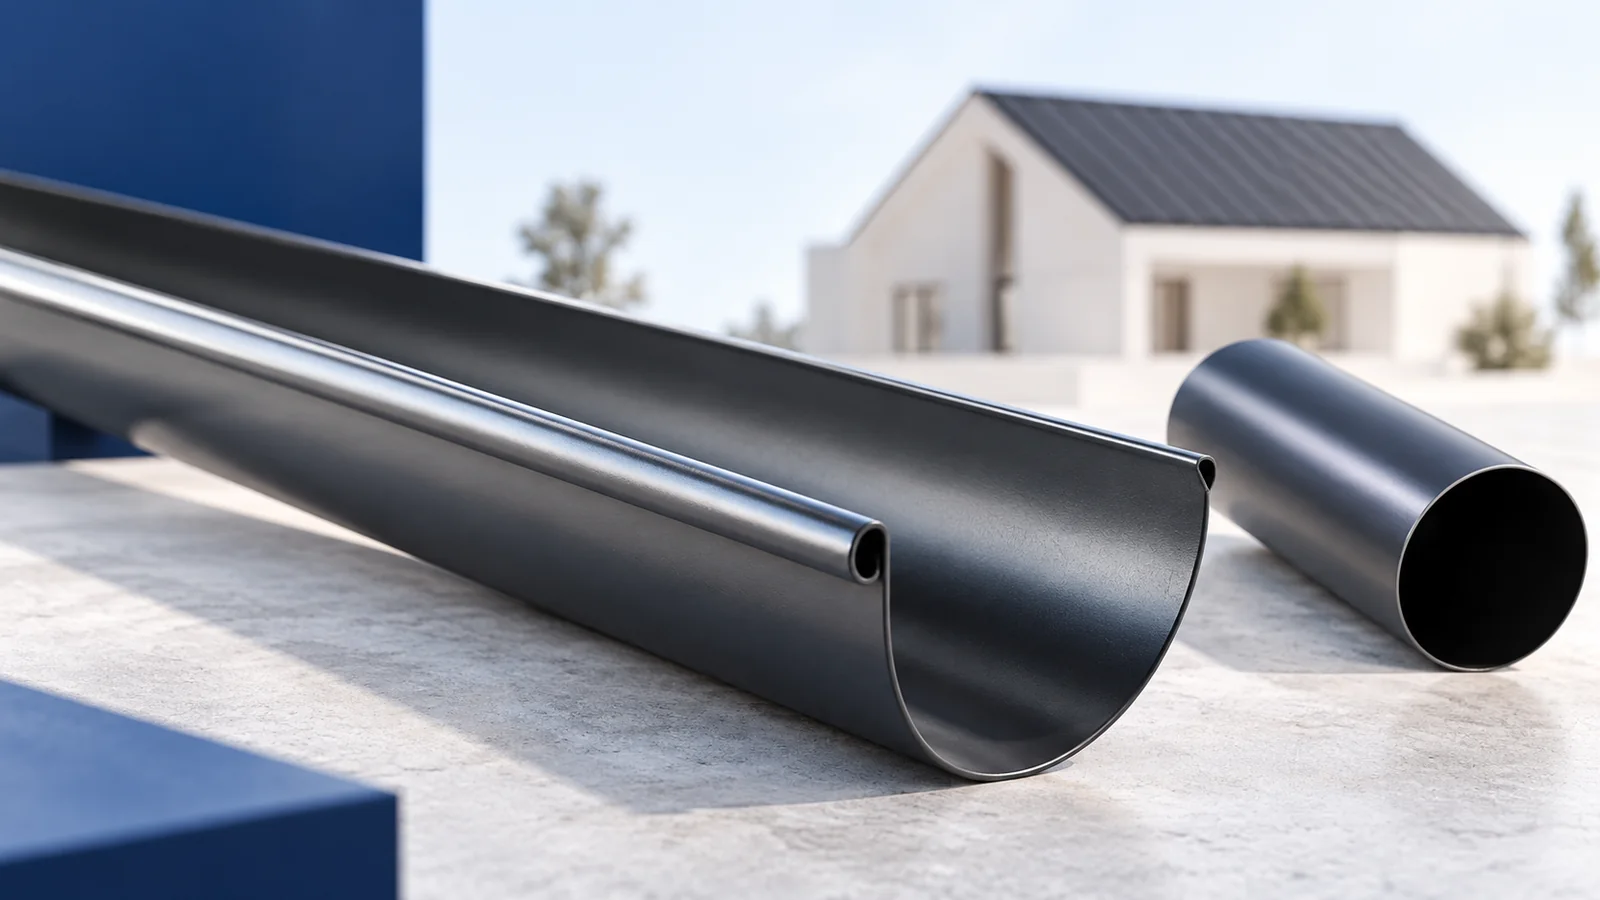
List the material, section, brackets, corners, unions, outlets and stop ends. Manufacturers may use different connections despite similar dimensions. A complete system provides one set of sealing and movement instructions; mixed components make verification harder.
Positioning the gutter at the eaves
Check the gutter against the roofing overhang and eaves flashing in section, not just from the front. Runoff must enter it. Consider sliding snow too: a gutter positioned too high may be more exposed to damage.
Locate the outlets first, then establish bracket heights and the required fall. A long eaves run may drain in two directions. Do not transfer a single fall specification automatically between materials and systems.
Securing brackets and downpipes
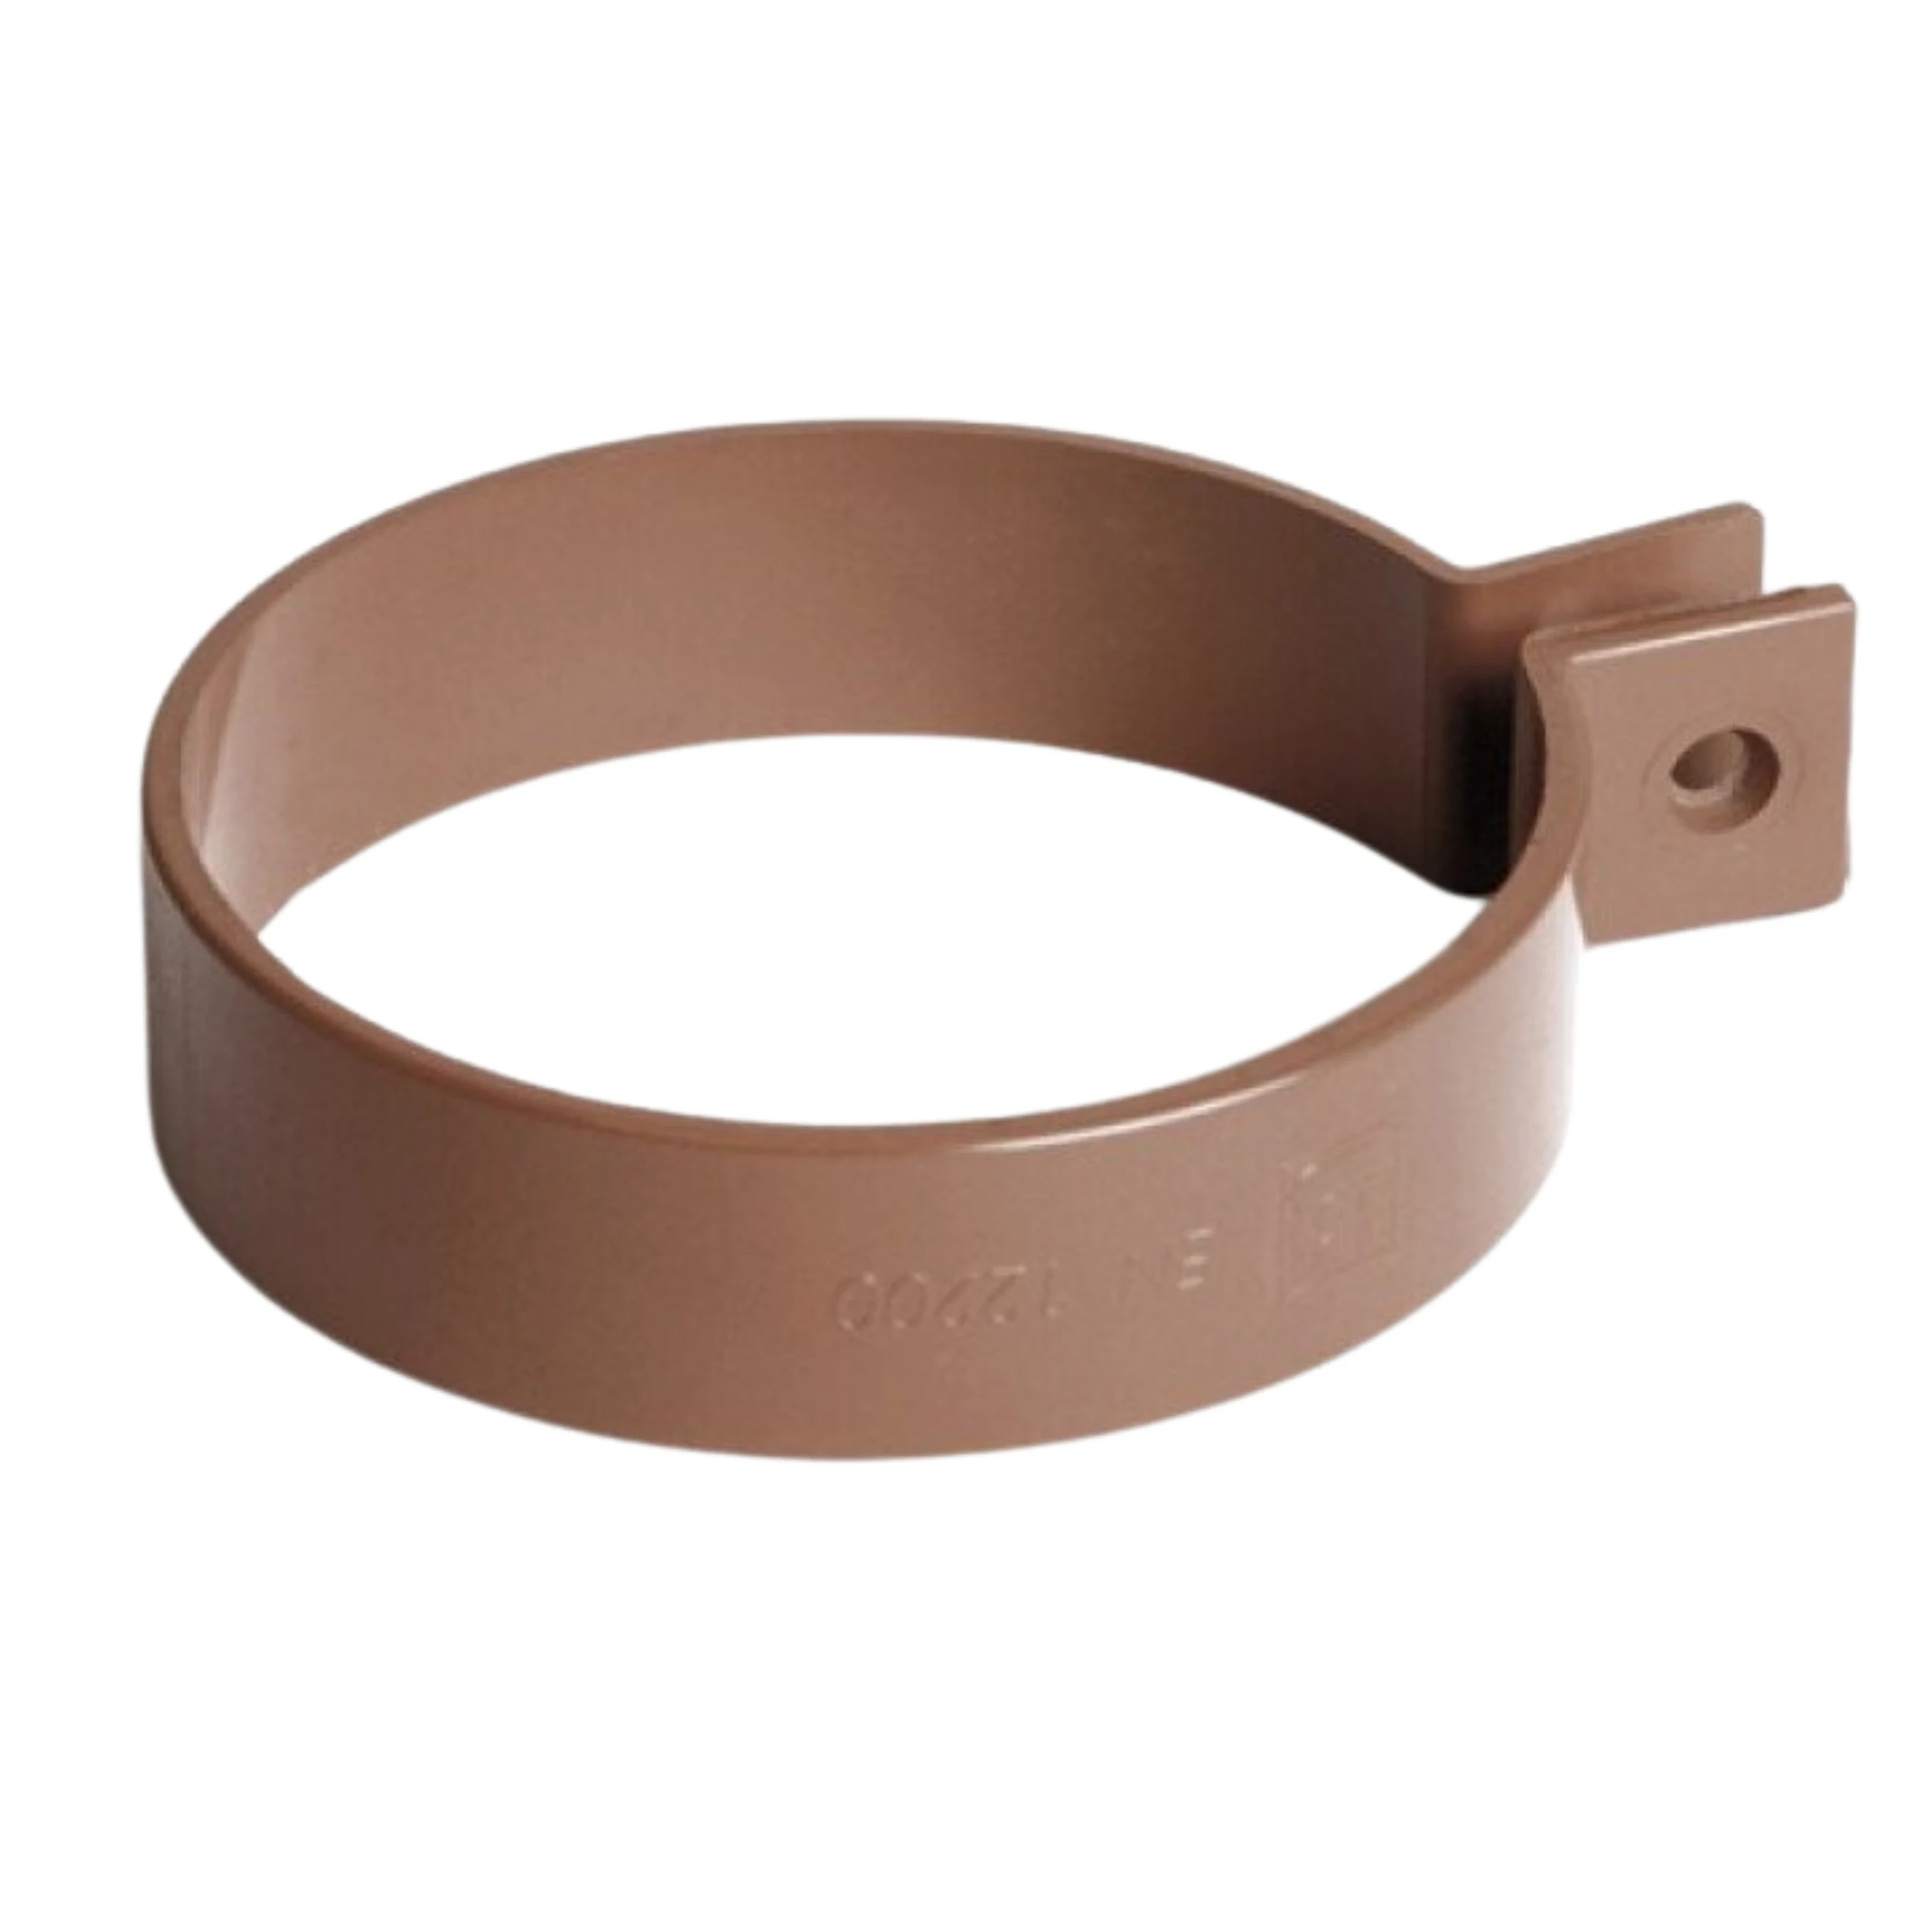
Choose brackets for the intended fixing method and inspect the substrate. Thin decorative cladding is not a structural support. Follow the specified spacing and additional supports near joints rather than distributing brackets solely for visual symmetry.
On insulated walls, downpipe clips need suitable anchoring without crushing the insulation. Check bends against windows, entrances and services. Plan cleaning access and the termination at finished ground level before completing the façade.
Allowing for temperature changes
The intended joints must accommodate length changes in gutters and pipes. Rigid restraint in the wrong place can open a joint or distort the section. Movement provisions depend on both the material and system construction.
Do not glue a gasketed joint intended to slide, or omit adhesive from a bonded system. Check installation temperature, surface preparation and expansion allowances, including the requirements of any sealant being used.
Planning the downstream outlet
Trace the route to the agreed receiving system or suitable infiltration arrangement. Discharge beside the foundation may wet the building surroundings. A nearby existing pipe is not automatically a suitable connection; check the design and site conditions.
Keep gullies and inspection points accessible after paving and planting. A storage tank also needs an overflow arrangement. Adequate gutter capacity cannot compensate for a restriction farther along the drainage route.
Handover and maintenance checks
At handover, check falls, fixings, joints and the eaves-flashing interface. A water test can reveal obvious leaks or ponding but does not reproduce every rainfall condition. Remove construction debris and metal swarf before use.
Cleaning frequency depends on the surroundings, especially trees over the roof. Provide safe access without deforming gutters with a ladder. Inspection should cover the eaves, downpipes and the final discharge point rather than the gutter alone.
After the first substantial rainfall, observe safely and record where overflow occurs. Blockage, positioning or outlet capacity may be responsible. A photograph and rainfall description help the installer diagnose the cause instead of resealing everything speculatively.

Free quote
What to include in your enquiry
Tell us how you plan to use the material, the dimensions and the quantity you need. Include the thickness, grade or variant name, along with the delivery town or your preferred collection branch. For a specific product, add its name or a link to the product page. We will reply to the email address you provide to discuss availability and the terms of your order.
More from the building guide
Before winter, trace the water path from the ridge to the downpipe discharge. From a safe position, note any damp marks after…
A rainwater gully beneath a downpipe should collect larger debris where it can be removed easily. Compatible connections, stable installation and access…

Start an autumn roof inspection from a safe place beside the building during rain. Watch whether water reaches the gutter, where it…
When buying a complete roof, establish where the supplier’s scope ends and the installer’s begins. Structure, substrate, protective layers and covering are…
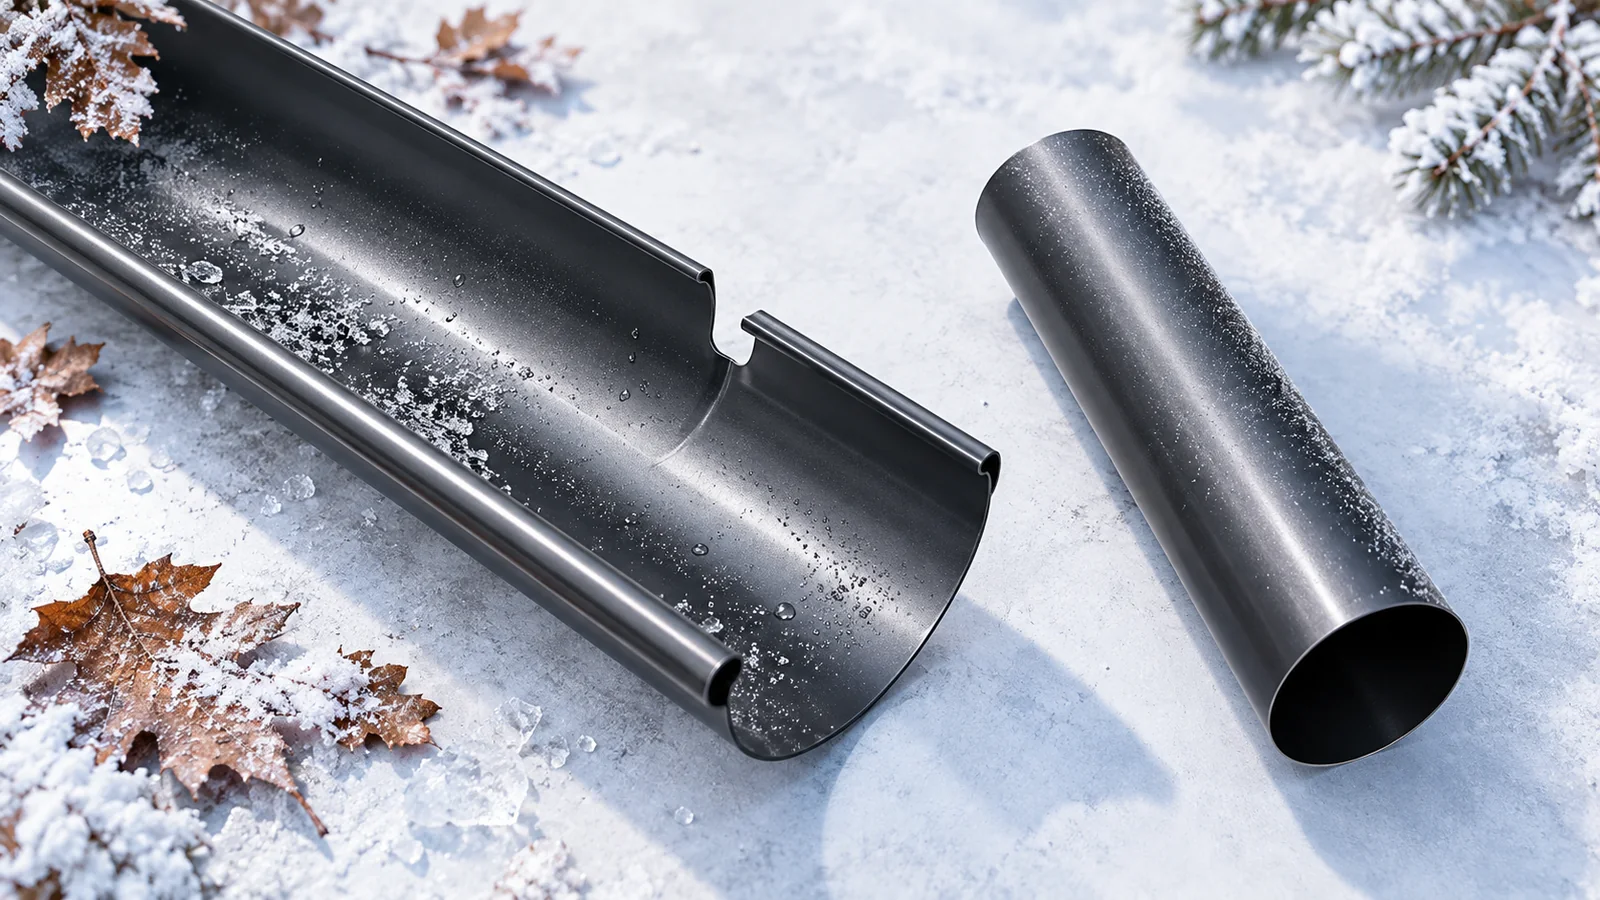
Assess the gutter and its discharge route together. A gutter vacuum can collect dry leaves from the channel, but you still need…

Use the same roof plan to compare square and half-round gutters. Divide the roof into the areas draining to each outlet. Mark…
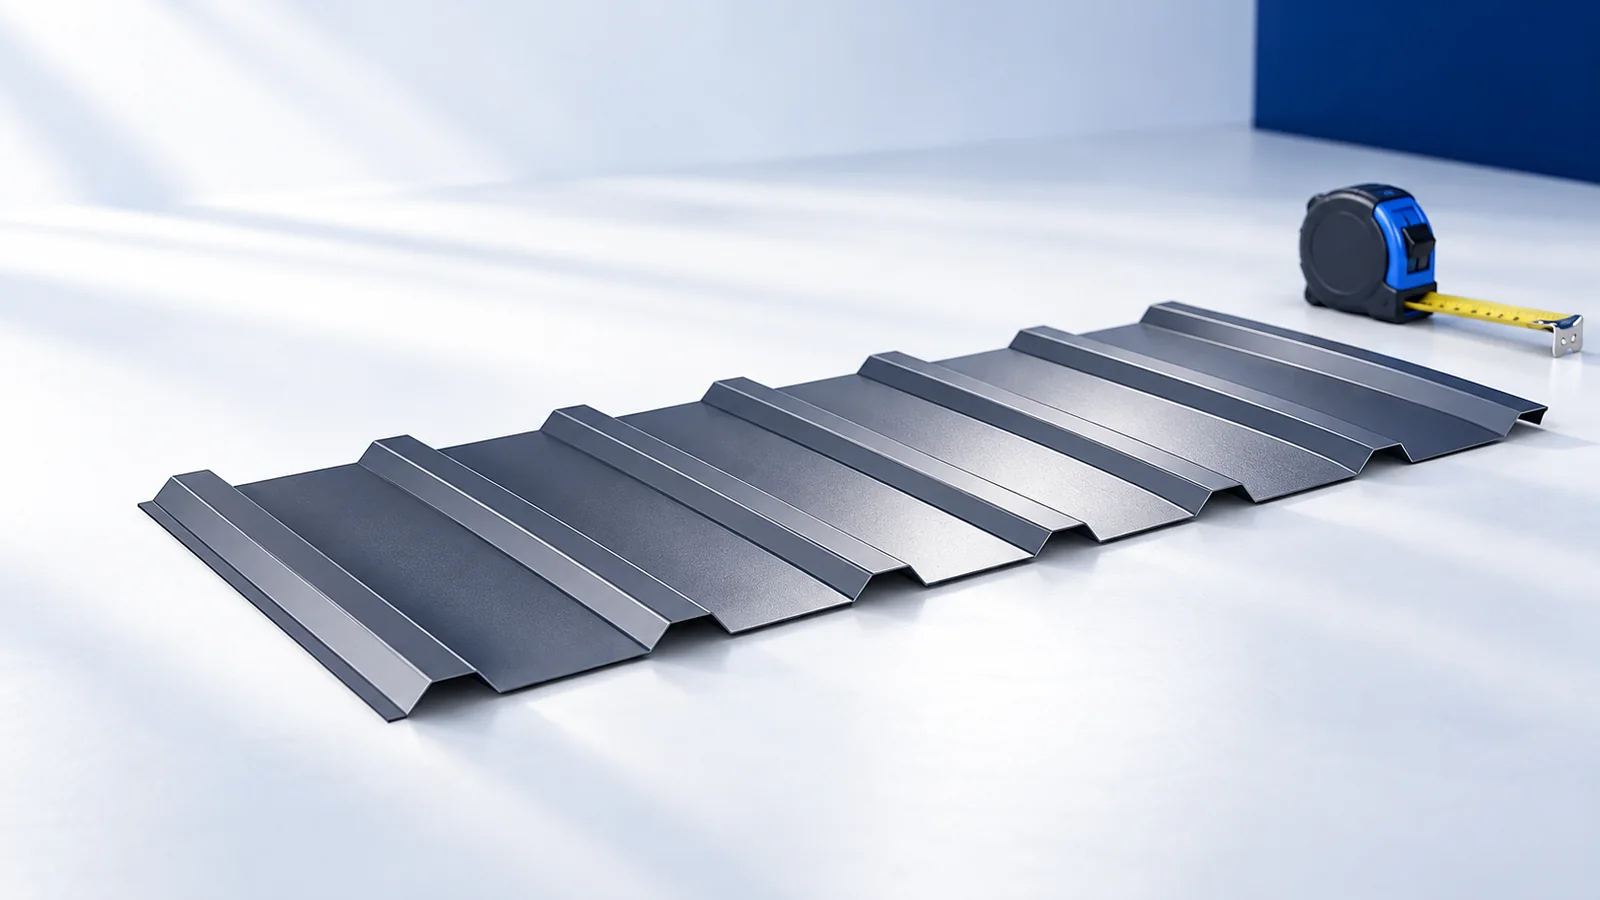
Compare roof shapes for a detached house using a roof plan and a section through the same building. The plan shows eaves…

Start gutter selection for a metal roof with the amount and direction of runoff, then consider shape and colour. Relevant details include…