






Installing a rainwater gully with access for cleaning
Roof coverings
A rainwater gully beneath a downpipe should collect larger debris where it can be removed easily. Compatible connections, stable installation and access to the lid after landscaping determine how useful it will be. This Budowlanka.org guide treats the gully as part of the finished ground level and downstream drainage plan, rather than an accessory added during paving. It explains checks before backfilling and how to distinguish a dirty basket from a problem farther along the pipe. A gully does not enlarge drain capacity or replace site drainage design. Backflow protection and suitability for vehicle traffic must be confirmed for the particular product.
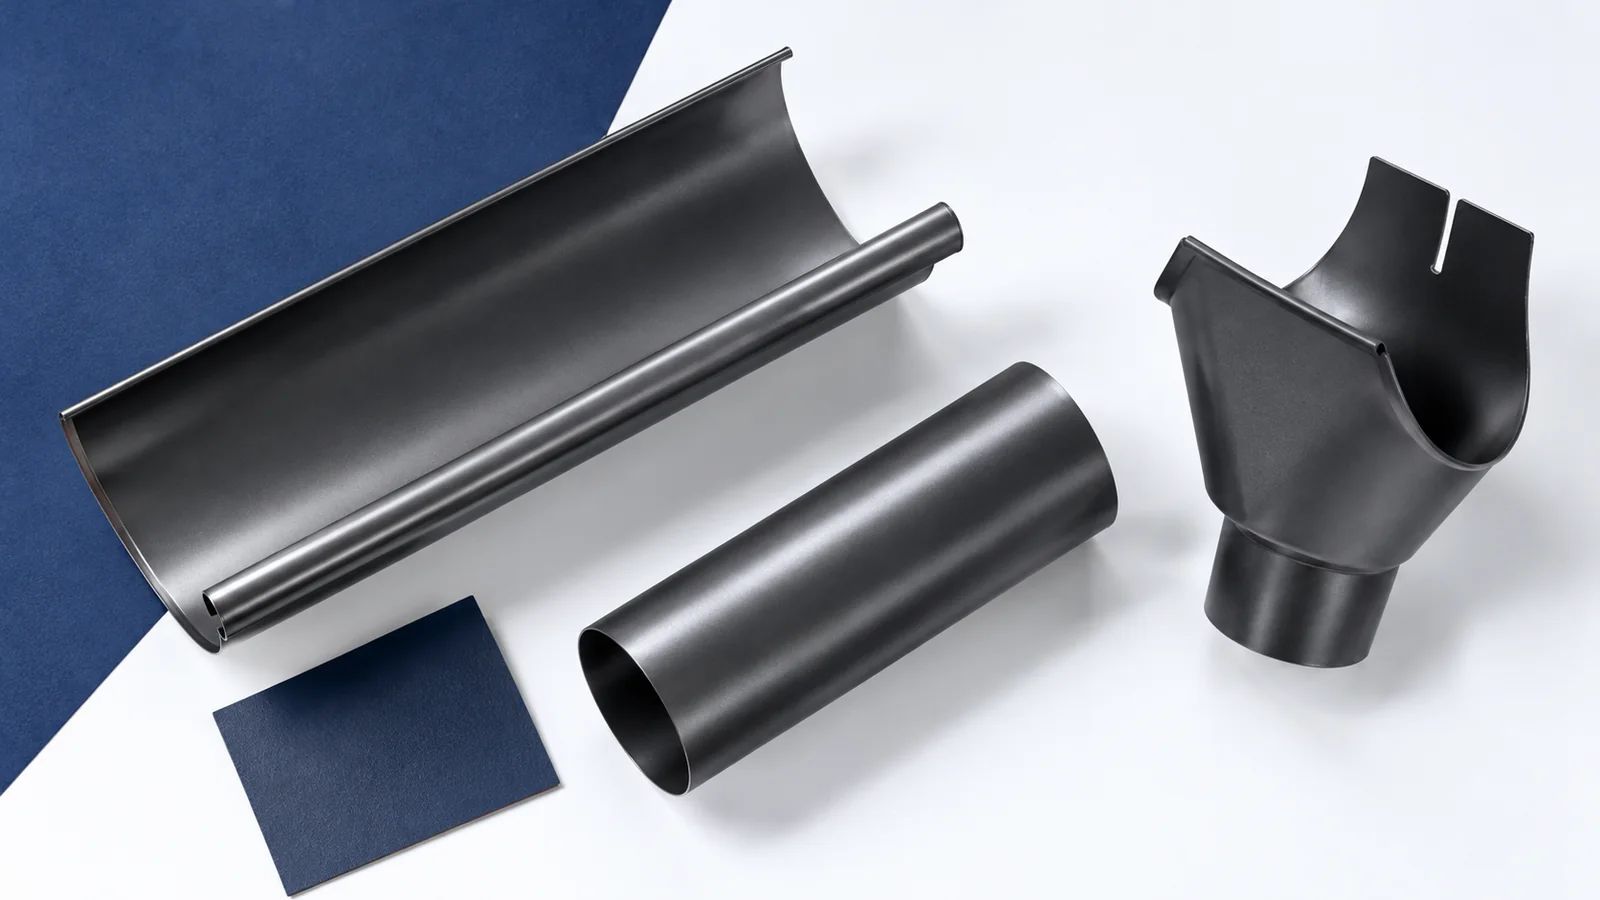
What the gully can and cannot do
Leaves from the gutter should remain in the basket or collecting chamber before reaching downstream pipes. Check how debris is removed when choosing the product. Accumulated material needs cleaning out; flowing water does not make the unit self-cleaning.
Different gullies provide different functions. A basic basket chamber is neither a substitute for every inspection chamber nor assured backflow protection. A blocked or undersized downstream pipe requires assessment beyond the gully itself.
Choosing the installation position
Set the lid position against the finished paving level, not today’s soil surface. Coordinate it with the downpipe and drain route. Future steps or paving can make an initially accessible unit difficult to service.
Check the expected loads on the lid and body. Surrounding a lightweight gully with paving does not make it traffic-rated. Driveways require a suitable product and installation that accounts for settlement and pavement pressure on the body.
Leave room to open the lid and lift the basket out. Planters, posts and steps must not obstruct that movement. Opening the unit without dismantling its surroundings is essential for realistic routine maintenance.
Matching connections and the drain route
Match the inlet to the downpipe or specified adaptor and the outlet to the designed drain. An improvised reducer may create a bottleneck. Check section, fall and receiving capacity throughout the route, not just two mating components.
The rainwater destination must follow the site’s drainage arrangement. Installing a gully does not itself justify connection to a nearby sewer. Storage or infiltration systems also need overflow planning and inspection access after landscaping.
Supporting the body and sealing joints
Prepare bedding and backfill for the body material and ground conditions, following its instructions. Uneven settlement can alter falls or separate joints. Excessive compaction against a lightweight body may deform it.
Use the specified seals and connectors rather than filling gaps with arbitrary foam. Fix the downpipe independently to the building. The gully should not carry the entire vertical pipe or unintended thermal movement from its sections.
Checks before backfilling
Before backfilling, open the installed lid and remove the basket. Check clearance from the wall and future paving, along with falls and joints. Photographs of the open trench preserve the drain route for later investigation.
A water test reveals obvious leaks and ponding but does not prove performance in every storm. Compare the installation with the design and instructions. Recheck lid level and opening clearance after paving is complete.
Keeping the collecting chamber usable
Remove leaves and sediment instead of washing them farther down the pipe. Trees may call for more frequent checks, particularly in autumn. Inspect seals and closure afterwards: the purpose is to take debris out of the system.
Standing water despite a clean basket calls for checking the downstream drain. Repeated trouble may involve blockage, settlement or pipe capacity. Bring route drawings, photographs and overflow conditions to the discussion with the installer.

Free quote
What to include in your enquiry
Tell us how you plan to use the material, the dimensions and the quantity you need. Include the thickness, grade or variant name, along with the delivery town or your preferred collection branch. For a specific product, add its name or a link to the product page. We will reply to the email address you provide to discuss availability and the terms of your order.
More from the building guide
A concealed gutter changes the eaves appearance but must still collect roof runoff and discharge it safely away from the building. Its…
Start gutter selection for a metal roof with the amount and direction of runoff, then consider shape and colour. Relevant details include…
Concealed gutters on a metal roof require drainage to be designed together with the eaves and façade. A fascia cover changes the…
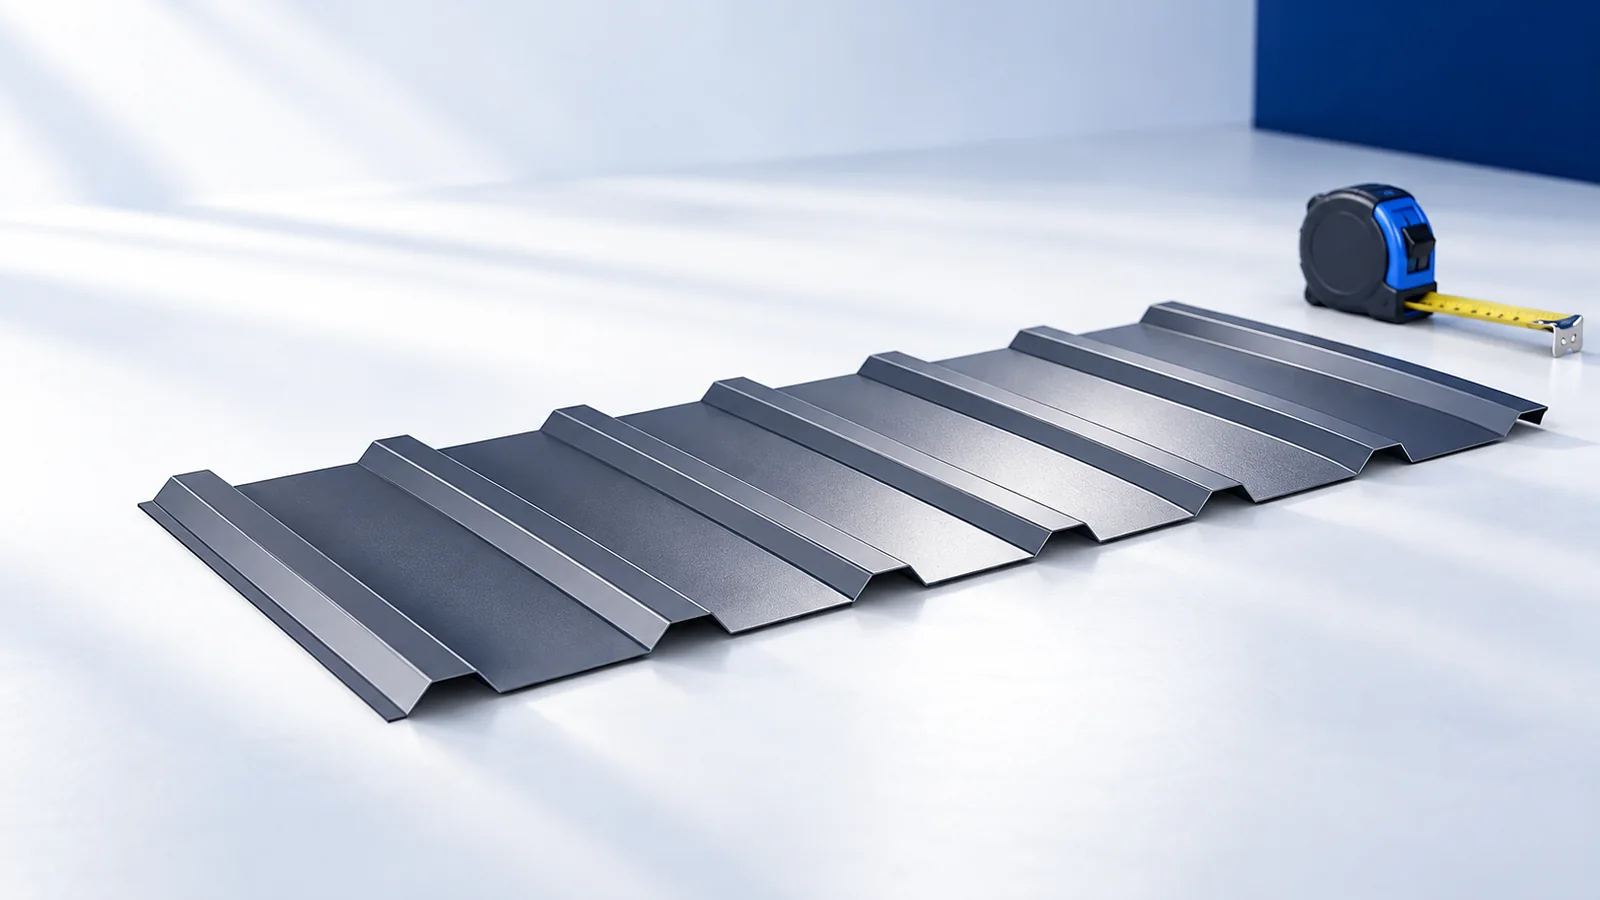
Compare roof shapes for a detached house using a roof plan and a section through the same building. The plan shows eaves…
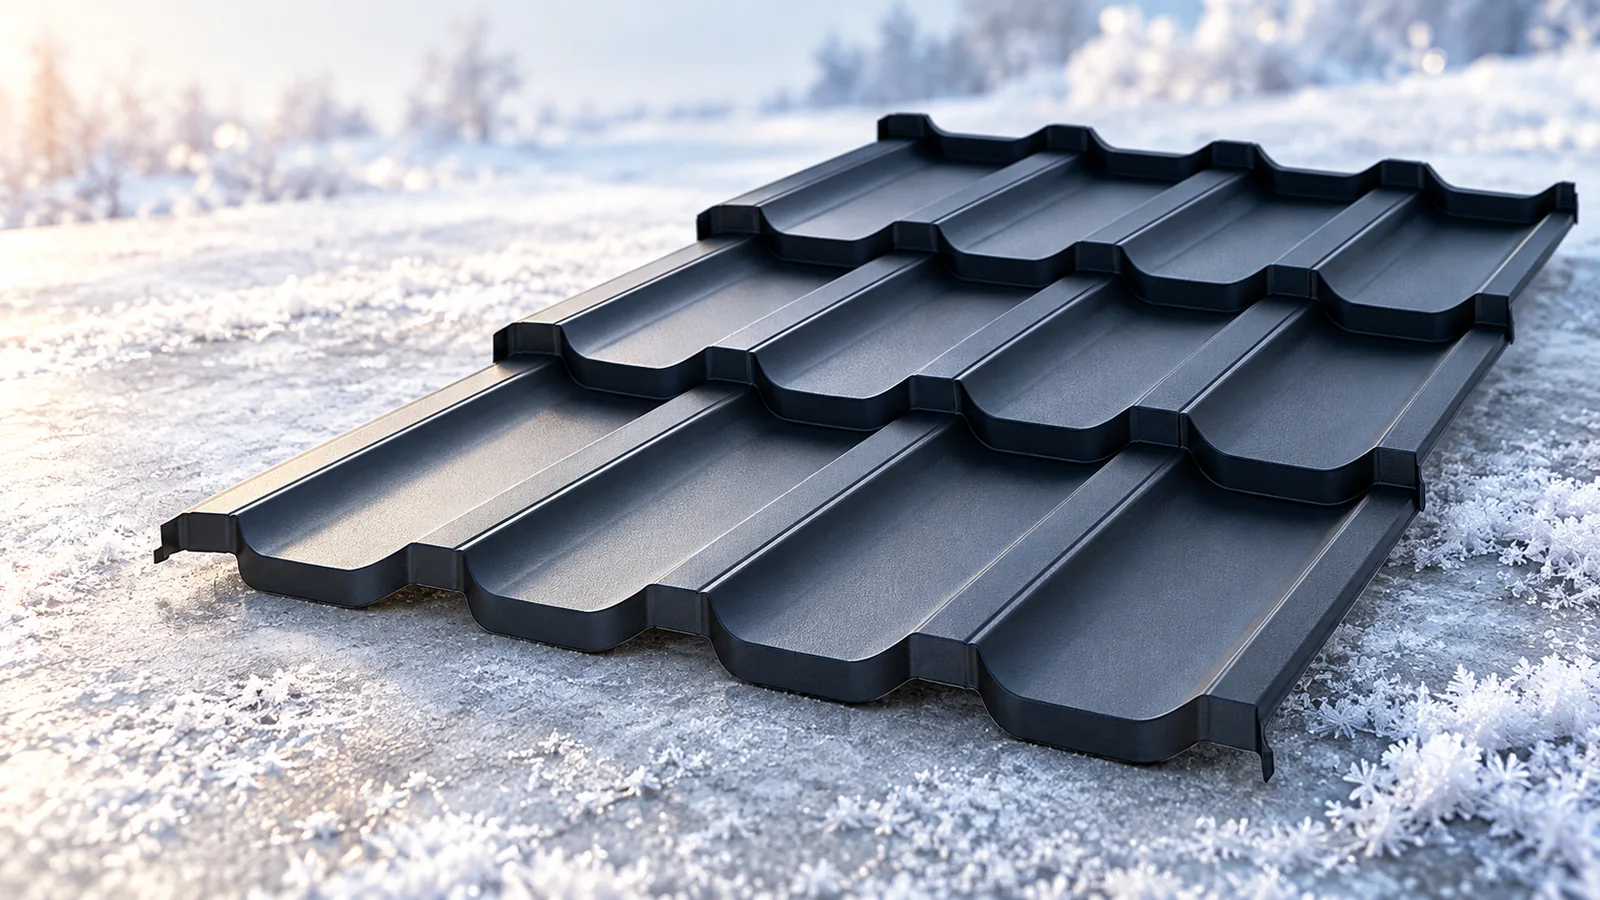
Before winter, trace the water path from the ridge to the downpipe discharge. From a safe position, note any damp marks after…
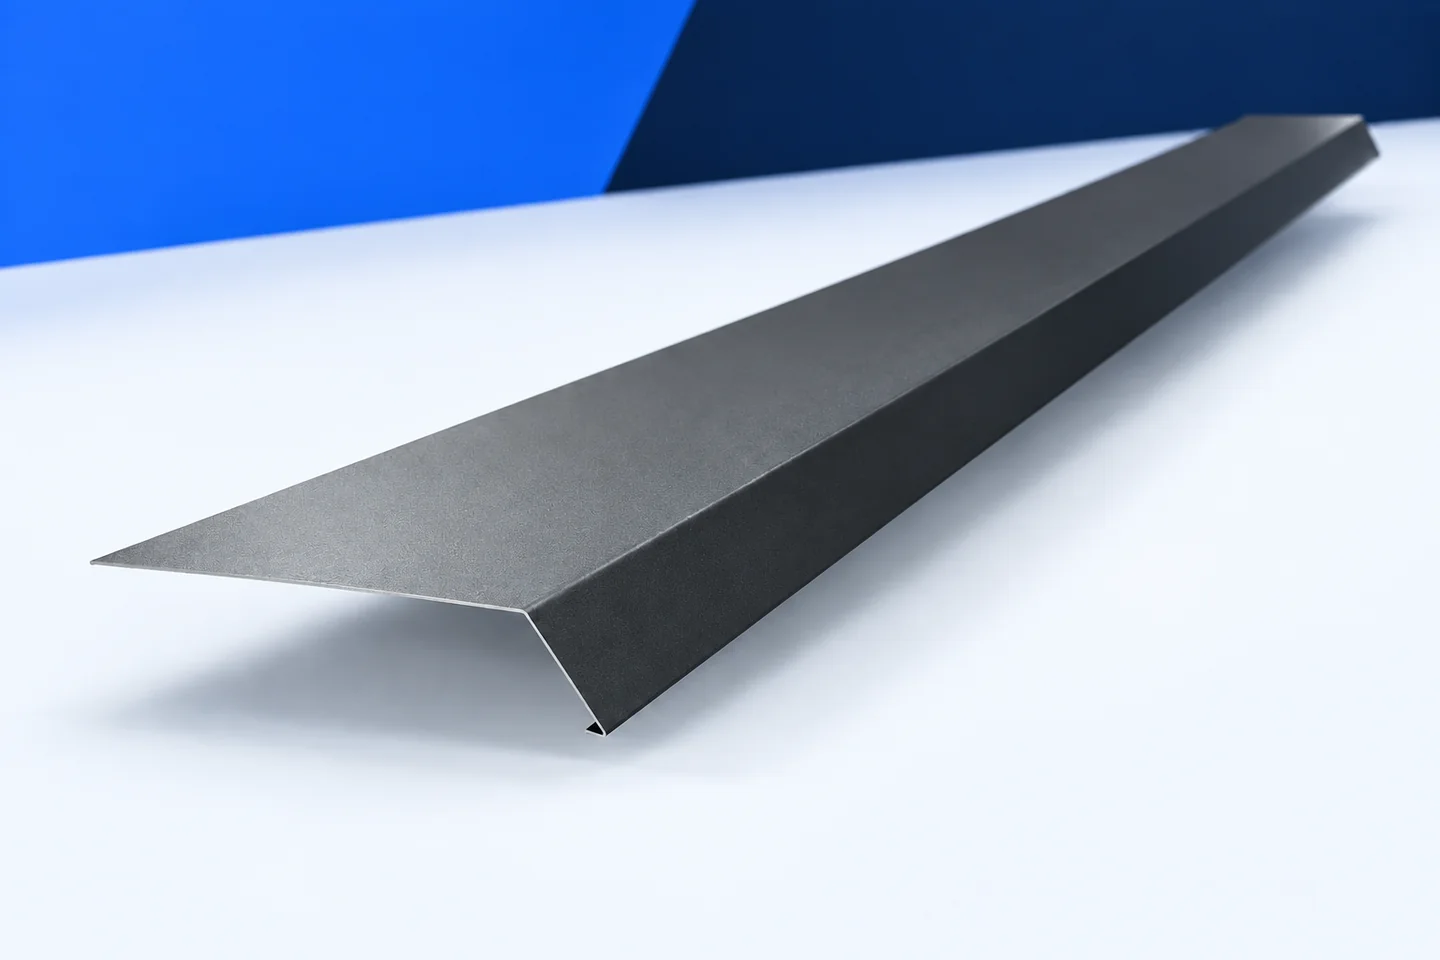
Dark marks below a gutter do not necessarily mean that the gutter leaks. Water can reach the fascia if the roof covering…
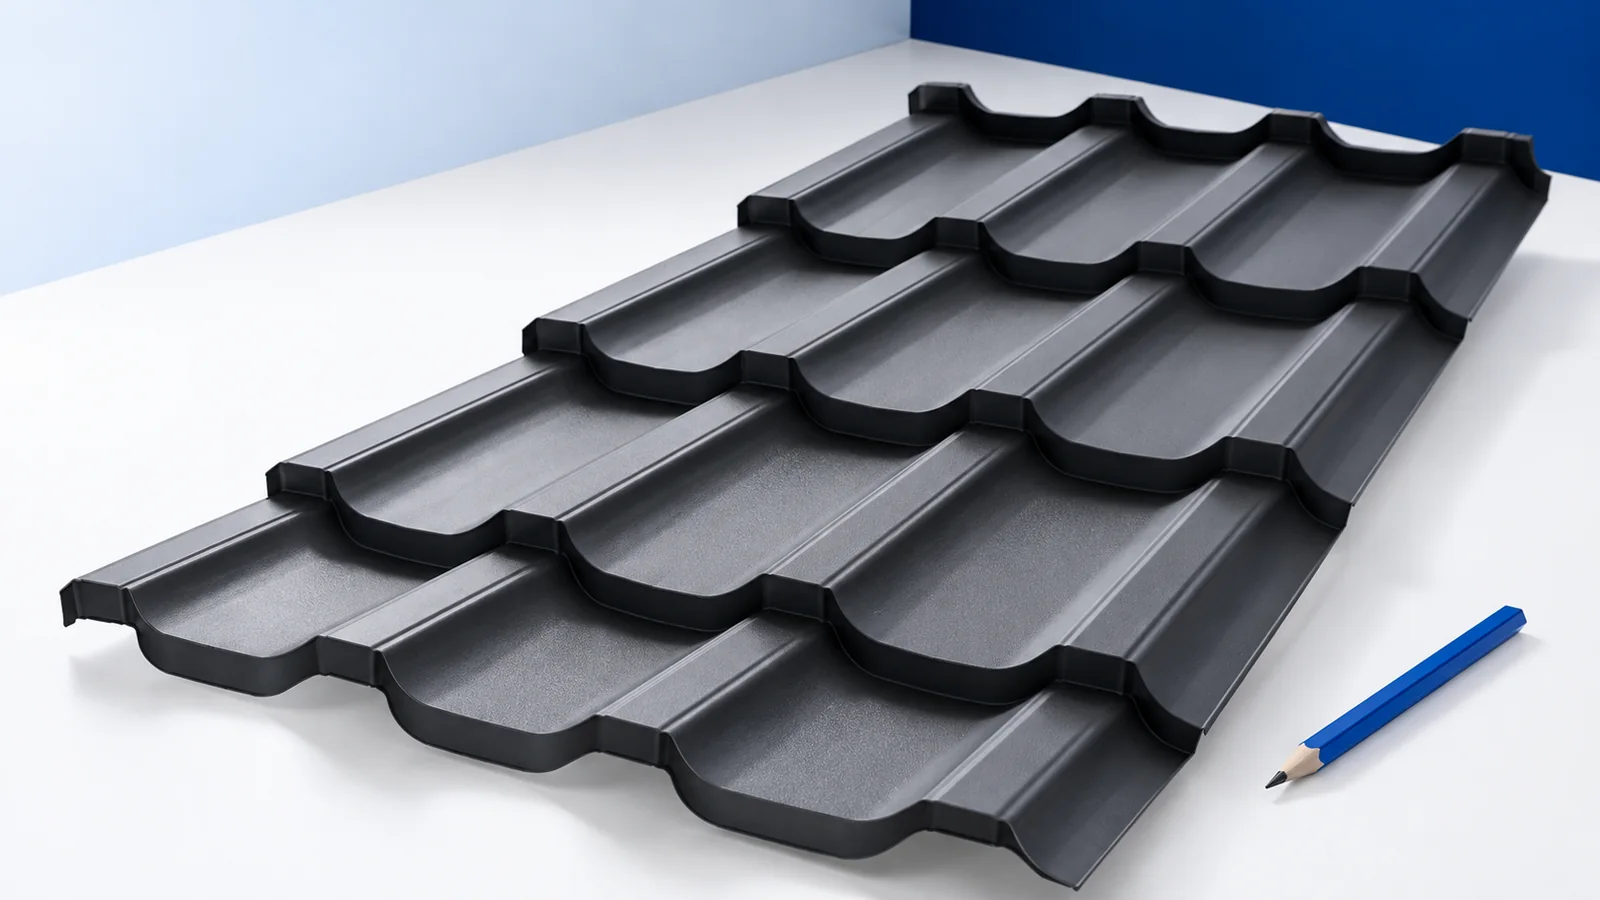
A roof without projecting eaves needs careful coordination of the covering, façade and drainage. A clean outline does not remove the need…
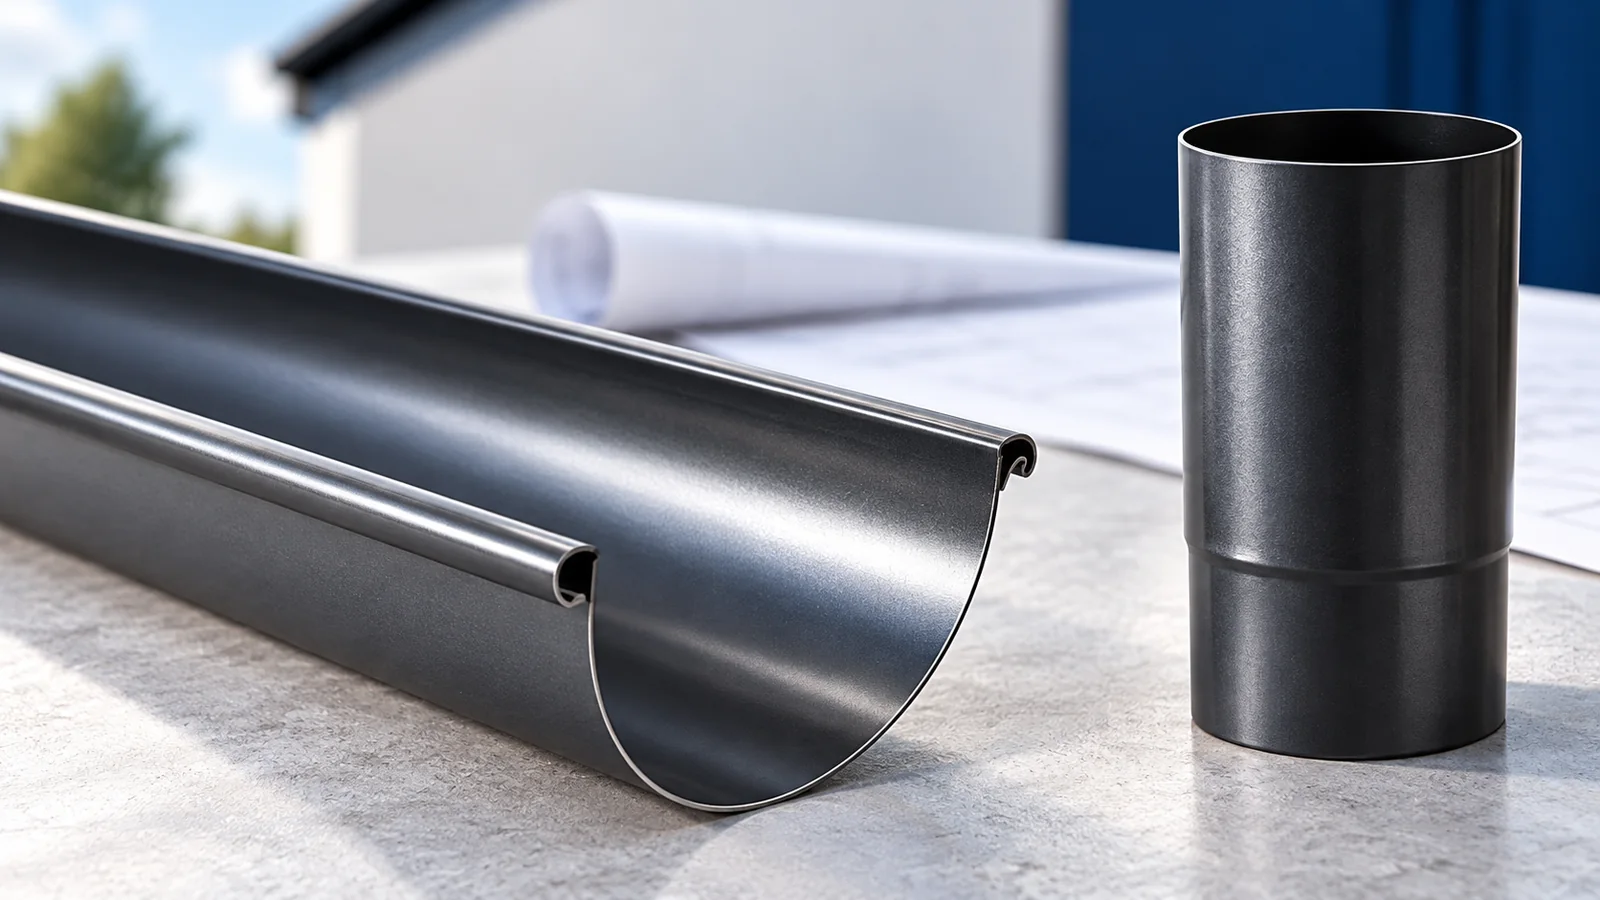
Gutters work effectively when their size, outlets and eaves position match both the roof and the downstream drainage. Before installation, establish the…