Roof sandwich panel installation: checks from delivery to handover
Sandwich panels
Installing roof sandwich panels begins before delivery: agree the supports, laying direction, lifting method and protection during work breaks. Only a prepared structure allows joints, seals and flashings to function correctly. This Budowlanka.org guide follows the checkpoints for delivery, the first panel, fixings and roof edges. It highlights details that become hidden but affect weather resistance and building use. It gives no universal support spacing or screw count because these depend on the product, loads and design. Large panels can close a roof quickly, but handling equipment must suit their dimensions and weight. Planning must also protect people at height and secure materials against wind.
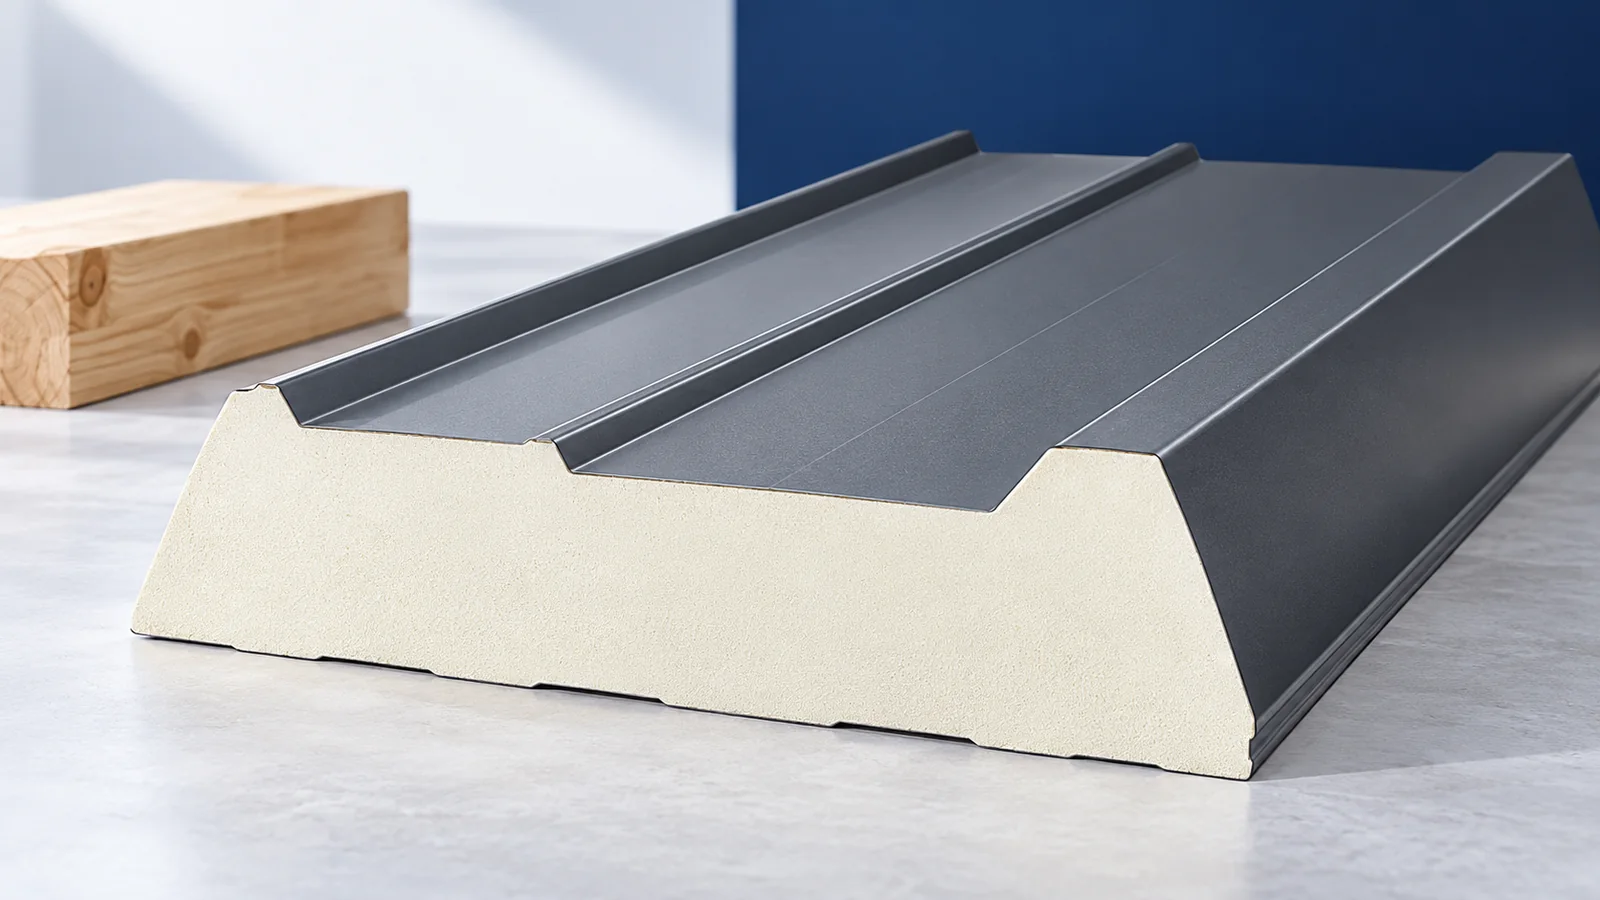
Planning before delivery
Read panel type, thickness, pitch, support spacing and fixings from the design. Coordinate lengths with end-lap positions. Plan rooflights and service openings early; cutting them later may require additional support or affect the assumed capacity.
Check vehicle access, unloading space and lifting reach. Long panels respond to wind and inadequate support differently from short sheets. Equipment selection and protection of personnel must not rely solely on experience with another roof covering.
Plan how each shift will end. Unfinished joints and open edges may need rain protection. Secure loose panels against gusts; stopping work does not remove the need to protect the material and incomplete roof.
Receiving panels and inspecting supports
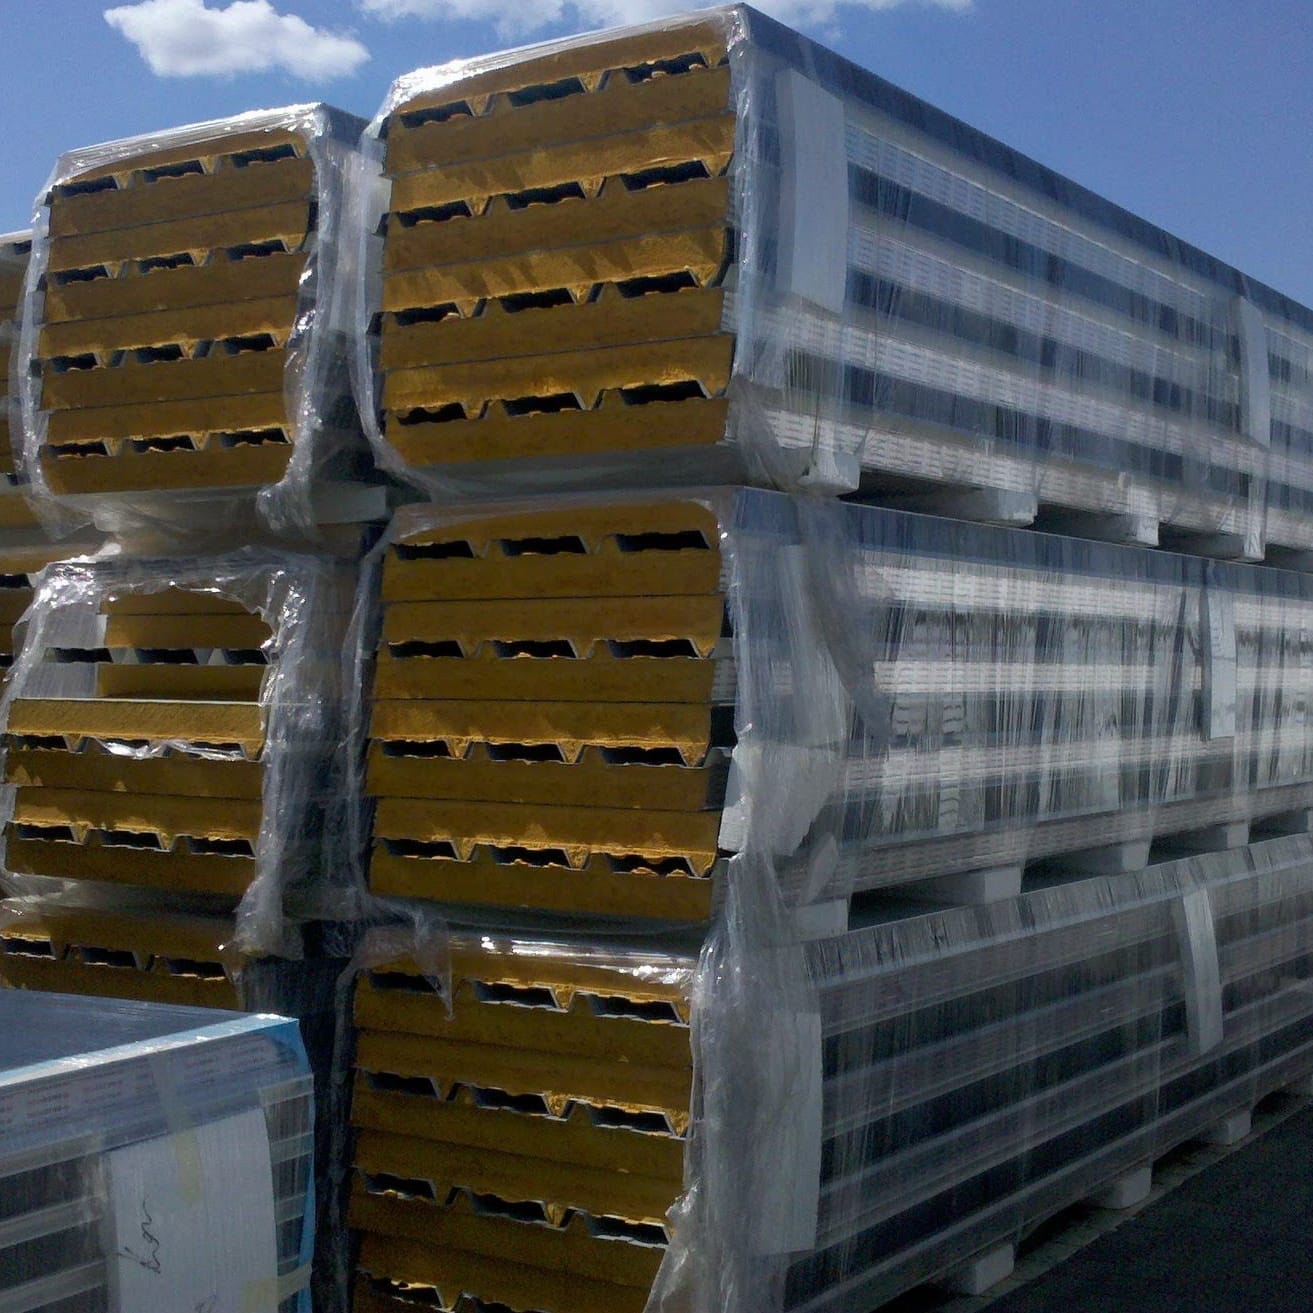
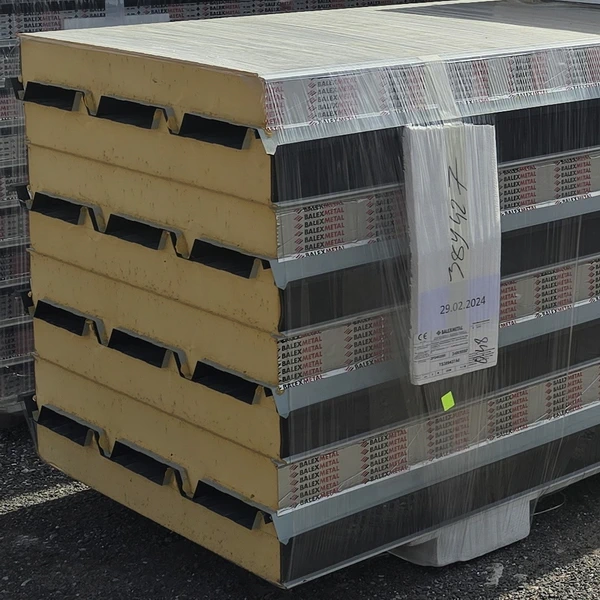
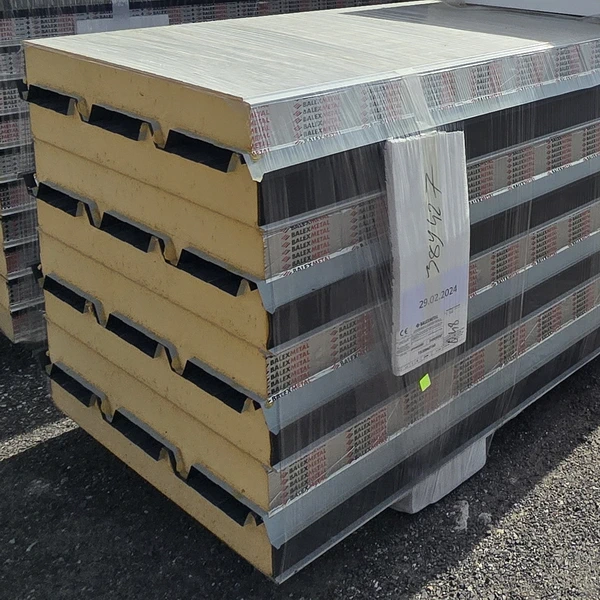
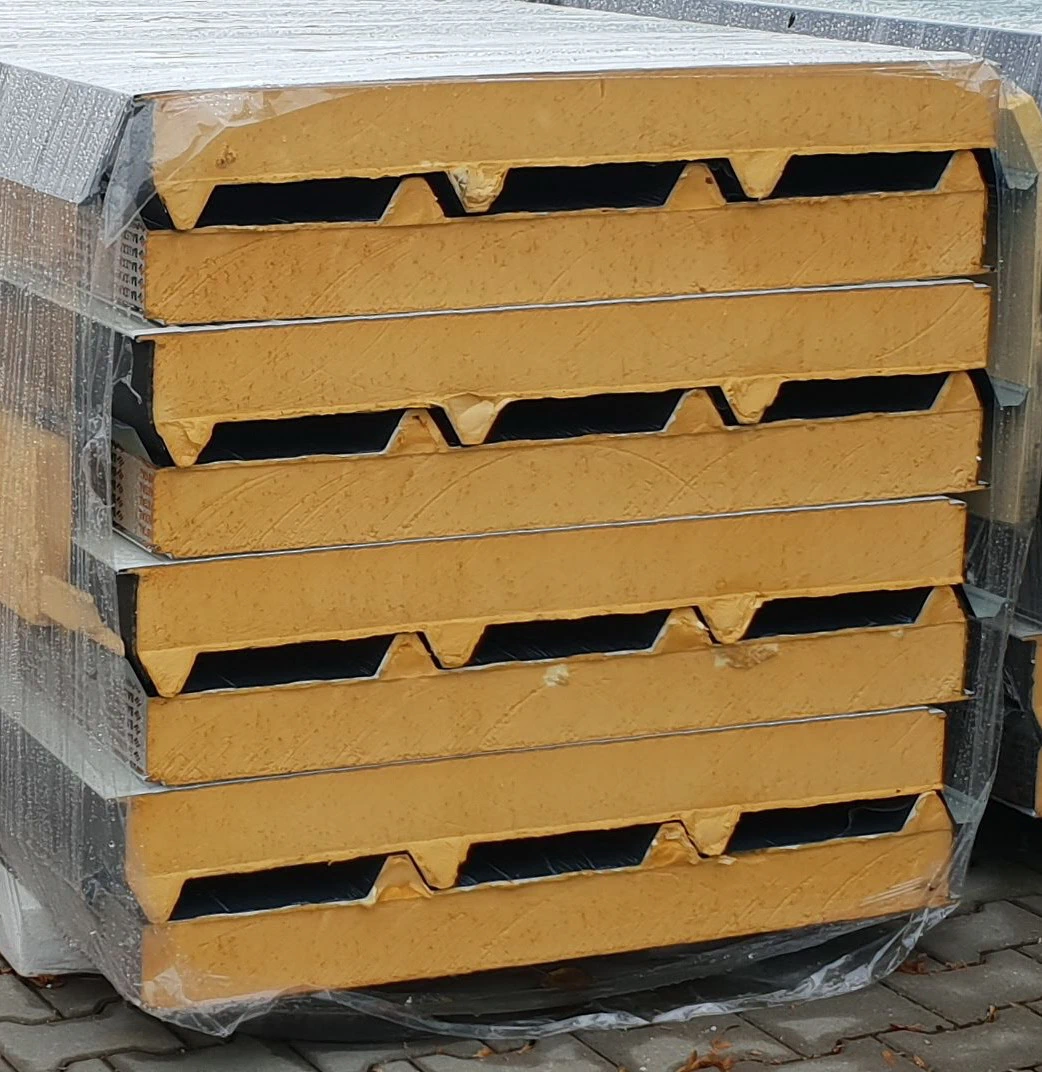
Inspect packaging, corners and joint geometry as well as the middle of the facing. A damaged joint may prevent correct closure. Store panels against moisture and deformation as instructed; protective film has a limited permitted retention period.
Check support width, spacing and alignment in one plane. Do not compensate for a distorted structure by forcing panels down with screws. Verify supports for flashings and penetrations before roofing makes additions difficult.
Laying the first panel and closing joints
The first panel establishes the alignment of those following it. Coordinate its position with the eaves and the joint’s specified assembly direction. Check deviations continuously. Cutting away joint components or forcing damaged edges together is not an acceptable shortcut.
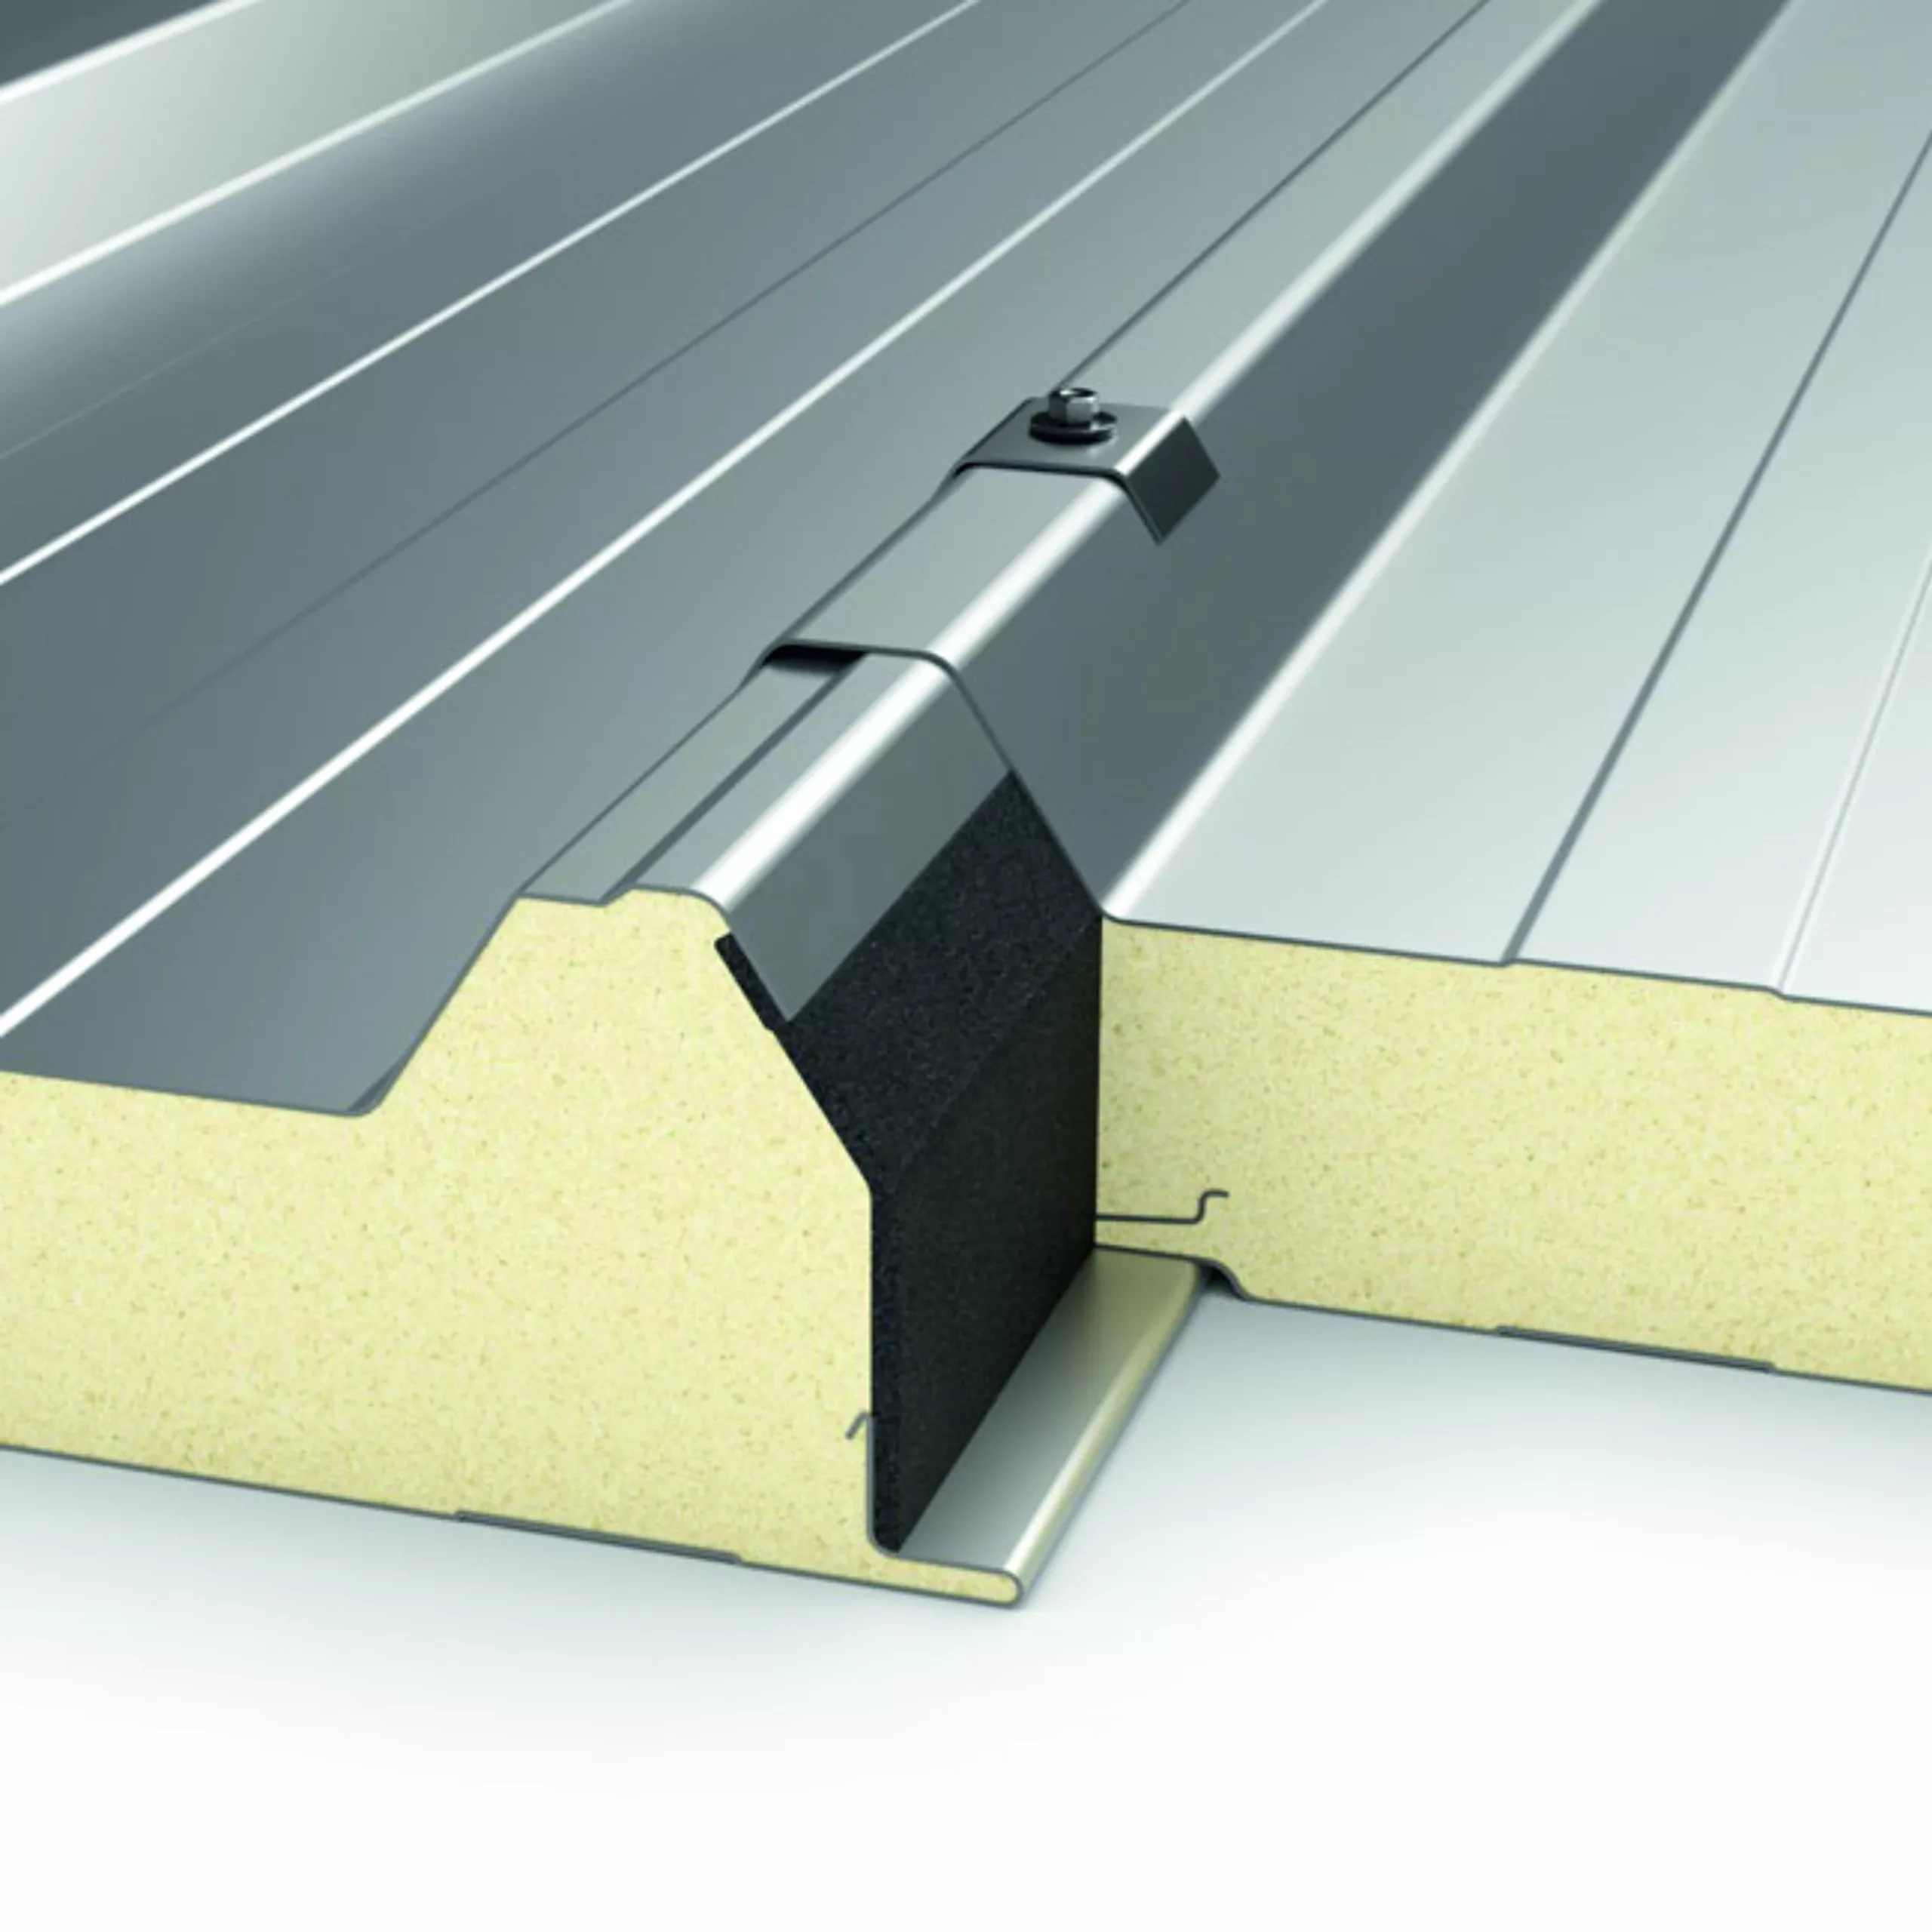
Distinguish factory seals from site-applied sealing. A visually closed joint does not prove water or air tightness. In heated buildings, maintain continuity of the internal seal and prepare connection surfaces free of contamination and unwanted moisture.
Fixings and end laps
Select fasteners for panel thickness and the substrate’s material and thickness. The design determines their number and positions. Use specified washers or load-spreading components. Excessive tightening can distort the facing and locally crush the core.
An end lap requires prepared panel ends, suitable support and seals. Its length depends on the system and pitch; lapped roofs may need a greater pitch than uninterrupted panels. Order the required preparation rather than improvising cuts on site.
Completing eaves, ridge and openings
Flashings protect the core and direct water away from joints. They must fit the actual profile and the eaves and upper roof termination. Do not automatically substitute details from a ventilated battened roof for a roof sandwich panel system.
Equipment and penetrations may require separate framing; panels are not arbitrary supports for heavy plant. Cut with approved tools without overheating facings, remove swarf and protect edges as specified. Sealant cannot replace properly fitted flashing.
Final inspection and records
Inspect joints, laps, fixings, coatings, wall interfaces and drainage. Check details before flashings conceal them. Remove film in the manufacturer’s specified sequence and time, together with swarf, seal offcuts and other debris.
Keep photographs, panel and fastener specifications and approved design changes. Establish roof access and inspection arrangements. A completed roof is not an unrestricted storage platform for heavy packs; efficient installation depends on preparation, not ignoring those limits.

Free quote
What to include in your enquiry
Tell us how you plan to use the material, the dimensions and the quantity you need. Include the thickness, grade or variant name, along with the delivery town or your preferred collection branch. For a specific product, add its name or a link to the product page. We will reply to the email address you provide to discuss availability and the terms of your order.
More from the building guide

Supplier reviews can help assess service, but they do not replace checking the material being purchased. Separate product quality from transport, advice…
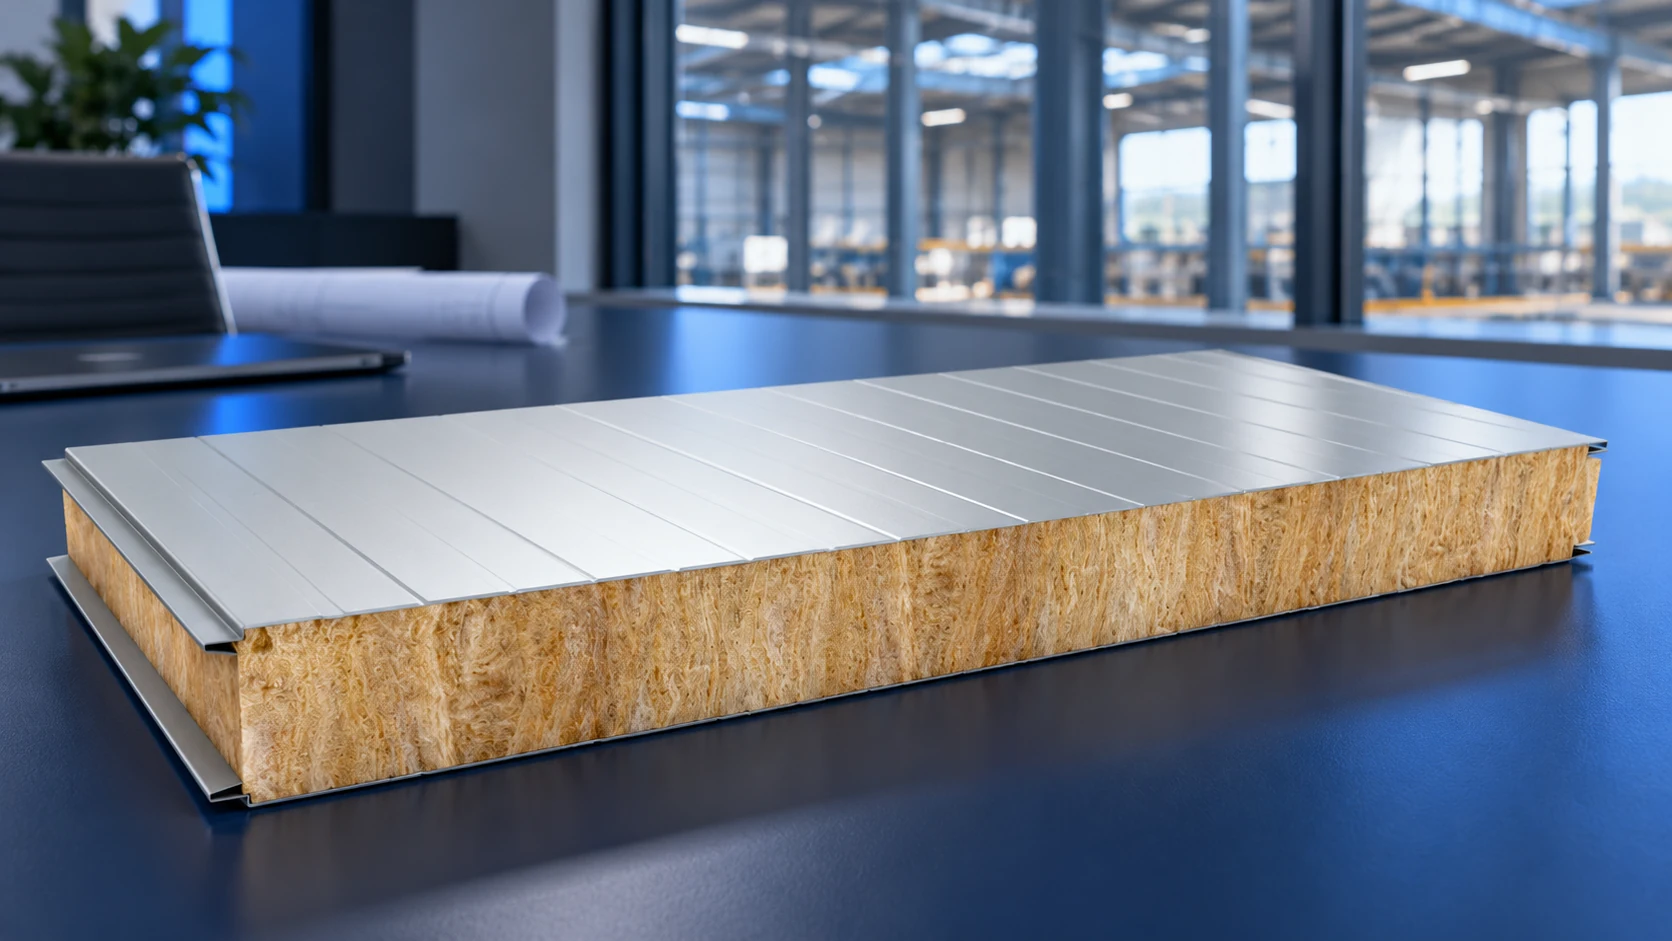
Support spacing for wall sandwich panels must be selected for the exact panel model and the building's loads. Core thickness alone is…
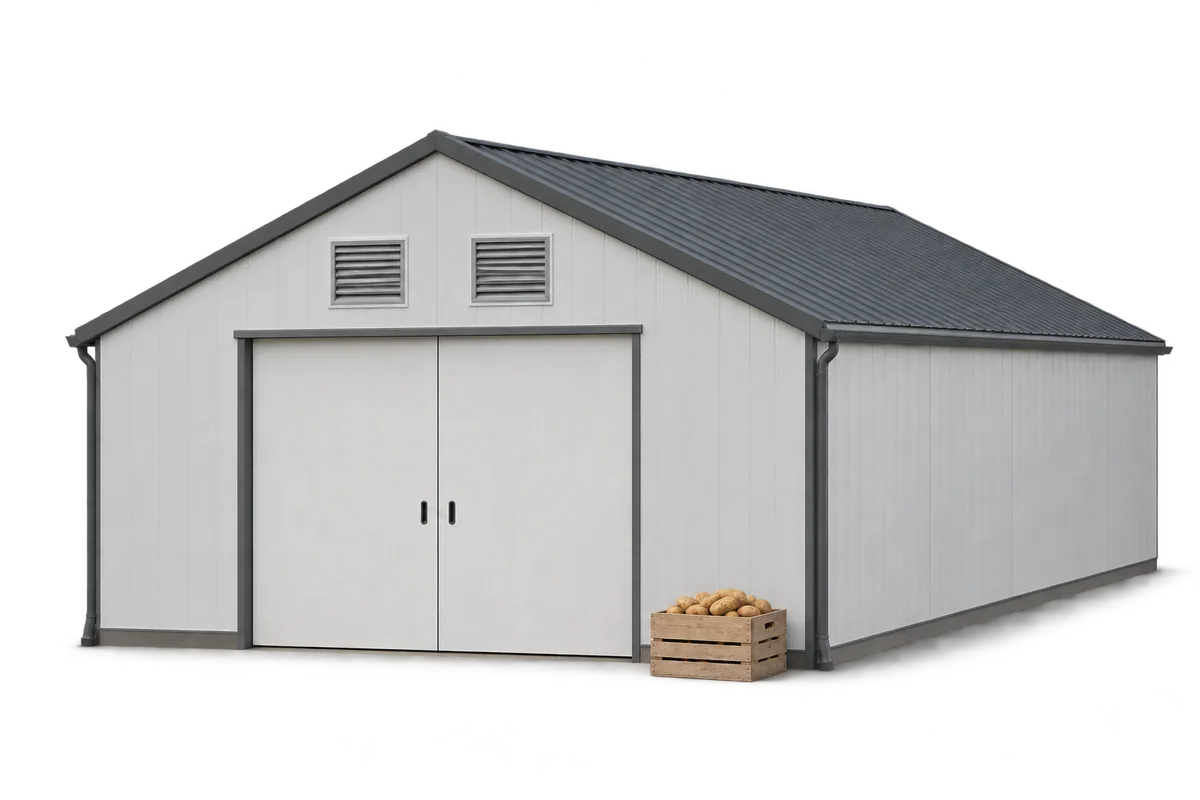
Before insulating a potato store, it is worth preparing a sketch of the chamber showing storage locations, ventilation ducts and any damage…
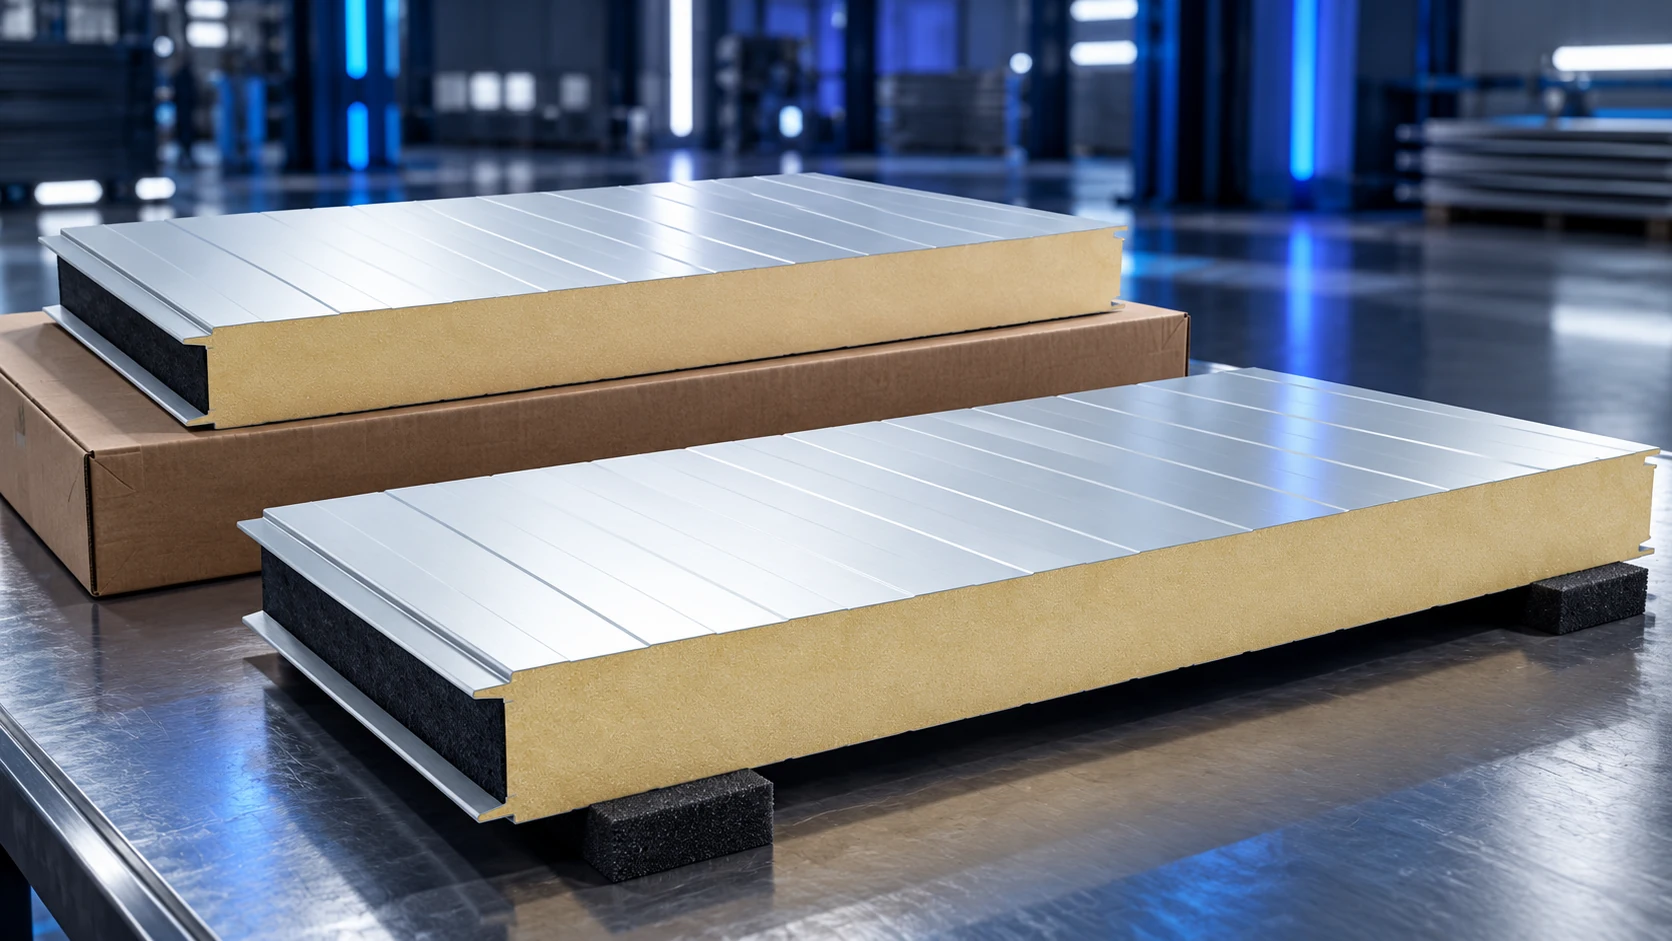
First-grade sandwich panels make it easier to order a defined configuration and appearance. Outlet stock can reduce purchase costs, but its value…
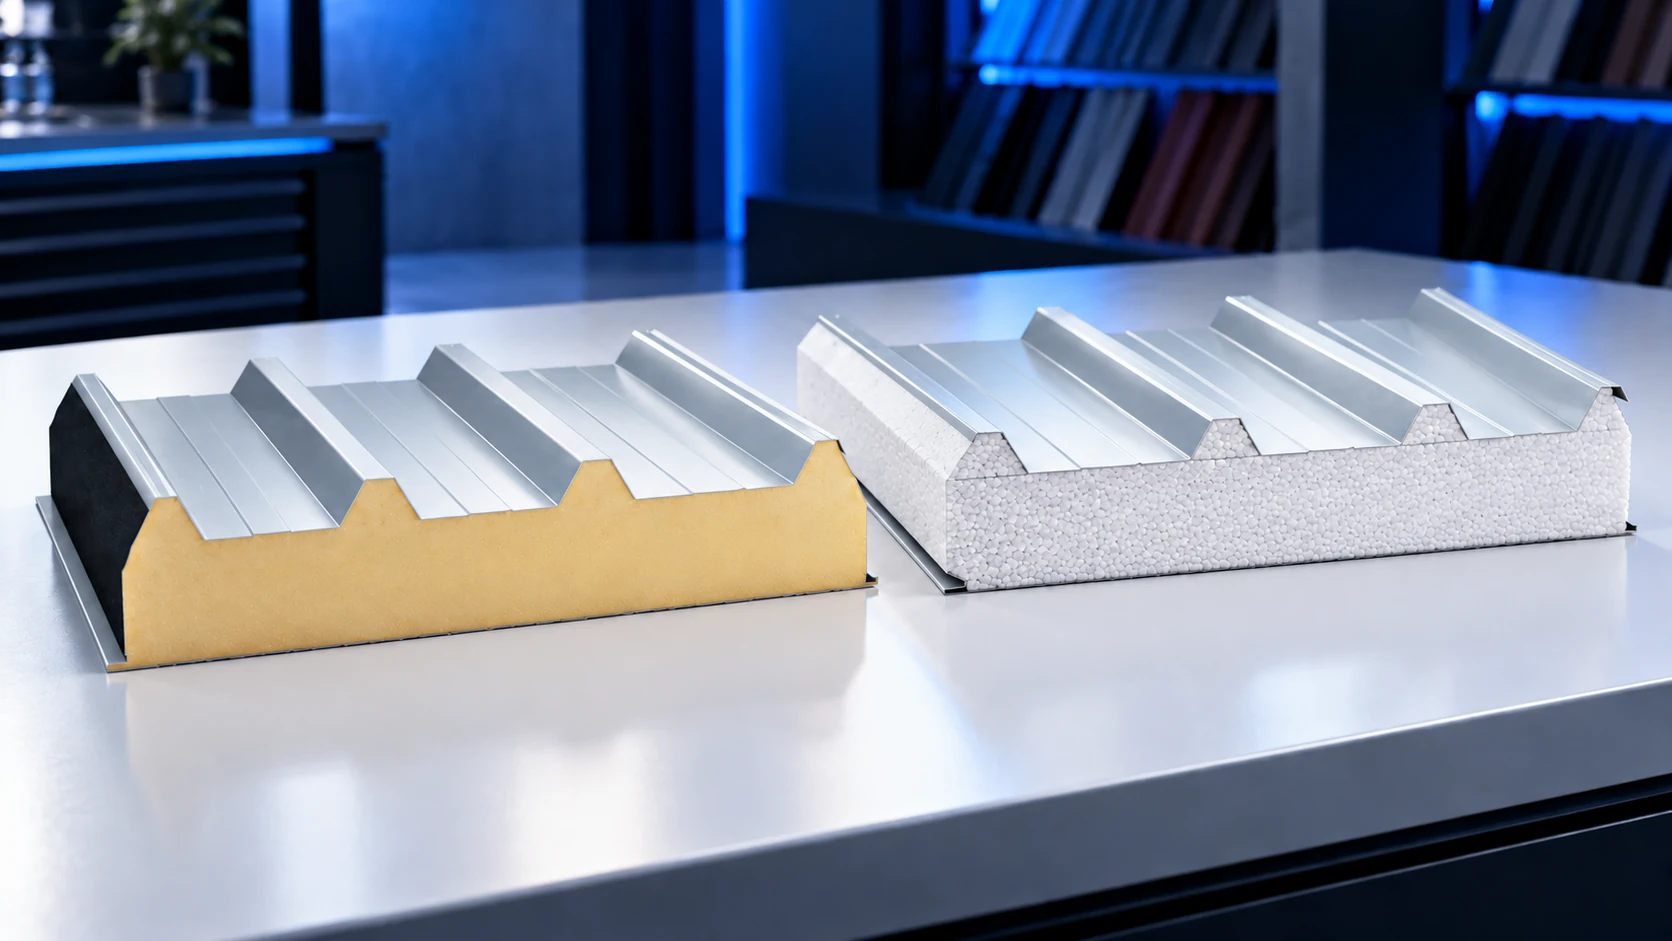
Compare PIR and EPS cores using the declared performance of complete roof sandwich panels, not figures for loose insulation boards. U-values, weight,…
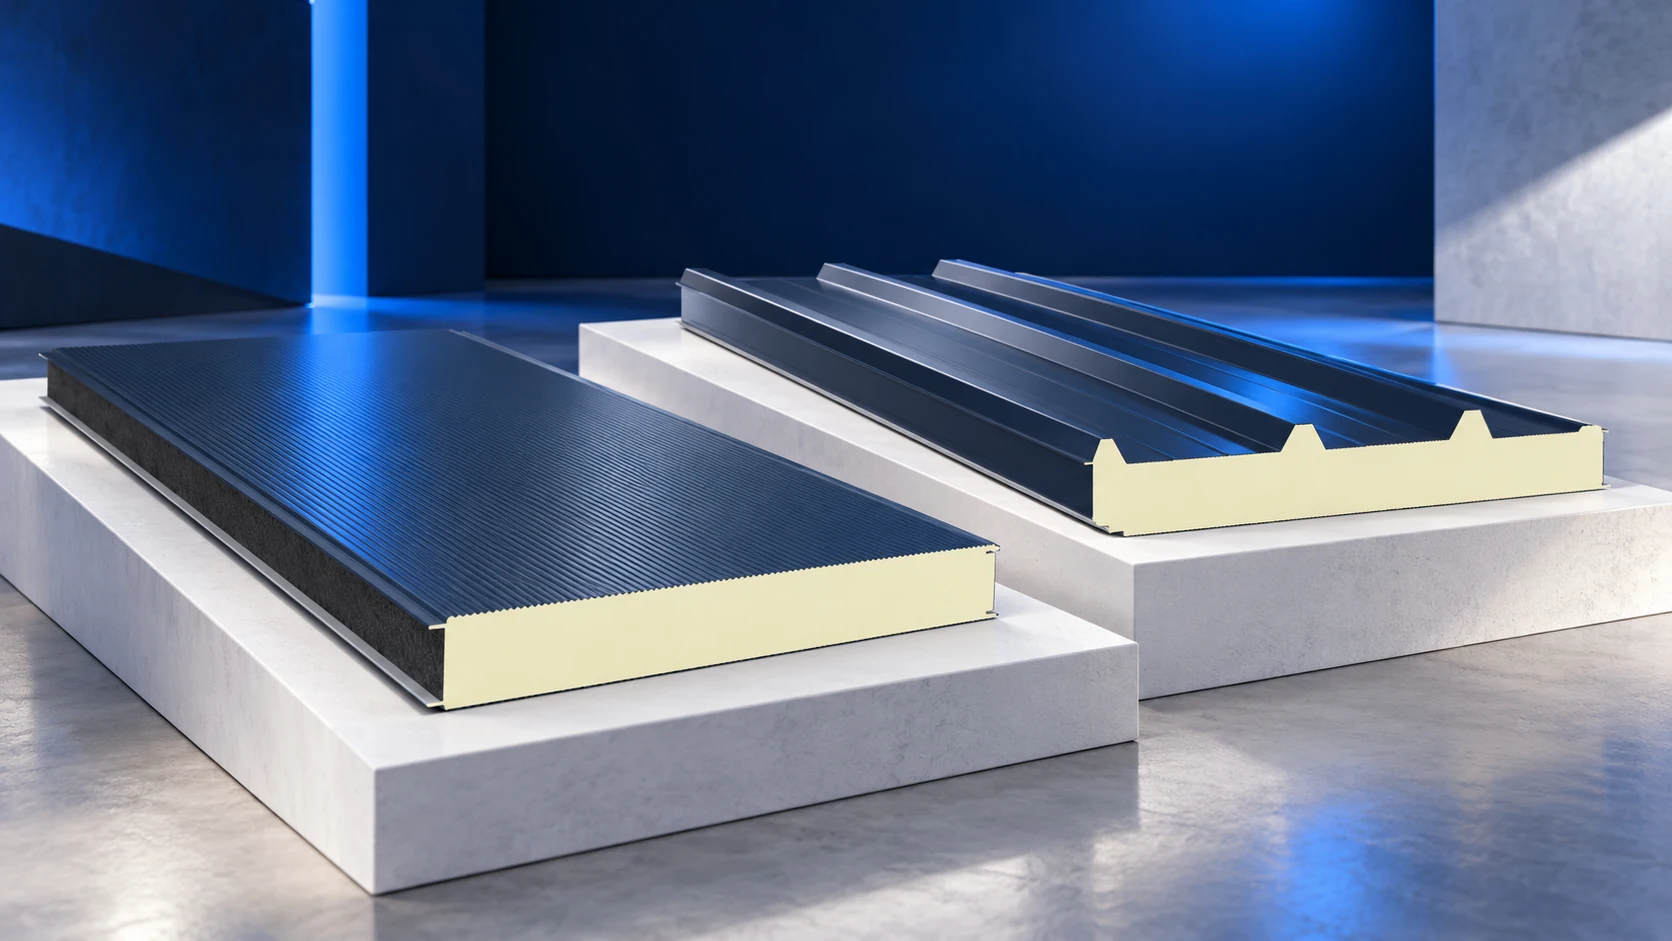
Choose sandwich panels according to the function of the building enclosure. Roofs, façades and cold stores need different solutions, even when the…
Building quotations become comparable only when they cover the same work, materials and completion requirements. A low total may omit unloading, weather…
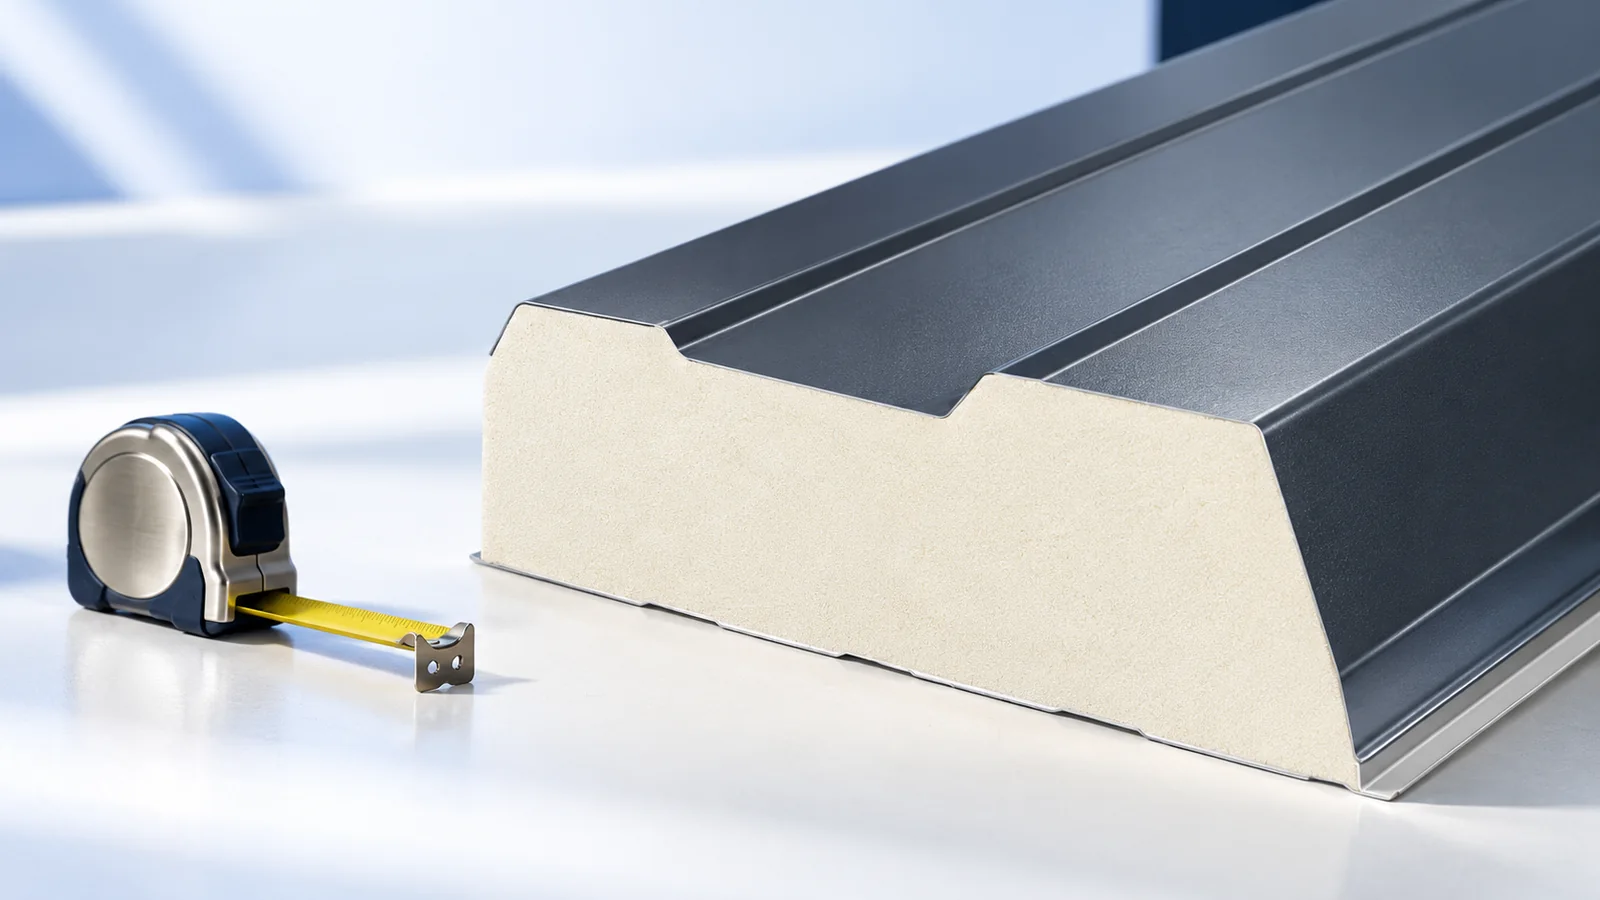
A roof sandwich panel combines metal facings with an insulating core to form a prefabricated enclosure element for a hall, workshop or…