






Inspecting XPS before it is covered: a site handover guide
XPS insulation
Inspect XPS immediately before concreting, backfilling or fitting a lining hides it. Identify the boards, then check thickness, support, joints and continuity at thresholds, plinths and service penetrations. Inspect waterproofing separately: well-laid XPS is not evidence of a watertight membrane. On the inspection record, mark the areas checked and when any repairs must be reinspected. The next crew then knows which areas can be covered and which must stay accessible.
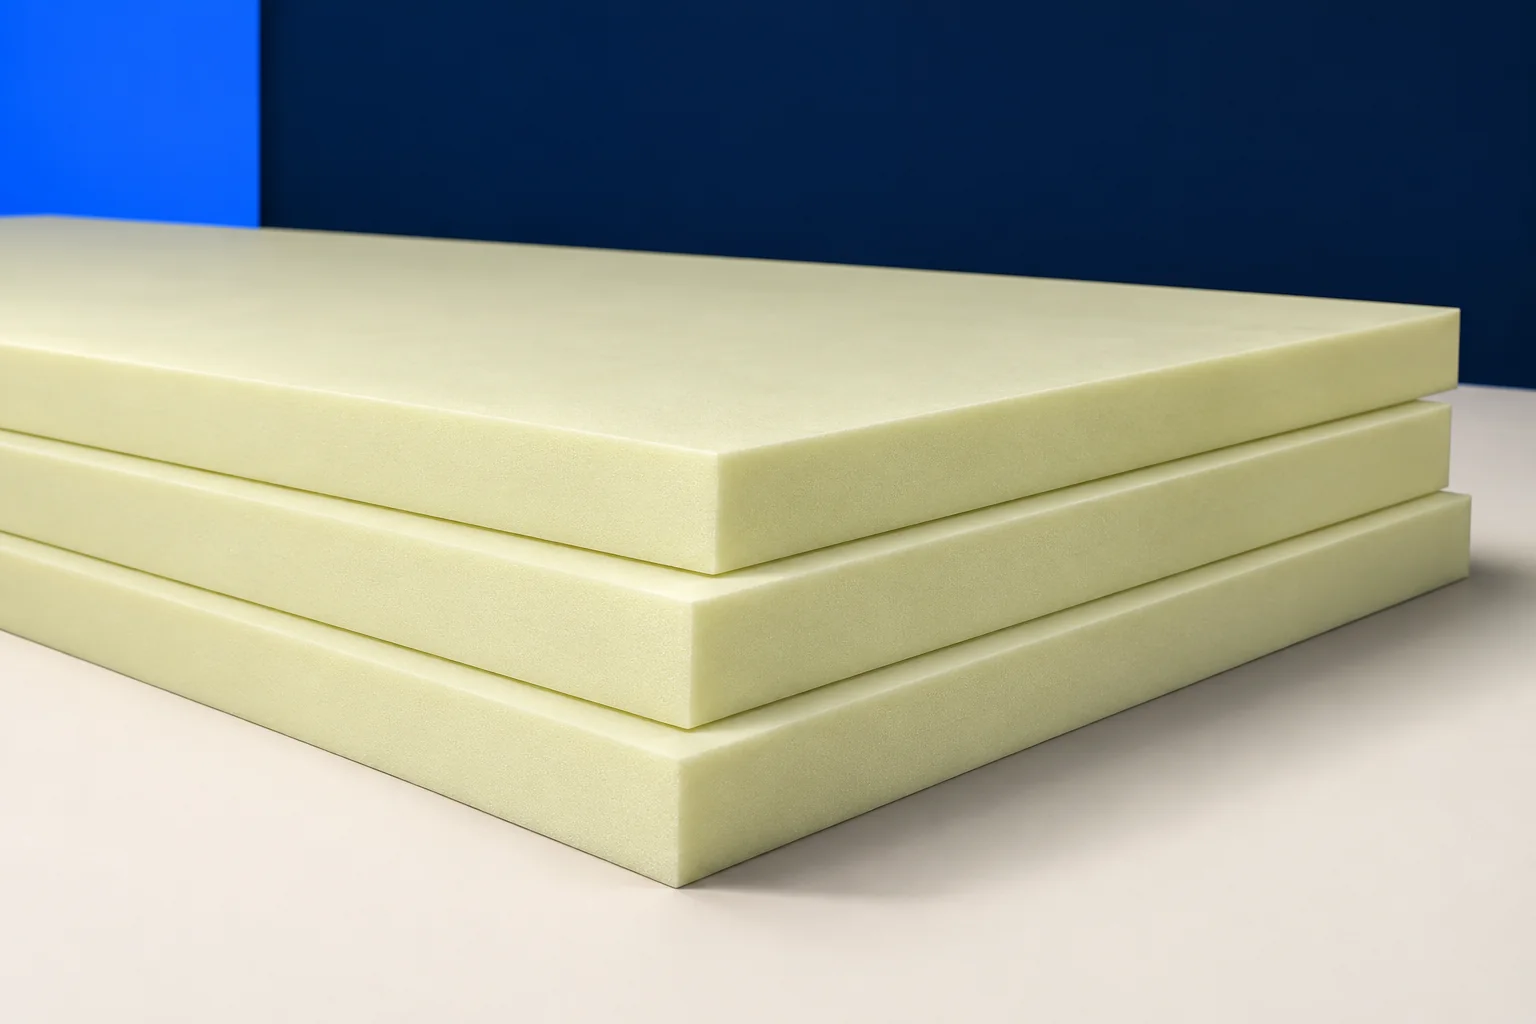
Identify the XPS actually installed
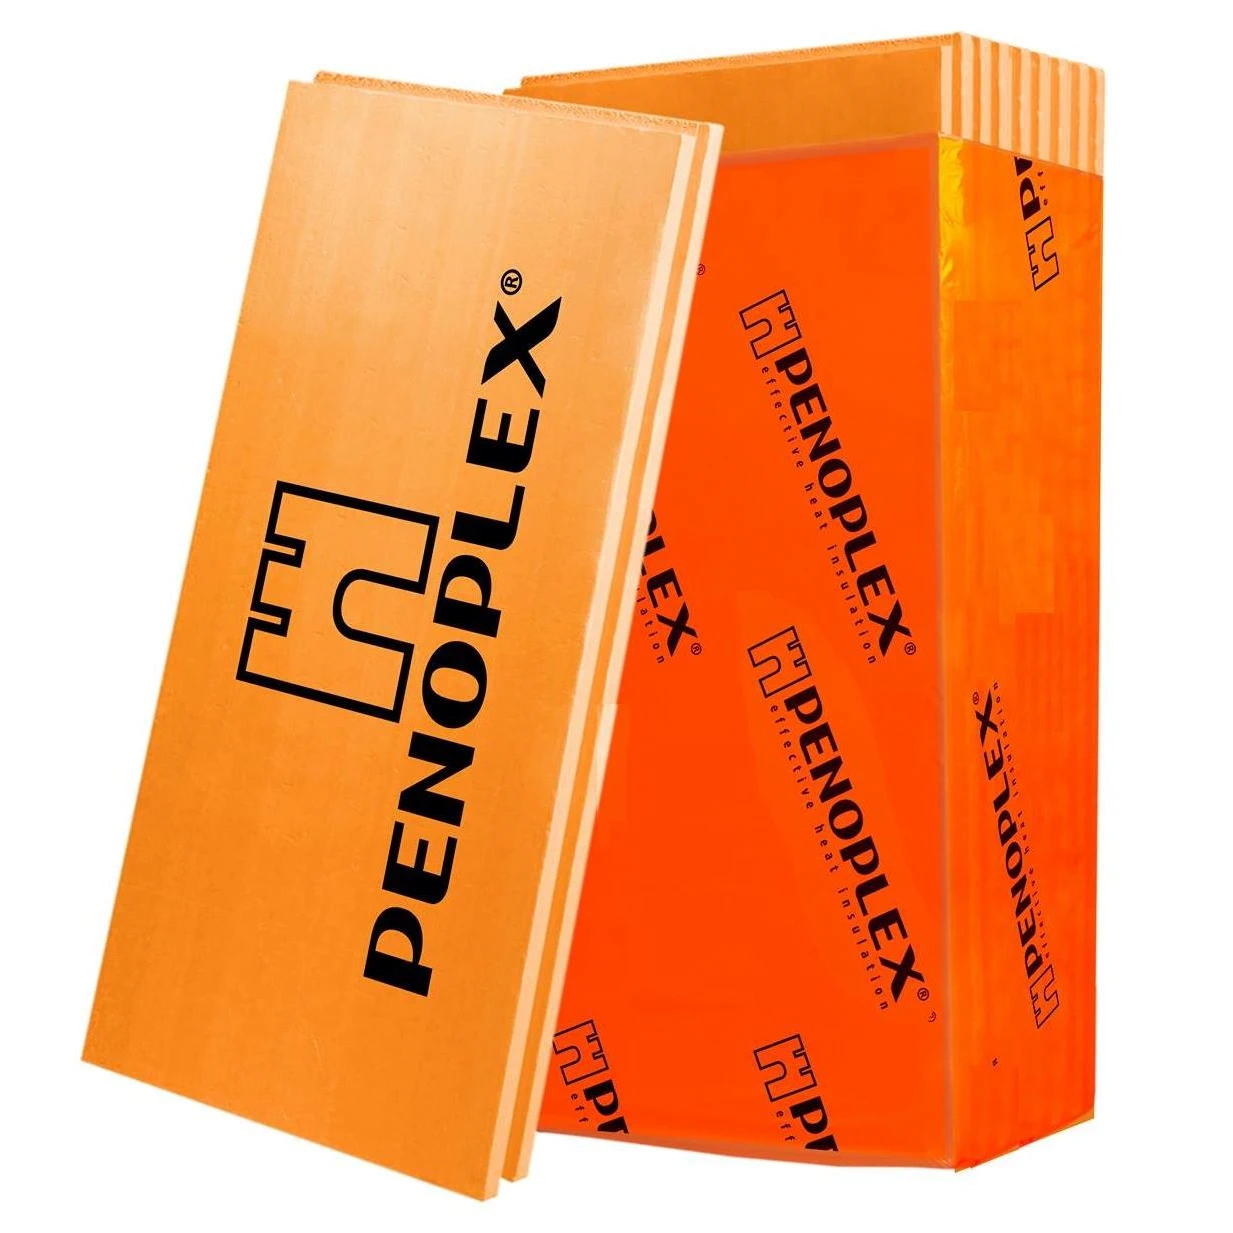
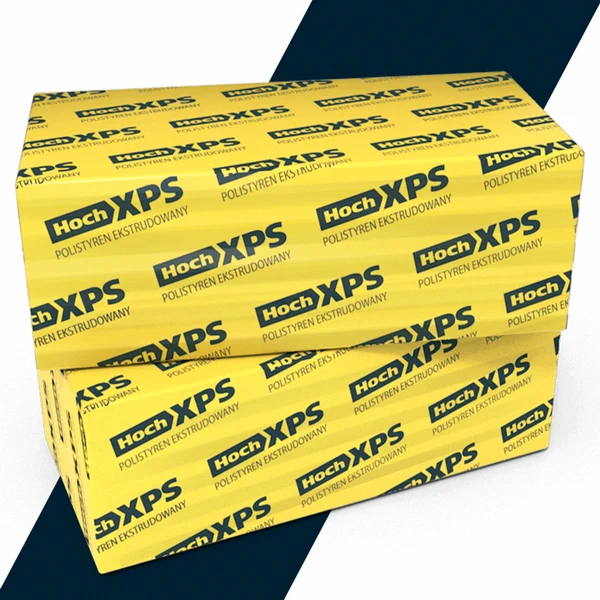
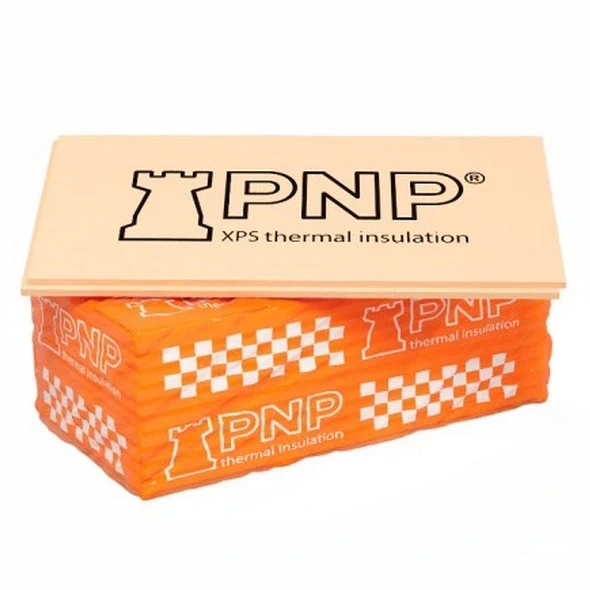
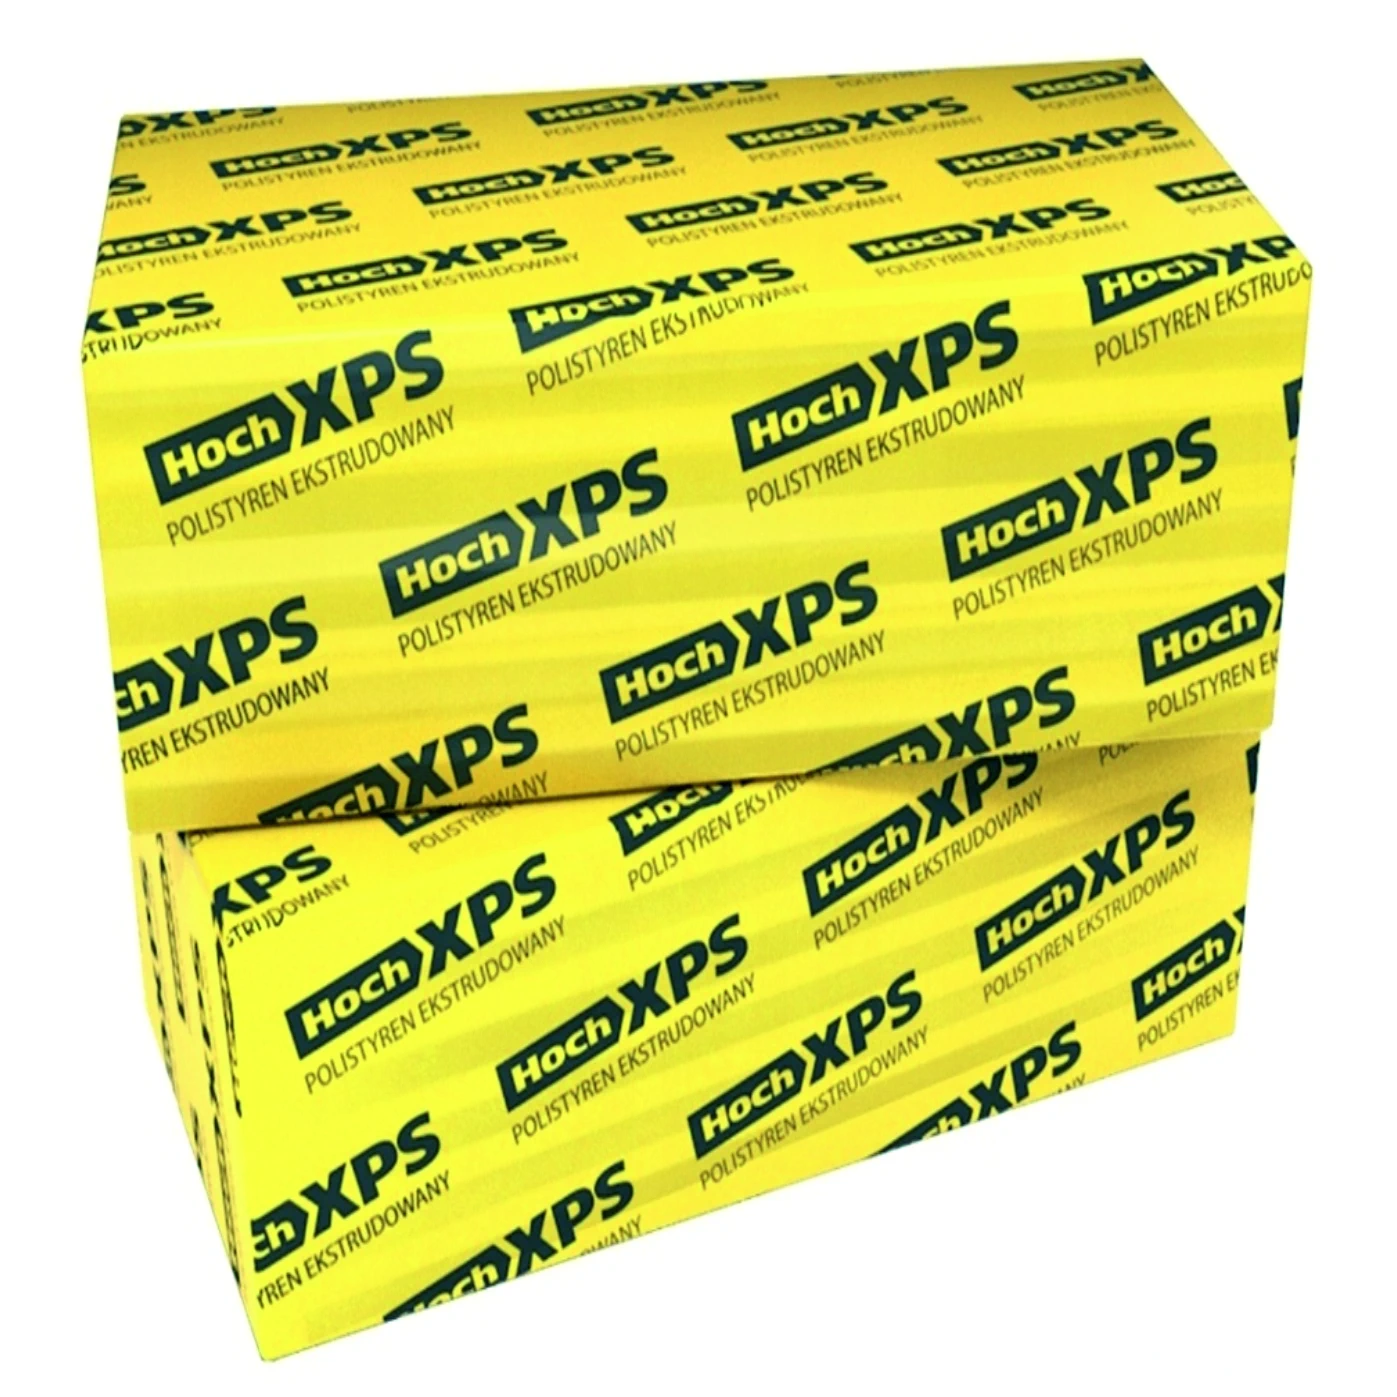
Photograph the batch label and check the grade, thickness, edge, thermal and mechanical properties against the design. Even one manufacturer can supply similar-looking boards for different uses. For a substitution, attach its product documentation and record who approved it.
Check thickness and continuity
Measure representative areas and awkward details. Check the thickness for each zone and, in multi-layer work, verify that all layers are present. Look beneath cut pieces that might hide a gap in a lower layer.
Trace the connection to adjacent insulation on the drawing, especially at floor edges, plinths and thresholds. A sound main area cannot compensate for a break at a junction. Take an overview and close-ups with a scale and identifiable location.
Check bearing and flatness
Boards should not rock or rest on isolated high spots. Bearing must match the design, particularly on a floor requiring a level, stable base. Do not rely on the weight of a later screed to correct irregularities.
XPS is not a levelling compound. Voids and damaged pieces change how pressure is transferred. Use the agreed access route to inspect unstable areas, including around services where cut pieces often replace full boards.
Examine joints and corners
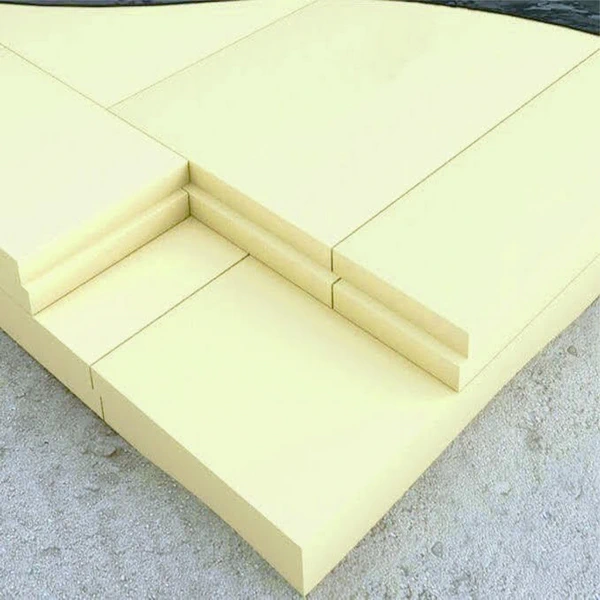
Check that rebates actually overlap without a step. Butt joints need straight cuts and close contact. A broken corner is still a defect even where it will be hidden by the finish.
Before covering, replace a poorly cut piece or correct the layout in accordance with the detail. Use the specified joint treatment. Filling a gap with an arbitrary mortar can introduce an unnecessary heat path.
Inspect the waterproofing separately
XPS may protect waterproofing, but it cannot establish that the coating is continuous. Inspect seams, junctions and penetrations separately before backfilling the perimeter. A leak will be harder to reach afterwards.
On walls check board fixing and substrate condition. Pressure water can call for a different arrangement from ground moisture. Confirm adhesive compatibility, look for unintended punctures and record any specified separation layer next to a membrane.
Protect the work during the next operation
Reinforcement work and foot traffic can damage boards before concreting; backfill brings soil pressure and sharp debris against walls. Include the protection arrangements in the handover so the work is not damaged immediately after inspection.
Agree storage areas, access routes and edge protection. Lightweight boards are easy to handle but still need an organised site. Avoid incompatible chemicals, excessive sun and heat sources, and follow the instructions for the materials used.
Record defects and their correction
Record the area, date, XPS type and findings. Locate photographs on a plan or simple sketch. If a defect is found, verify and record the repair before the work is closed; a note alone does not correct it.
This check gives the contractor a clear repair list and the owner useful records. With agreed criteria the inspection need not take long. Its value lies in the timing: inspect what is about to disappear beneath concrete, soil or a finish.

Free quote
What to include in your enquiry
Tell us how you plan to use the material, the dimensions and the quantity you need. Include the thickness, grade or variant name, along with the delivery town or your preferred collection branch. For a specific product, add its name or a link to the product page. We will reply to the email address you provide to discuss availability and the terms of your order.
More from the building guide
Most waste can be avoided before the first saw cut. Draw the row using cover dimensions, mark the side to keep and…
Choose XPS below a garage floor by starting with the intended use. A parking bay, a jacking position and heavy shelving along…
The XPS pack label identifies the boards delivered to site. The declaration of performance lets you check whether that exact product meets…
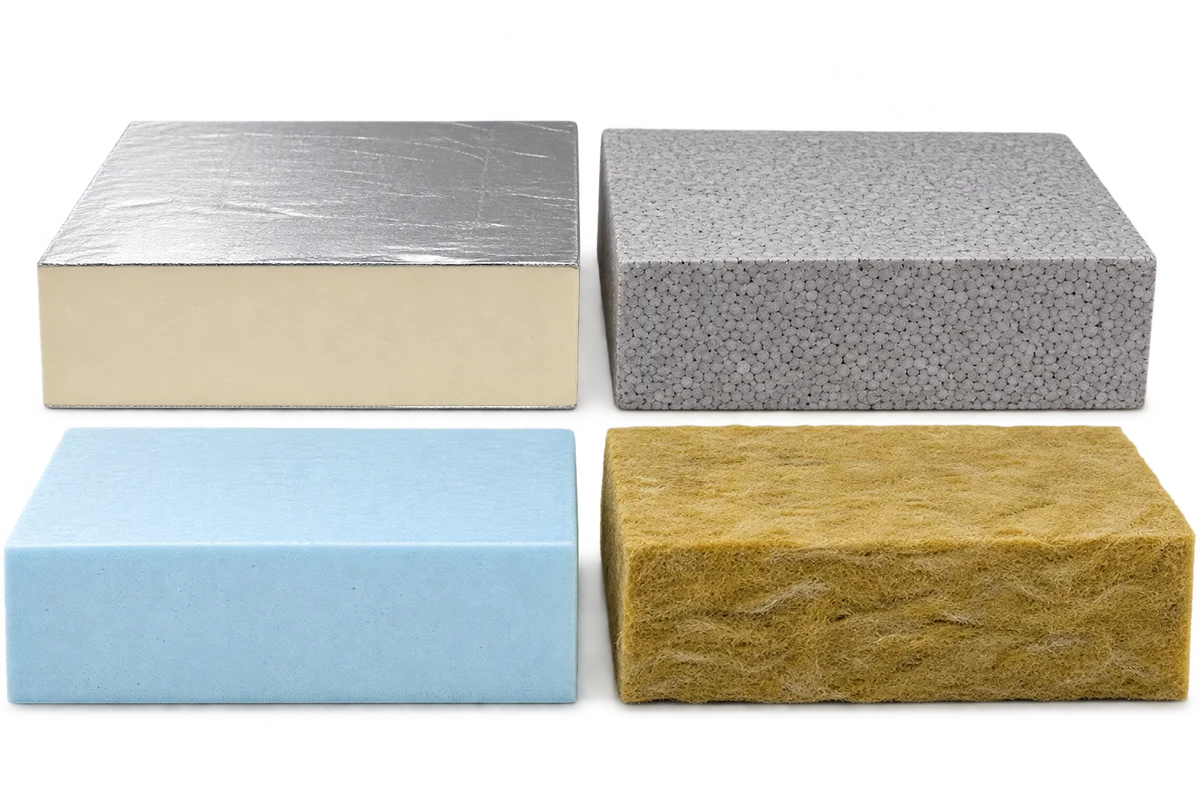
Two insulation quotations may cover the same part of a house while including different quantities and delivery arrangements. When comparing PIR, EPS,…
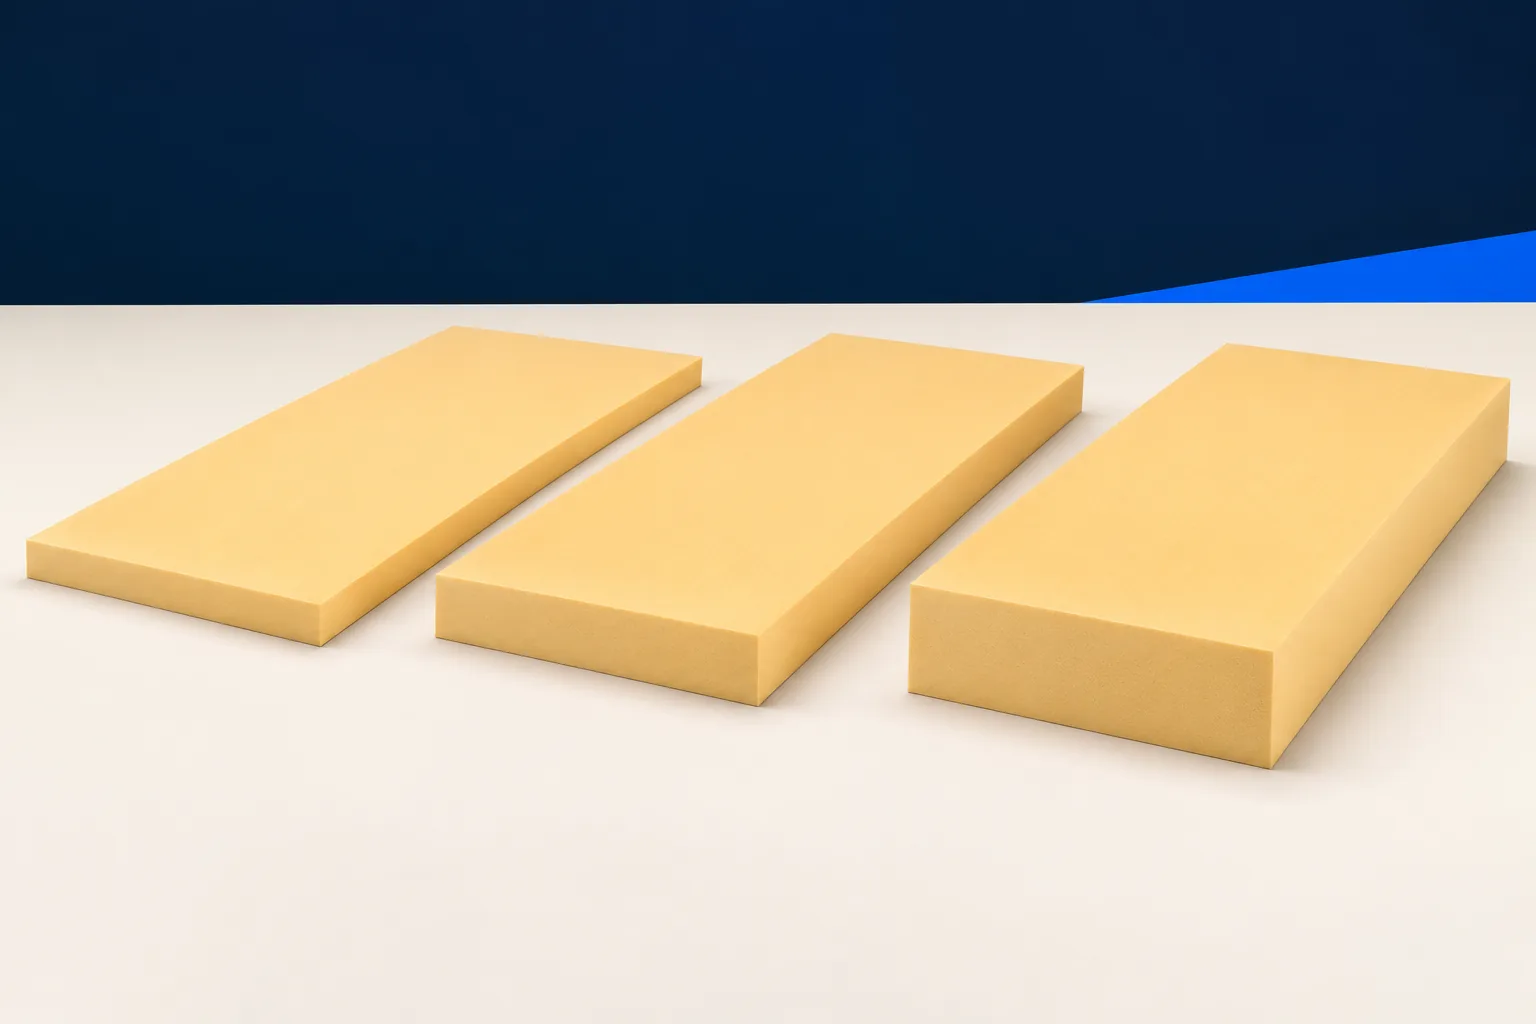
Choose an XPS edge to suit the layout and the ends of the insulation layer. Square edges butt together; rebated edges overlap…
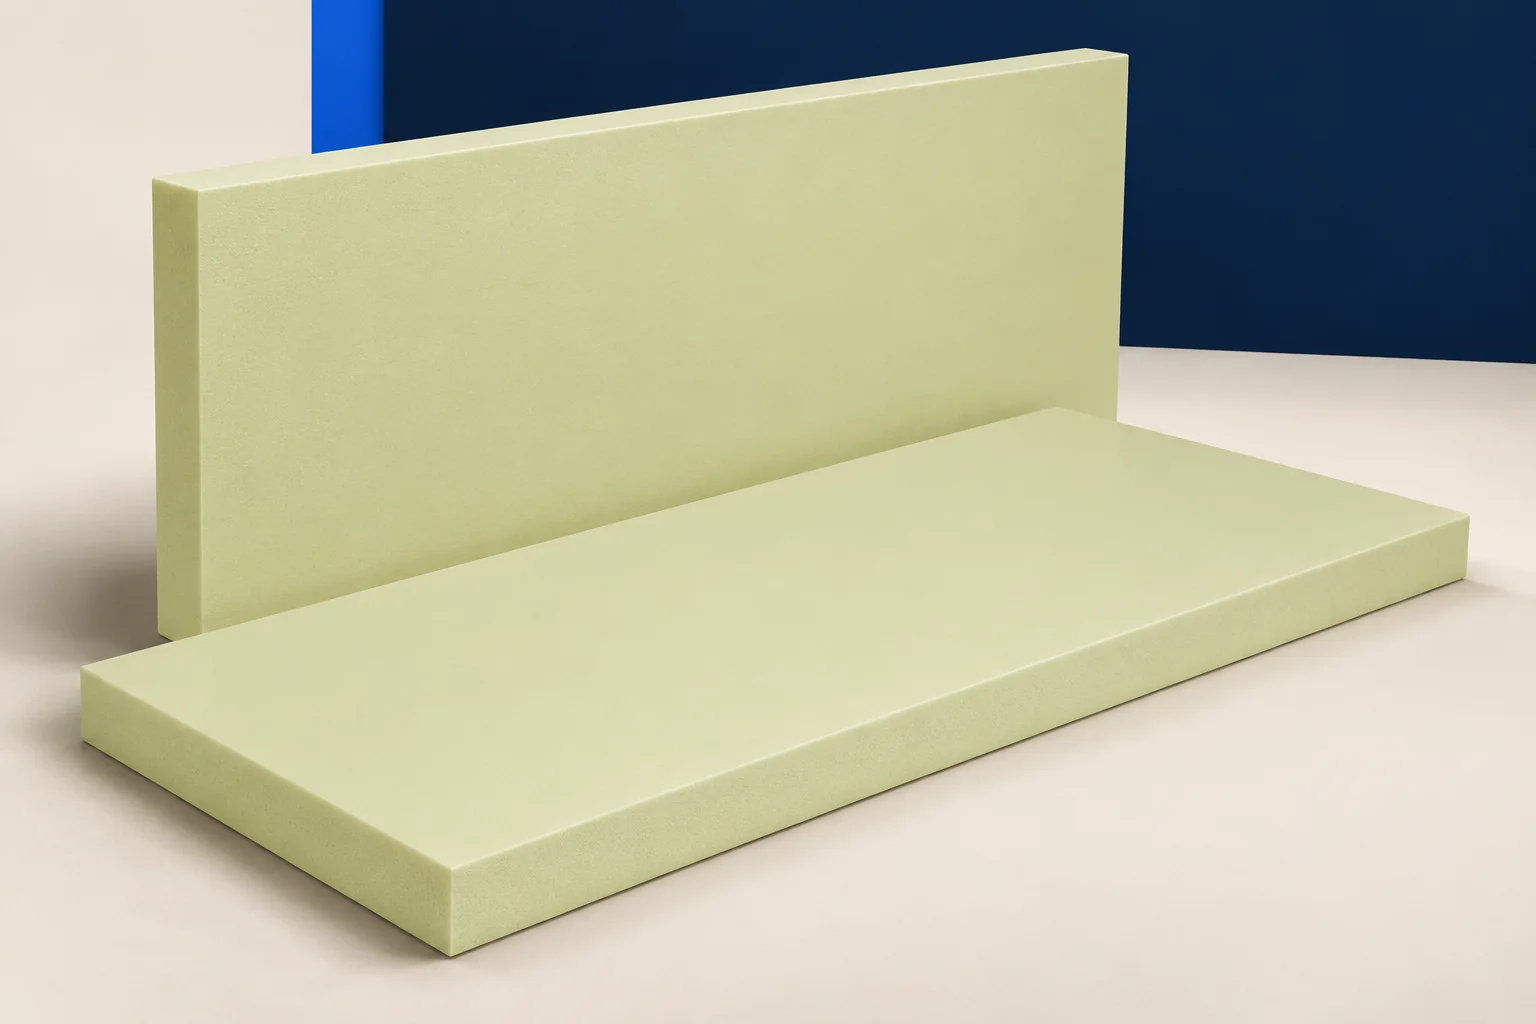
The 300, 500 or 700 in an XPS name points to a grade that should be checked for the exact board and…
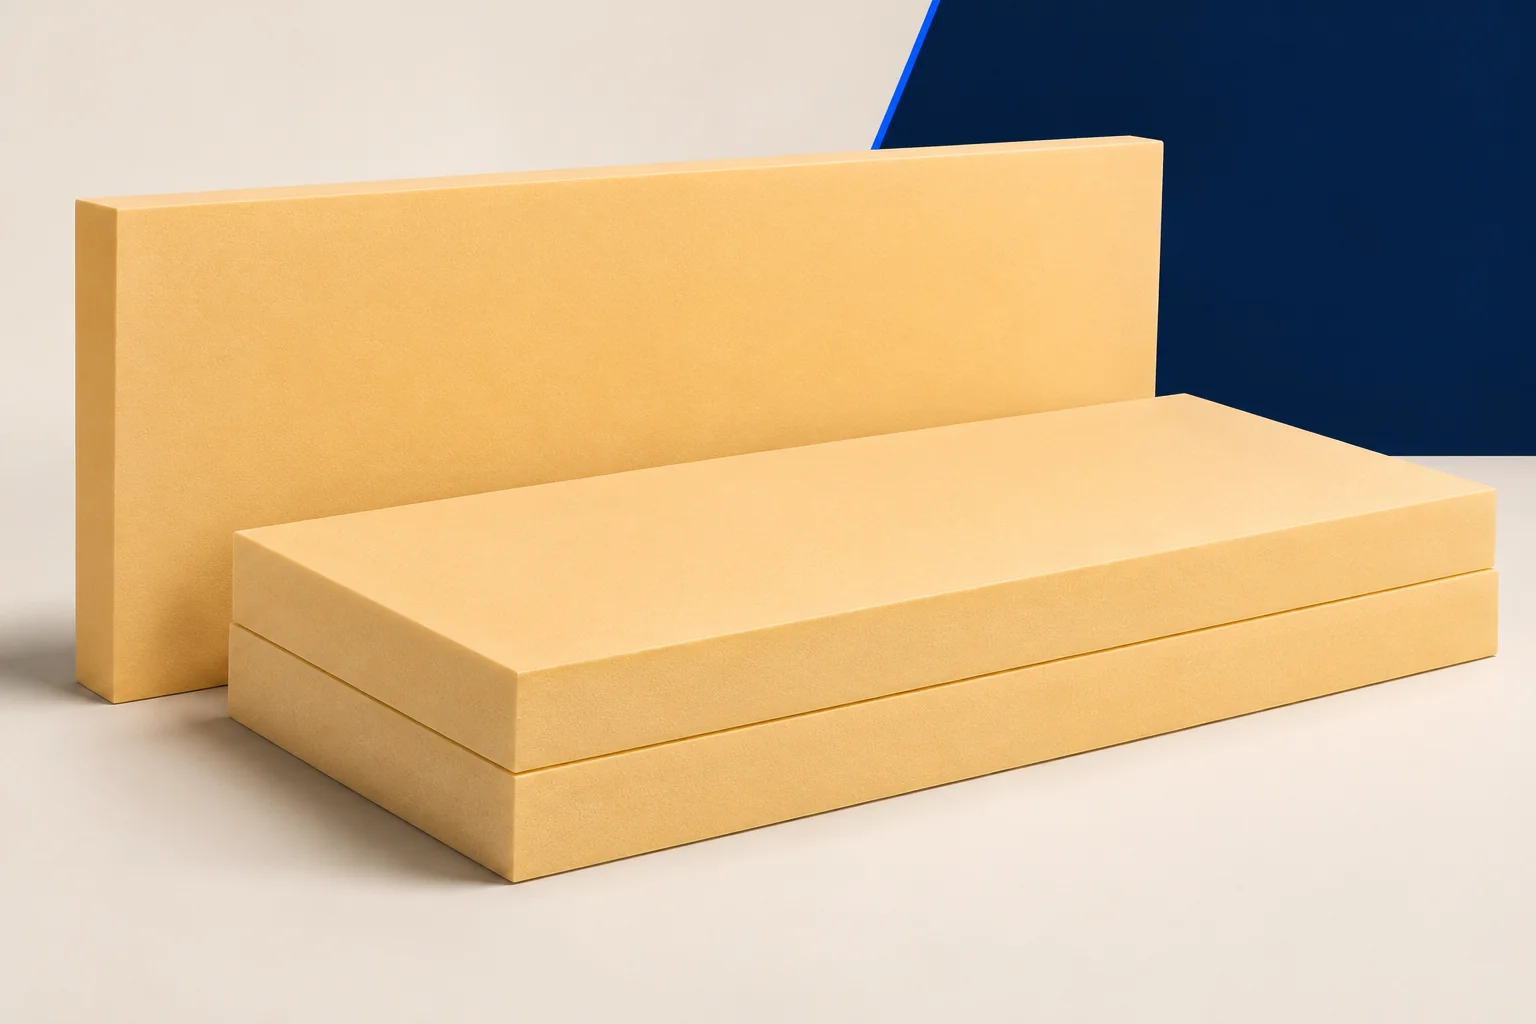
XPS is light, but packs take up space and shaped edges can be damaged in handling. Before delivery, choose a level, sheltered…
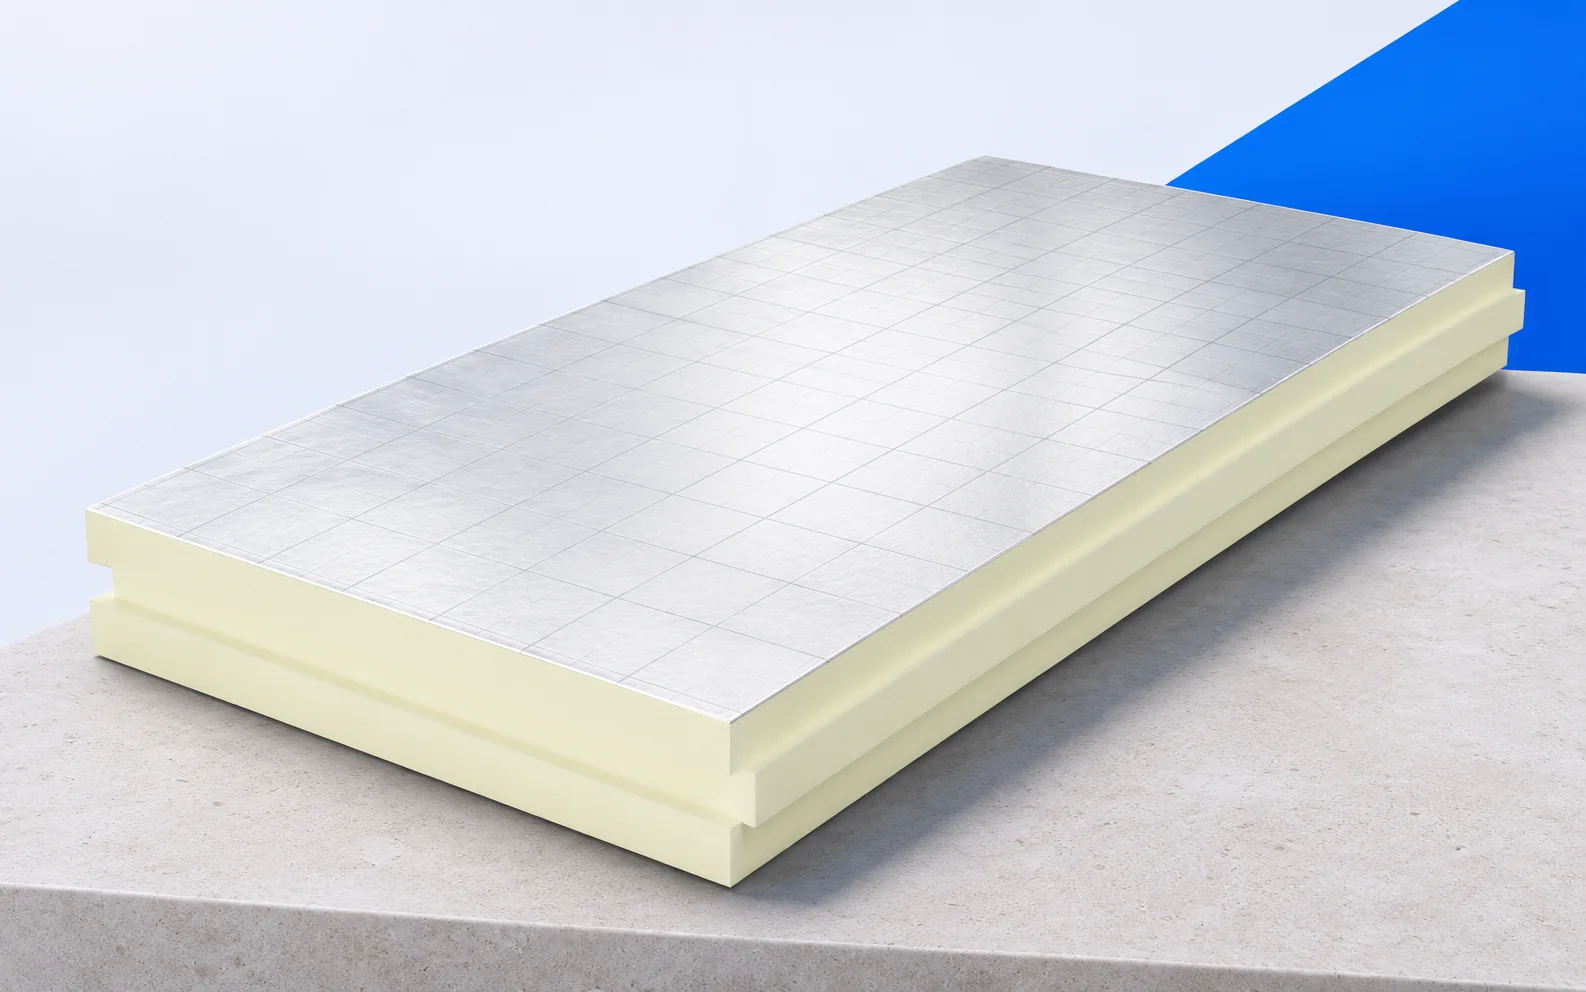
“PIR saves space” and “XPS resists water” are starting points, not specifications. Describe where the insulation will sit, what supports it and…