






How to join facade EPS to plinth insulation
EPS and thermal insulation
Plan the junction between facade and plinth insulation on a section through the wall, floor and foundation. The thermal layer must remain continuous, waterproofing must protect the masonry, and rain running down the render must discharge clear of the plinth. Near ground level there is also splash water, snow, dirt and impact, so not every facade board is suitable. Check intended use, water absorption and mechanical properties. Set the junction height against finished paving or ground level; a decorative mosaic render cannot resolve these details on its own.
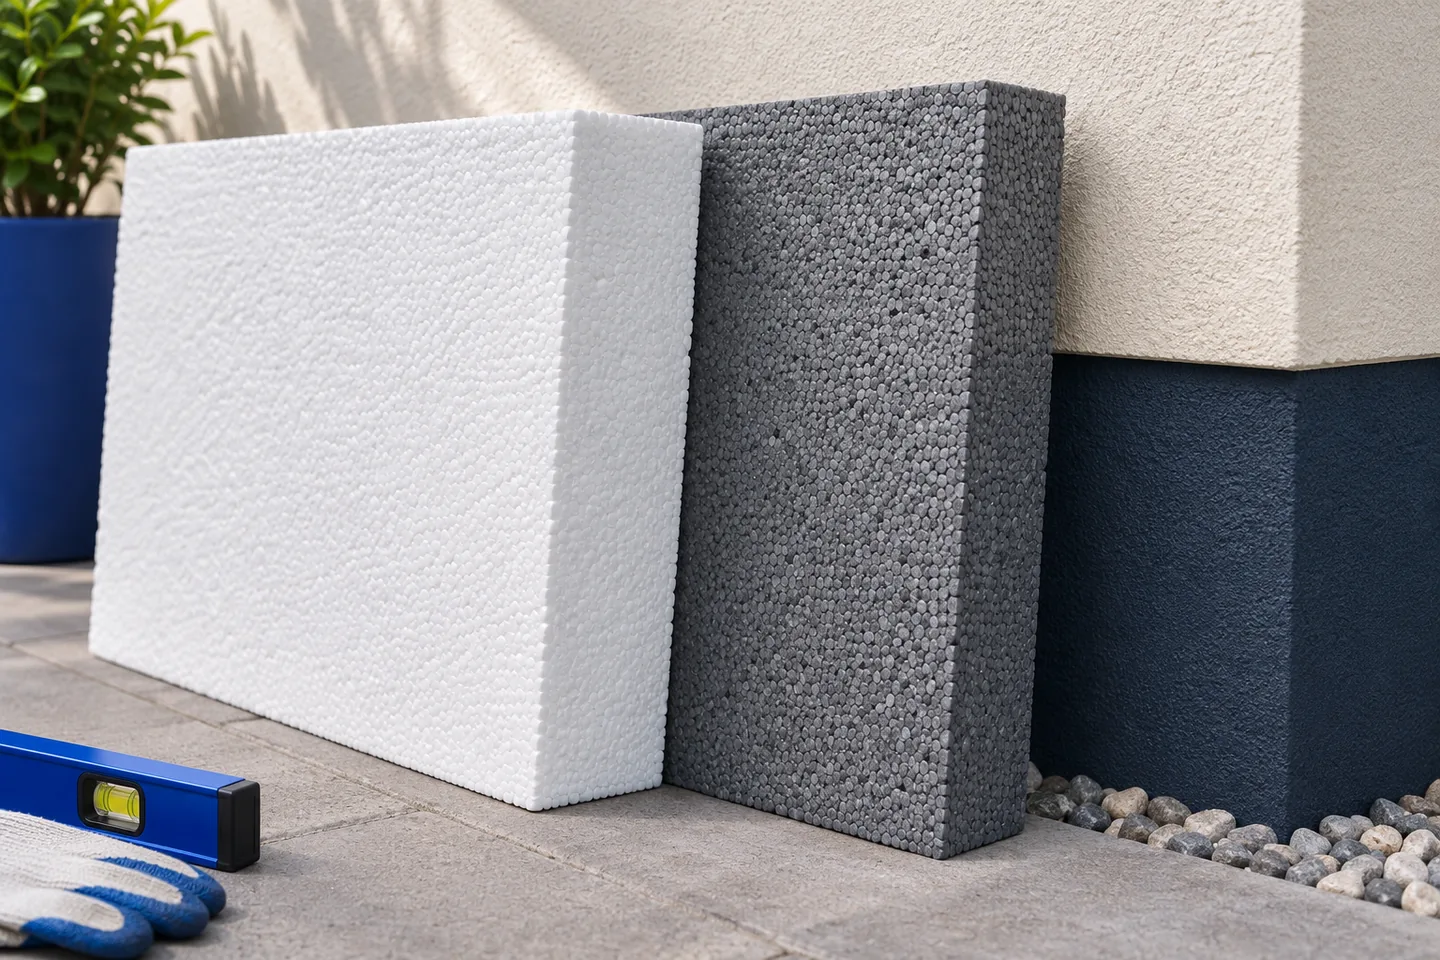
Why does the plinth need its own detail?
Set the plinth level from the final paving, not the temporary site surface. Raising the pavement later can expose a greater part of the facade to moisture. Account for falls and drainage so the junction works after landscaping, not just during construction.
How do you keep the insulation continuous?
Join wall and plinth boards without an unintended gap. Different thicknesses may be intentional, but detail the transition. Do not leave a bare strip just to make a starter track easier to install: it can increase heat flow at the wall-to-floor junction.
Compare the board line with the floor and foundation insulation. The outer face does not reveal the dimensions or continuity of layers below ground. In existing buildings you may need to open up a section. Do not assume the old foundation insulation ends where the new facade boards begin.
How do you select a board for a damp zone?
Check that the product documentation covers the intended location. WL(T) indicates water absorption under specified test conditions. It helps compare products but does not establish suitability for every water exposure. Consider loading and the extent of ground contact as well.
Low-absorption EPS is not waterproofing. Water can pass through joints and around penetrations. Protect the wall with continuous damp-proofing or waterproofing appropriate to exposure. The board adhesive must suit both the membrane and EPS; incompatible solvents can damage the insulation.
Must the plinth be recessed?
A recessed plinth can help runoff clear the wall but is not the only option. Suitable profiles, a drip edge and sealed junctions govern performance. With a projecting plinth, detail its upper surface carefully so water cannot collect.
Choose an end profile to match the insulation thickness and system, not just the colour. Check mesh attachment, drainage and continuity of the layers. A gap behind the profile may go unnoticed until heavy rain or winter damp exposes it.
How should the plinth be reinforced and fixed?
The plinth may need greater impact resistance. Select mesh, mortar and finish for the system and expected exposure. A thicker decorative render does not replace the required reinforced coat. An entrance or tool-storage area is exposed to different impacts from a wall behind a flowerbed.
Below ground, do not pierce waterproofing with unplanned fixings. Follow the design for fixing and protecting boards, including cable routes, brackets and lighting at the plinth. Assess the seal at every penetration. A concealed puncture is much harder to repair after backfilling.
What should be checked before the plinth is concealed?
Inspect waterproofing continuity, board positions and the facade junction. Confirm drainage is clear and final paving will not exceed the intended level. Photograph the layers before backfilling and paving; their positions will be useful for future repairs or services.
Termo Organika, Yetico, Austrotherm and Styropmin offer EPS for different parts of buildings. Select the particular product by its documented application.
Inspect the whole junction from the foundation to the finish coat. The right board cannot compensate for missing waterproofing, nor can a watertight coating repair a break in insulation. A sound plinth provides both functions and drains water. The sequence of work matters just as much as the materials.

Free quote
What to include in your enquiry
Tell us how you plan to use the material, the dimensions and the quantity you need. Include the thickness, grade or variant name, along with the delivery town or your preferred collection branch. For a specific product, add its name or a link to the product page. We will reply to the email address you provide to discuss availability and the terms of your order.
More from the building guide
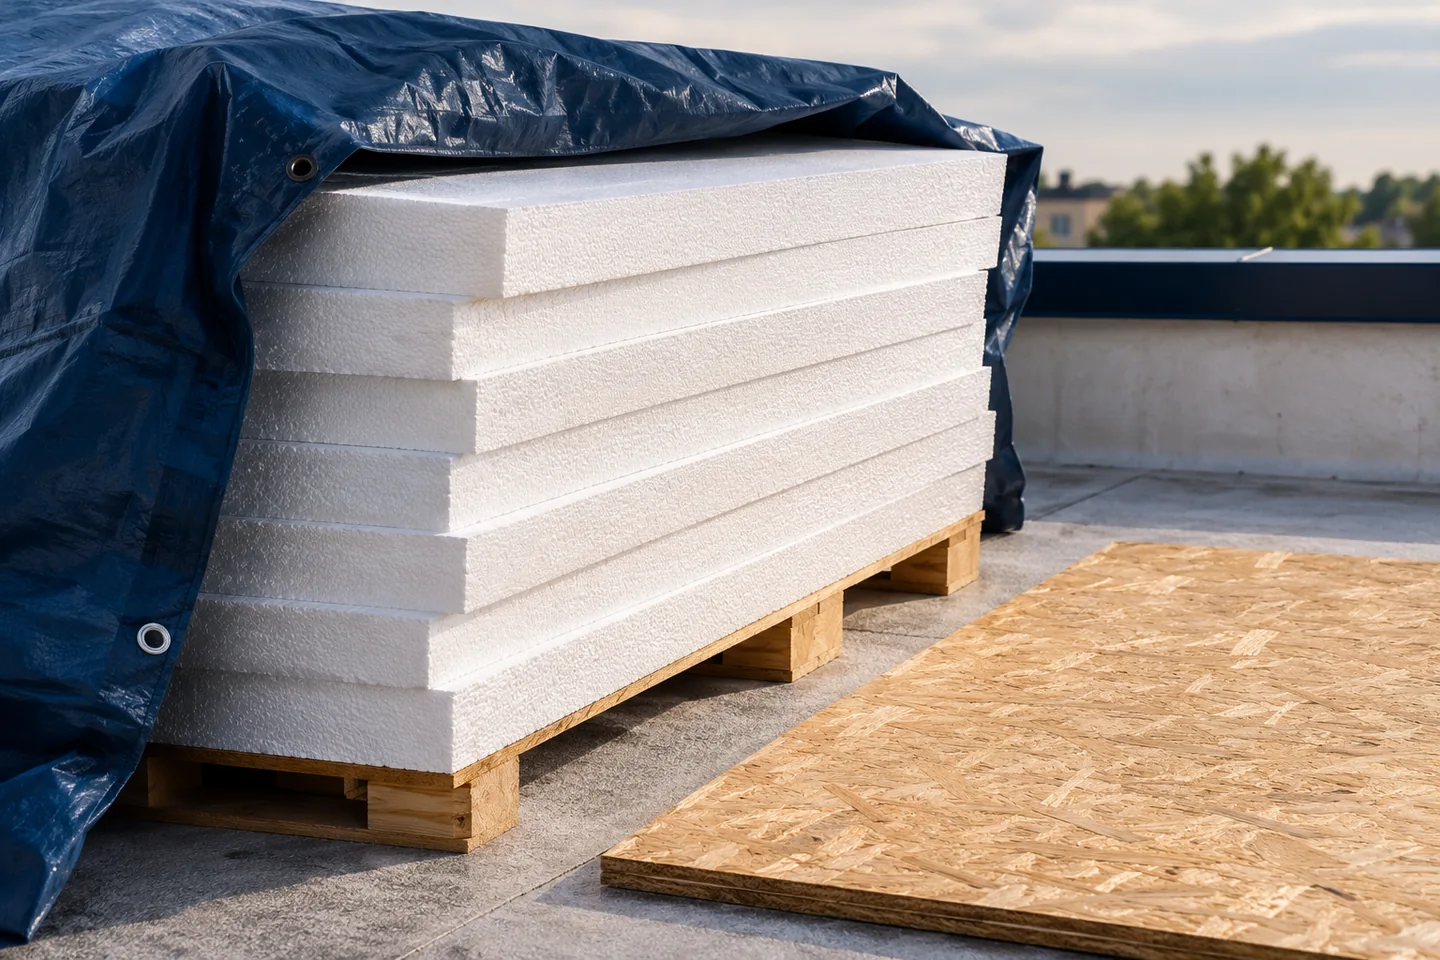
Before laying EPS on a roof, check the specified layer sequence, positions of vapour control and waterproofing, and direction of drainage. A…
After insulating a home, check both energy consumption and the cost of purchasing it. A lower bill alone does not prove that…
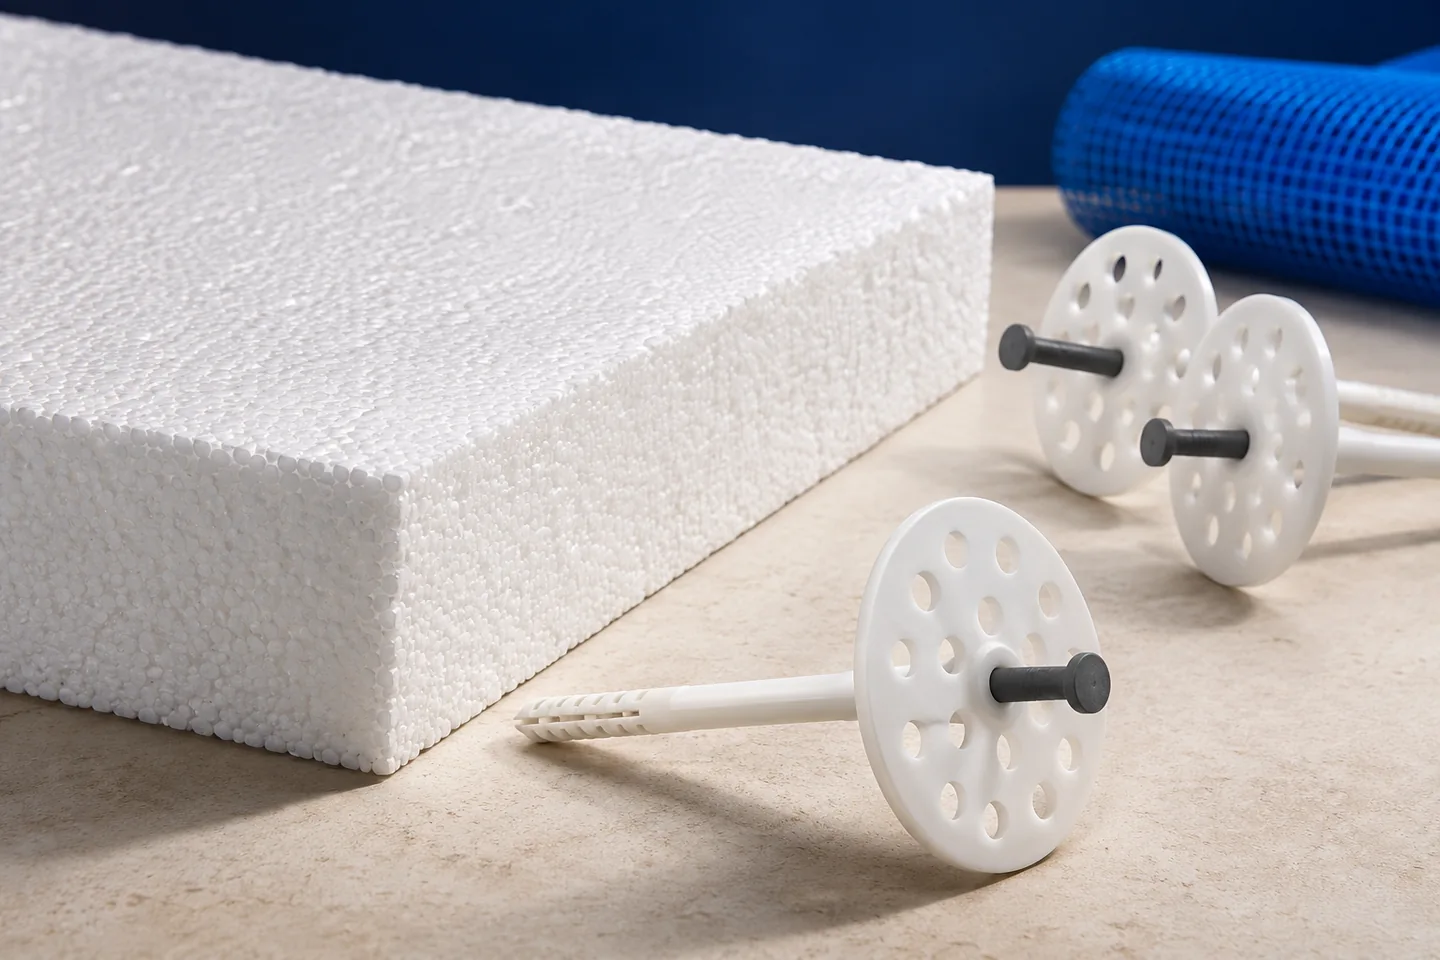
The insulation design and ETICS documentation determine whether EPS facade boards need mechanical fixings. The wall material and its condition, wind exposure,…
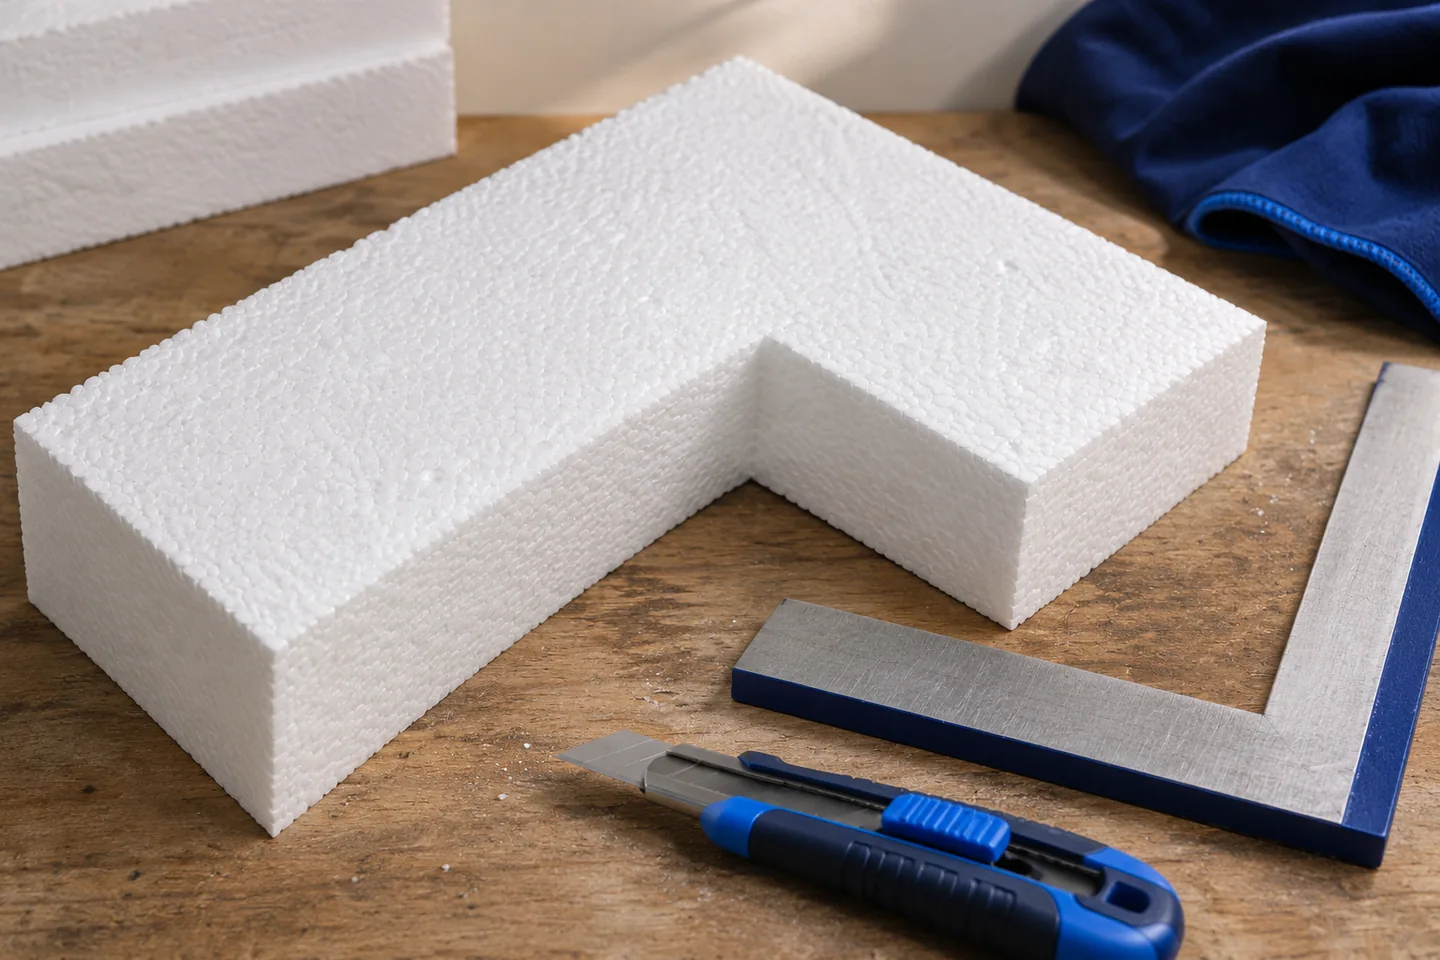
Three details work together at a window corner: an EPS board cut around the opening, diagonal mesh in the base coat and…
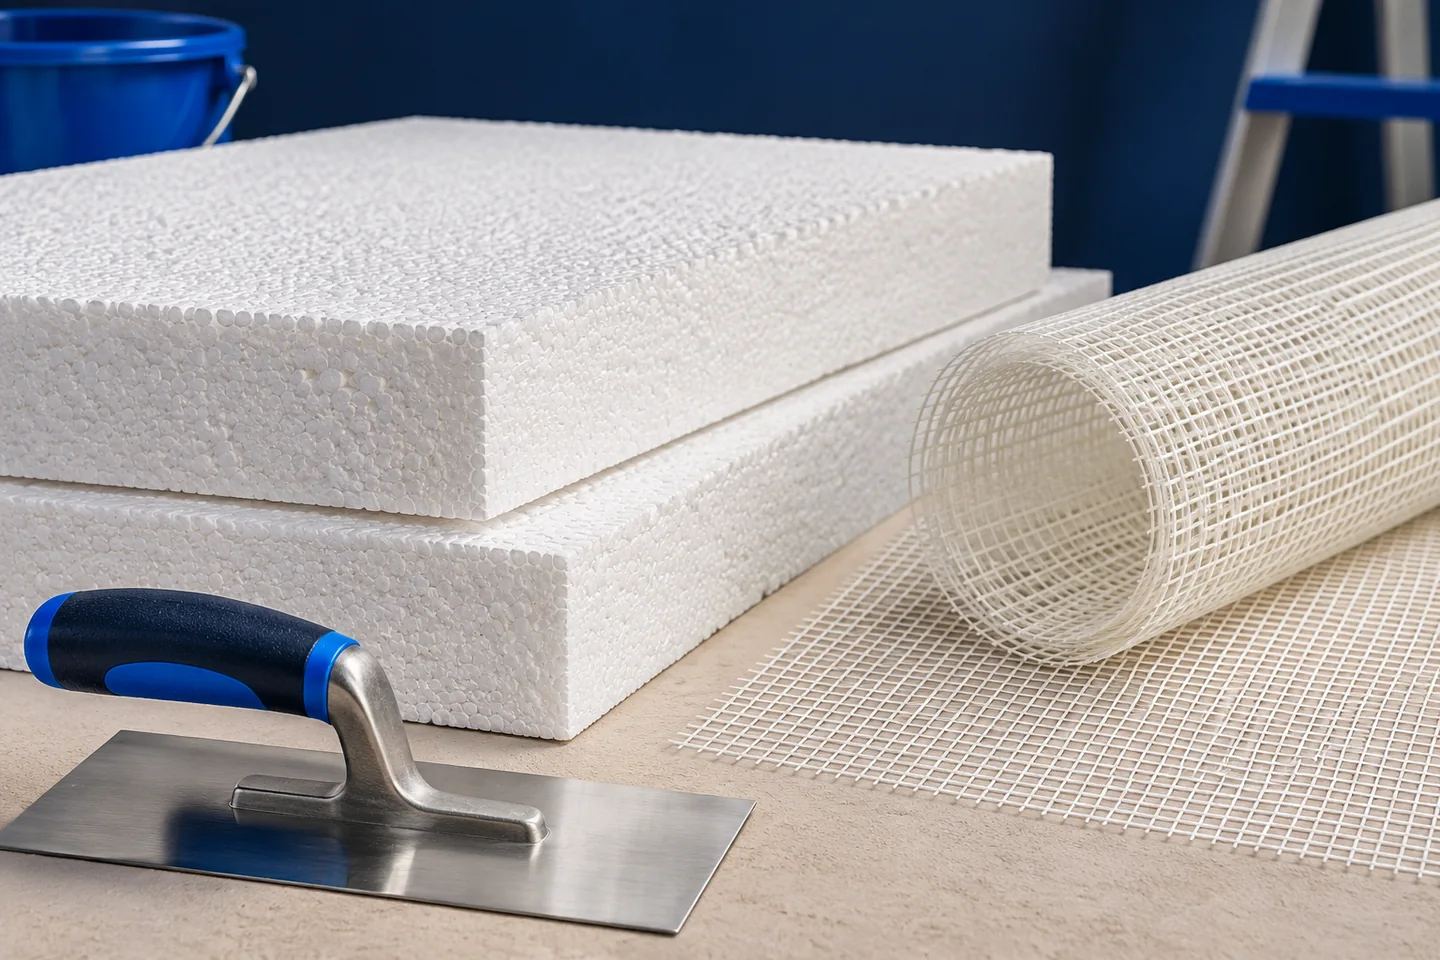
Embed the mesh in fresh base coat on stable, flat, dust-free EPS boards. Mortar must remain beneath the strands; putting mesh against…
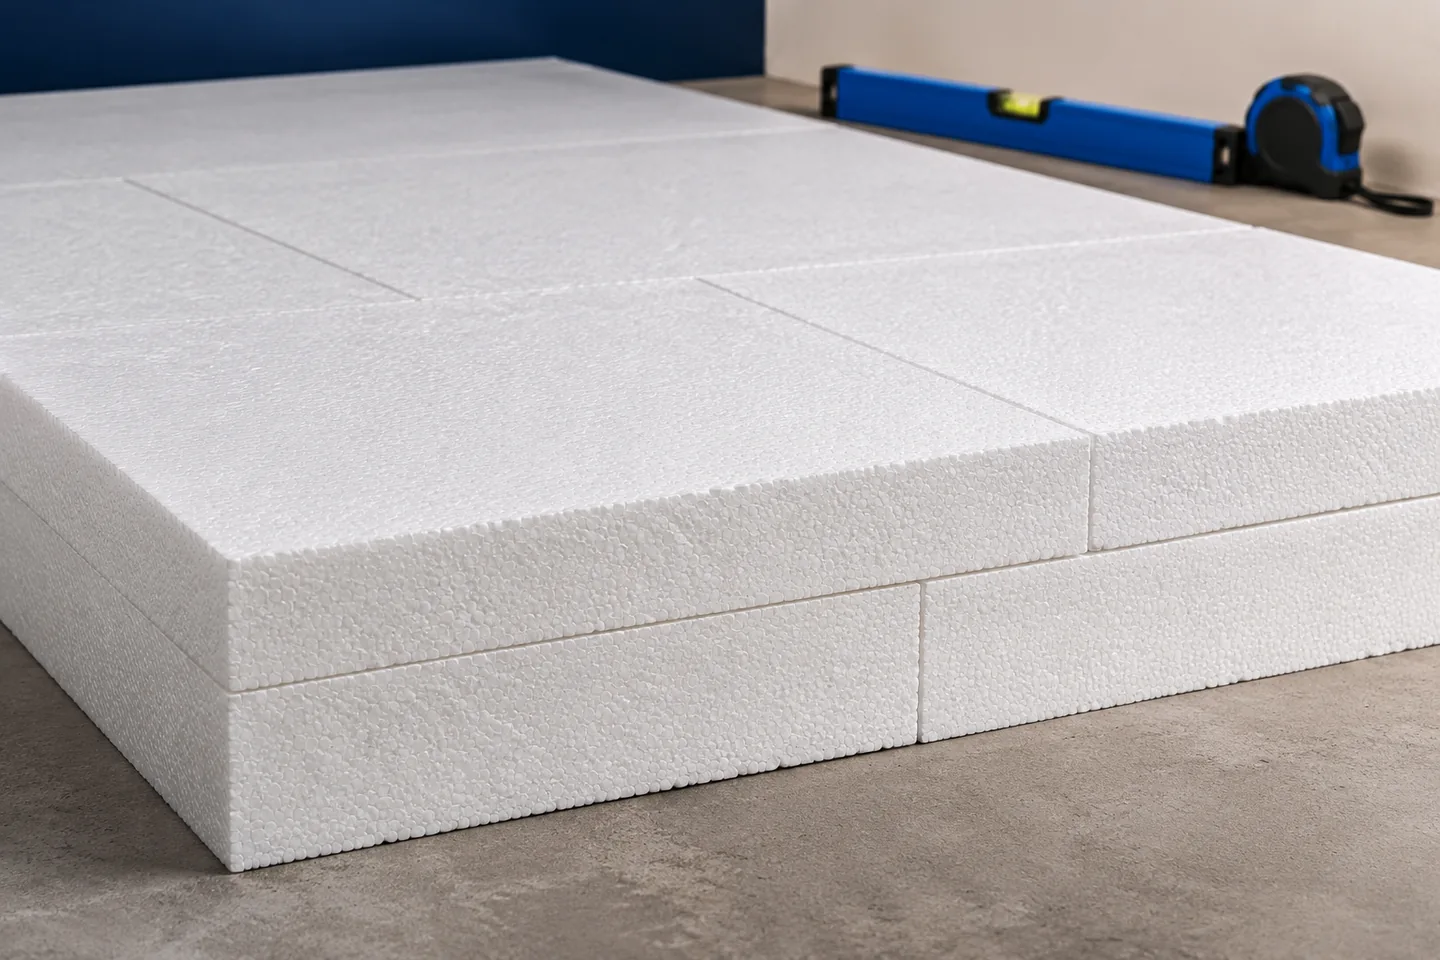
Two layers of floor-grade EPS let you offset joints, accommodate some services and fit the available floor depth. At the same conductivity…
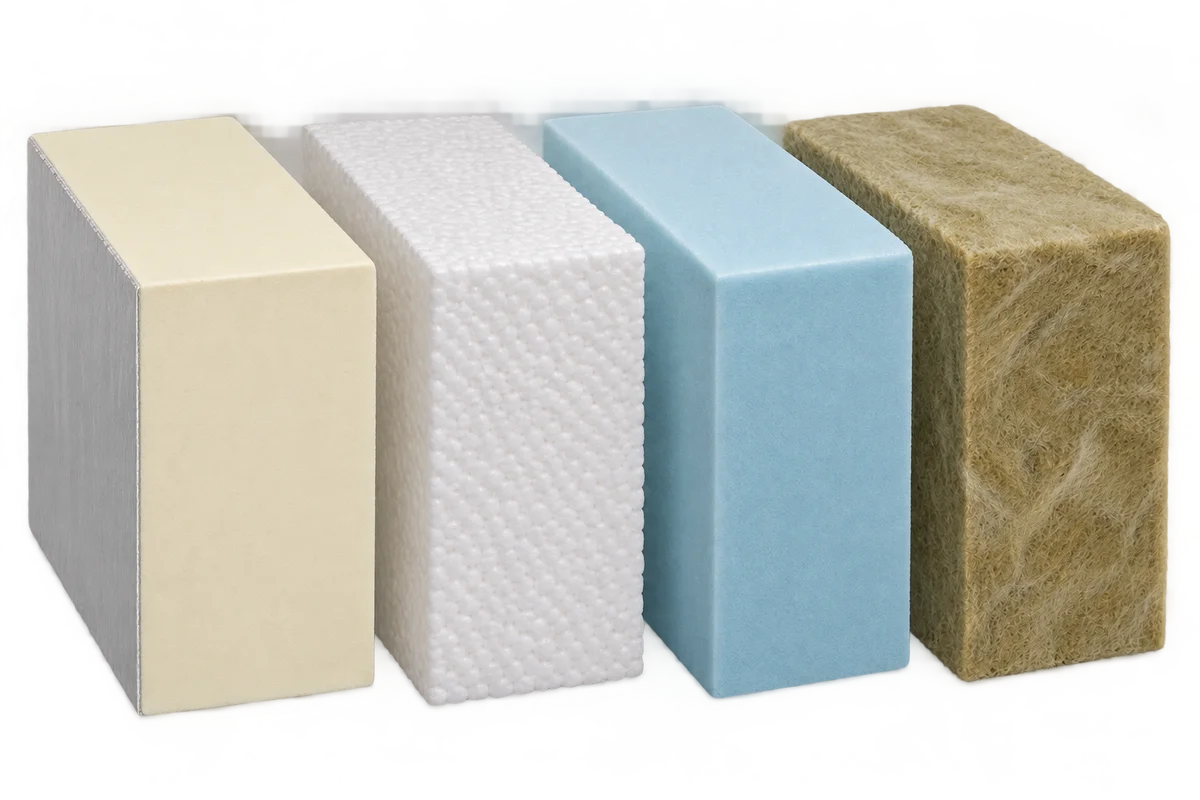
The combination of PIR with mineral wool, EPS or XPS should be assessed on the basis of the entire cross-section of the…
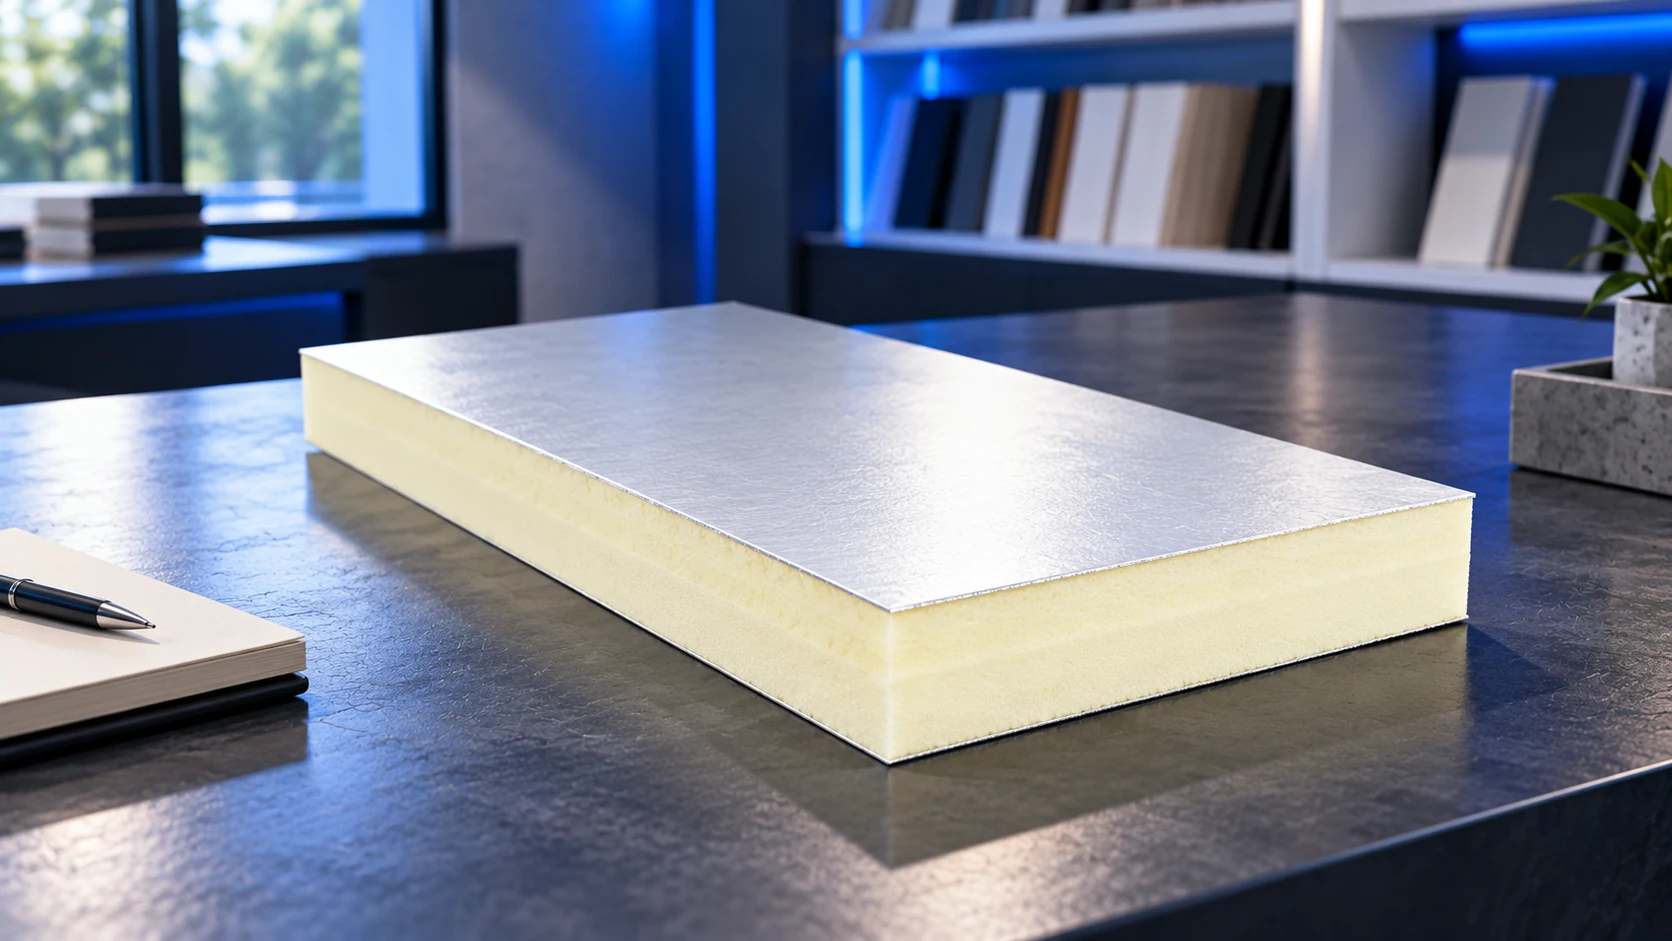
Insulation selection starts with its position in the building. A rendered wall, a roof and a continuously loaded floor impose different requirements.…