






Fitting EPS beneath a screed around pipes and services
EPS and thermal insulation
Before ordering EPS for a screeded floor, establish the finished level and mark pipe runs, sleeves and crossings on a plan. Allow for insulation, screed, heating and the floor finish, checking clearances at thresholds, stairs and doors. The insulation must have stable support over services too. A thin sheet cannot make up for a wide void, and thinning the screed locally is not a solution to a high pipe. Test services before covering them and photograph their routes against fixed reference points.
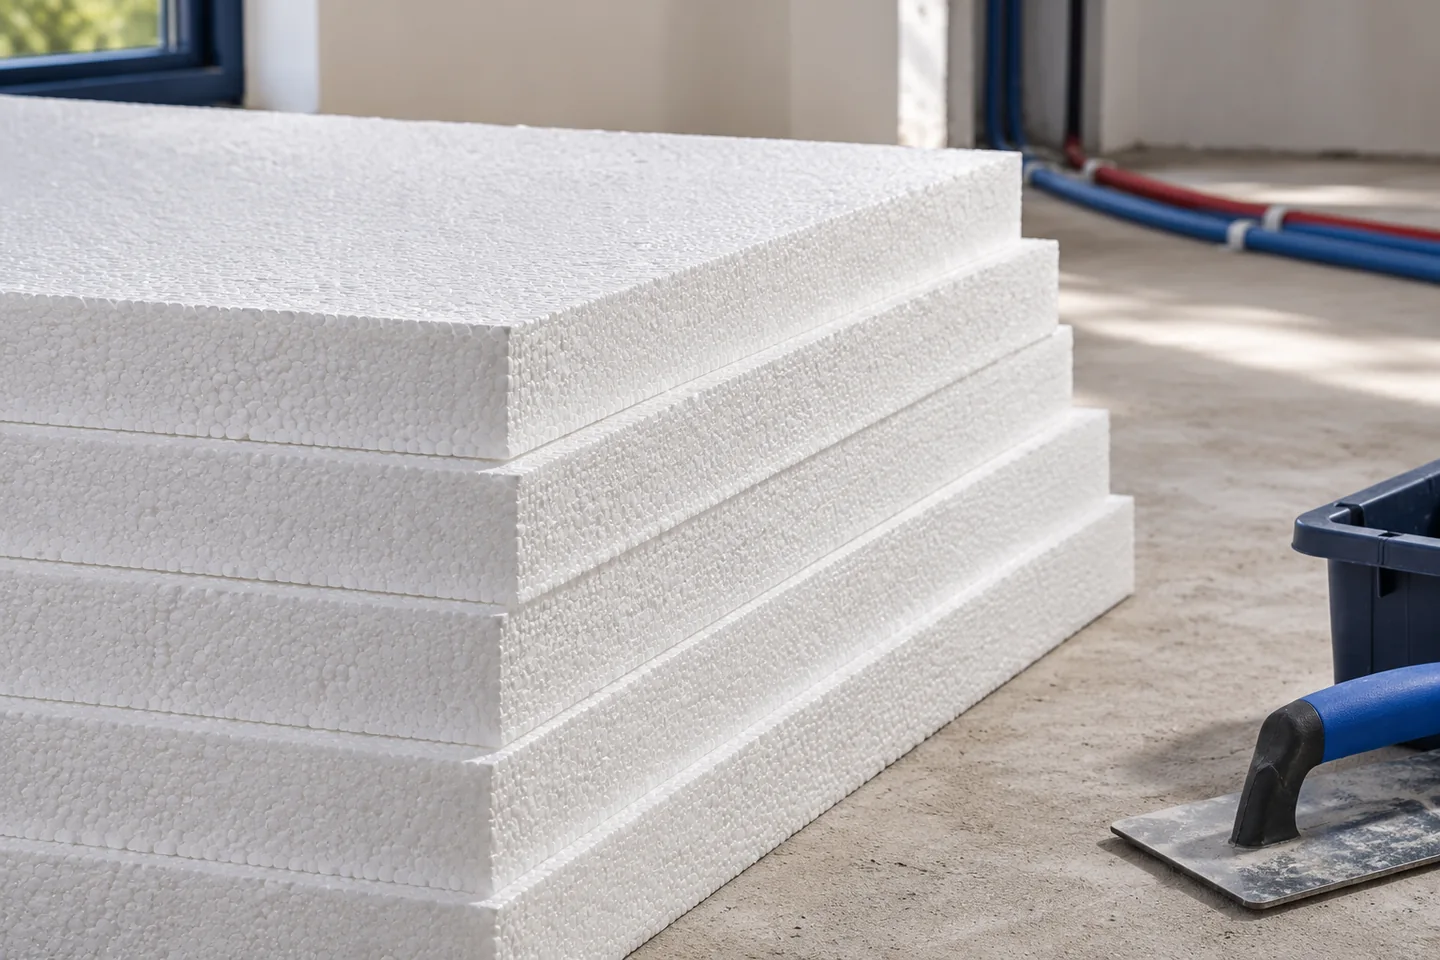
Set the overall floor height first
Plot runs and crossings, since crossings often determine the levelling depth. Do not reduce the screed thickness just to clear a bundle of pipes. Its thickness depends on the material, loads and floor build-up. Check any change against the performance of the whole floor.
How should the base be prepared?
Remove rubble, projecting mortar and other high spots. A board rocking on a lump of concrete lacks even support. The weight of wet screed will not reliably flatten it and may cause local deflection or concentrate load on a small area.
Use the specified levelling material for larger uneven areas and spaces between services. Not every loose fill is suitable beneath screed: it must stay stable without uncontrolled settlement. Maintain the damp-proof layer and repair any punctures made while securing services before covering them.
How should EPS fit around the services?
If the design allows, accommodate services in the lower insulation layer. Cut boards closely to avoid large voids; recesses must not leave the upper layer unsupported over whole sections. Fit narrow strips securely. Loose EPS fragments dropped around a pipe do not form an equivalent layer.
Preserve the protection and insulation required by each service. Heating, water and drain pipes have different requirements. Keep factory sleeves in place, allow for expansion and guard against damage. Careful routing reduces crossings and makes it easier to lay a continuous layer above.
Why provide a continuous layer above pipes?
Where specified, the top EPS layer gives the next components an even base. Offset its joints from the lower boards. That does not make a thin sheet capable of spanning a wide channel: the support beneath must still match the floor design.
Select EPS grade and thickness for the loads and long-term deformation. CS(10) is a compression test value at ten per cent strain, not the floor’s permissible service load. Partitions, heavy equipment and concentrated loads may need a separate assessment. Greater thickness alone does not resolve all loading issues.
What must be checked before placing the screed?
Complete and record the specified services tests while joints are accessible. Photograph pipe positions relative to walls or fixed reference points for later drilling and fitting out. A photograph of a bundle without scale or location is of limited practical use.
Check the separating layer and perimeter isolation against the design. A sheet above EPS is not automatically a waterproof membrane; its function, sealed joints and junctions determine that. Protect penetrations so the screed cannot form a rigid bridge to walls or components intended to remain isolated.
How do you inspect the completed EPS layer?
Walk carefully over the prepared boards and check stability. Investigate sinking, rocking or opening joints, especially at pipe crossings. An extra sheet may hide unevenness but cannot restore missing support beneath the screed.
Yetico, Knauf Therm, Austrotherm and Termo Organika offer floor-grade EPS. Match the properties of the actual grade to the designed floor build-up.
Plan access for screeding. Wheelbarrows, pumps and stacked bags impose temporary local loads unlike those in the finished home. Provide protection suited to the work sequence and inspect immediately before covering: the condition of the first boards several days earlier is not sufficient evidence.

Free quote
What to include in your enquiry
Tell us how you plan to use the material, the dimensions and the quantity you need. Include the thickness, grade or variant name, along with the delivery town or your preferred collection branch. For a specific product, add its name or a link to the product page. We will reply to the email address you provide to discuss availability and the terms of your order.
More from the building guide
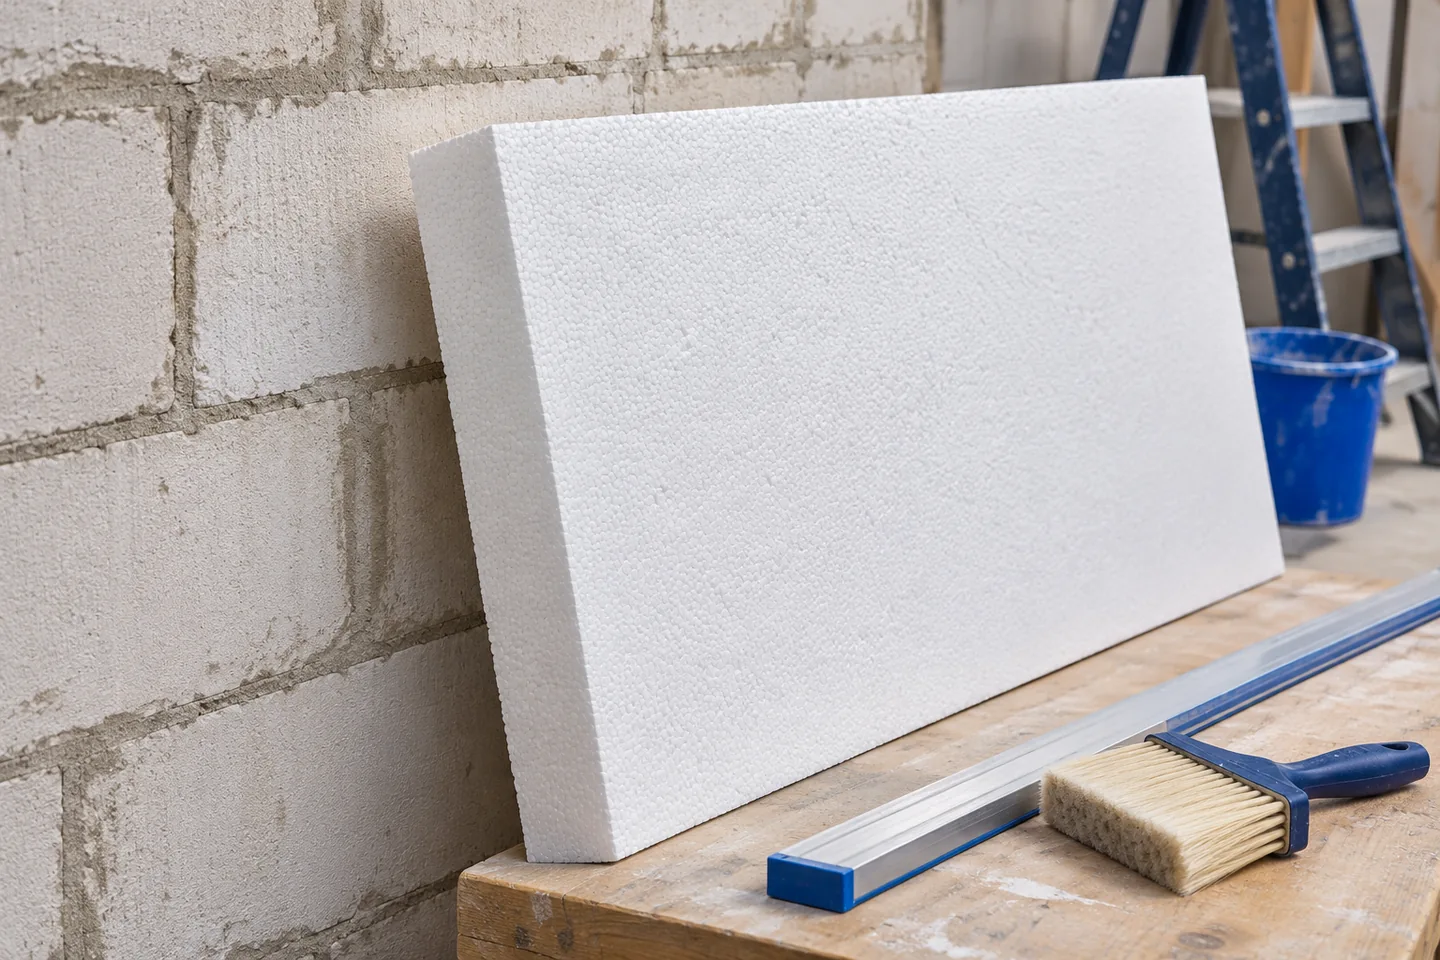
Before bonding expanded polystyrene (EPS) insulation, check that the wall is sound, dry, clean and flat enough for the specified adhesive. Inspect…
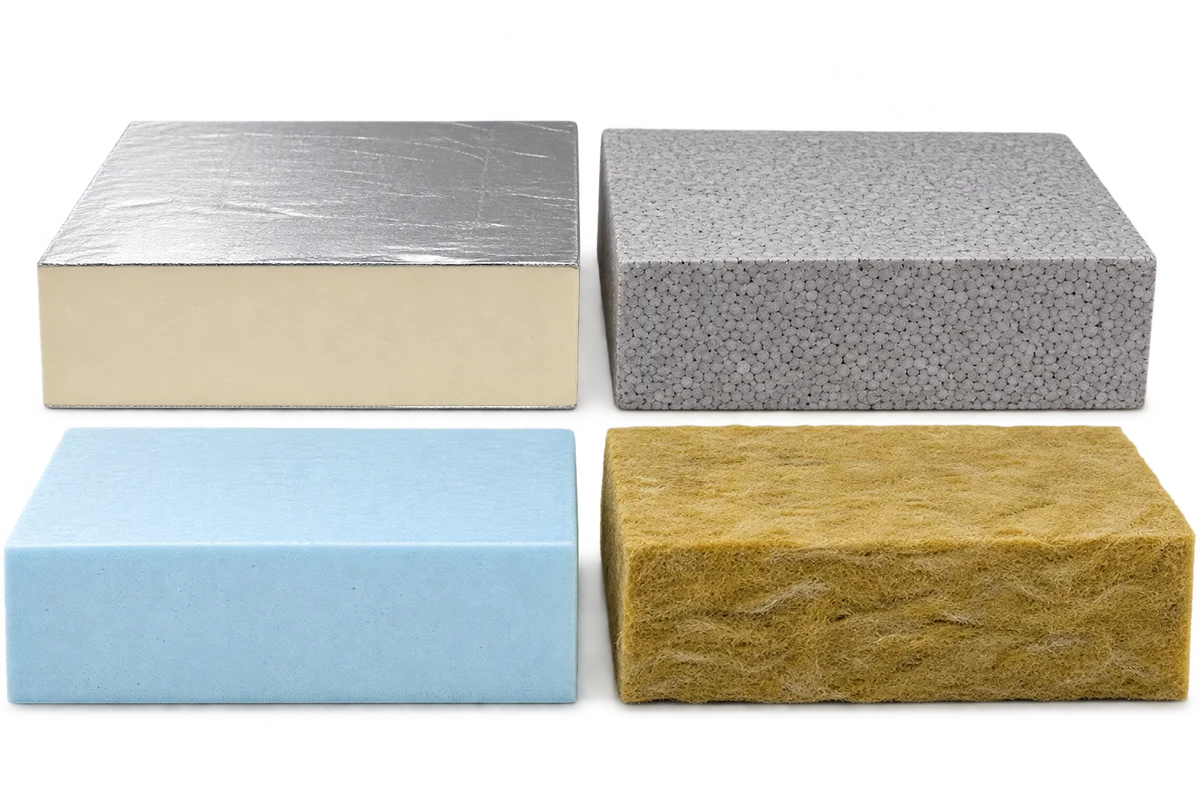
Two insulation quotations may cover the same part of a house while including different quantities and delivery arrangements. When comparing PIR, EPS,…
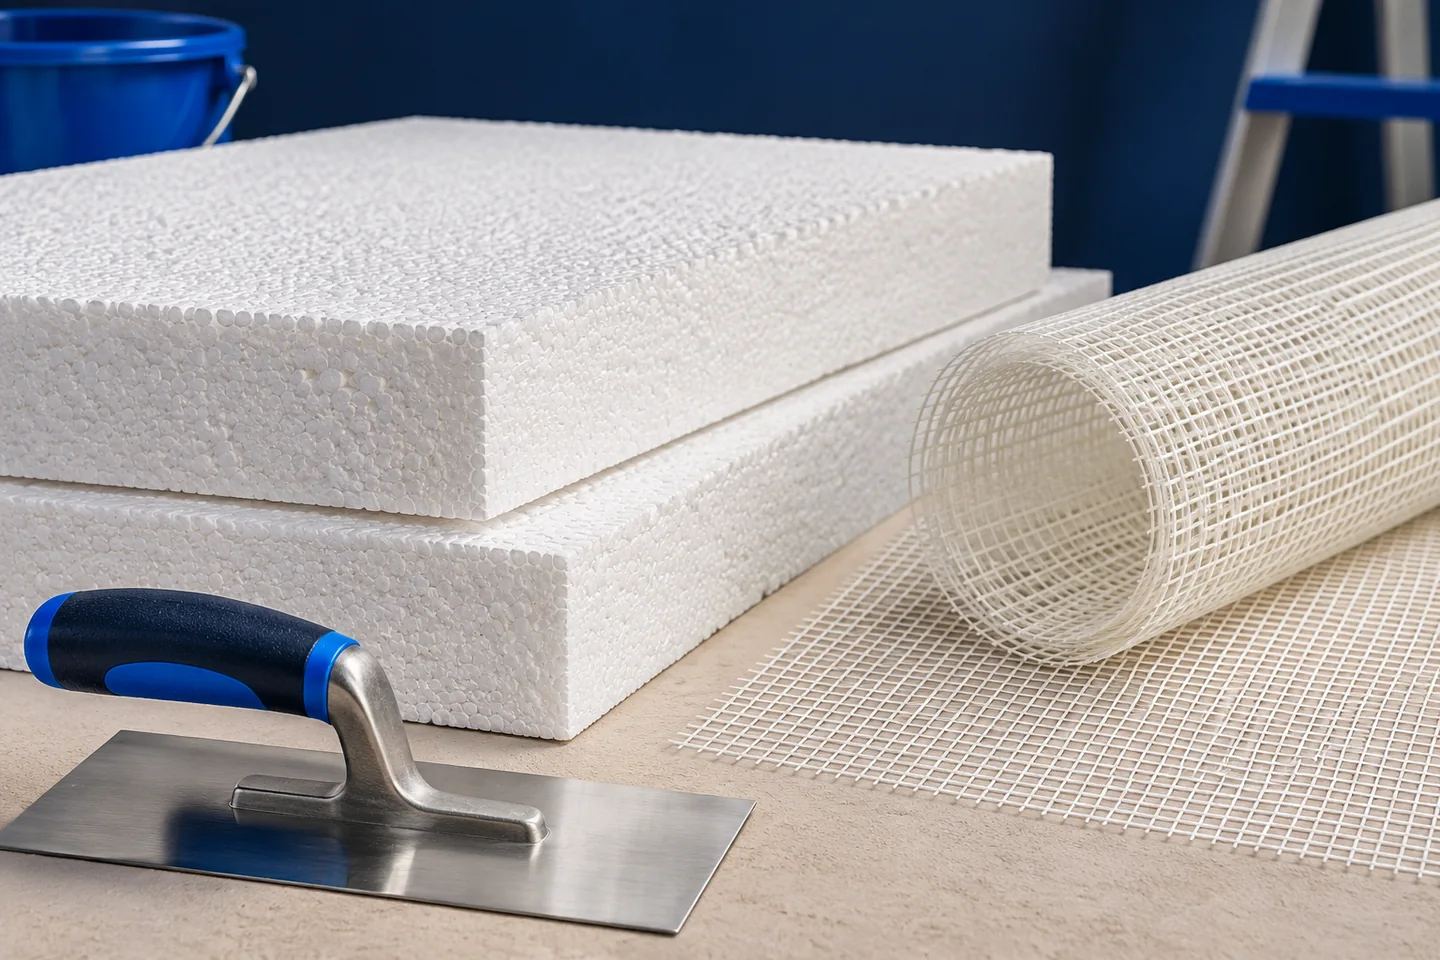
Embed the mesh in fresh base coat on stable, flat, dust-free EPS boards. Mortar must remain beneath the strands; putting mesh against…
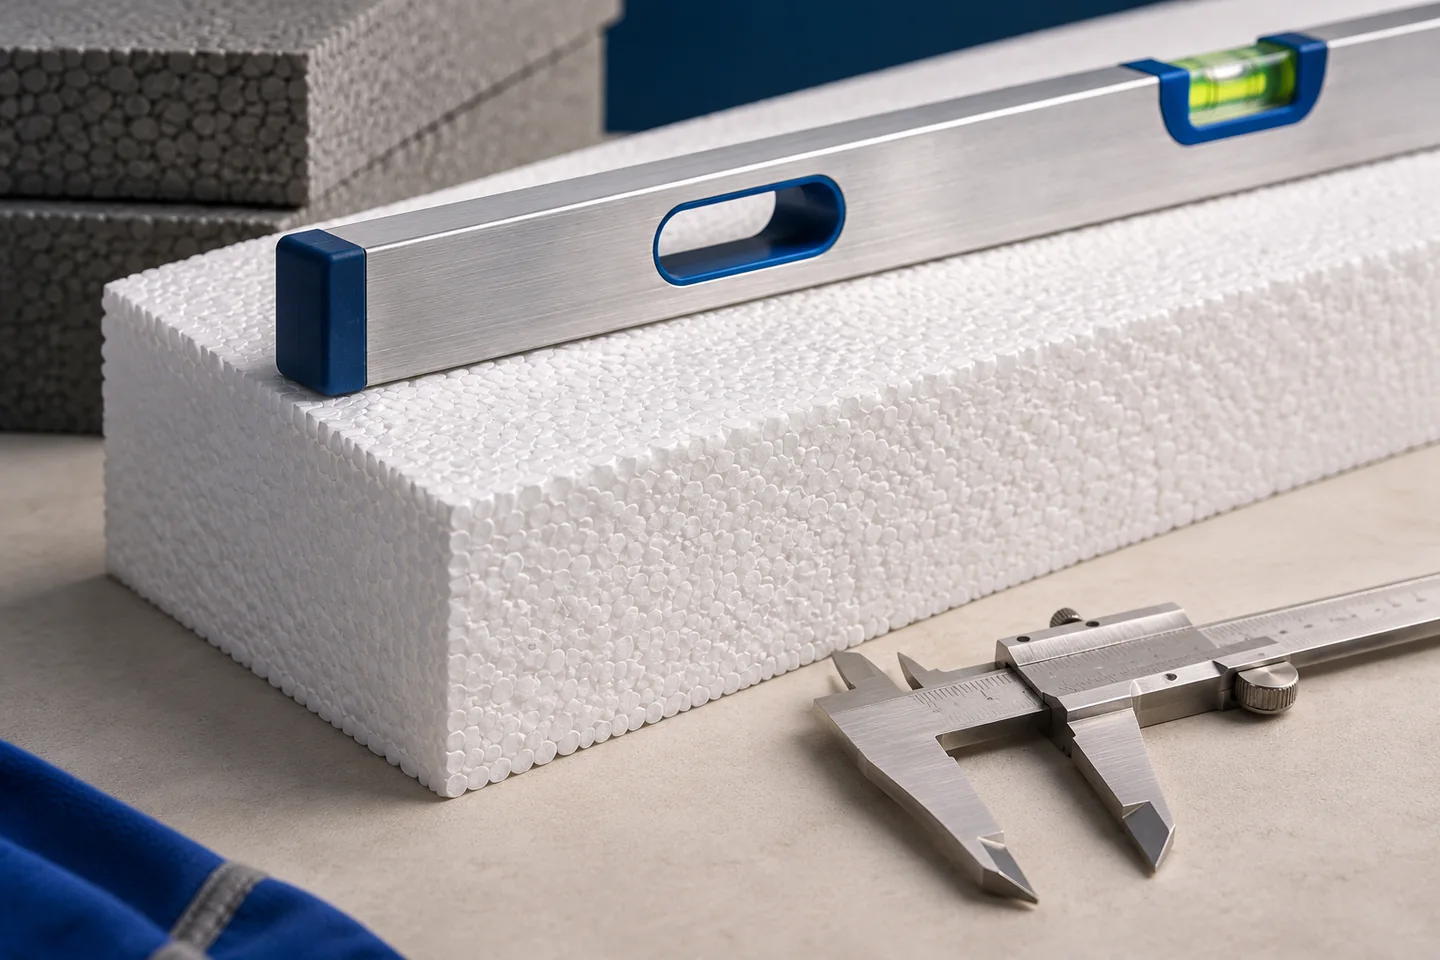
Inspect EPS insulation before each layer is covered. Compare the design and order with the board labels, checking application, thickness and properties…
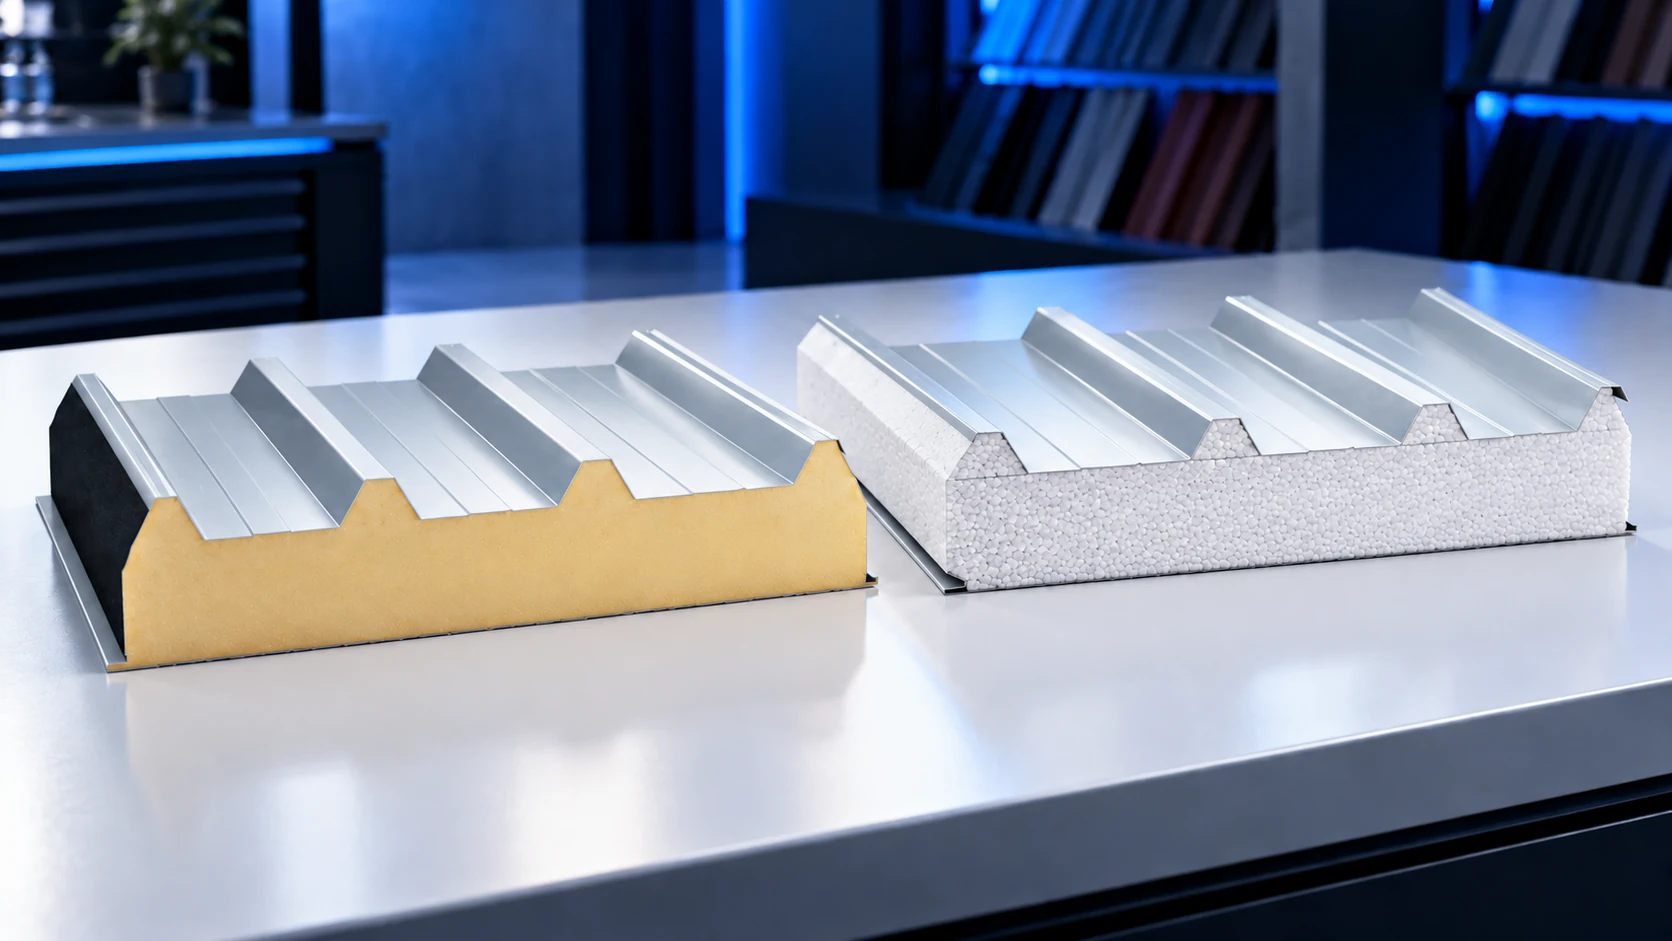
Compare PIR and EPS cores using the declared performance of complete roof sandwich panels, not figures for loose insulation boards. U-values, weight,…
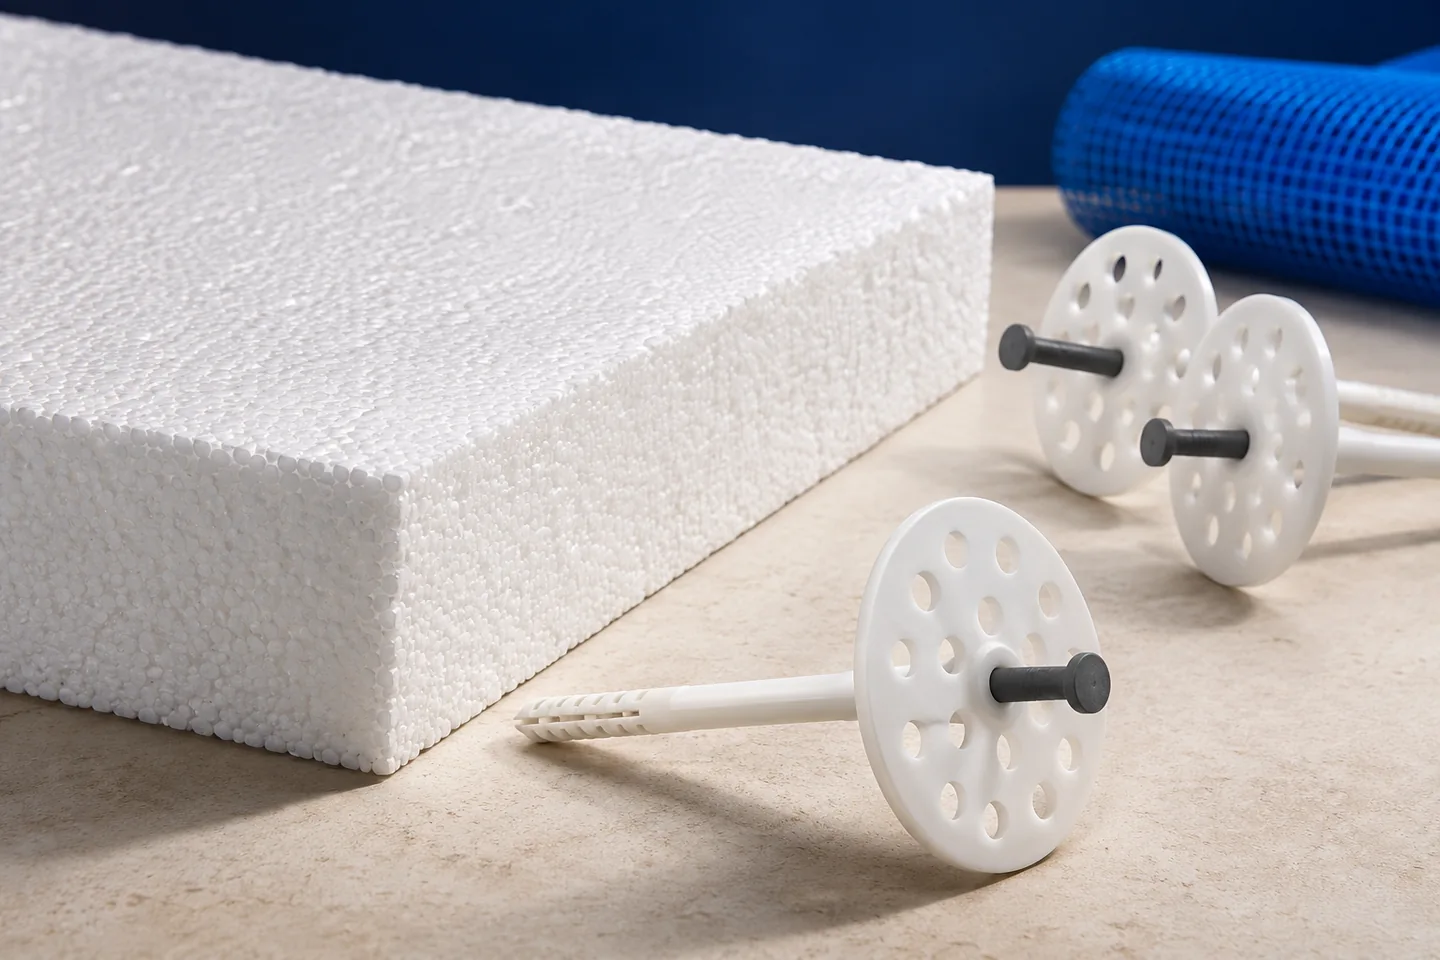
The insulation design and ETICS documentation determine whether EPS facade boards need mechanical fixings. The wall material and its condition, wind exposure,…
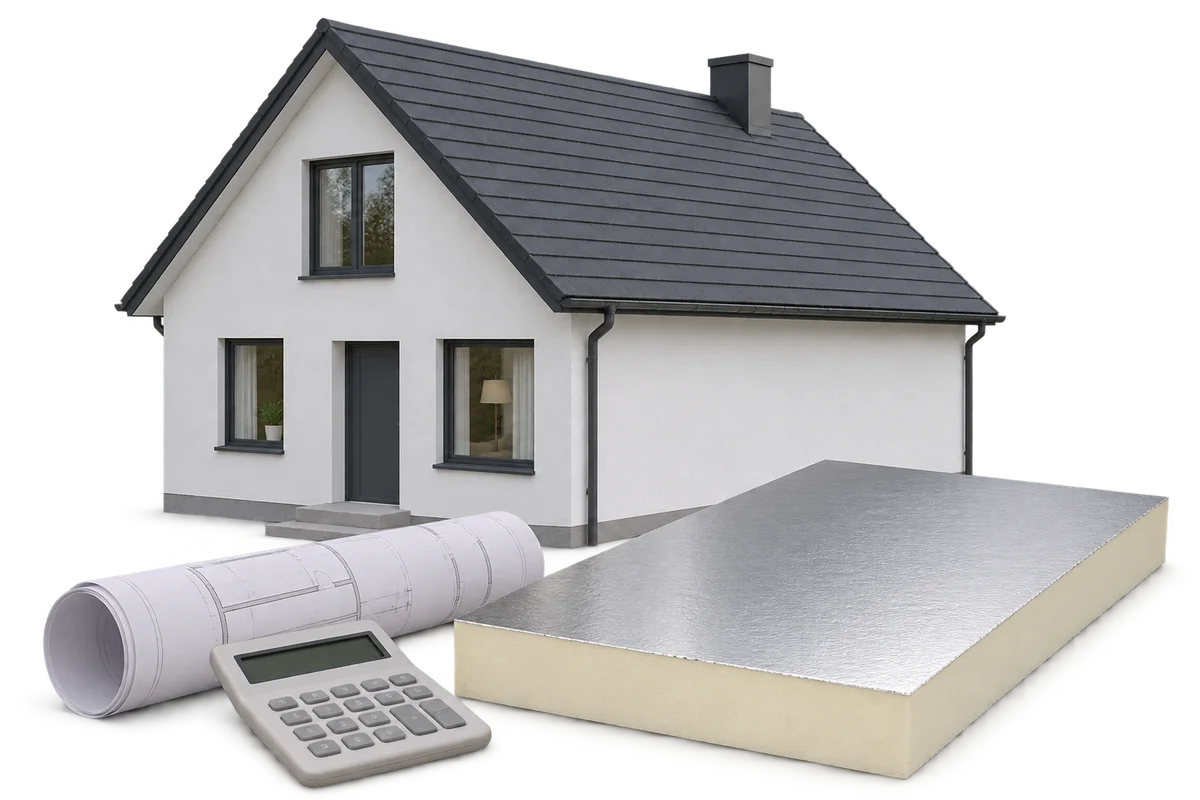
After insulating a home, check both energy consumption and the cost of purchasing it. A lower bill alone does not prove that…
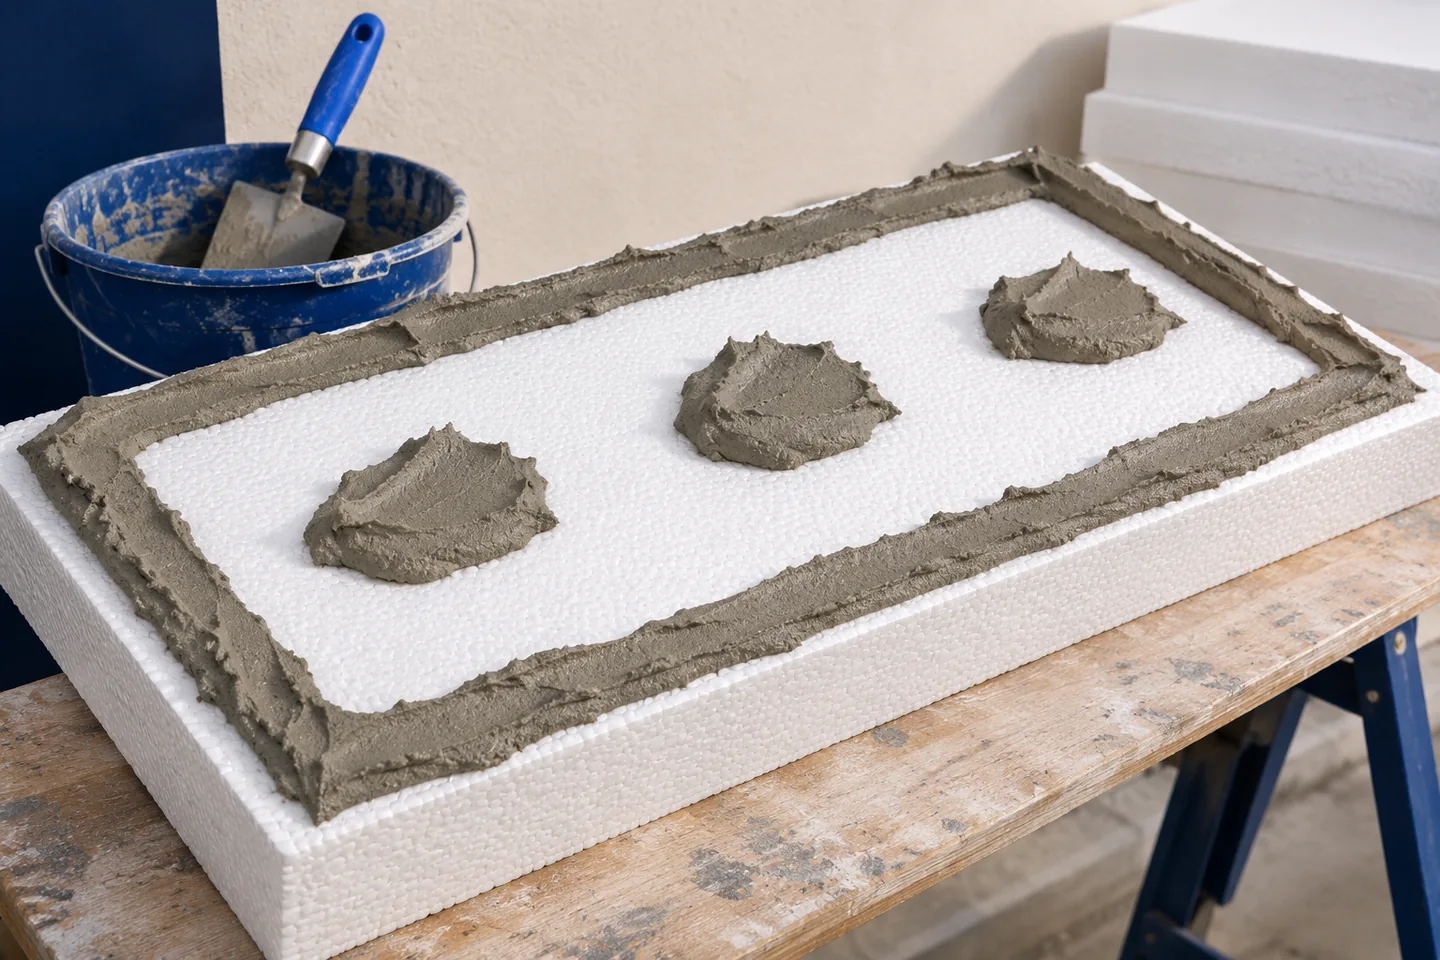
Use the bonding method specified for the substrate, EPS board and adhesive in your external thermal insulation composite system (ETICS). On a…