How to apply adhesive to EPS boards in an ETICS facade
EPS and thermal insulation
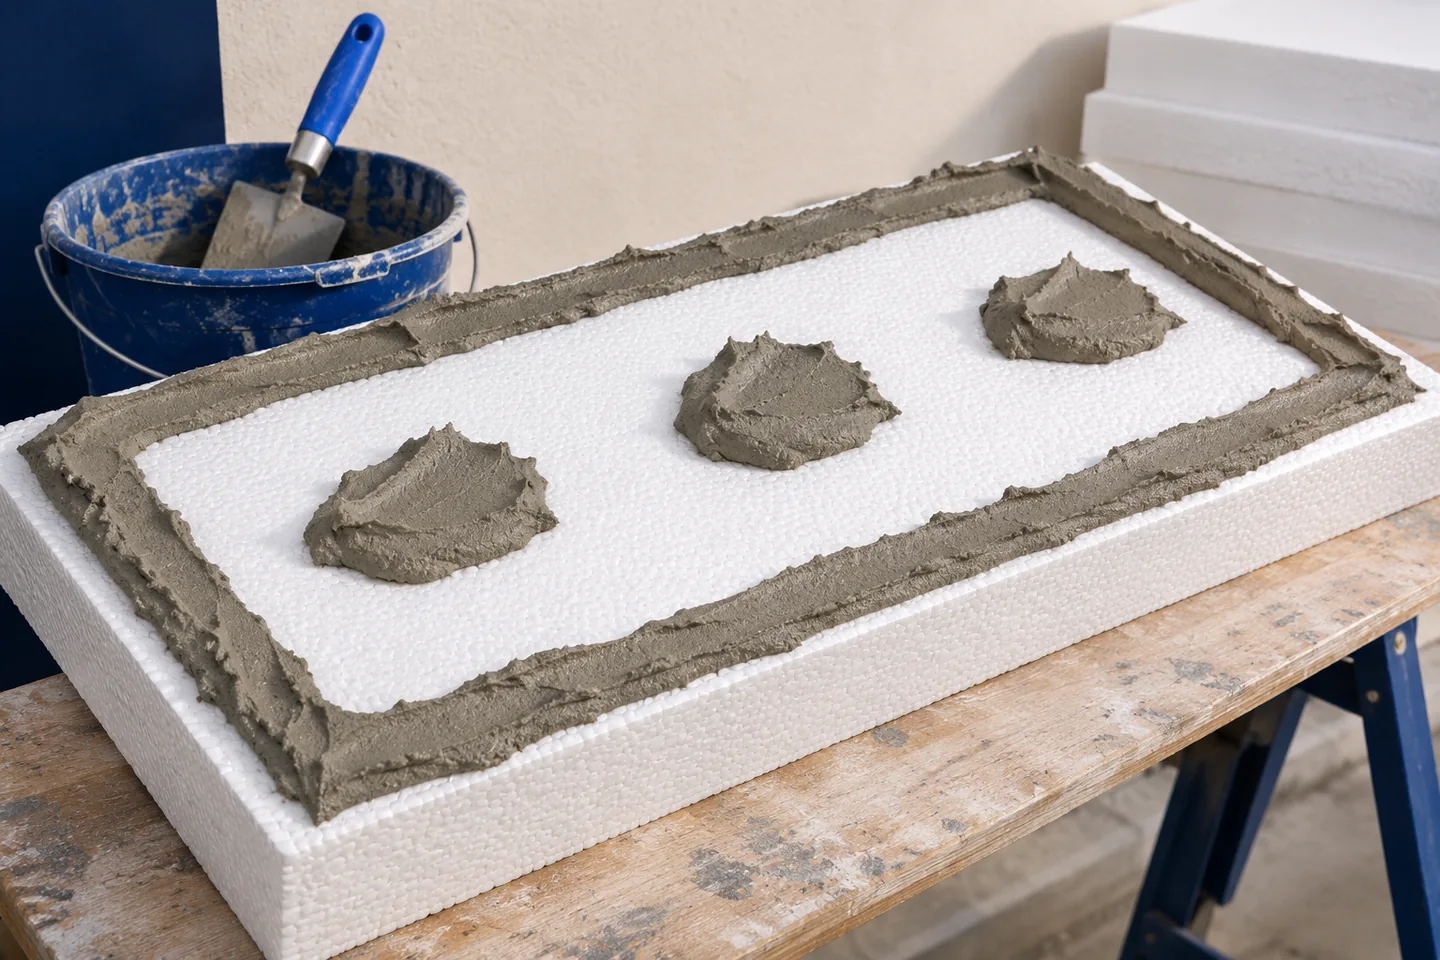
Use the bonding method specified for the substrate, EPS board and adhesive in your external thermal insulation composite system (ETICS). On a flat wall, the system may permit full-surface application with a notched trowel. With the perimeter-and-dab method, what matters is a continuous edge bead and sufficient contact after pressing the board home, rather than a particular number of dabs. Check the mortar’s intended use: a reinforced base coat is also suitable for bonding EPS only if the manufacturer specifies both uses.
Where should you start when choosing the mortar?
Check the substrate. Adhesive will not make loose render or dirty paint sound. An older facade may need cleaning, removal of weak layers and a bond test. Correct significant unevenness before insulating. The adhesive bed has a maximum thickness; it cannot simply be built up to straighten an entire wall.
What does the perimeter bead do?
In the perimeter-and-dab method, mortar forms a continuous bead near the board edges, with additional dabs in the middle. Follow the system instructions for the pattern and quantity. After pressing, the adhesive must make the required contact with the wall. The edge bead supports the perimeter and limits air movement behind the insulation.
A few isolated dabs do not give the same result: edges can remain unsupported and the bond may fall short of the system requirements. There is no single dab count for every board size and substrate. Use the specified method and inspect the actual contact area. The amount missing from the bucket does not tell you how well the board has bonded.
When should you use a notched trowel?
If the wall is sufficiently flat, the system may specify applying adhesive across the entire board with a notched trowel. Follow the instructions for notch size, direction and pressing technique. Parallel ridges alone do not prove a full bond; the mortar has to wet both surfaces.
This method cannot bridge large steps in masonry. If the board touches only the high spots, some adhesive will never reach the wall. At the start, lift a freshly fitted board as provided for in the installation procedure. Its contact pattern reveals more than the visible face of the insulation.
How should the adhesive be mixed and used?
Measure the water according to the technical data sheet. A wetter mix may spread more easily without giving a stronger bond. Follow the mixing sequence, including any standing time and remixing. Adding water once the mortar begins to set does not restore its original properties.
Distinguish the pot life of mixed mortar from the open time after spreading it on the board. Wind and sun accelerate surface drying, so prepare only as many boards as can be fitted in time. If a skin has formed, extra pressure is not a reliable remedy. Follow the product instructions for dealing with skinned adhesive.
Why keep mortar out of board joints?
Fit boards tightly together and keep adhesive off their mating edges. Mortar squeezed into a joint interrupts the insulation locally and can prevent the next board from fitting closely. Fill any gaps with the material specified by the system, never with leftover bonding mortar.
Align each board with the facade plane as you place it. Moving it once the mortar has started to set can break the bond without leaving a visible mark. Wait the specified time and ensure suitable curing conditions before sanding the boards or installing mechanical fixings.
What should be inspected while boards are being bonded?
Inspect the work as it progresses. Check wall preparation, the application method and the specified amount of mortar. Pay particular attention to corners and openings, where small offcuts can be difficult to support. Photographs of representative boards before fitting are a useful record of the adhesive pattern.
EPS board suppliers include Swisspor, Styropmin, Knauf Therm and Termo Organika. Compare the properties of the exact board with the requirements of the selected system.
Do not assume that adding more anchors later will correct poor bonding. The adhesive and mechanical fixings have defined roles in the design. If the installation departs from the specification, assess how it can be repaired before applying the reinforced base coat, while the cause is still accessible.

Free quote
What to include in your enquiry
Tell us how you plan to use the material, the dimensions and the quantity you need. Include the thickness, grade or variant name, along with the delivery town or your preferred collection branch. For a specific product, add its name or a link to the product page. We will reply to the email address you provide to discuss availability and the terms of your order.
More from the building guide
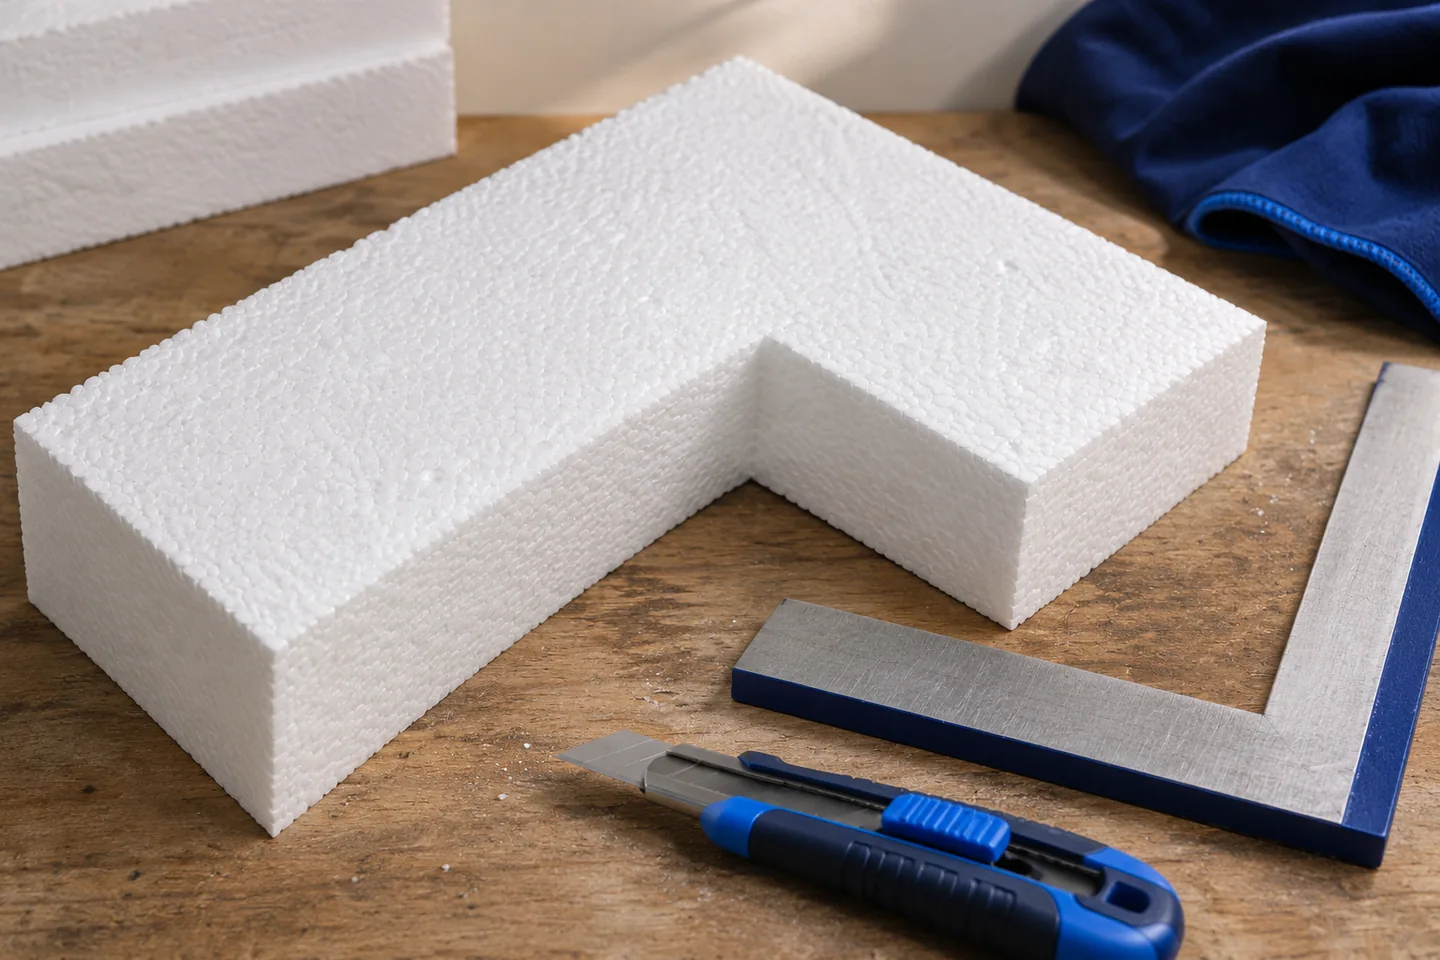
Three details work together at a window corner: an EPS board cut around the opening, diagonal mesh in the base coat and…
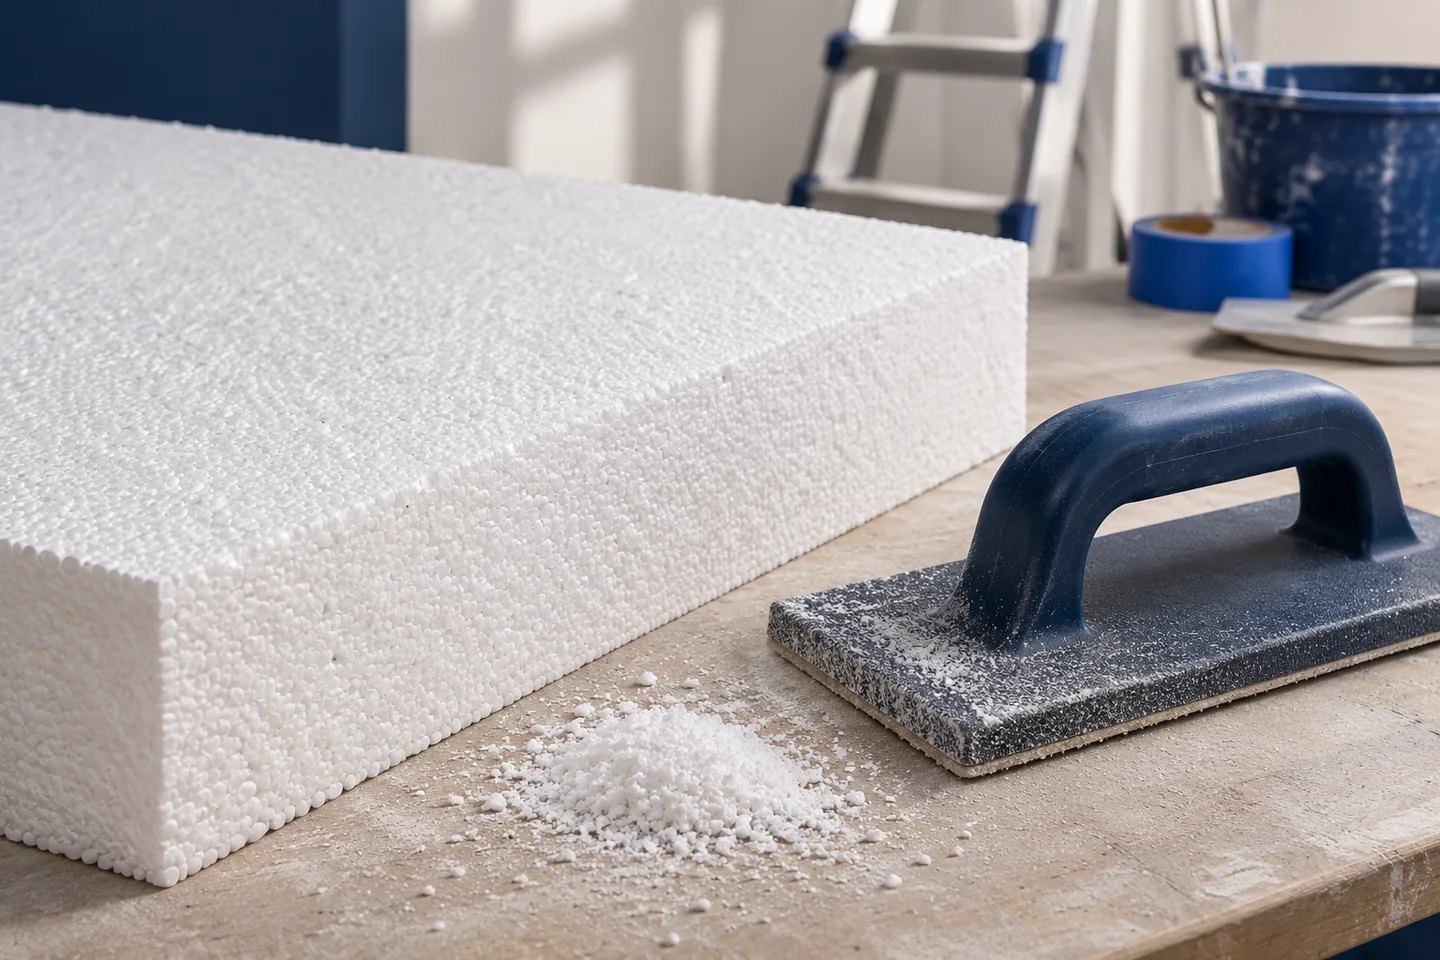
Sand facade EPS once the adhesive has cured under the conditions and for the time specified for the system, and the boards…
After insulating a home, check both energy consumption and the cost of purchasing it. A lower bill alone does not prove that…
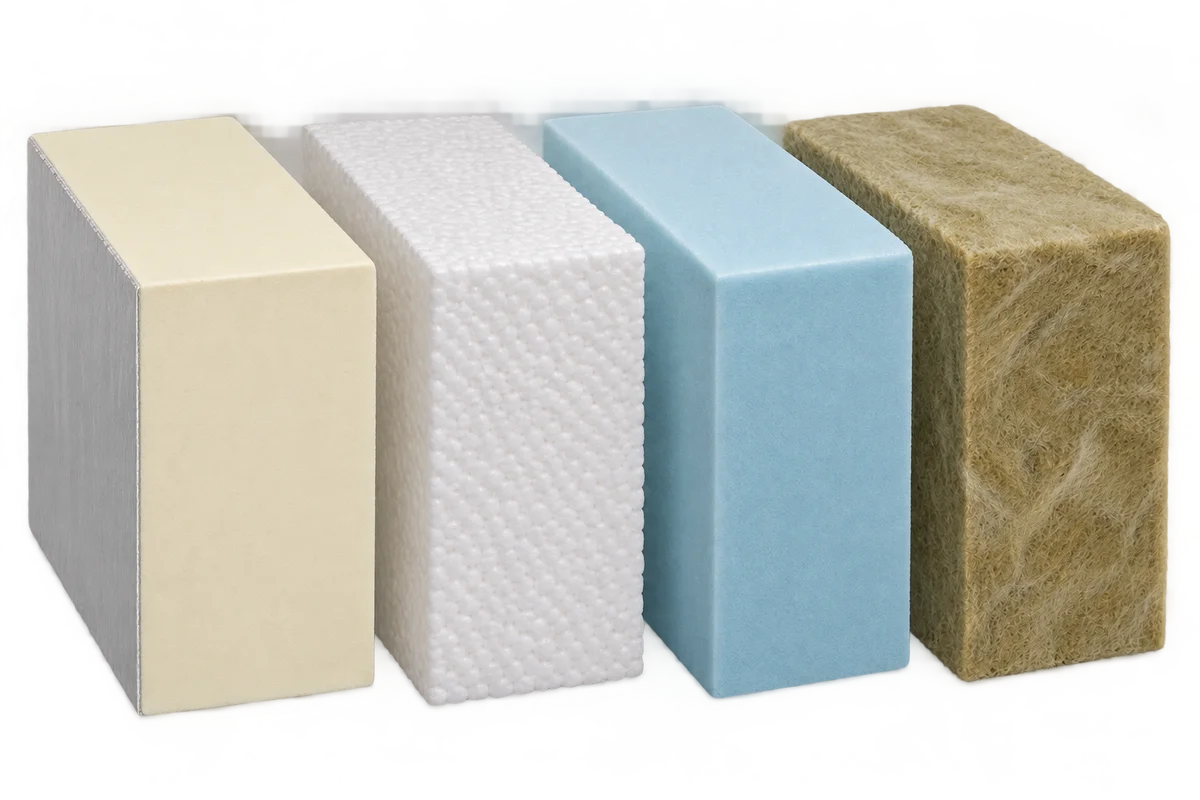
The combination of PIR with mineral wool, EPS or XPS should be assessed on the basis of the entire cross-section of the…
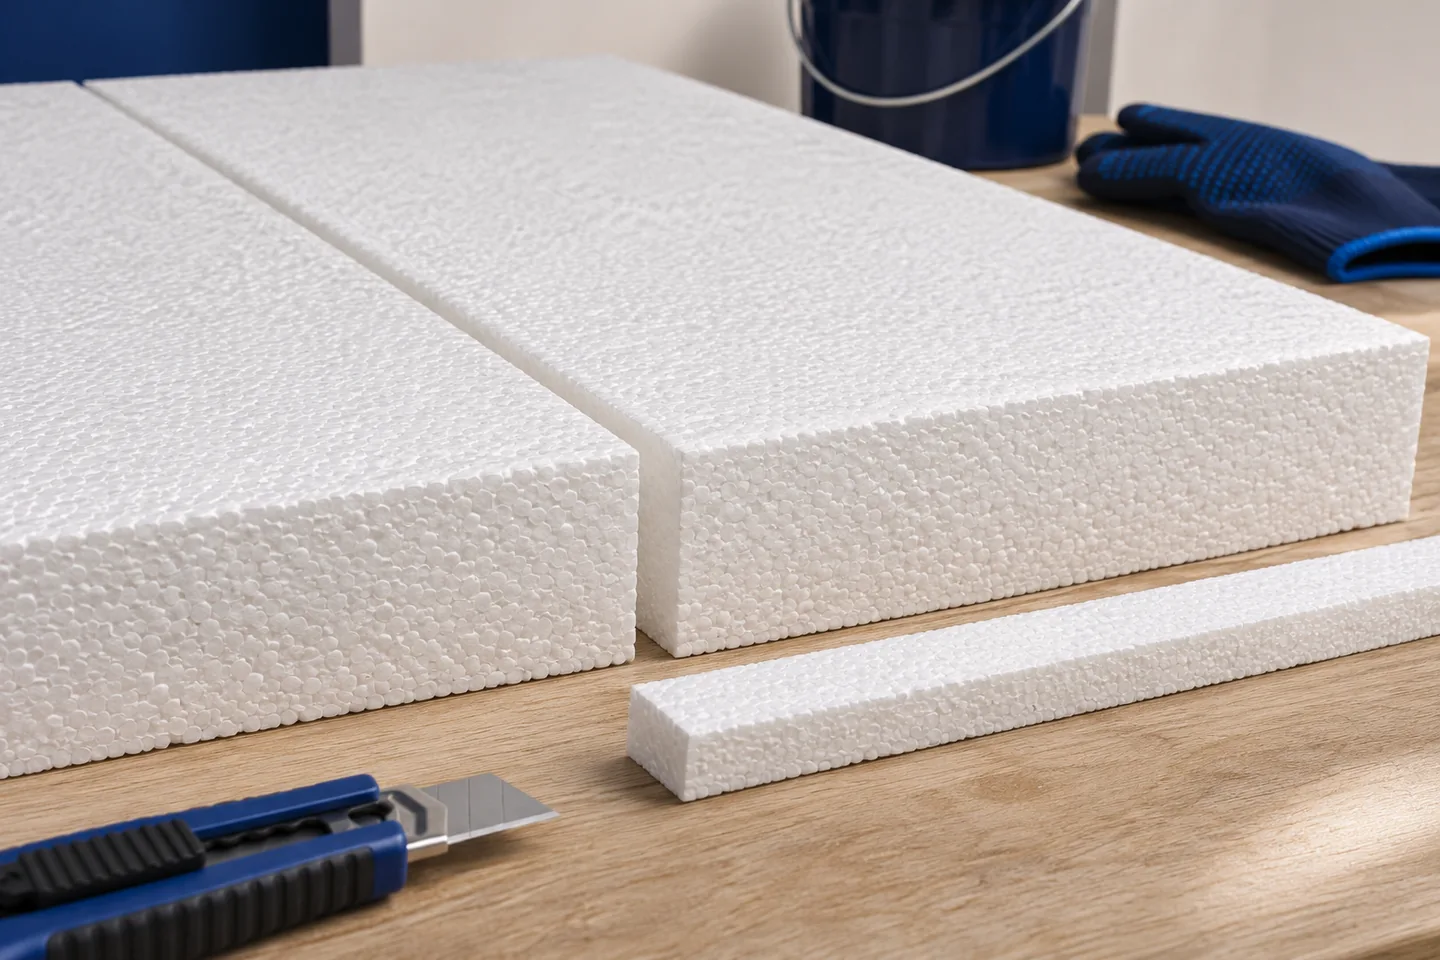
Inspect a gap between EPS boards to its full depth before applying the reinforced base coat. A poor cut, a damaged edge…
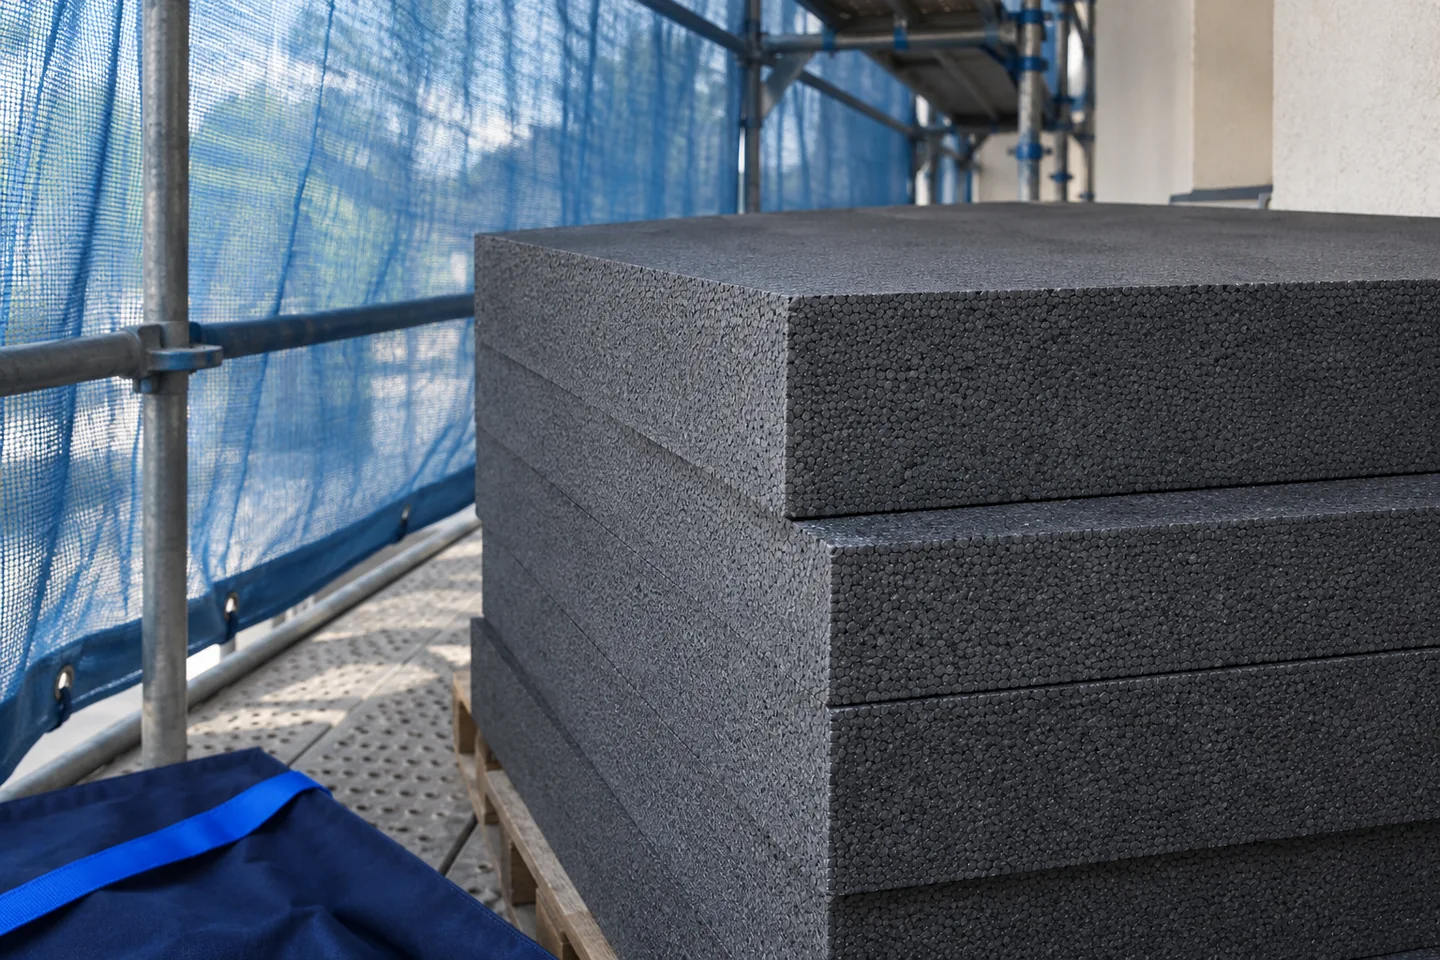
Protect graphite EPS from direct sunlight in storage, during bonding and while the adhesive sets. The dark surface absorbs more solar radiation…
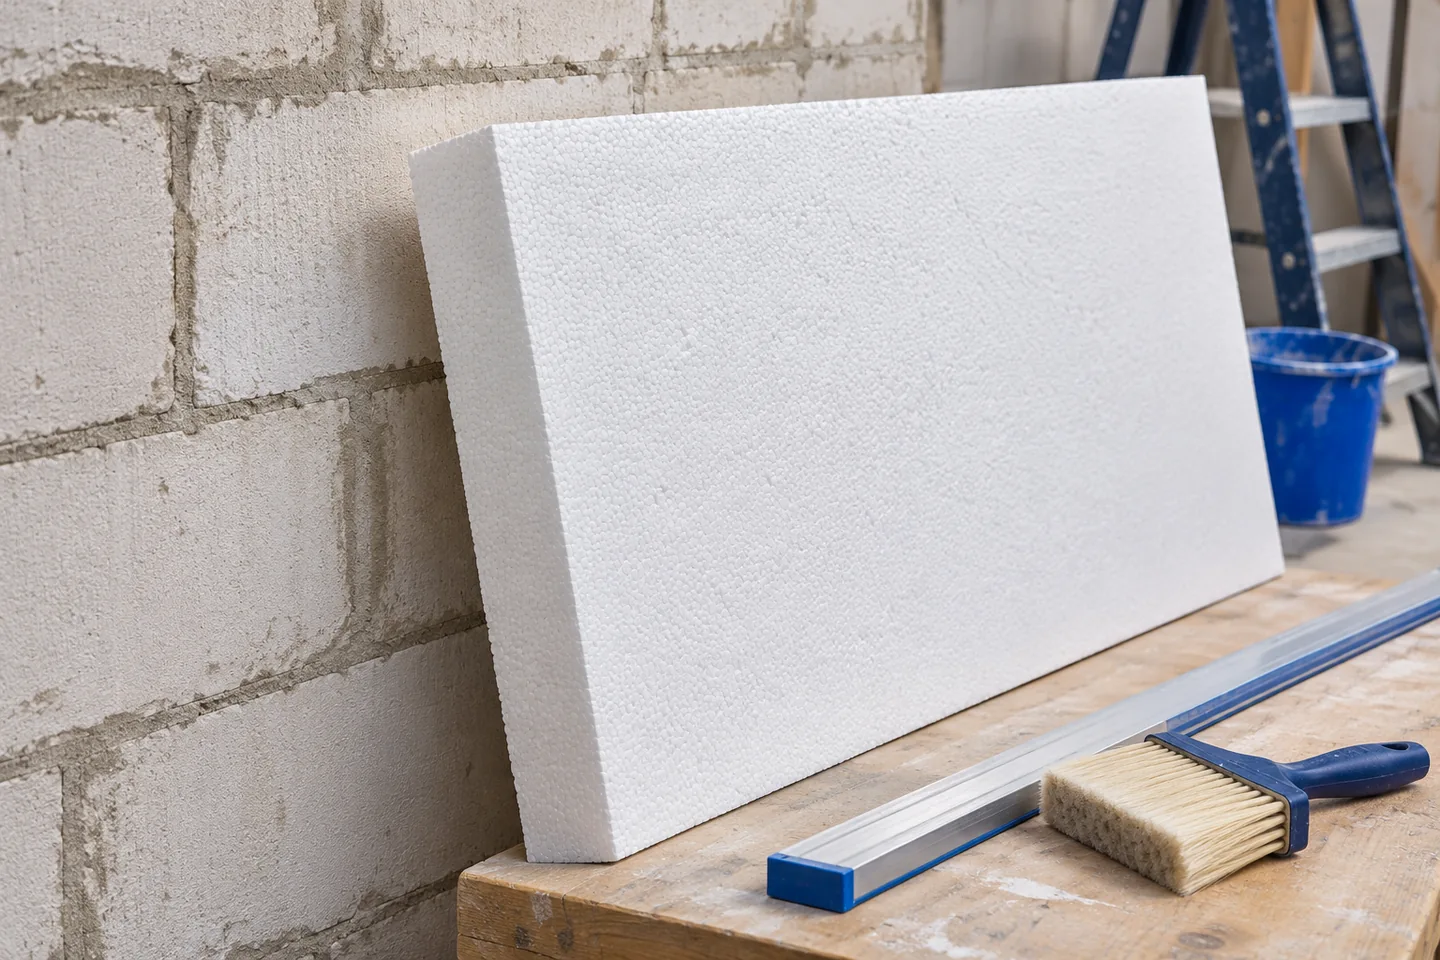
Before bonding expanded polystyrene (EPS) insulation, check that the wall is sound, dry, clean and flat enough for the specified adhesive. Inspect…
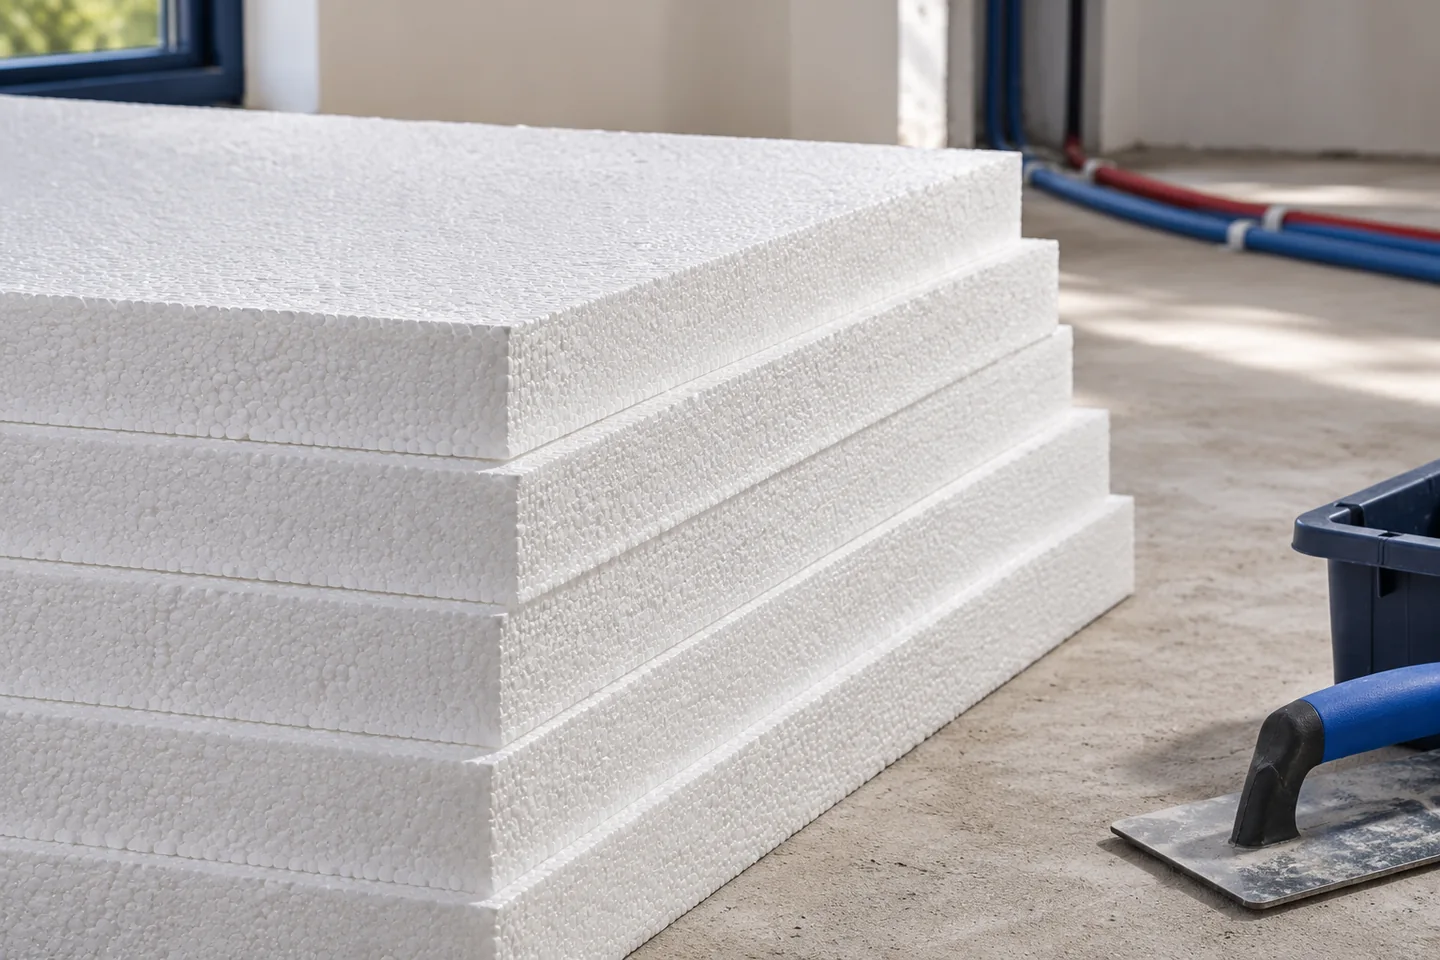
Before ordering EPS for a screeded floor, establish the finished level and mark pipe runs, sleeves and crossings on a plan. Allow…