





How can sandwich panels be installed over a masonry wall?
Sandwich panels
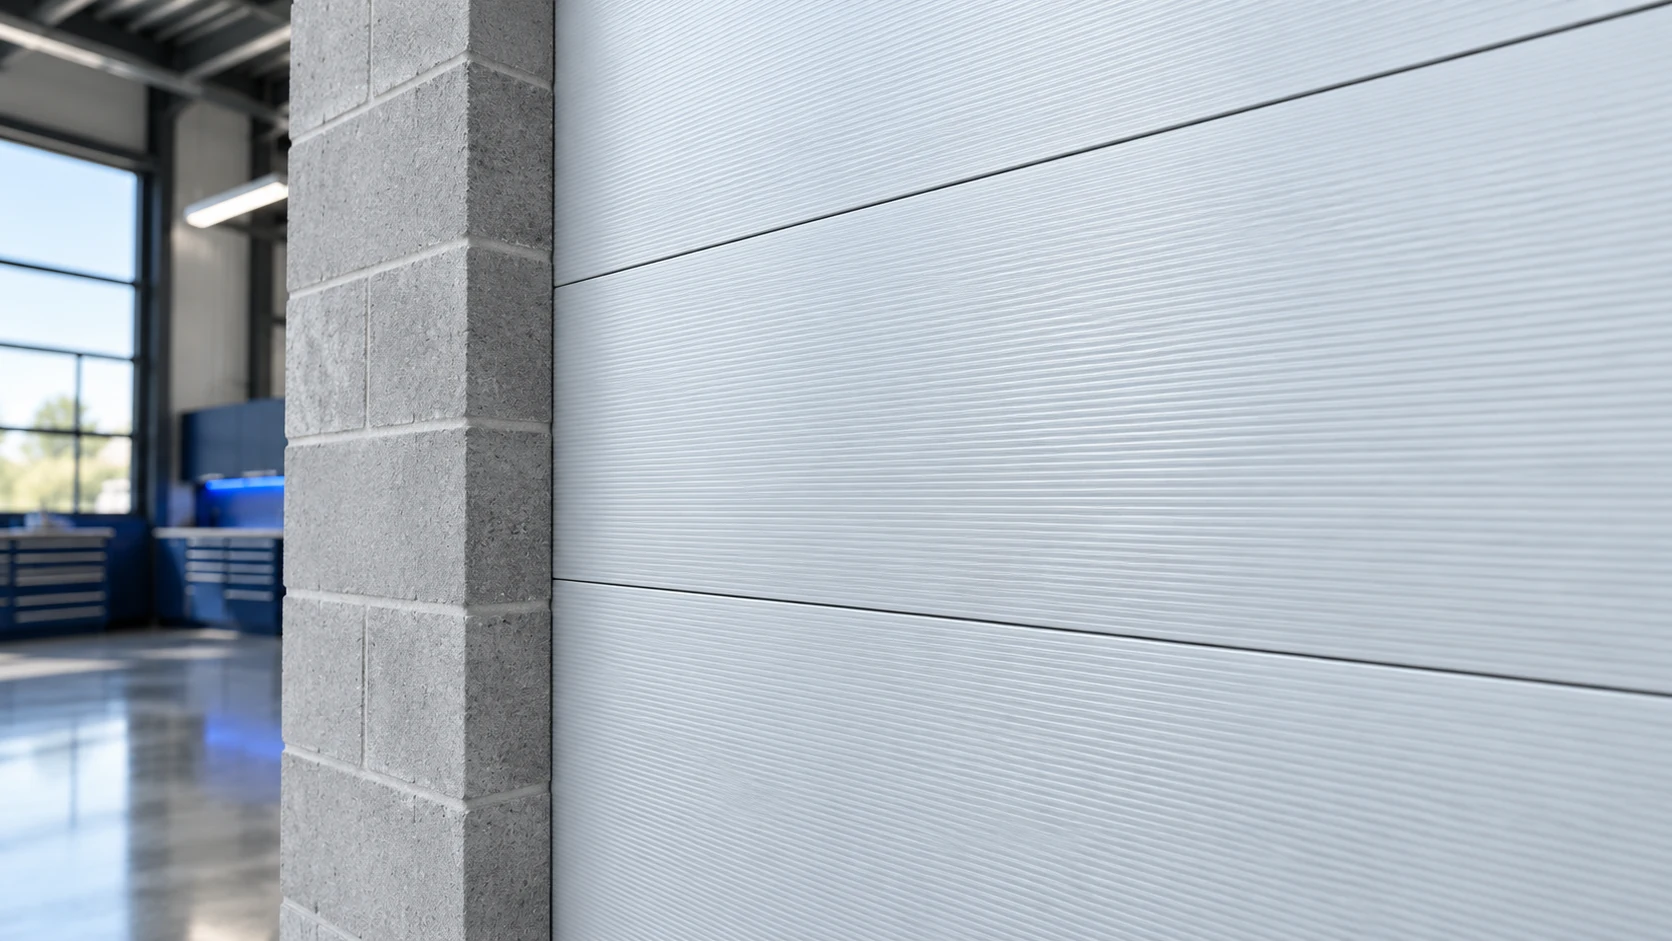
Sandwich panels can form an enclosure over a masonry wall, provided the substrate, connections and complete build-up are assessed for the project. Screwing panels into arbitrary points is not a design solution. One possible arrangement uses intermediate profiles anchored to the masonry, with panel fixings and seals selected for that system. This guide covers substrate investigation, setting out, moisture assessment, installation checks and costing. It does not prescribe one anchor size or support spacing for every old wall. Resolve dampness and structural uncertainties before covering the surface, and inspect anchors and profiles while their connections remain accessible.
Investigate the substrate before ordering
Establish the masonry material and condition. Solid brick, hollow units and aerated concrete require different fixing assessments. Check joints, damage and previous repairs. A render layer does not confirm the capacity of the material hidden behind it.
Where information is incomplete, a designer may need to investigate. Do not select anchors merely by insulation thickness: they transfer forces into the appropriate substrate. A typical fixing diagram cannot assess an individual old wall. Investigation and connection design should therefore precede ordering and site work.
How an intermediate substructure works
In one example, an intermediate profile is anchored to the masonry. Suitable tape is placed between profile and panel, and a selected screw with a sealing washer secures the panel. The profile provides an even fixing surface. This explains the arrangement, not the required anchor type, profile dimensions or fixing quantity for your wall.
Anchor type and spacing follow from loads and masonry properties. Profile shape and position must permit correct screw installation. An arbitrary angle section at random intervals is insufficient. Adapt the detail to the substrate, panel and wall arrangement, and allow inspection before the connection is covered.
Horizontal and vertical layouts may need different details. Do not copy one arrangement into both orientations without checking. Joints, support and flashings can differ. Execution drawings should identify the applicable version so installers do not have to improvise components or structural changes on site.
Set out the cladding plane and panel layout
Measure before drilling. Check vertical alignment, unevenness and opening positions, and establish the distance between masonry and the finished panel face. Resolve corners, the base and the roof termination. Missing flashing space may otherwise become apparent only after the first panels are installed.
Panel direction determines support layout. Vertical and horizontal installation require different connection planning; appearance alone should not decide. Confirm that the product permits the chosen orientation and that it meets the fixing design and panel requirements. Openings need their own edge details.
Do not conceal unresolved dampness
Check the wall for dampness before cladding. Identify the cause of water marks and damaged render. New panels do not repair leaks or rising damp; covering the surface may simply make later diagnosis harder.
Assess the thermal and moisture behaviour of the complete assembly, including panel position, indoor conditions and airtightness. Metal facings do not automatically resolve water-vapour movement through an existing wall. Manufacturer requirements address joints, but the specific refurbishment details belong in the project design.
Install panels after the supports have been checked
Check completed profiles and anchors for geometry and design compliance before fitting panels. Panel fasteners must suit the profile material and thickness. Maintain correct screw alignment and washer compression. Do not compensate for an uneven structure by crushing the facing.
Check each successive panel’s position and close joints as instructed. Make openings and cuts with suitable tools and protect exposed core ends. Photographs of supports, anchors and seals before concealment help the final inspection, especially where connections will later be inaccessible.
How to calculate the cost of this cladding
Separate panels from the substructure and masonry fixings in the quotation. Include substrate preparation, flashings, equipment and unloading. On an old building, allow for investigation and possible repairs. Panel price per square metre alone does not represent the refurbishment cost.
Start with a wall drawing and substrate description. Establish who selects anchors and profiles and how the work will be inspected. This gives masonry work, substructure and cladding a consistent basis. Otherwise, three separate quotations may all omit the crucial connections between their respective elements.
Frequently asked questions
Can the intermediate profile be omitted?
Do not independently omit a designed component. Any alternative fixing arrangement requires assessment for the specific panel and masonry.
Is a long anchor through the panel into brick enough?
This is not a universal method. Capacity, compression, sealing and the fastener’s intended scope of use must be checked.
Will panels resolve a damp wall without repairs?
They may hide the symptom, but not remove its cause. Assess the masonry and moisture conditions before cladding.

Free quote
What to include in your enquiry
Tell us how you plan to use the material, the dimensions and the quantity you need. Include the thickness, grade or variant name, along with the delivery town or your preferred collection branch. For a specific product, add its name or a link to the product page. We will reply to the email address you provide to discuss availability and the terms of your order.

More from the building guide
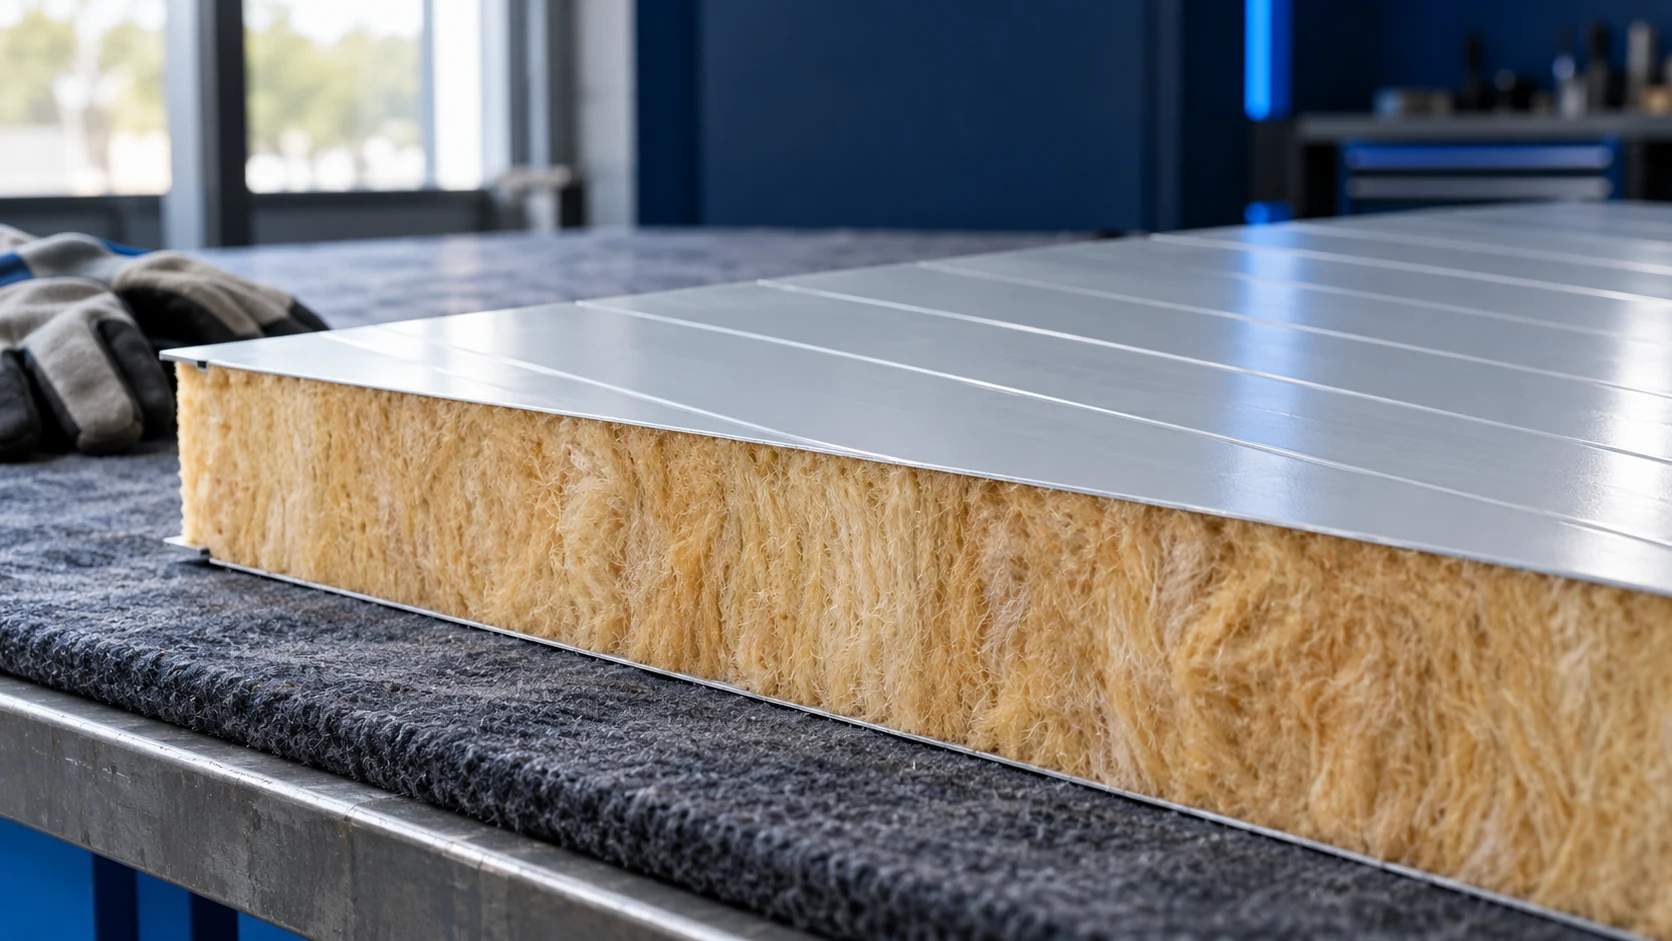
Sandwich panels need a cutting method that avoids overheating their steel facings. Select equipment for the complete panel section, such as a…
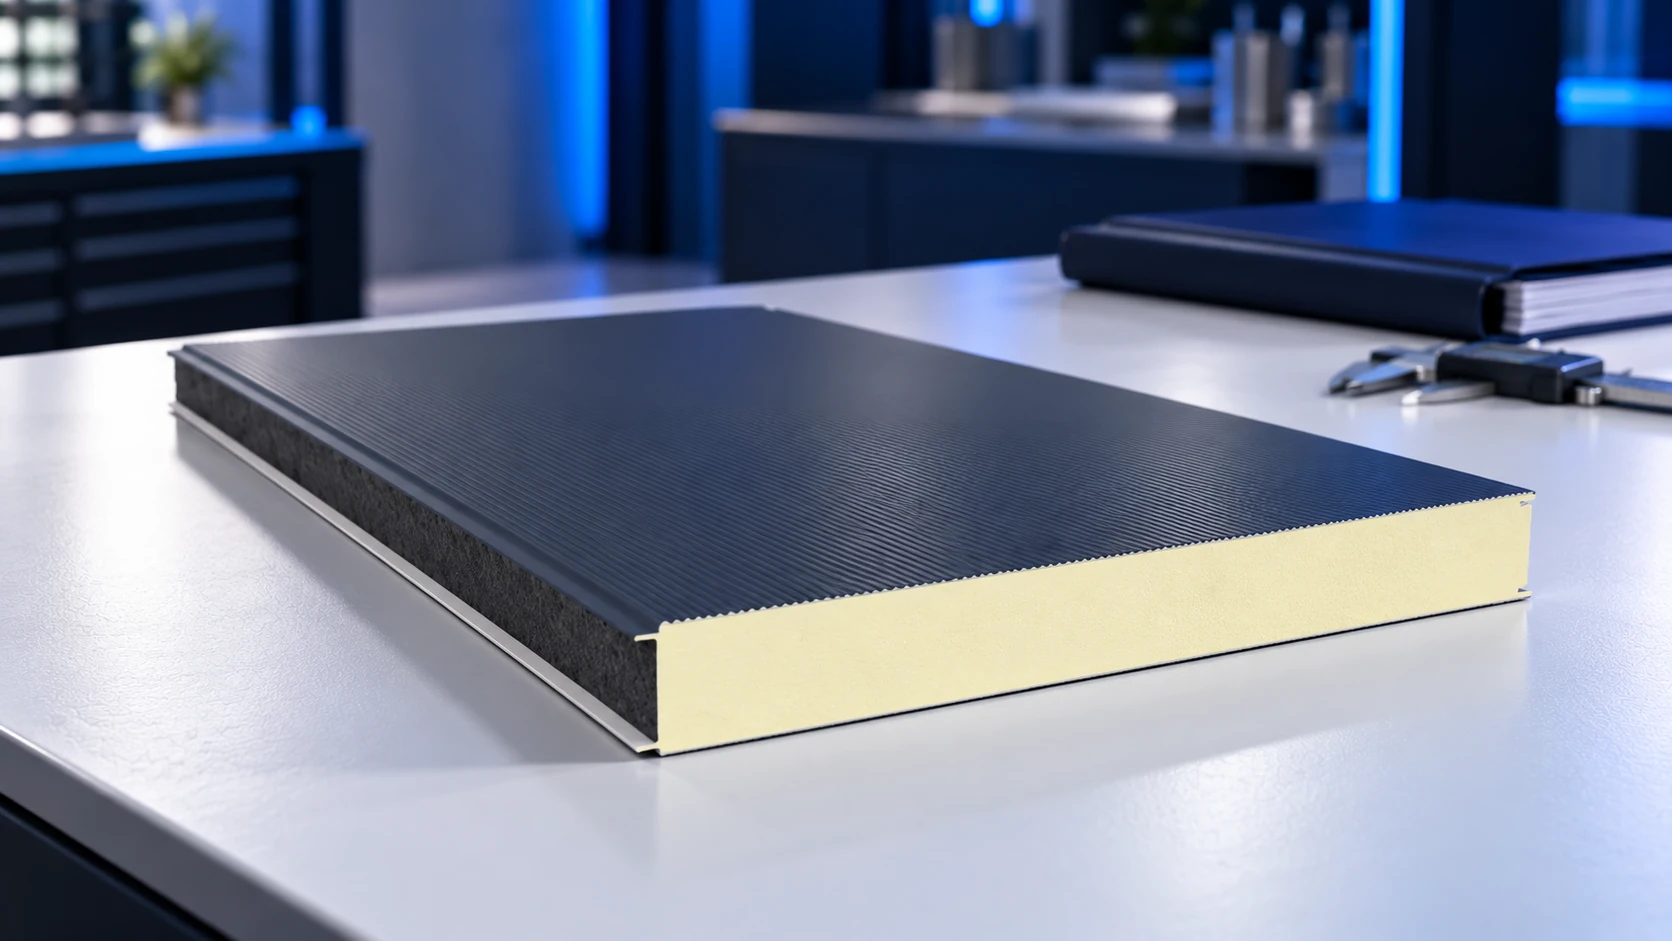
Sandwich-panel thickness is selected against thermal targets, loads and operating conditions. No single table converts a standard's name into a required number…
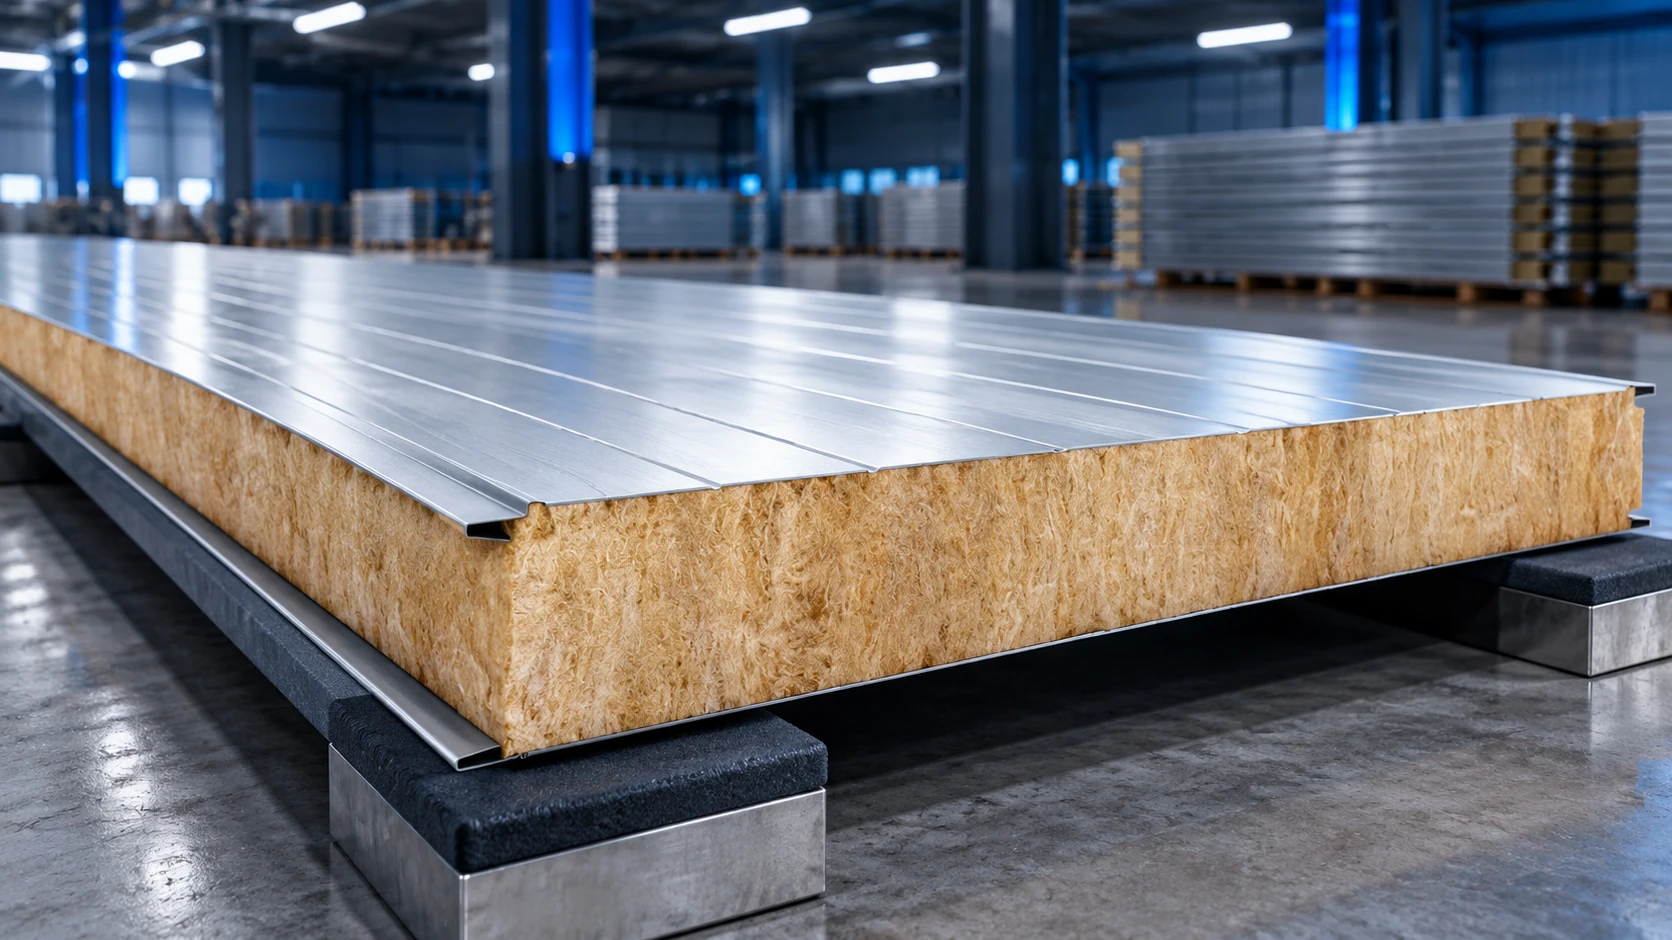
Mineral-wool panel weight depends on the model, thickness and both facings; there is no single figure for the whole product group. Planning…
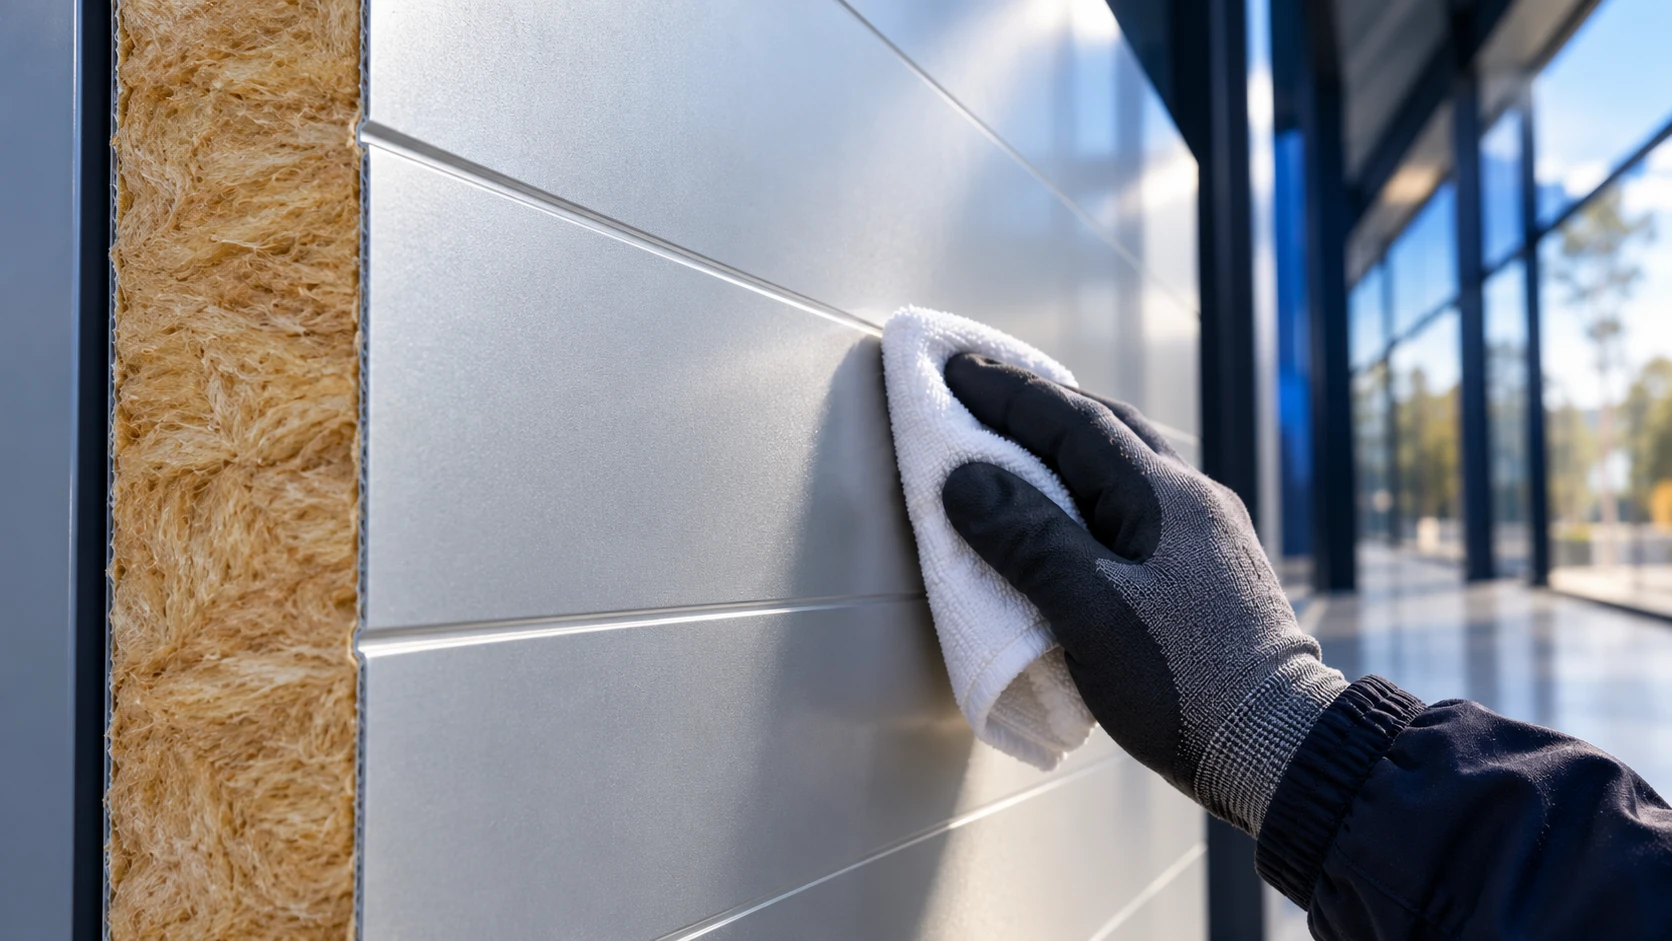
There is no single service-life figure for every mineral-wool sandwich panel. Conditions in a dry warehouse differ from those in a plant…
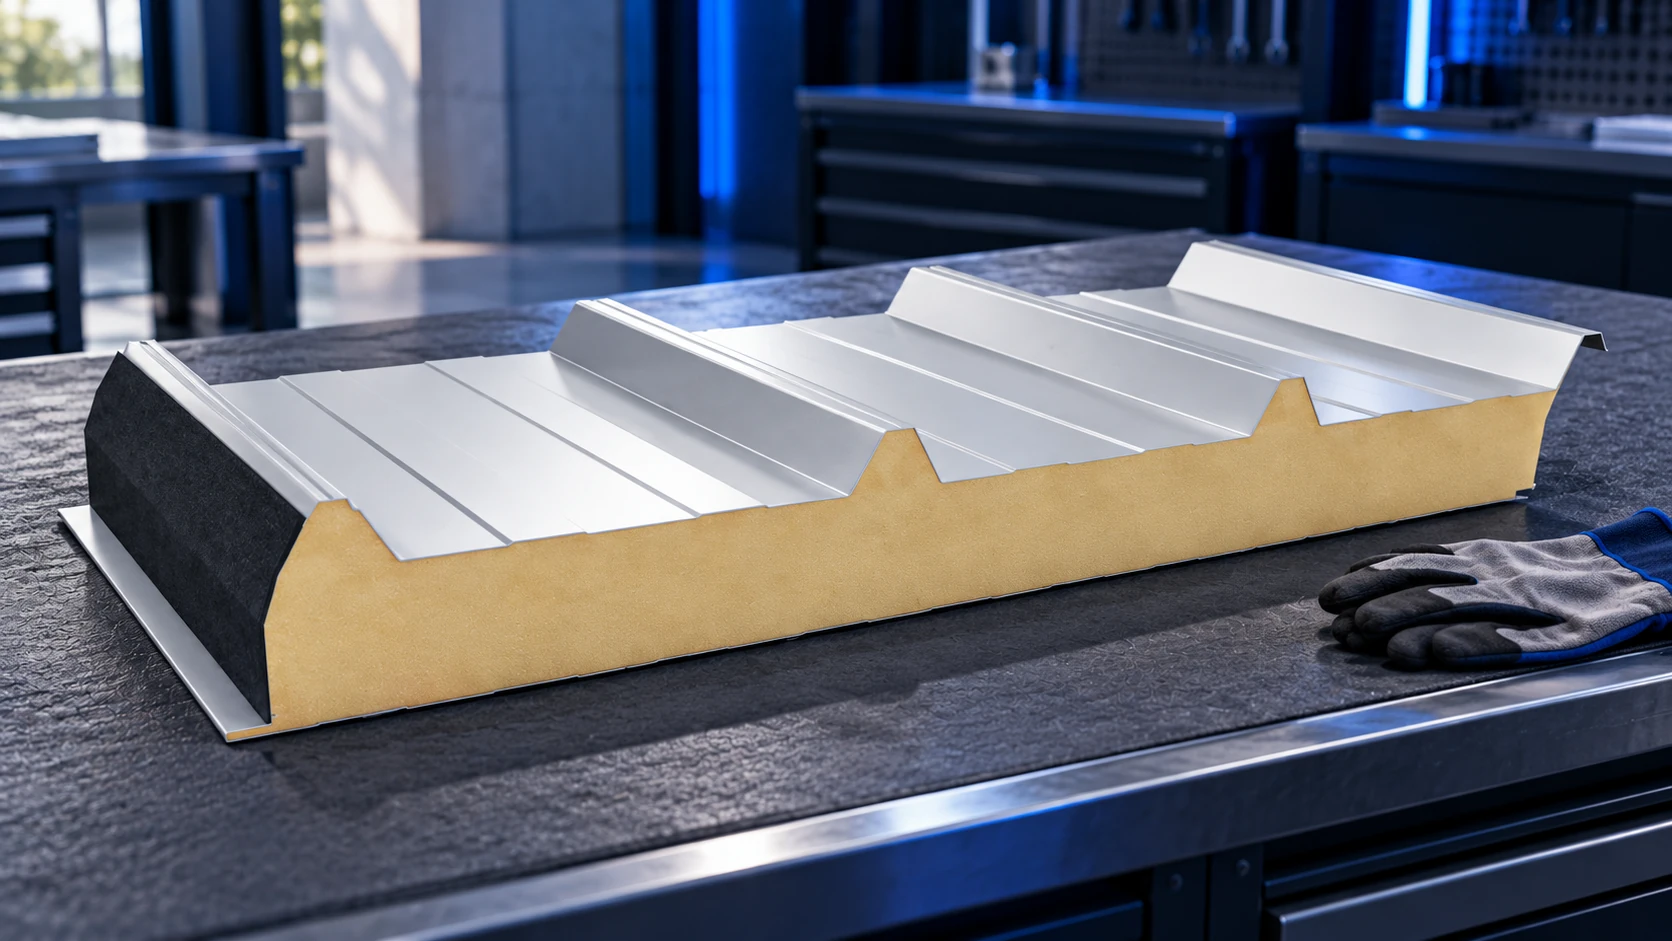
A sandwich-panel roof may be designed for installation or maintenance access, but that does not permit unrestricted walking on every panel. Confirm…
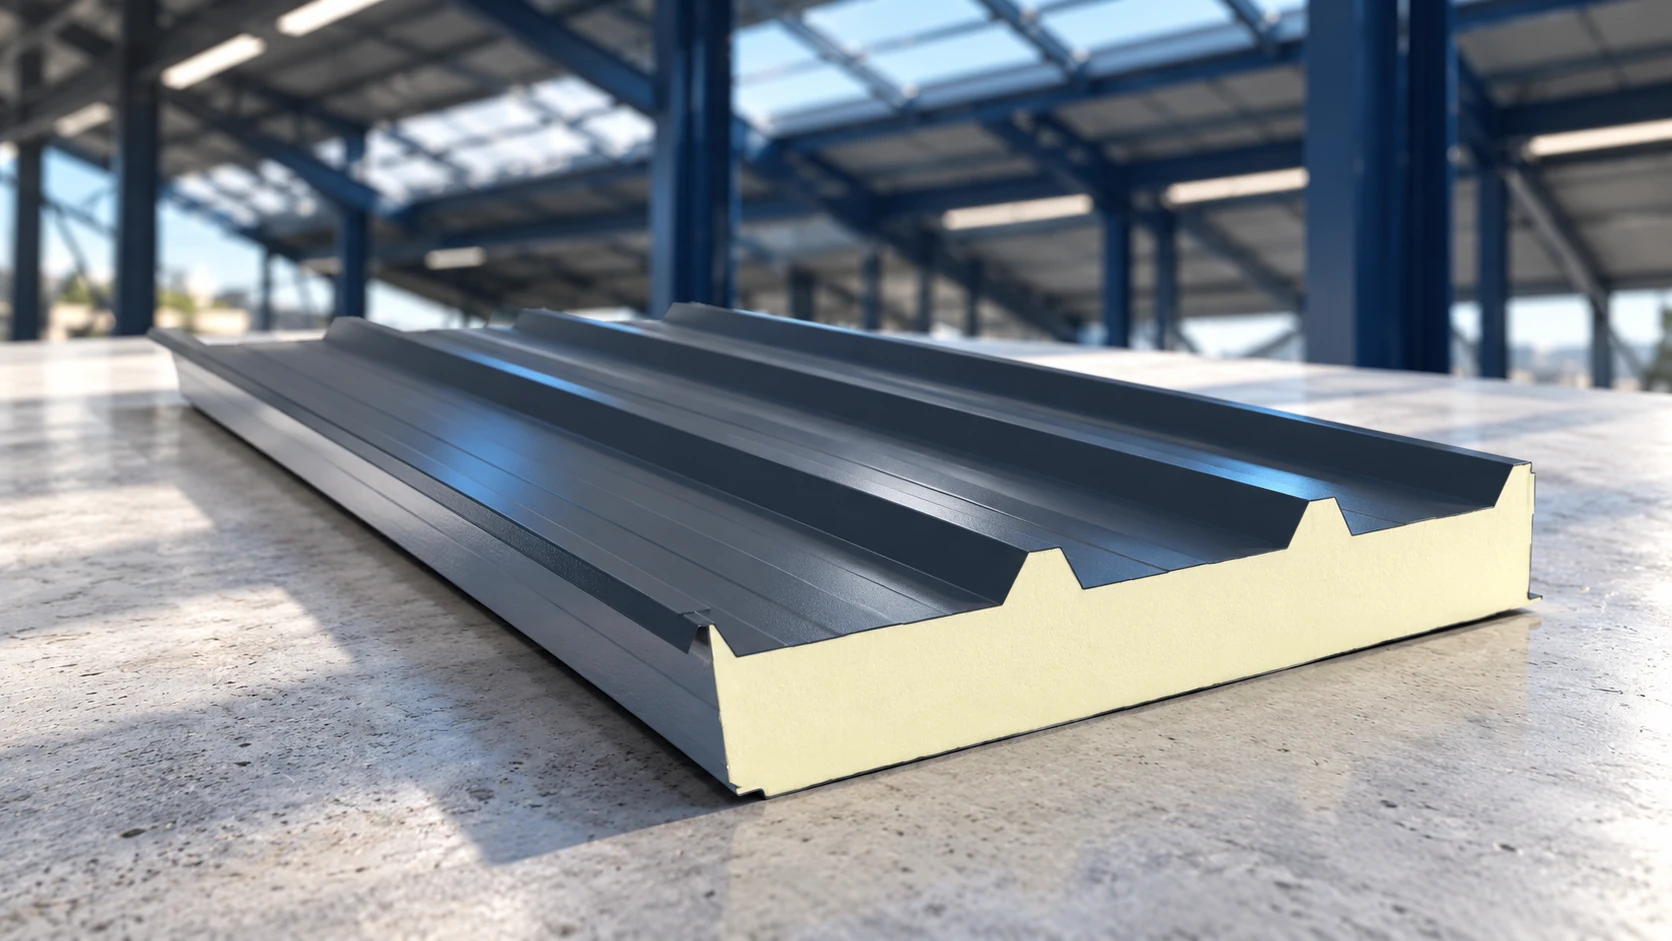
A sandwich-panel roof costs more than the panels alone. Flashings, fasteners, seals, transport and installation must be included, while the supporting structure…
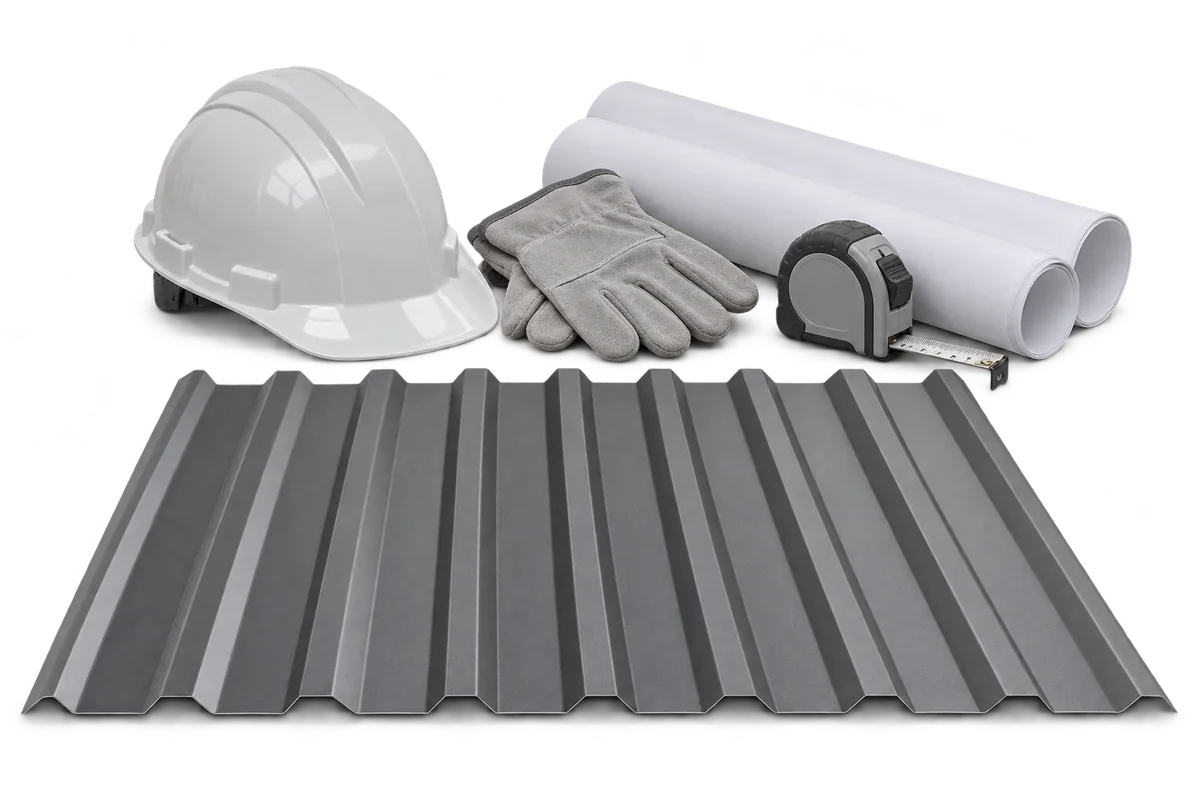
A good contractor can explain how they will build to your design, define exactly what their quote covers and show how each…
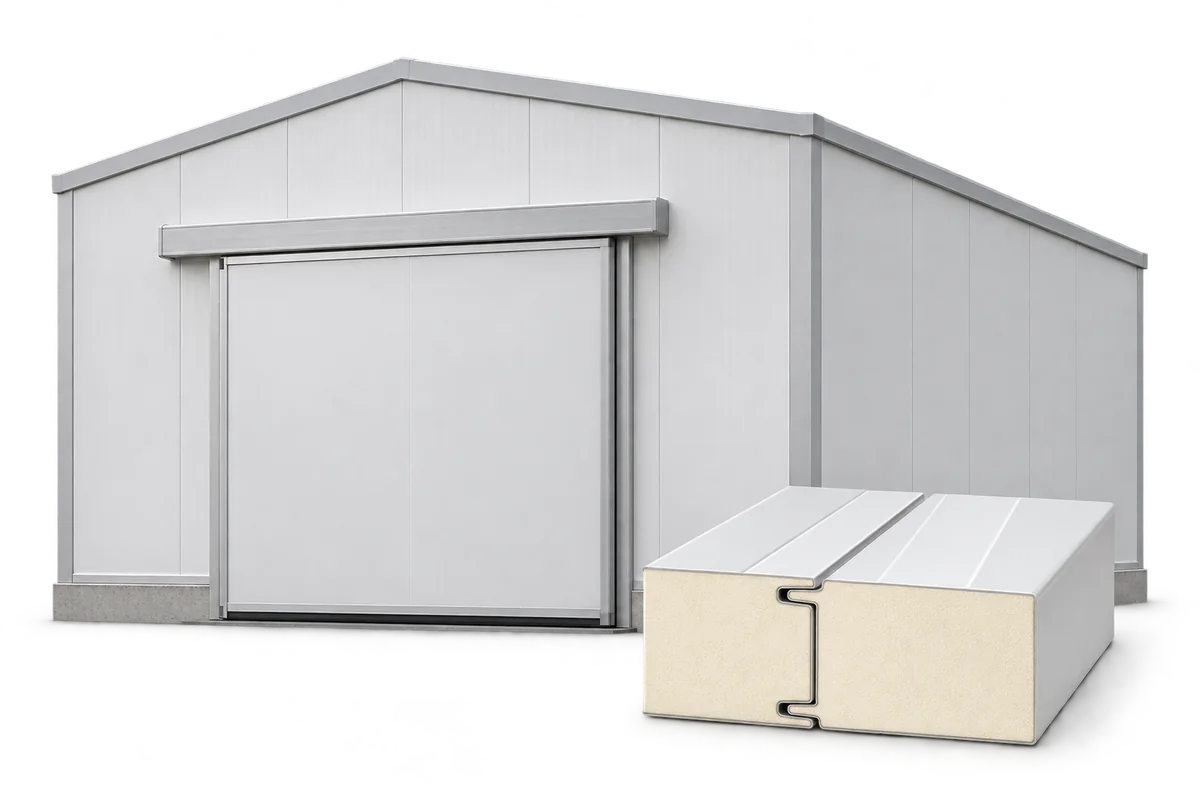
A cold room is a large insulated chamber, but its performance depends on the details. The walls, ceiling, floor and doors must…