





Installing made-to-length metal roof tiles: from measurement to handover
Roof coverings
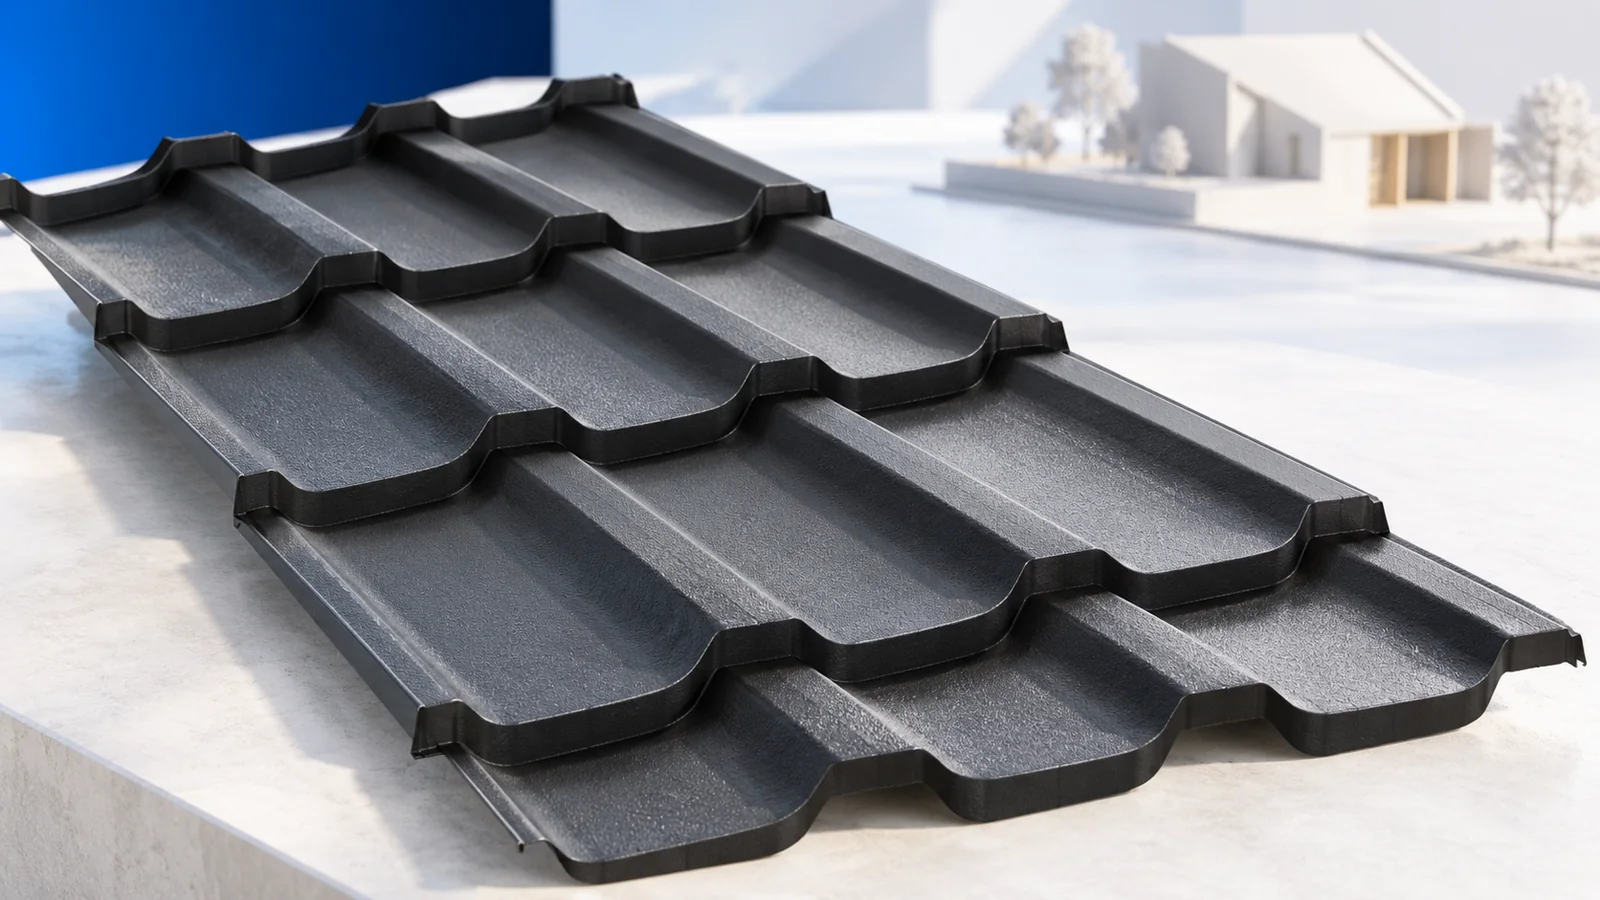
Made-to-length metal roof tiles require sheet lengths planned for the actual roof and accurate alignment during installation. Large sheets can reduce joints but make transport, support and the order of lifting more important. This Budowlanka.org guide follows the work from measurement and delivery checks through battens, laps, fasteners and flashings to the final inspection. The chosen model’s instructions remain the reference: similar-looking profiles do not necessarily share batten spacing or installation direction. Resolve details before ordering and distinguish responsibilities for the structure, underlying layers and metal covering. A correctly aligned start simplifies subsequent work, while errors in the first sheets can grow across the width of the slope.
Preparing the order and checking delivery
The order drawing should show slope dimensions, diagonals and openings. Lengths must account for profile-step limitations, laps and cuts, not just the distance to the eaves. Where many short sections occur, compare long-sheet cutting plans with modular roofing before buying.
Count the components and inspect packaging and coatings on delivery. Carry long sheets with suitable support, without dragging them across other sheets. Identify transport bends before they interfere with joint alignment on the roof.
Arrange packs in the installation sequence and label them against the roof drawing. Sheets needed first should be accessible. Less rearranging reduces scratches and the risk of different workers confusing sheet lengths.
Checking the support beneath the sheets
Battens must provide the correct plane, stiffness and spacing for the chosen roof-tile module. The first batten at the eaves may need a different arrangement. Do not adopt spacing from a visually similar model without confirmation in the instructions.
Before fitting sheets, install the required underlay, ventilation route and preceding flashings. Check drainage at the eaves and the insulated assembly’s connections. The metal surface does not replace internal airtightness or a properly detailed wall-plate junction.
Why does the alignment of the first sheets matter?
The starting sheets establish alignment with the eaves and slope edge. Regular checks prevent errors from accumulating. Correct the setting-out rather than stretching laps or forcing sheets to bend into place.
Joint geometry determines the laying direction. If edges do not fit naturally, check alignment, the support and material condition. Extra screws do not remove the cause of poor fit and must not substitute for correct joint geometry.
Fastening and cutting the sheets
Choose screws for the substrate and their pattern for the instructions and design loads. Sealing washers need correct compression, neither loose nor crushed. Roof edges and accessories may need different fixing arrangements from the central field.
An approved cutting tool protects the coating from overheating. Abrasive discs can damage edges and nearby sheets with hot particles. Remove cutting and drilling swarf immediately, including from recesses; the first rainfall is not a cleaning method.
Finishing vulnerable roof details
Prepare separate details for chimneys, valleys, ridges and verges. Flashings must shed water while maintaining necessary ventilation. Match their shape to the profile; a matching colour does not establish technical compatibility.
Service penetrations must fit the roofing model rather than depend on thick filler. Components exposed to snow loads or maintenance traffic need a load path into the structure. A thin sheet alone is not a universal equipment support.
Final inspection and handover
Inspect laps, screws, coating and drainage, including valleys and the uphill sides of chimneys. Remove swarf, waste and protective film within the required timeframe. Detail photographs and material documents help later inspections and investigation of defects.
Walking on completed metal roofing requires suitable footholds and fall protection. Agree maintenance procedures with the contractor. An attractive, watertight roof depends on coordinated measurement, support preparation and installation, not sheet quality alone.

Free quote
What to include in your enquiry
Tell us how you plan to use the material, the dimensions and the quantity you need. Include the thickness, grade or variant name, along with the delivery town or your preferred collection branch. For a specific product, add its name or a link to the product page. We will reply to the email address you provide to discuss availability and the terms of your order.
More from the building guide
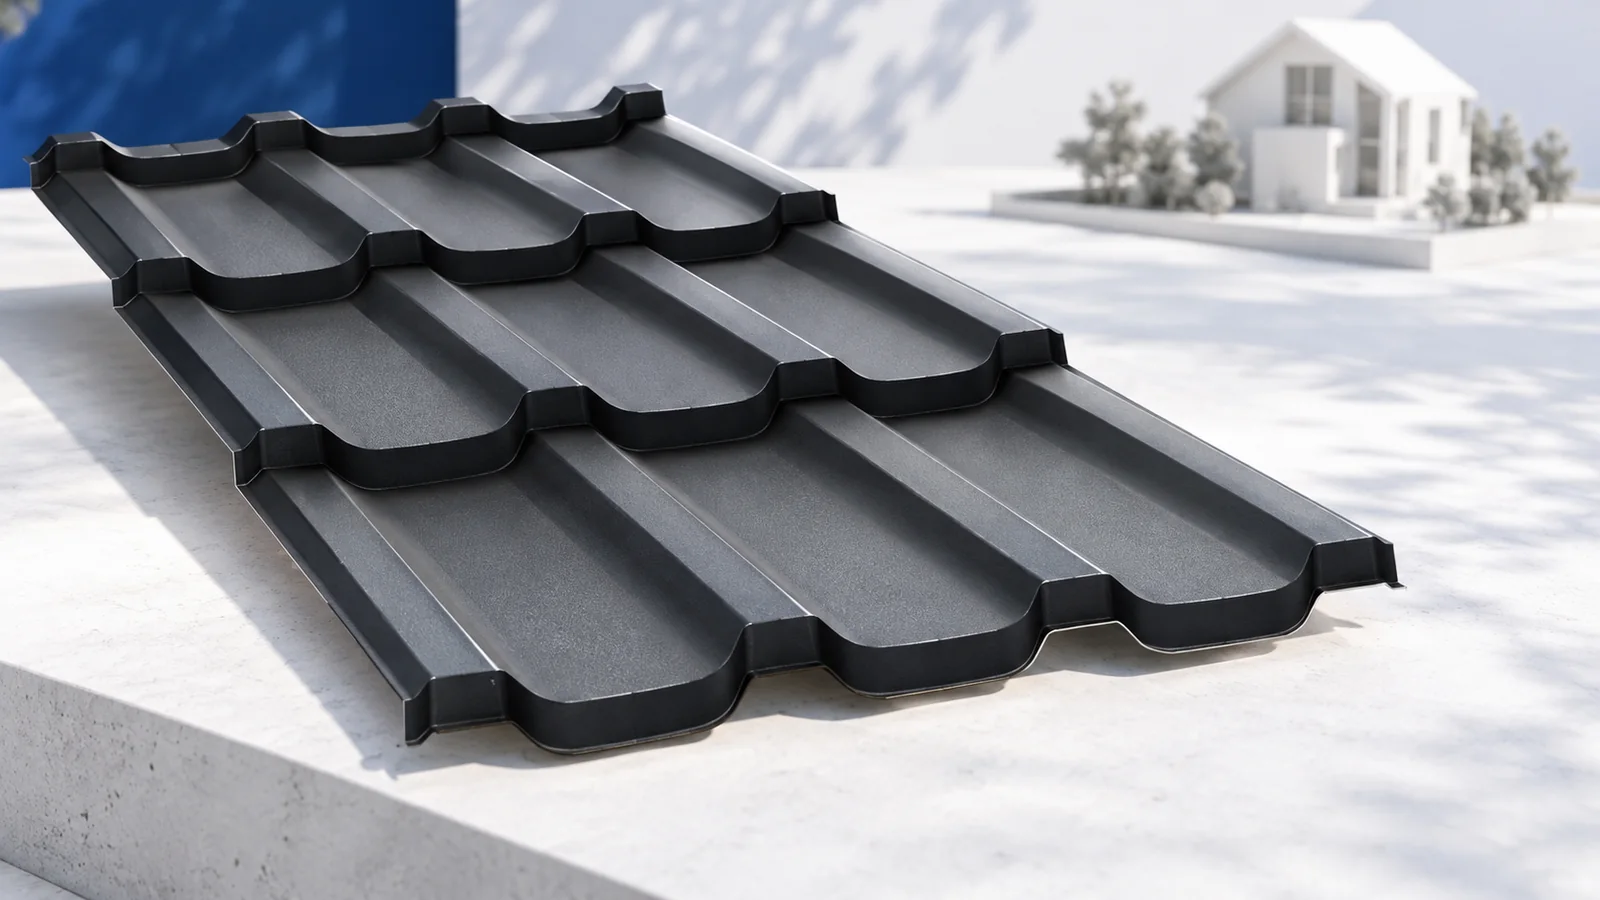
Modular tile-effect steel roofing uses smaller sheets that can help on restricted sites and roofs with many details. Start purchasing with effective…
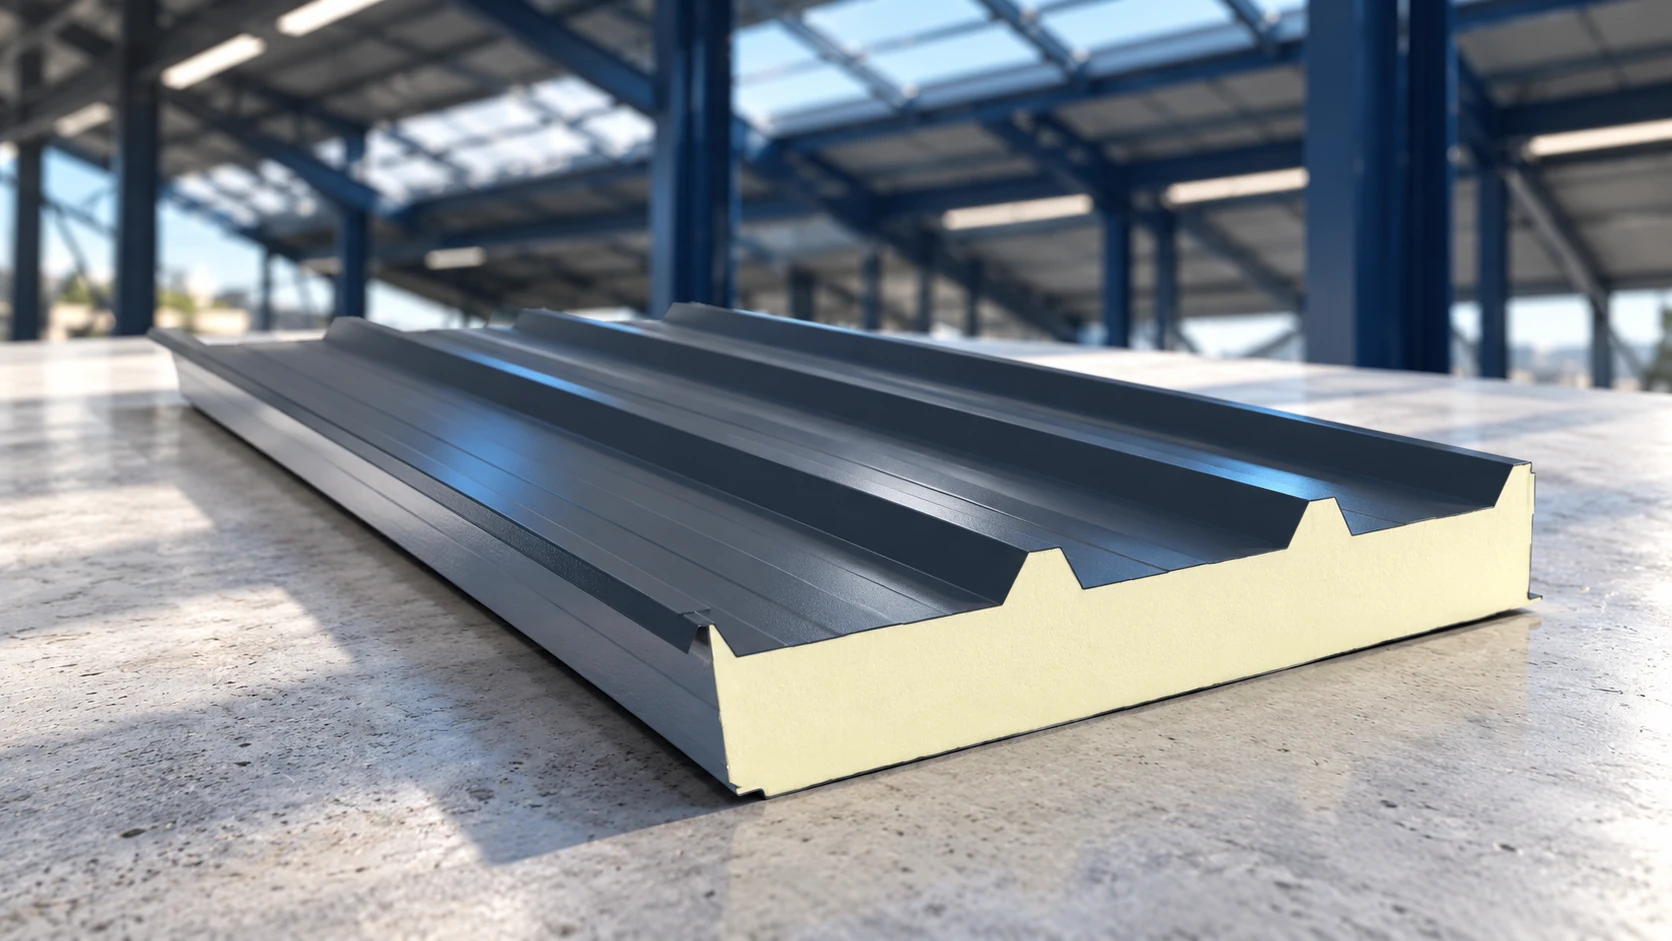
A sandwich-panel roof costs more than the panels alone. Flashings, fasteners, seals, transport and installation must be included, while the supporting structure…
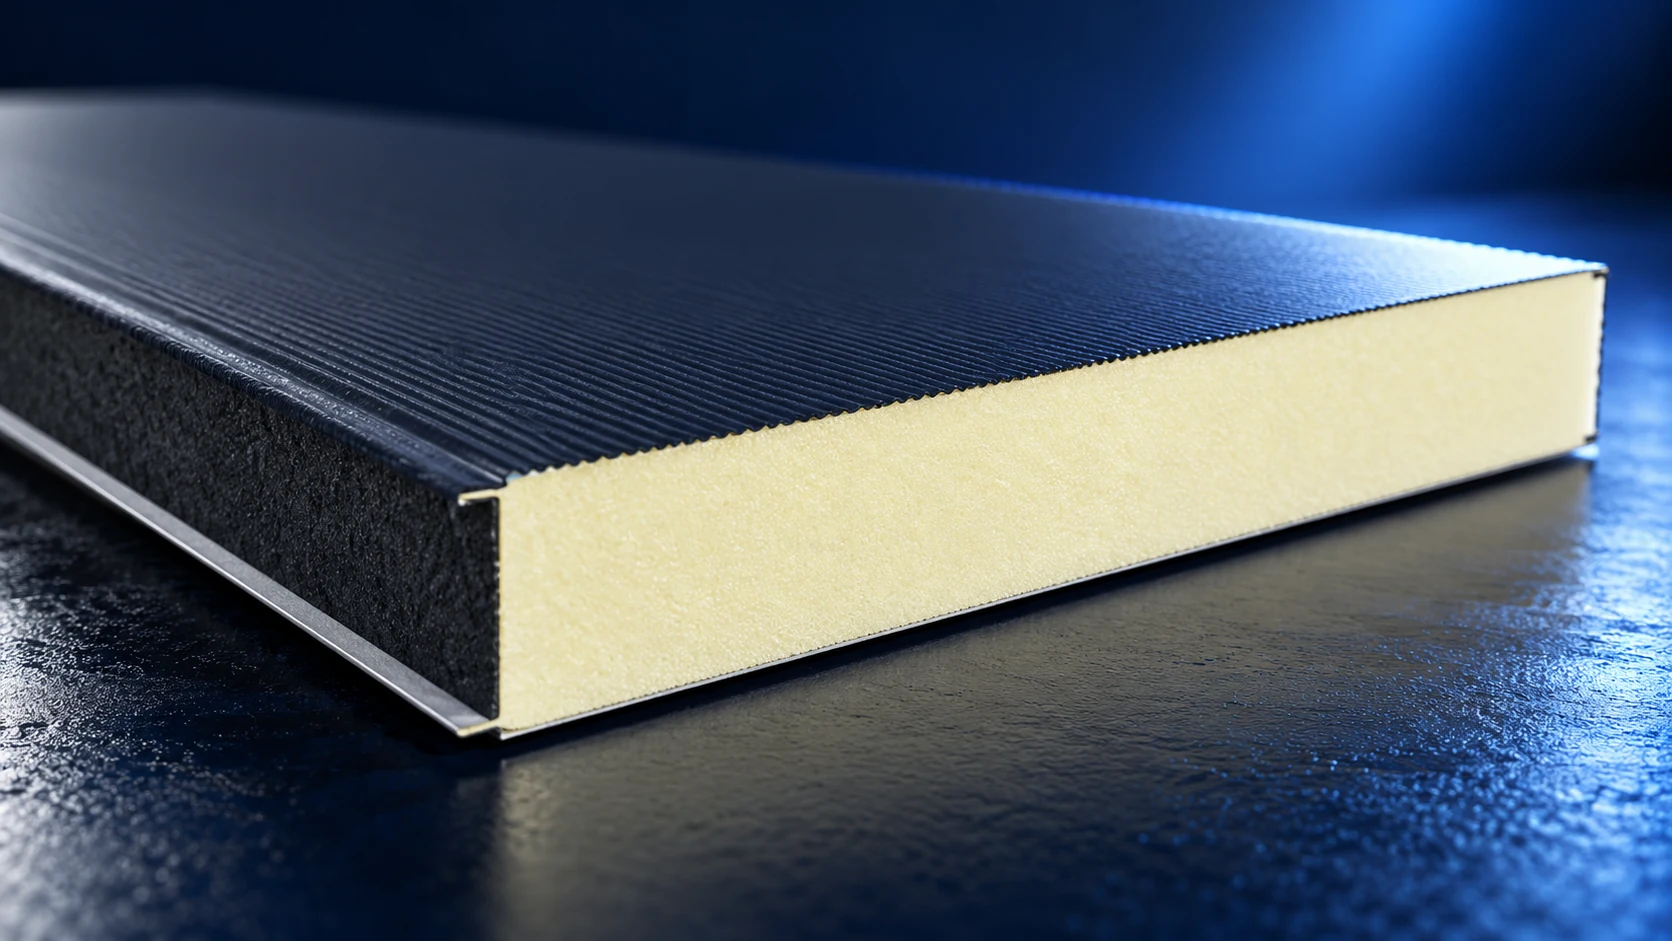
A sandwich panel combines external facings with a bonded core. Their joint action can form a lightweight building enclosure and limit heat…
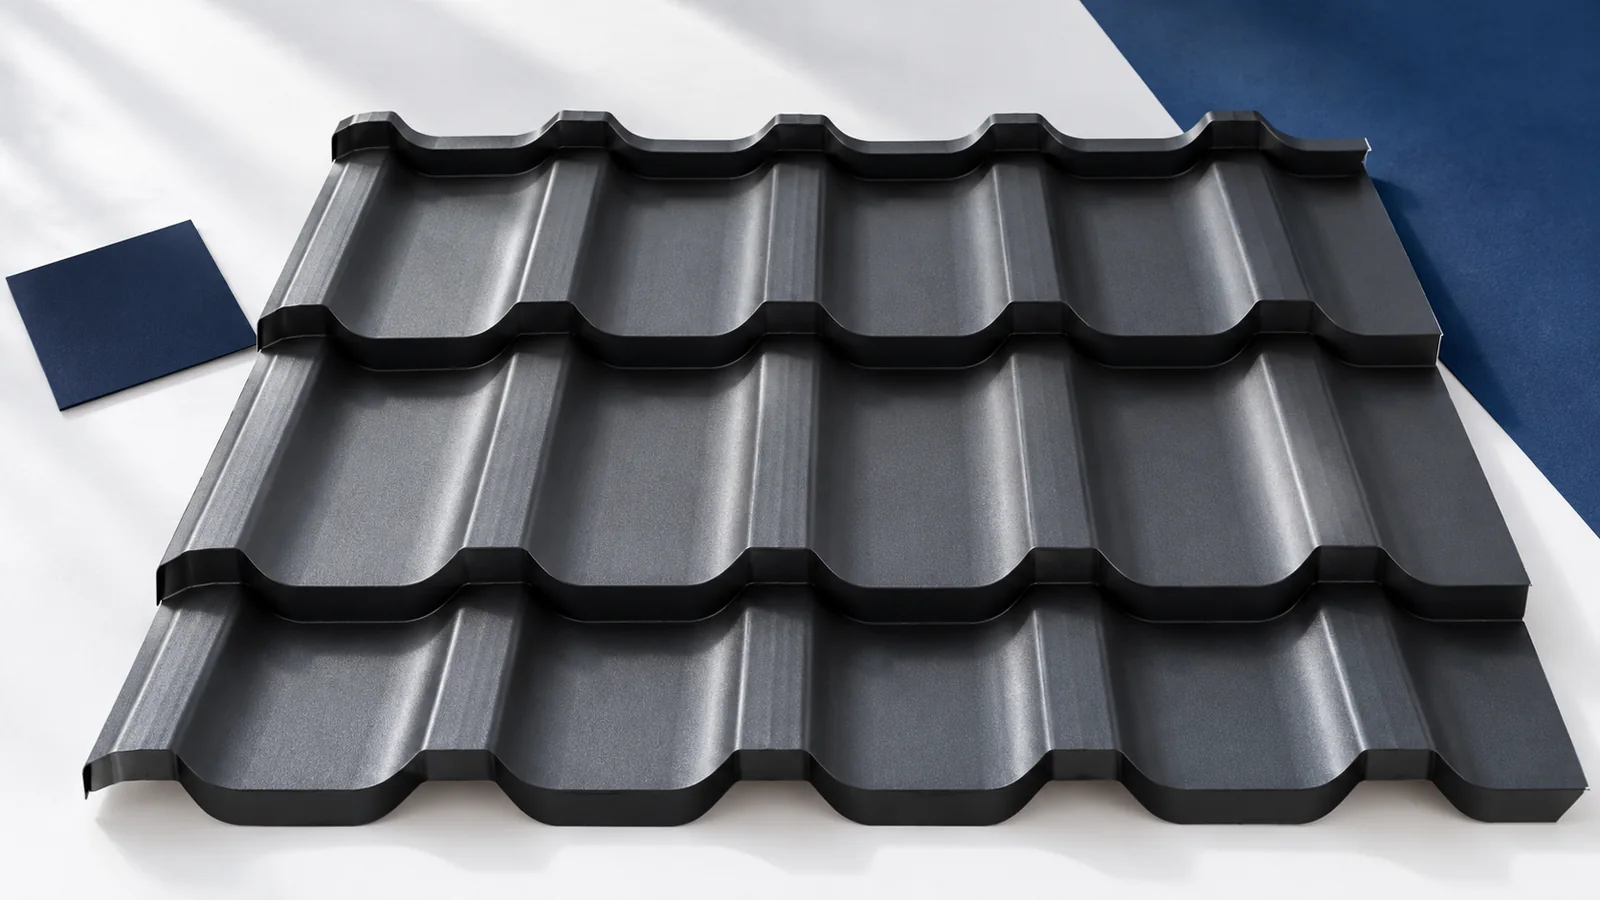
Correct installation of steel roof tiles depends on agreement between roof geometry, the prepared substructure and the specific profile's instructions. Cut-to-length sheets…
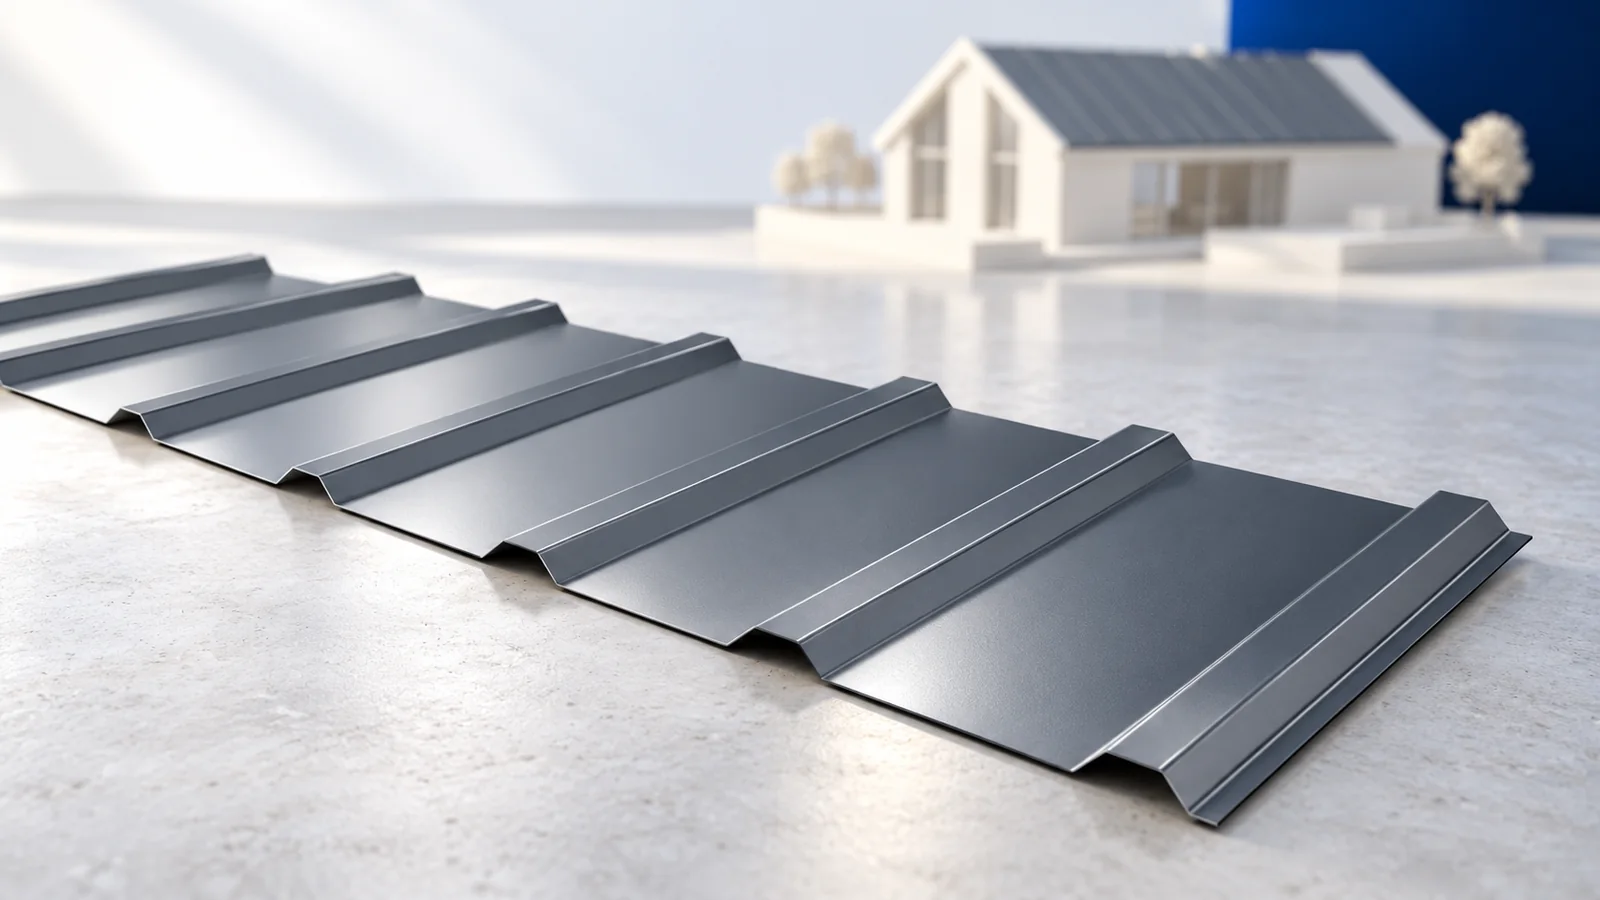
The regular profile helps with T18 and T35 trapezoidal-sheet installation, but efficient work starts before the sheets arrive. Accurate slope dimensions, prepared…
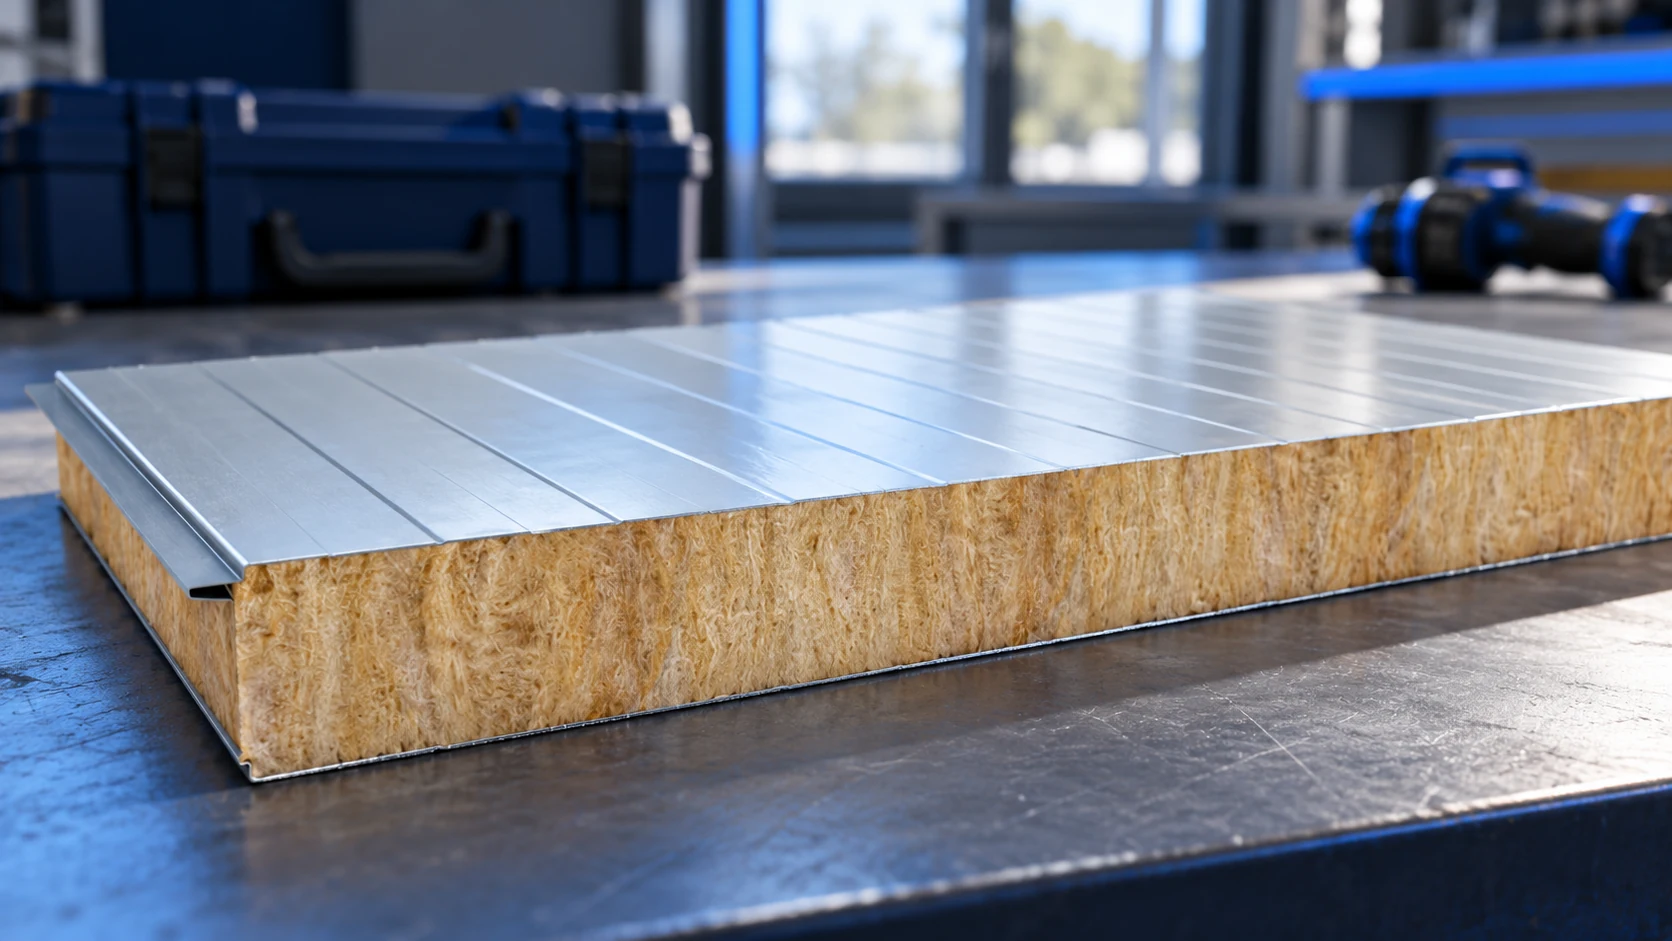
No single screw suits every mineral-wool sandwich panel. The fastener must match panel thickness, support material and the loads on the connection;…
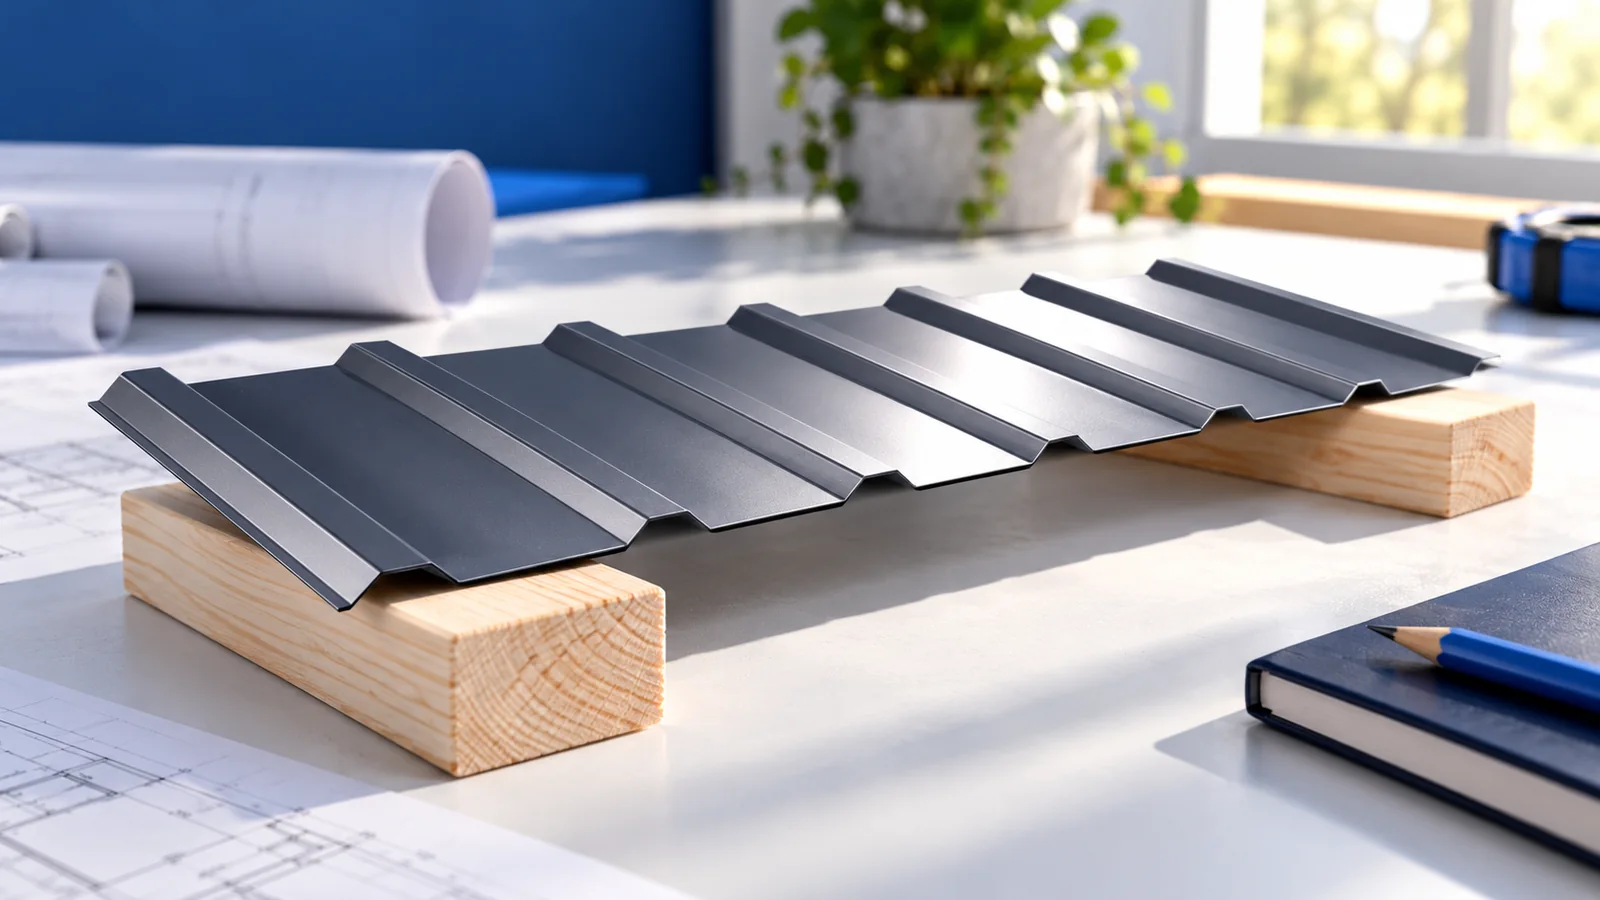
Treat the wall plate as the connection between the roof and building, rather than simply a block beneath the rafters. The timber,…
Efficient sandwich panel installation depends on preparation: panels must match the supporting structure, accessories must be available, and the crew needs agreed…