





Using a PIR calculator to select wall-insulation thickness
PIR boards and insulation
A PIR calculator helps compare insulation options, but its result is only as reliable as the data entered. Use the actual masonry, the selected board’s performance and the intended thermal target. Check whether the tool covers the full wall, fixings, thermal bridges and moisture, rather than assuming every requirement is included. This guide walks through inputs, units, a simple resistance calculation and selection of an available thickness. It also explains what to retain in the report and pass to the supplier. The displayed number of centimetres supports a decision; it does not complete the design or establish suitability for installation.
Prepare four groups of input data
You need the layer sequence, thicknesses, thermal properties and required wall performance. Record the fixing and finishing arrangements too. Mark unknown information as assumptions: the calculator generally cannot detect that a wall selected from its list differs from the actual one.
Establish whether the calculation concerns new construction or refurbishment. Internal insulation also needs a moisture assessment, which not every calculator provides. Read the tool’s scope and output description. The label “insulation calculator” does not mean it checks every requirement of the building element.
Enter the chosen board’s actual specification
Do not select a generic “PIR” entry when the exact board’s properties are known. An illustrative comparison could use lambda 0.022 W/(m·K) for one version and 0.025 for another. Facings and thickness can affect declared values. For the real calculation, use the selected product’s data rather than a figure for the whole material family.
That difference affects selection. Check whether the program asks for declared conductivity, design conductivity or thermal resistance R; these inputs are not interchangeable. For plasterboard-faced products, establish whether the value describes the insulation or the complete composite. The technical sheet’s number and date help identify the data used.
Understand the basic calculation
For a homogeneous layer, R = d / lambda. Add the layer resistances and the appropriate surface resistances; the reciprocal of the total gives U. This describes the basic calculation only. Fixings, gaps or non-uniform layers may require corrections in a particular assembly, so do not omit them without checking.
As a calculation example unrelated to a particular product, 100 mm at lambda 0.025 gives R = 4.0 m²·K/W. If the rest of the assumed assembly contributes 1.0 m²·K/W, U is 0.20 W/(m²·K). This model does not automatically describe an existing wall. Different masonry or insulation data change the result.
Avoid rounding too early
If the calculator returns 106 mm, do not immediately order 100 mm. Check available thicknesses and recalculate. Conductivity may change in the adjacent thickness range, as it does for some boards with gas-permeable facings.
Watch the units: a field in metres requires 0.10 for ten centimetres. Entering 10 introduces a hundredfold error. Make a simple hand calculation as a check. If the result looks exceptionally favourable, verify the inputs first; a calculator can calculate a wrongly defined wall very accurately.
Check corrections and thermal bridges
Find out whether the result includes fixings and non-uniform sections, and how the tool handles ring beams, lintels and reveals. It often gives only the U-value of a flat wall area. That is useful, but it is not a complete building heat-loss assessment.
Corners and junctions need separate details. Do not account for them by arbitrarily worsening the conductivity of all the masonry. Use a method appropriate to the problem. The final report should make clear what was calculated and what still needs assessment, avoiding false confidence in the result.
Assess moisture separately
A low U-value does not guarantee freedom from condensation. Internal insulation changes temperatures within the existing masonry. Vapour properties and indoor conditions must be considered; a damp wall first needs investigation of the cause.
Simplified condensation methods have limits. They do not describe airflow through gaps or all liquid-water transport. If the calculator presents a single diagram, check its assumptions. The absence of a red warning does not establish that every installation method will last. Assess the wall’s condition independently.
The moisture report should identify assumed indoor and outdoor conditions. Without them, the result is hard to check. Changed ventilation or room use may require a new calculation. Retain the input file, not just a screenshot of the final result.
Turn the result into a clear supplier enquiry
Give the supplier the full board name, thickness, format and application, together with the area and drawings of difficult junctions. Ask about the complete system’s components. A printout saying only “120 mm PIR required” is too vague for a reliable order.
Keep the dated report and all assumptions. Confirm the thermal target for the specific project and recalculate if the board changes. Similar thickness and facing colour do not guarantee equal performance. Calculators work best with clearly defined conditions; a printout without input data is difficult to verify.
Frequently asked questions
Is a calculator result a design?
The result alone does not replace design work, substrate assessment or junction details.
Is entering the wall area enough?
No. Thickness selection needs layer information and thermal properties. Area mainly determines the quantity of material.

Free quote
What to include in your enquiry
Tell us how you plan to use the material, the dimensions and the quantity you need. Include the thickness, grade or variant name, along with the delivery town or your preferred collection branch. For a specific product, add its name or a link to the product page. We will reply to the email address you provide to discuss availability and the terms of your order.
More from the building guide
PIR and XPS can both be used in suitable flat-roof constructions, but they do not necessarily occupy the same position. Establish where…
An old warehouse can often be adapted to store potatoes without building a new hall. Three things must work together: an airtight…
An aerated concrete wall needs a compatible insulation system, not simply a product labelled PIR. A rendered façade requires the appropriate board…
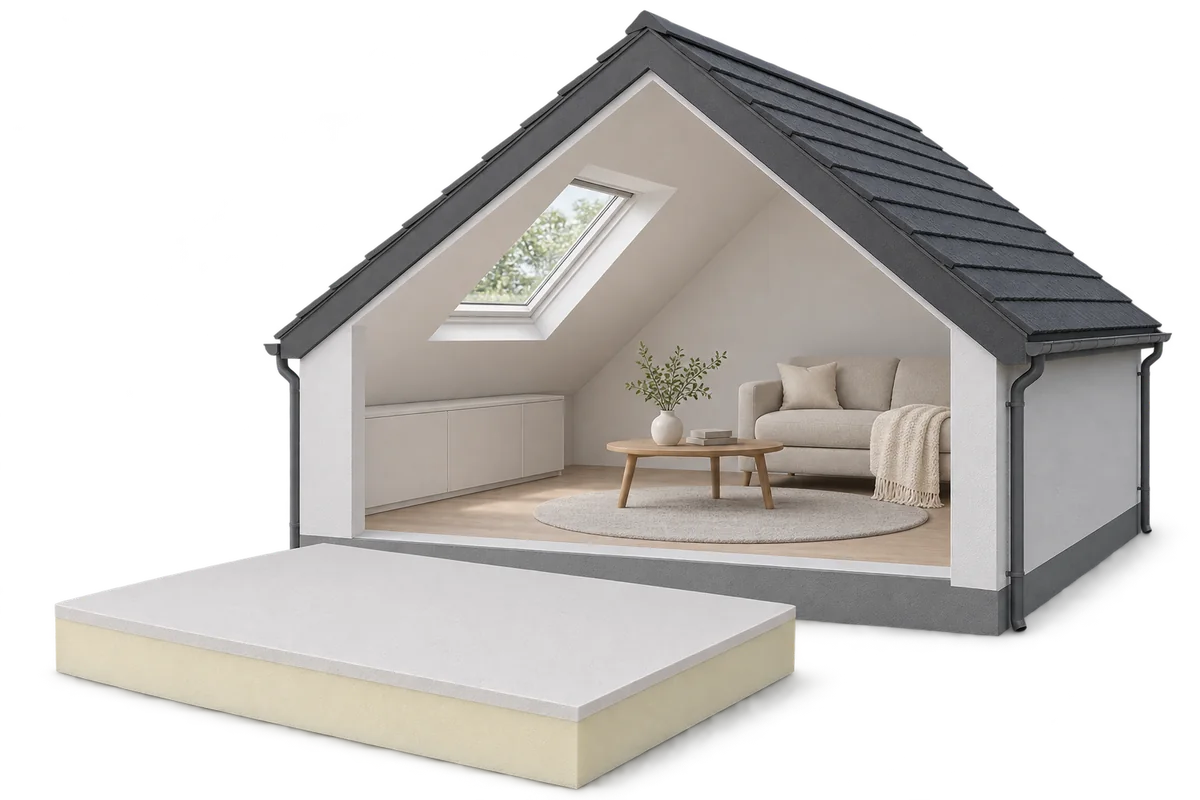
Insulating a loft from the inside can make it more comfortable without taking the roof covering off. PIR bonded to plasterboard provides…
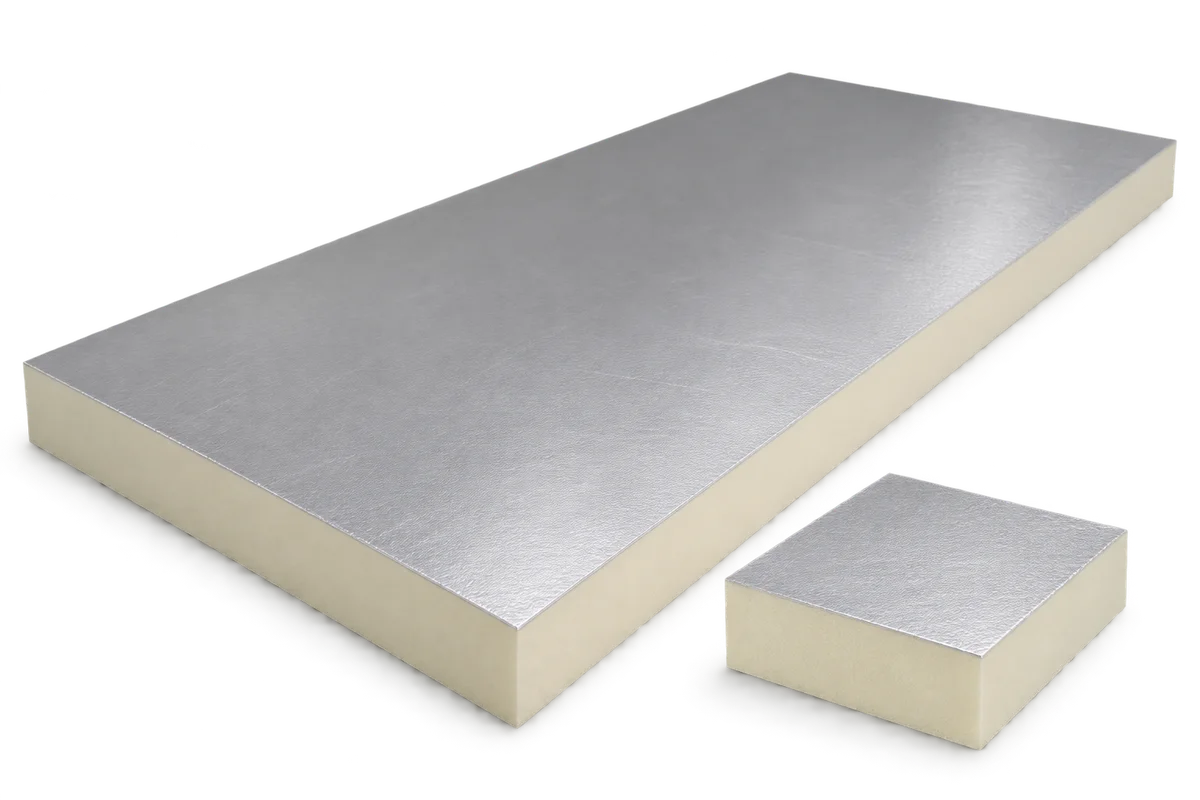
On a terrace above a heated room, the door threshold alone does not determine how much PIR insulation will fit. The available…
Insulation selection starts with its position in the building. A rendered wall, a roof and a continuously loaded floor impose different requirements.…
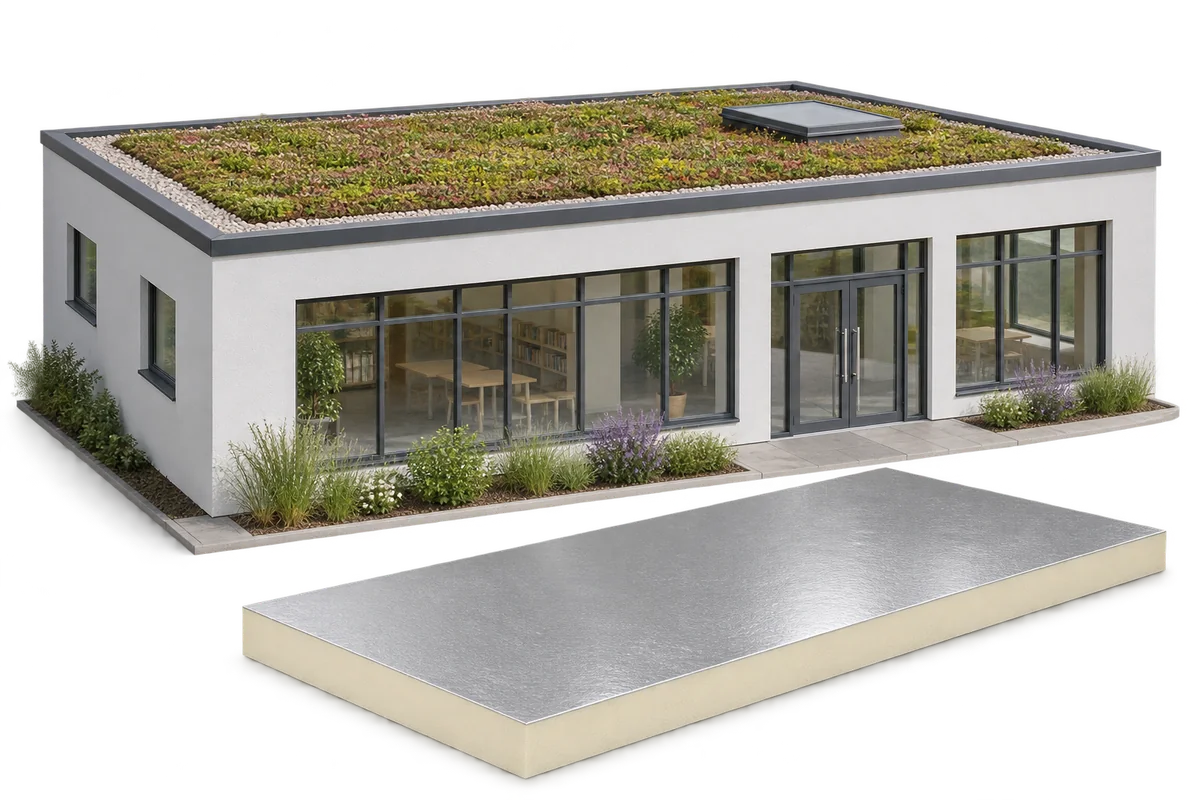
A green roof can form part of a nursery retrofit. The structure must support the full build-up and the insulation must be…
The withdrawal of a sprout suppressant formerly used in potato stores changed storage practices. Residues in older buildings need separate assessment even…