





Choosing render-compatible PIR insulation for aerated concrete walls
PIR boards and insulation
An aerated concrete wall needs a compatible insulation system, not simply a product labelled PIR. A rendered façade requires the appropriate board facing, adhesive and fixings, while thickness depends on the specific block and design requirements. Not every PIR board has lambda = 0.022. This guide explains which masonry data to collect, how to distinguish a render-compatible facing and how an illustrative thermal calculation works. It also covers absorbent-substrate preparation, openings, the wall base and staged inspections. Confirm the complete system before ordering so that the thermal calculation and installation details describe the same solution.
Identify the block and masonry construction
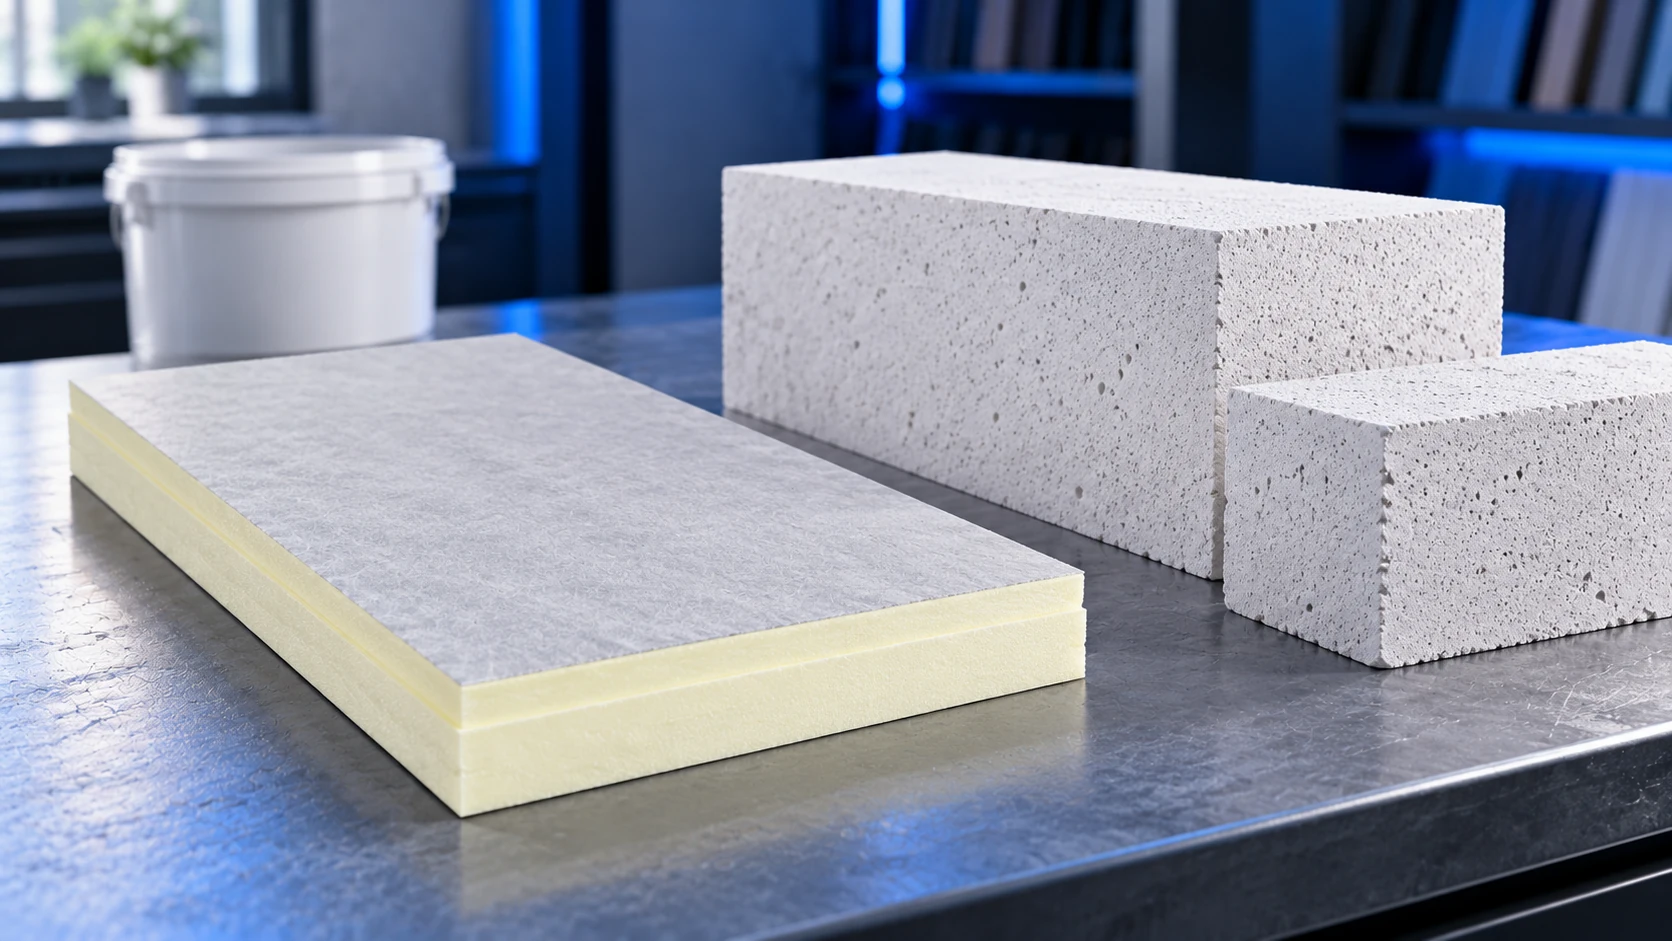
Aerated concrete comes in different variants with different properties and applications. To determine wall resistance, identify the exact product, thickness and masonry method. Do not transfer a lightweight block’s properties to another variant.
Check delivery records in a new house; an older building may need an opening-up inspection. Assess dampness and surface condition. Insulation must not conceal damaged plaster or active leakage. Thermal selection and substrate assessment are separate tasks, both needed before ordering.
Select a façade product intended for render
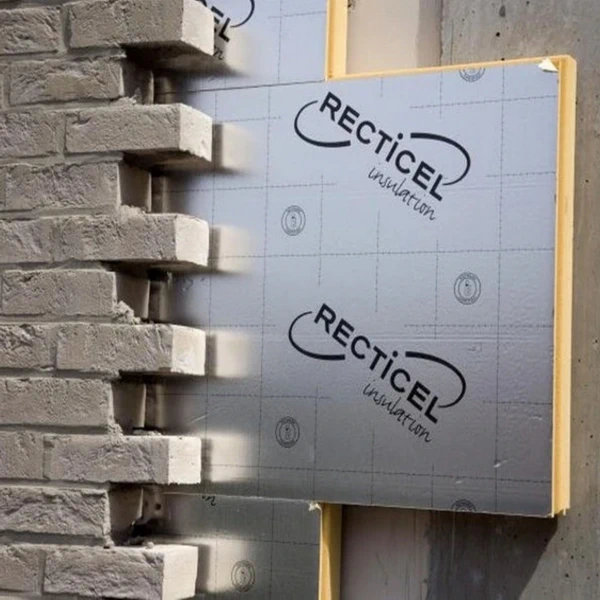
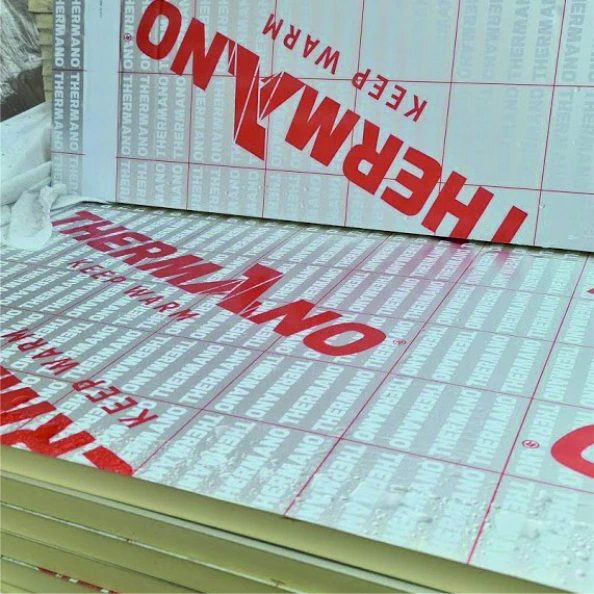
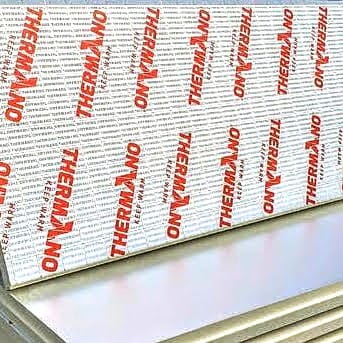
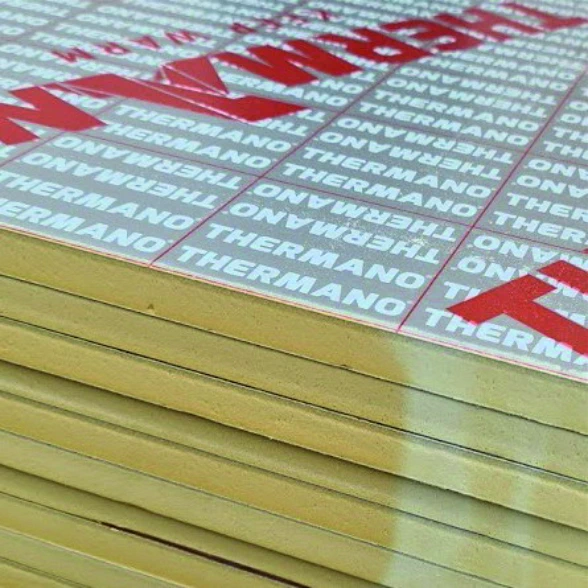
Glass-fleece-faced PIR intended for a particular insulation system is one option beneath render. A grey facing alone does not prove suitability. Check the board type and installation side; printing is not always meant to face the same direction. Follow that product’s instructions.
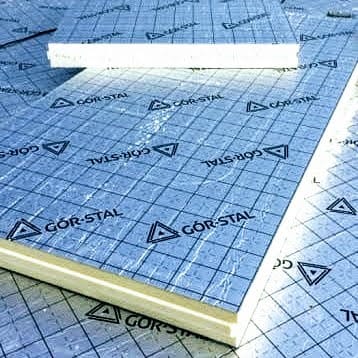
Lambda can vary with thickness. An illustrative comparison may use 0.026 W/(m·K) for 100 mm and 0.025 for 120 mm, but orders need the chosen variant’s data. Gas-tight aluminium facings have a different surface; do not substitute them into a glass-fleece system. The same discipline applies to adhesive, mesh and render.
Checking the required thickness
Assume an example masonry-and-plaster resistance of 1.30 m²·K/W. This is a calculation assumption, not a property of all aerated concrete. Add surface resistances of 0.17. With 100 mm insulation at lambda = 0.026, the insulation resistance is about 3.85.
The resulting U-value is about 0.188 W/(m²·K), before corrections. Different actual masonry properties change the answer. Here we sum layer and surface resistances; the target of 0.20 W/(m²·K) is for comparison only. Establish the project’s actual requirement in the design, not from the masonry material’s name.
Prepare the absorbent substrate
Adhesion depends on the masonry surface, not just the adhesive name. The substrate should be level, load-bearing, dry and dust-free. Choose priming according to the system documents, avoiding an arbitrary product that changes adhesion between layers.
ETICS instructions describe wall preparation and work sequence. Adhesive cannot correct major geometric errors. Select fixings intended for that substrate, with documented embedment length, drilling method and capacity. A generic “façade anchor” label is insufficient.
Resolve the base, openings and top edge
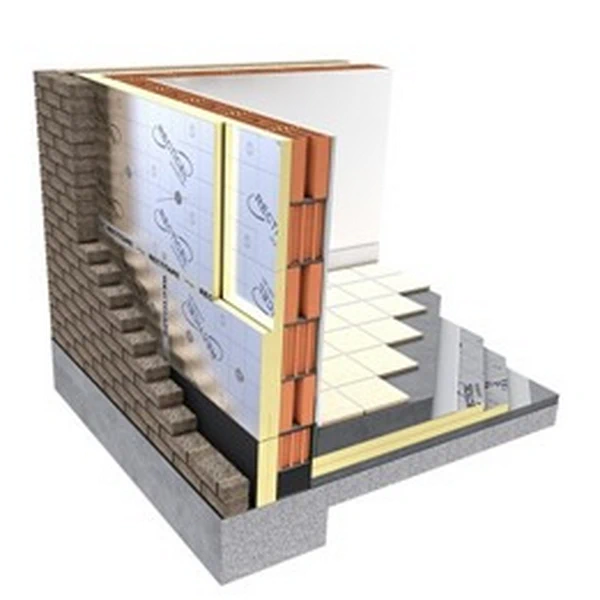
Water must not run behind the insulation. Plan window-sill flashings, roof termination and the base connection before installation. Check material suitability in moisture-exposed zones; a board used in the main façade area may not suit the ground-level zone.
Provide correct reinforcement at window corners and place joints and fixings according to the system. Do not defer these choices until adhesive is mixed. Keep execution drawings on site and discuss them with installers, including sill, reveal and top-edge details.
Check documents when accepting materials
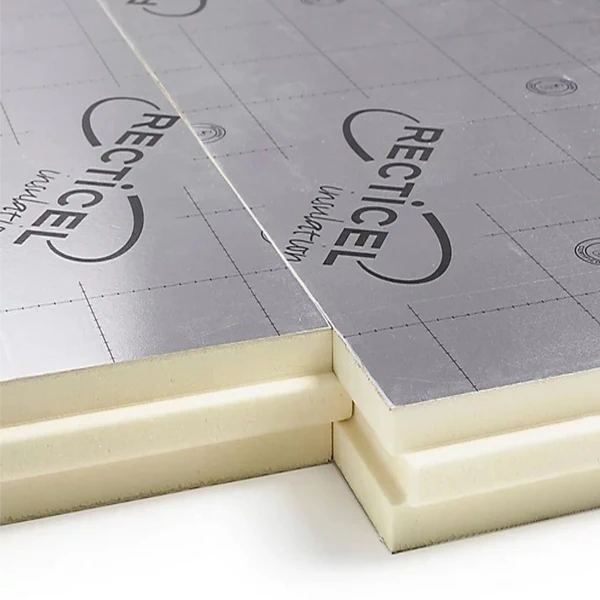
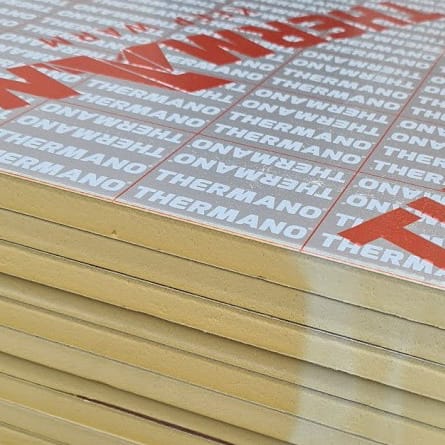
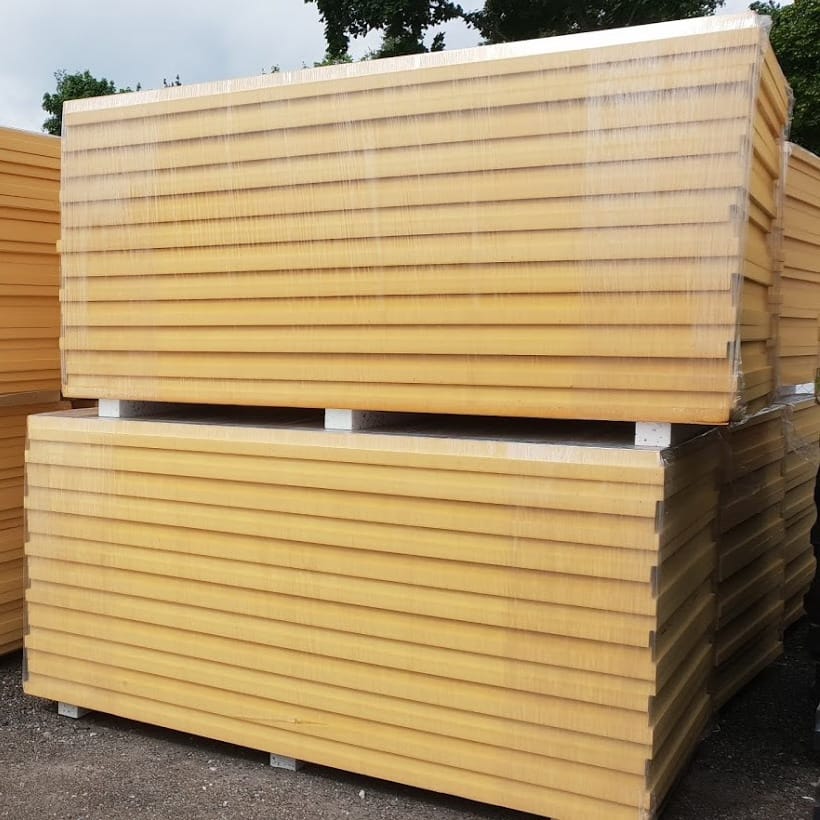
Specify the full board name, thickness, format, edge type and finishing system. Compare packaging labels with the order at delivery. Assess damaged surfaces and edges before installation. Similar packaging colour is not enough to identify the correct product.
Keep labels and photographs of the first rows to document orientation, fixing positions and materials. Acceptance should not focus only on the finished render, when most important layers are hidden. Schedule inspections throughout the work.
Compare complete façade quotations
Compare the same thermal result and scope in both quotations. Include adhesive, fixings, mesh, trims, render and flashings alongside boards, plus scaffolding and wall preparation. Only then does the price difference mean something useful.
Ordering requires the project’s actual requirement and assessment of the whole system. Confirm board type, facing, fixing and finish rather than relying on a claim that one thickness suits every aerated concrete house. If the material changes, revisit the calculations and other layers.
Frequently asked questions
Can every PIR board be rendered?
No. It must be intended for the specific façade system.
Is 100 mm enough for an aerated concrete wall?
It may be enough in a particular assembly. The masonry and insulation properties and the design requirement are needed to decide.

Free quote
What to include in your enquiry
Tell us how you plan to use the material, the dimensions and the quantity you need. Include the thickness, grade or variant name, along with the delivery town or your preferred collection branch. For a specific product, add its name or a link to the product page. We will reply to the email address you provide to discuss availability and the terms of your order.
More from the building guide
A loft fit-out starts well before the first plasterboard goes up. Inspect the roof, plan the insulation and establish how the layers…
After insulating a home, check both energy consumption and the cost of purchasing it. A lower bill alone does not prove that…
An old warehouse can often be adapted to store potatoes without building a new hall. Three things must work together: an airtight…
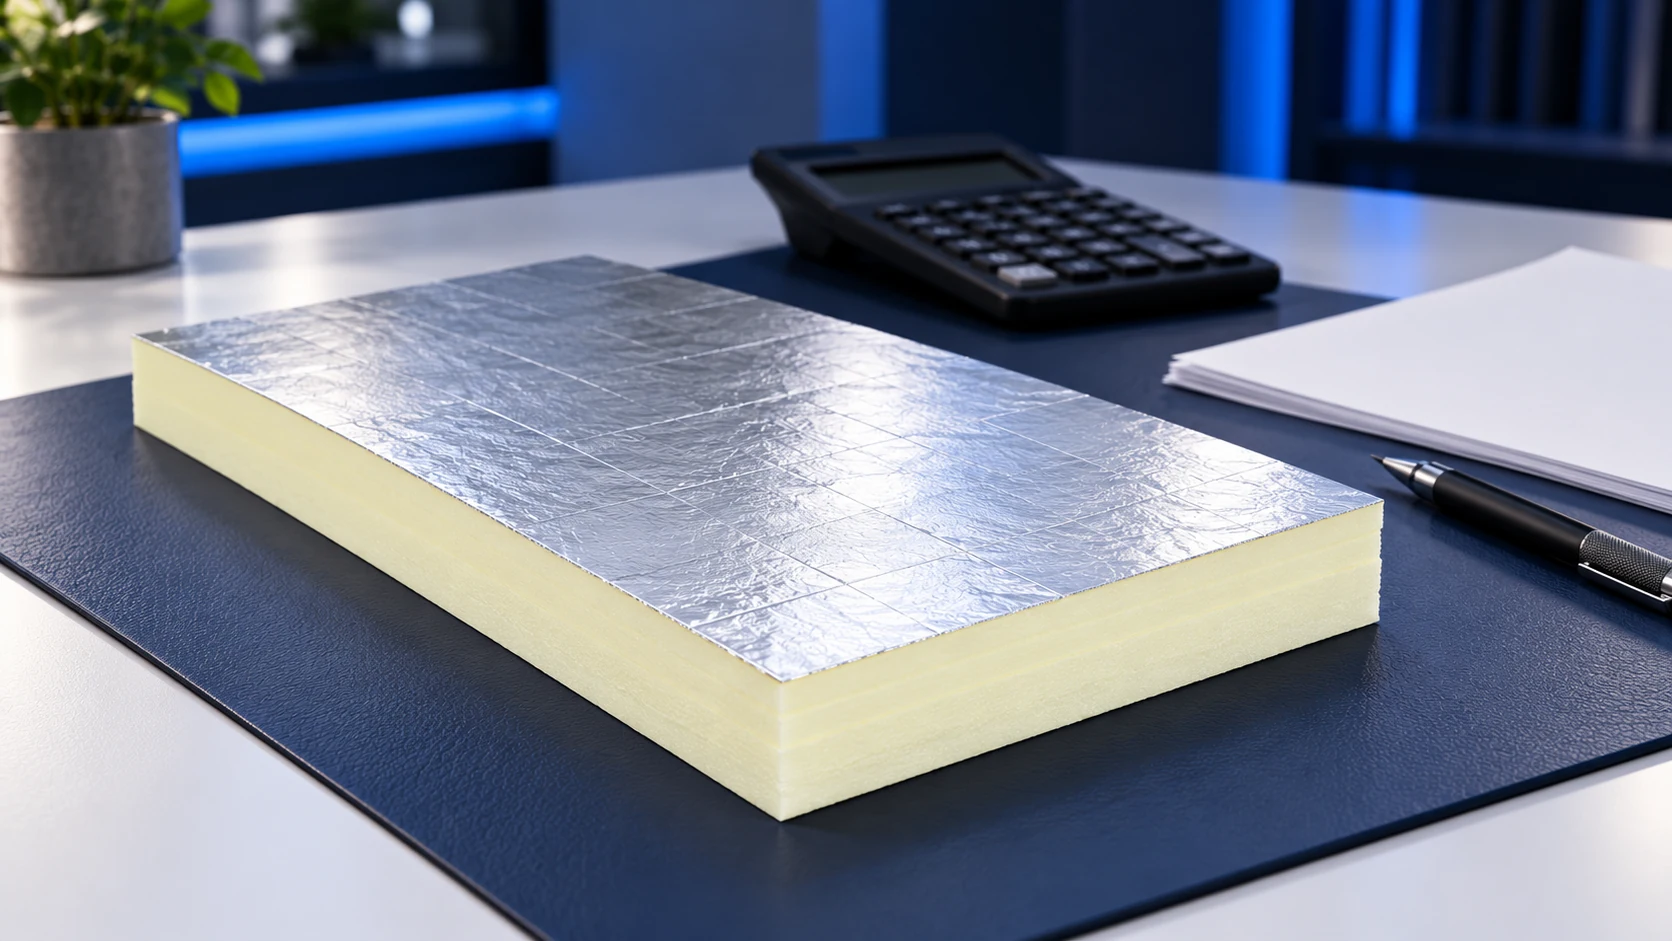
A PIR calculator helps compare insulation options, but its result is only as reliable as the data entered. Use the actual masonry,…
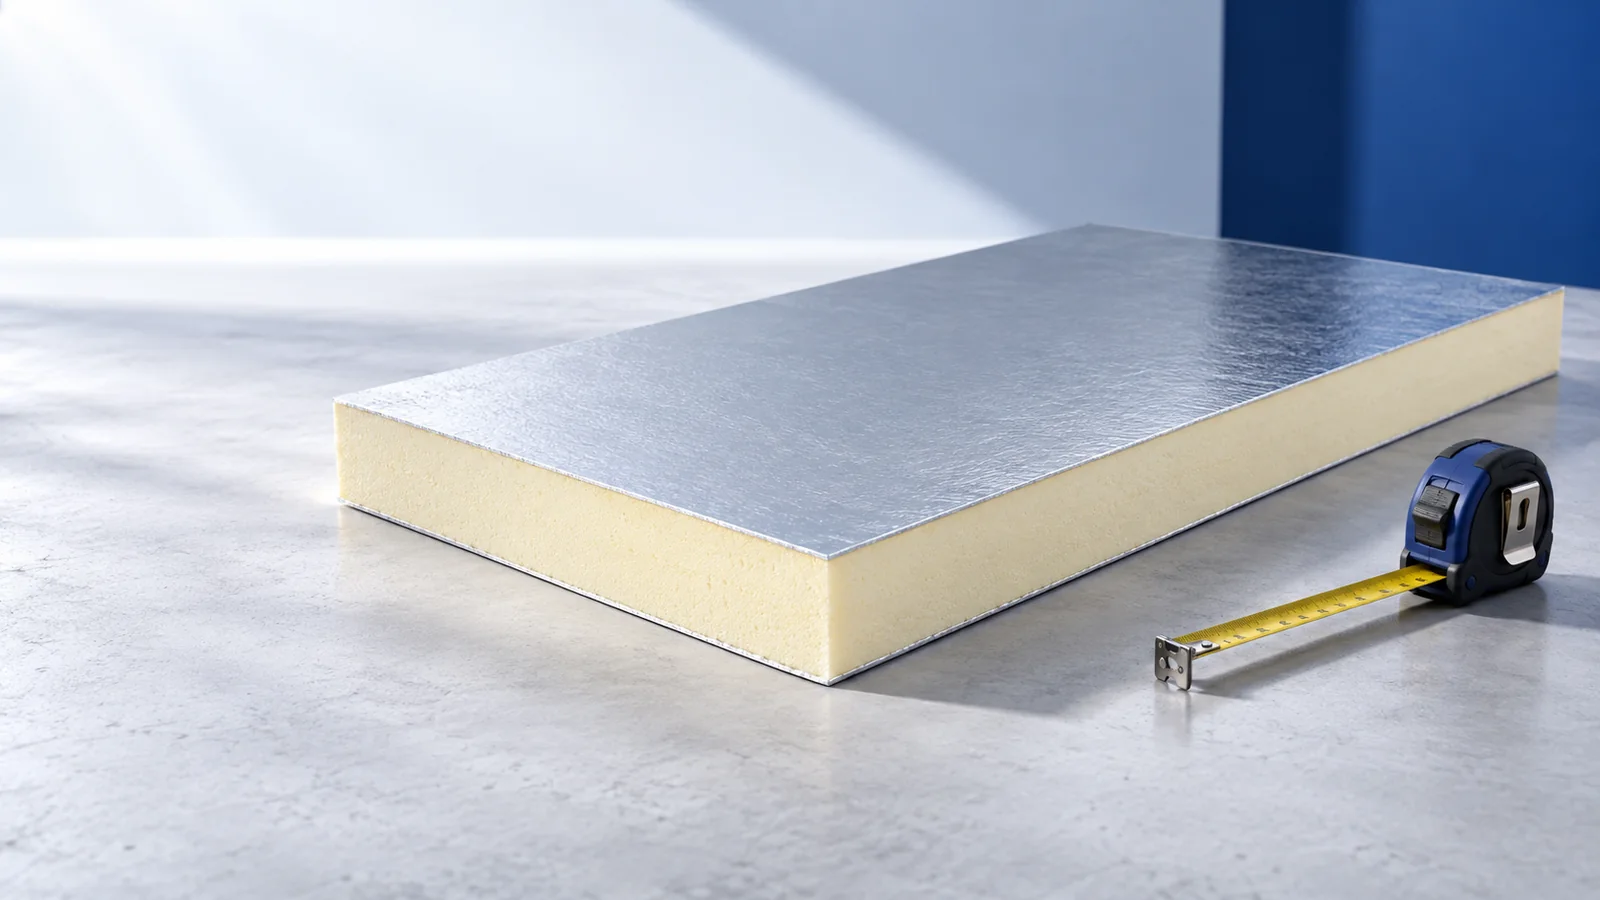
Effective roof insulation forms a continuous boundary around heated rooms, rather than merely a thick layer across the middle of a slope.…
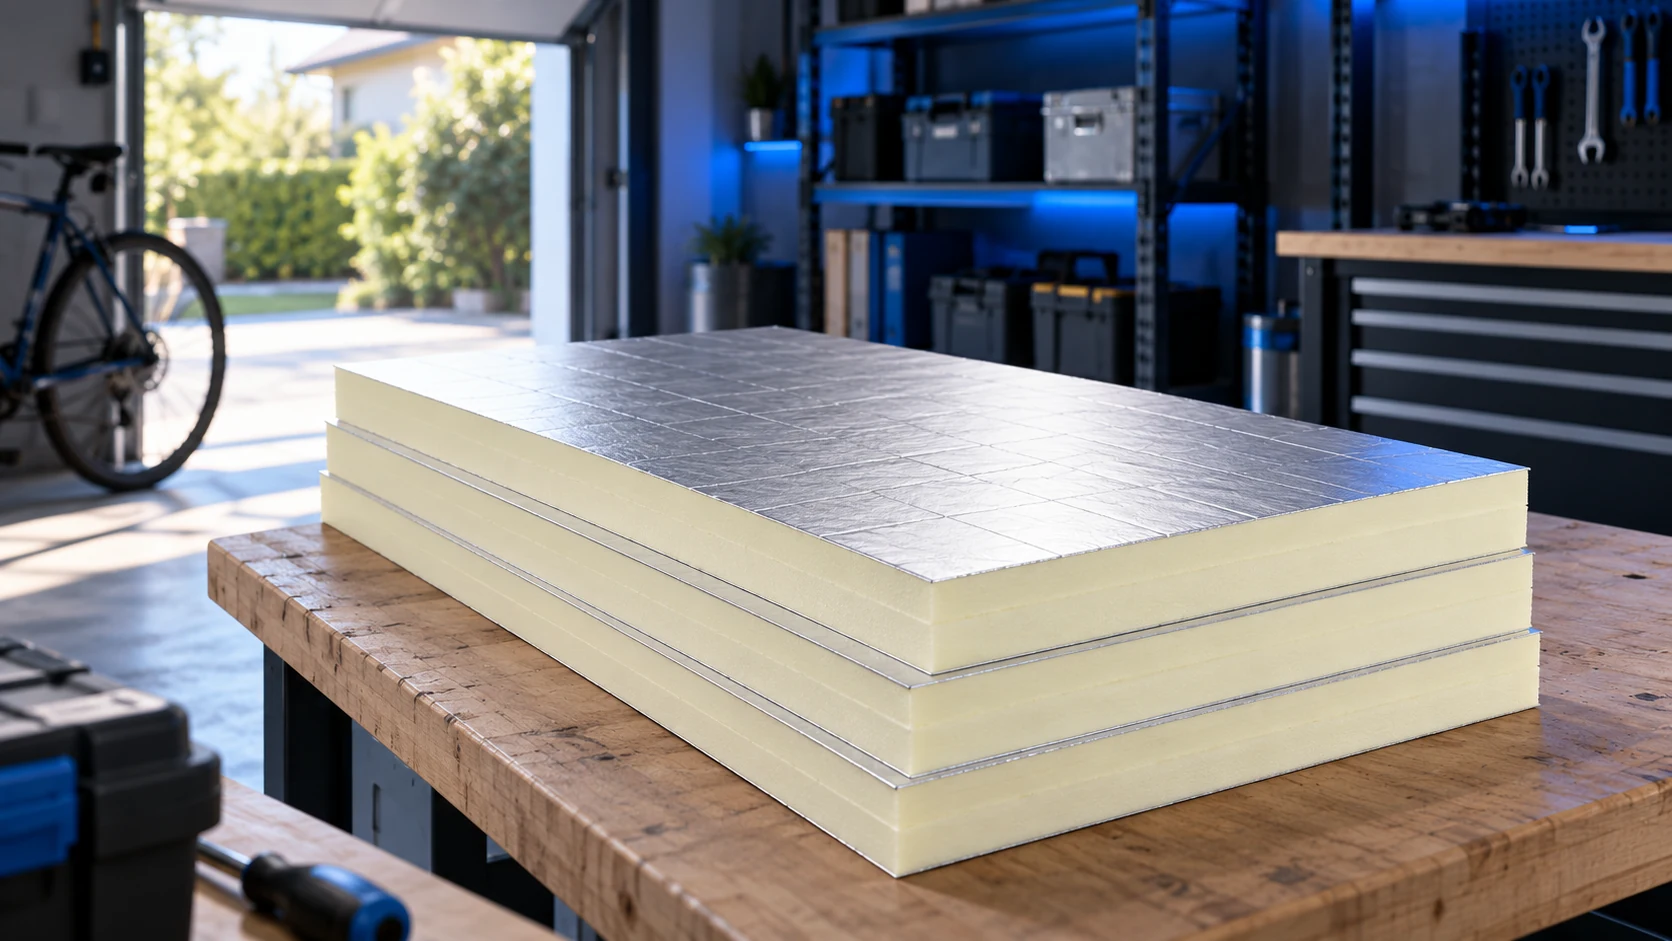
Cost-effective insulation suits the way a building is used. An unheated garage has different needs from a workshop or a holiday cabin…
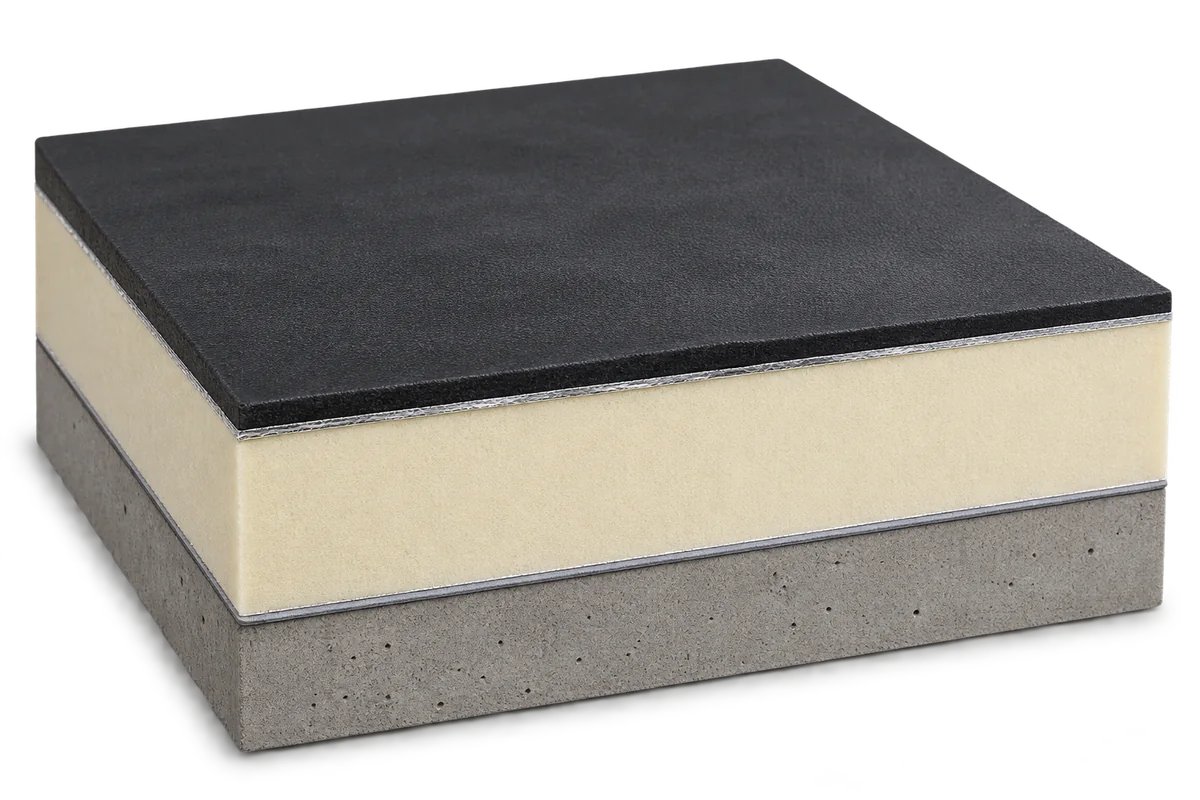
Choose the waterproofing and insulation for a flat roof together. The deck, layer order, fixing method and intended use determine which combinations…
A good contractor can explain how they will build to your design, define exactly what their quote covers and show how each…