






Why stagger facade insulation board joints?
EPS and thermal insulation
Stagger EPS facade boards so that vertical joints in successive courses do not form a continuous line. The insulation does not take on a structural role. The aim is to keep it continuous and avoid concentrating poor fits or local movement along a line that may later show through the render. Set out the first course in relation to the plinth, building corners and openings. Take the required offset from the ETICS instructions. At a structural movement joint, use a separate detail that lets the two parts move.
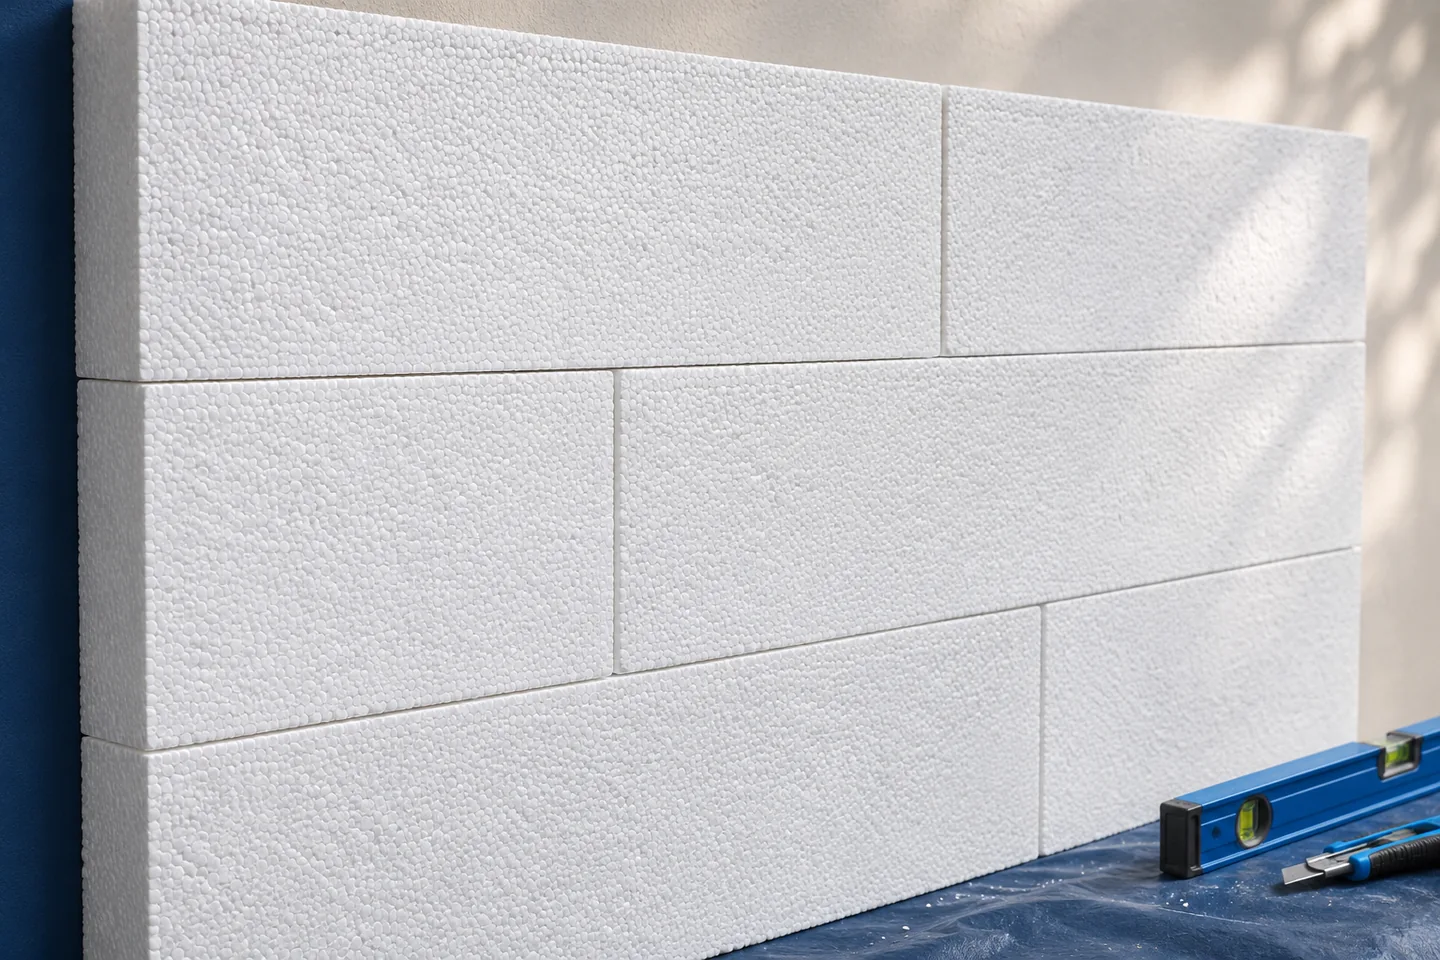
What does staggering the joints achieve?
Use the offset specified for the ETICS. You need not automatically begin each board halfway along the one below. Board size, wall width and window position may call for a different layout. Keep to the required offset while avoiding long lines of aligned joints and very small pieces of EPS.
How do you set out the first course?
Mark the starting level and check its junction with the plinth. Sketch the courses across the full width of the wall, including corners, openings and service penetrations. Starting with a full board by default can leave a narrow sliver at the far end or put a joint directly at a window corner.
Butt square edges tightly. A rebate or profiled edge does not remove the need to plan the layout. Cutting may remove the factory profile, so finish the cut edge and joint accordingly. Do not force a poorly fitting board into place: compression during installation does not ensure the joint will stay closed.
Why interlock boards at external corners?
Follow the system’s external corner detail. Typically the boards from the two walls overlap in alternate courses, avoiding a single vertical gap over the full height. Accurate cuts and alignment also keep the corner plumb and provide a straight base for the corner bead.
Allow a trimming margin if the installation method calls for one. Finish the edge only after the adhesive has reached the required strength. Do not snap projecting EPS off by hand: torn edges leave gaps that need additional repairs. A straight cut is easier to check and fit.
How should you lay boards around windows and doors?
Keep board joints away from the line of the opening at its corners, where stresses concentrate. A common solution is to cut an L-shaped notch into a sufficiently large board so it wraps around the corner. Use the system drawings for the joint setback and the shape of the cut.
Do not piece together an opening corner from small offcuts just to reduce waste: the pieces can be hard to bond and support. Coordinate the board pattern with the diagonal mesh reinforcement and the reveal detail. Each serves a different purpose. Correct mesh installation does not compensate for a poor board layout.
Can insulation boards bridge a movement joint?
Use the movement joint detail specified in the design and the system. Do not simply bridge a structural joint with continuous insulation and render. The facade detail must accommodate movement between the separated parts. Otherwise a crack may appear even if the mesh is embedded correctly.
Also assess changes of substrate, such as masonry meeting concrete. Not every change requires a movement joint, but each should be considered in the design. Locate board joints with regard to substrate movement, continuity of insulation and the reinforced base coat, rather than the most convenient cuts.
How do you check the layout before covering it?
Stand back a few metres to see the overall joint pattern. Then inspect opening corners, plinth junctions and narrow cuts at close range. Look for gaps, mortar in joints and steps between adjacent faces. Photograph the layout before embedding the mesh, which will hide the boards.
Arbet, Yetico, Austrotherm and Swisspor are among the suppliers of EPS boards. Use the actual dimensions and edge profile of the chosen board when setting out the courses.
If the pattern is wrong, agree on a repair before proceeding. Sometimes one replacement board is enough; a poorly set-out window may need a whole section relaid. Do not just cover the defect with an extra strip of mesh without checking the system requirements. The board layout is easy to inspect at this stage without specialist tools.

Free quote
What to include in your enquiry
Tell us how you plan to use the material, the dimensions and the quantity you need. Include the thickness, grade or variant name, along with the delivery town or your preferred collection branch. For a specific product, add its name or a link to the product page. We will reply to the email address you provide to discuss availability and the terms of your order.
More from the building guide
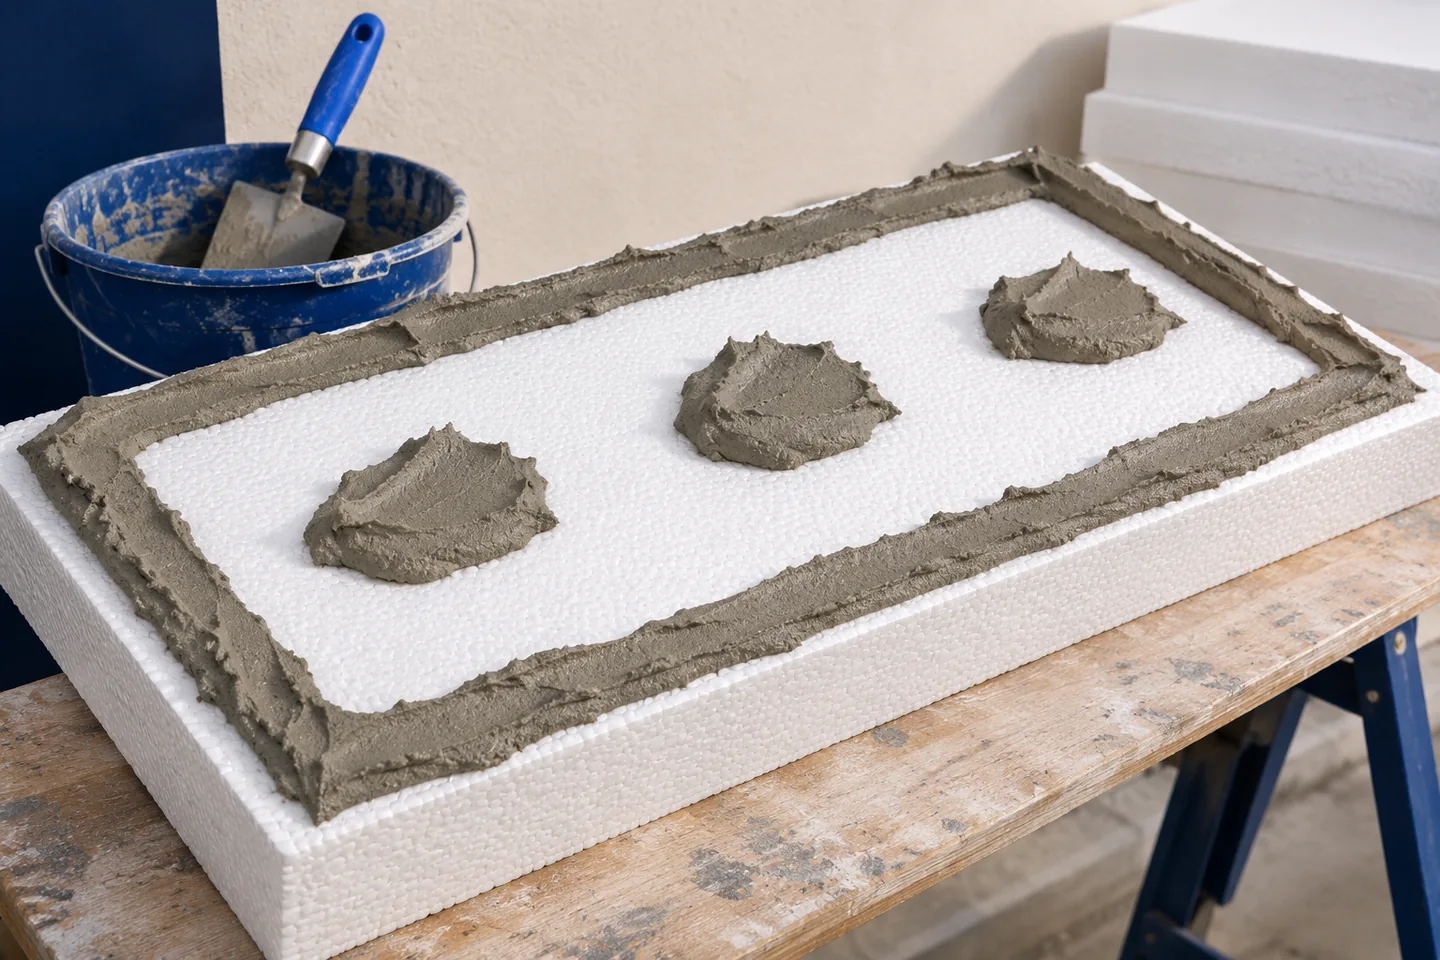
Use the bonding method specified for the substrate, EPS board and adhesive in your external thermal insulation composite system (ETICS). On a…
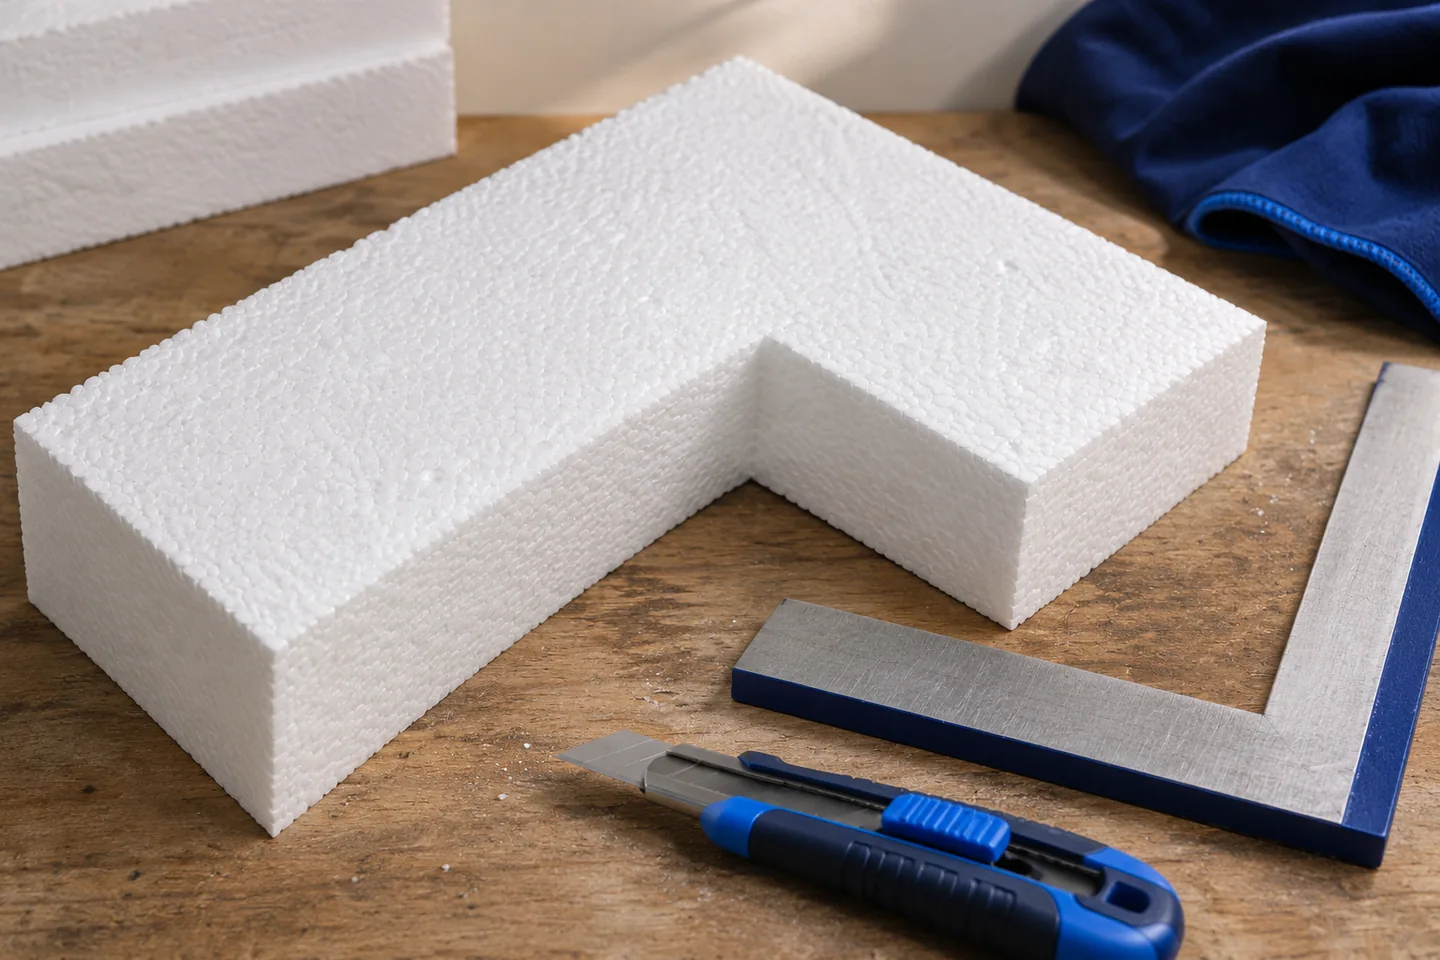
Three details work together at a window corner: an EPS board cut around the opening, diagonal mesh in the base coat and…
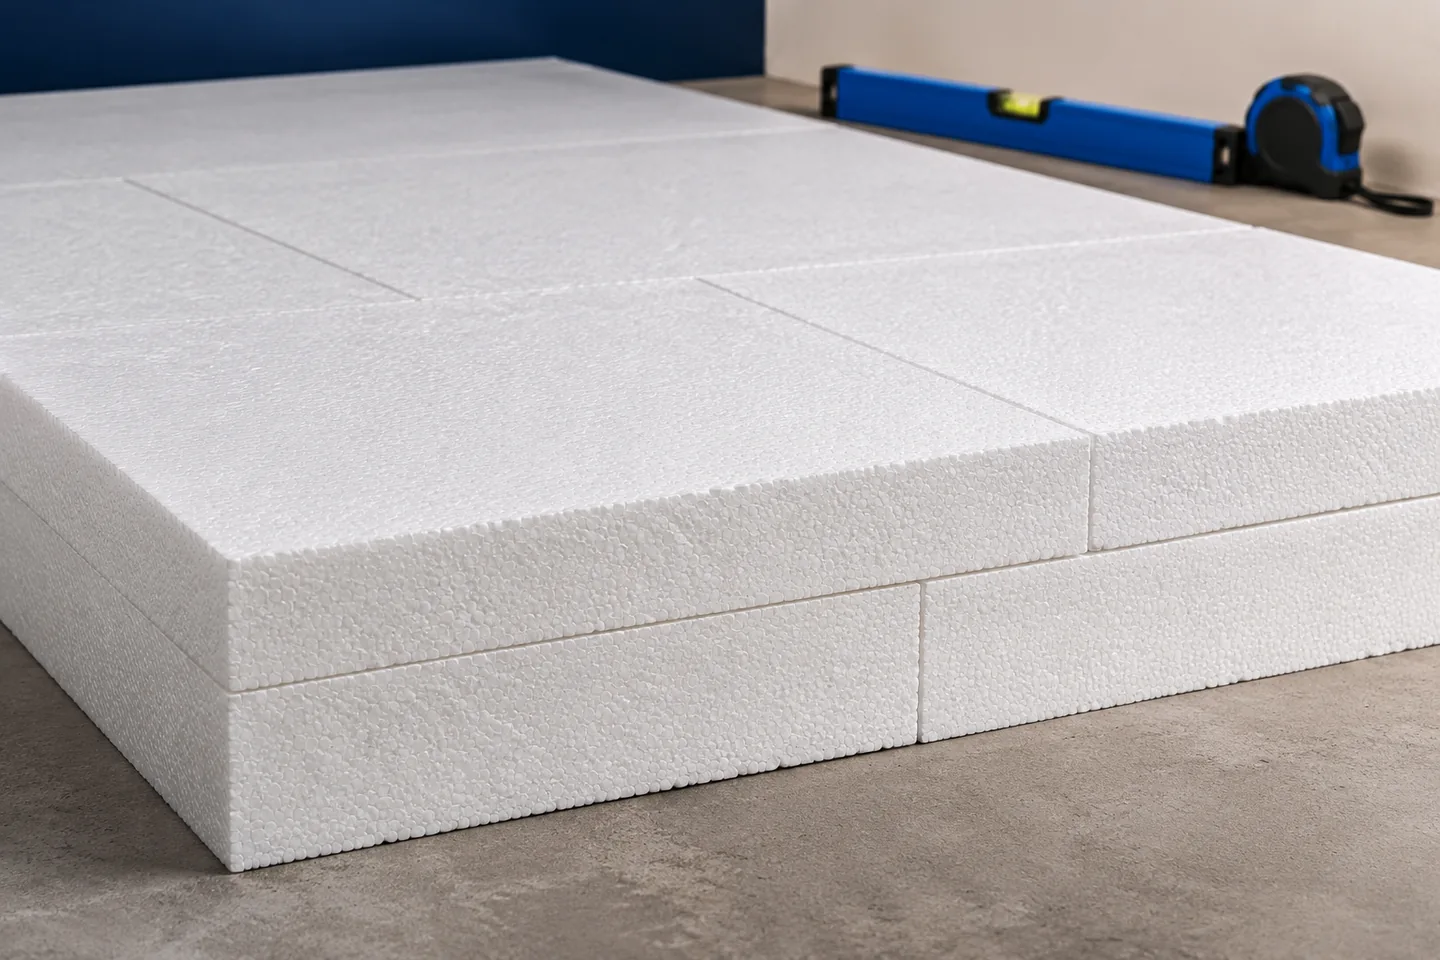
Two layers of floor-grade EPS let you offset joints, accommodate some services and fit the available floor depth. At the same conductivity…
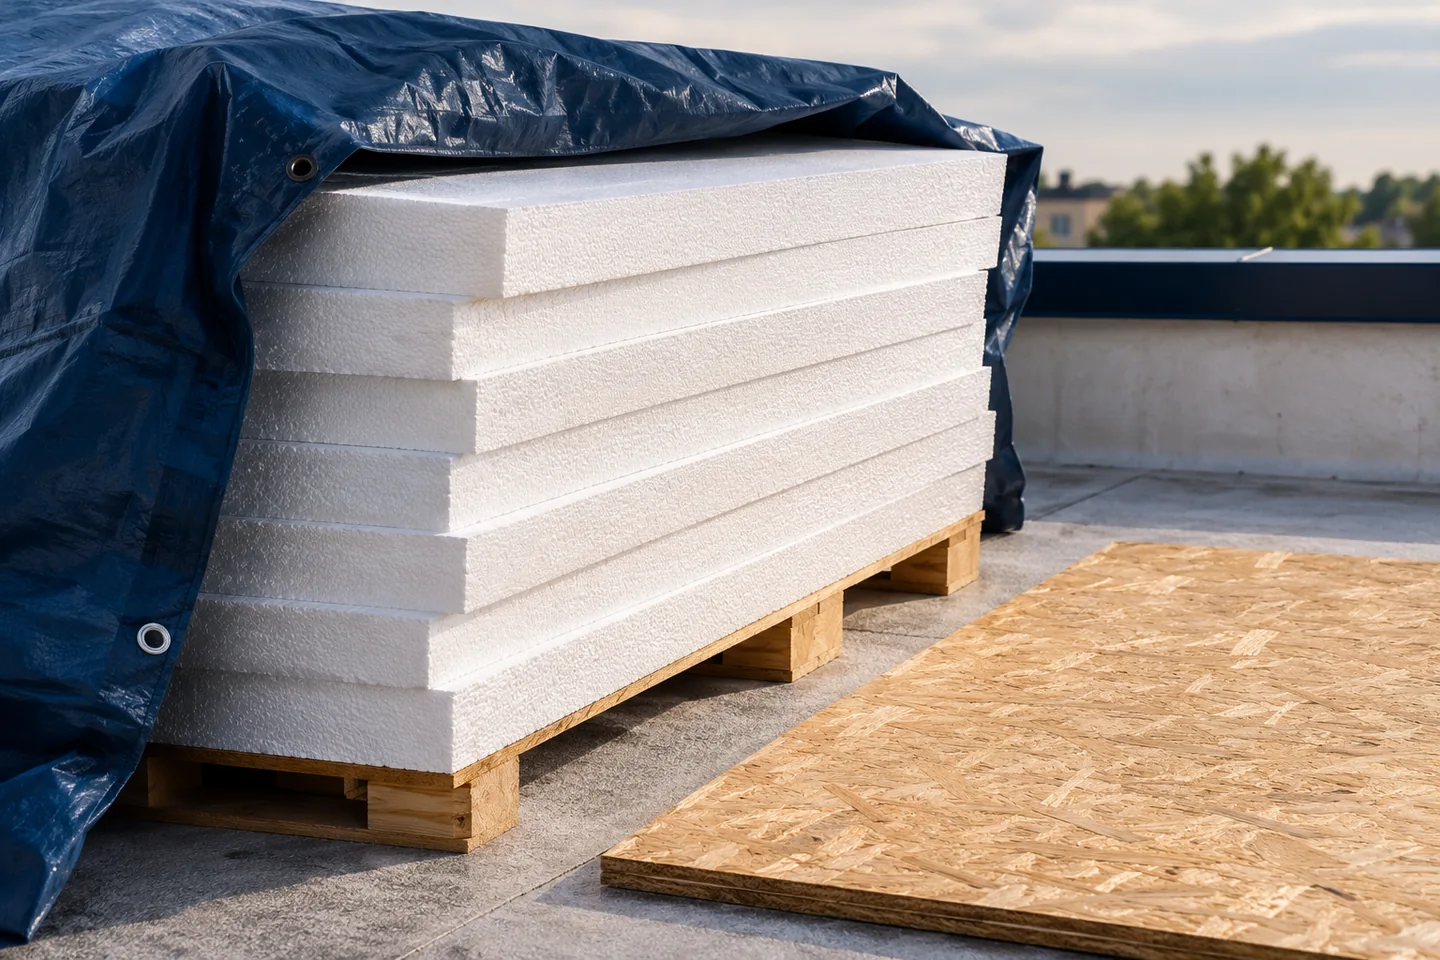
Before laying EPS on a roof, check the specified layer sequence, positions of vapour control and waterproofing, and direction of drainage. A…
Insulation selection starts with its position in the building. A rendered wall, a roof and a continuously loaded floor impose different requirements.…
Compare PIR and EPS cores using the declared performance of complete roof sandwich panels, not figures for loose insulation boards. U-values, weight,…
Two insulation quotations may cover the same part of a house while including different quantities and delivery arrangements. When comparing PIR, EPS,…
The combination of PIR with mineral wool, EPS or XPS should be assessed on the basis of the entire cross-section of the…