




Chimney flashing on a trapezoidal steel roof: details to check
Metal roofing
Chimney flashing must return water to the roof covering while accommodating movement between the roof and chimney. A strip of sheet metal glued to masonry does not achieve this on its own. The detail needs fitted components, correctly arranged laps and a secure termination on the chimney wall. Their dimensions depend on the roof slope and the actual sheet profile. Before cutting metal, inspect the chimney itself and establish how water will drain both over and beneath the covering. This guide explains the drainage zones, the role of counterflashing and the points to inspect before access equipment is removed.
Inspect the chimney before cutting the metal
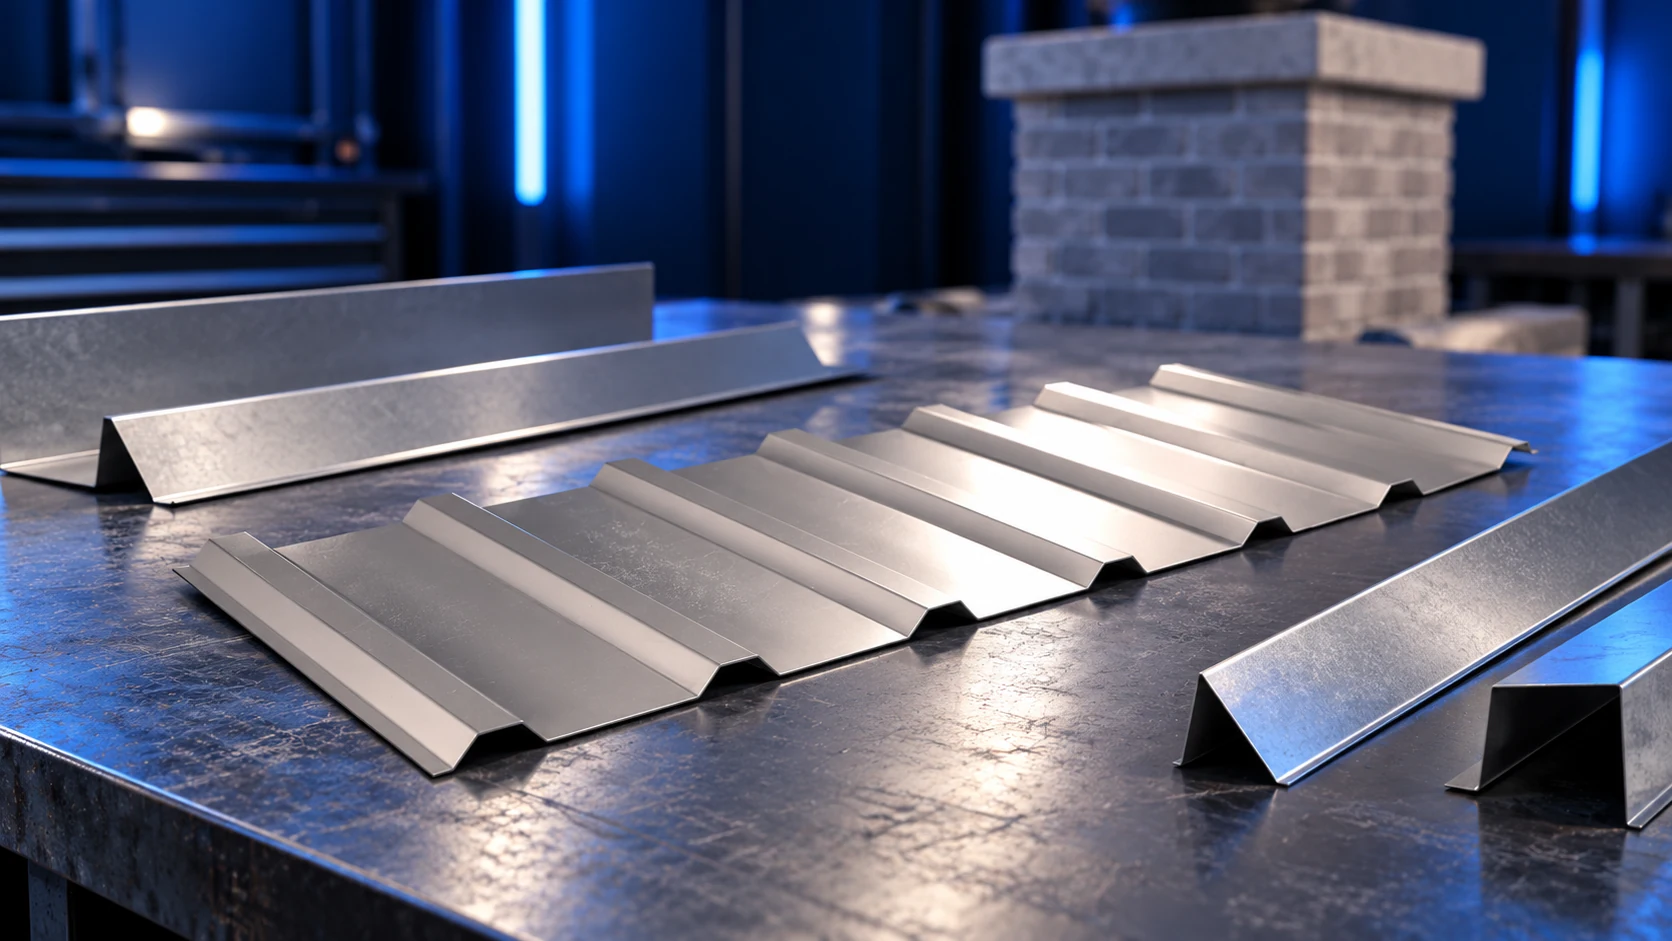
Loose render, cracked joints and a leaking cap can admit water above the flashing. New flashing will not repair those defects. Establish the condition of the chimney and its casing first, then measure its width and length, the roof pitch and the position of the sheet ribs.
A low chimney near the ridge needs a different solution from a wide chimney on a long slope, where more water and snow accumulate above it. Do not copy apron dimensions from an unrelated drawing. Use a detail suited to the location. For a proprietary chimney system, also check its fixing instructions.
Chimney position changes the drainage arrangement. Close to the ridge, it may be possible to extend the rear flashing beneath the ridge cap. Farther down the slope, the back gutter must connect to the covering above. These are different drainage solutions; the choice depends on roof geometry, sheet profile and the complete flashing design.
Plan four drainage zones
The front apron faces the eaves. Side flashings guide water down the slope. The rear component receives runoff from the ridge side and diverts it around the chimney. The upper termination against the masonry prevents water entering behind the flashing.
Components must overlap in the direction of drainage: water should pass from the higher part onto the lower one, not under a lap edge. On trapezoidal sheets, the profile valleys also matter. Fit the apron to the actual cross-section, not merely to a designation such as T18 or T35.
Separate the roof connection from the masonry termination
Roof and chimney can move relative to one another, and a rigid connection may crack. In a two-part arrangement, the lower flashing works with the covering while the counterflashing is fixed to the chimney and protects the joint. This describes the principle, not a universal cross-section. A standing-seam drawing is not automatically suitable for trapezoidal roofing.
The upper edge may be set into a prepared chase or use a system termination, depending on the chimney construction. Do not cut an arbitrary casing without checking its structure. Sealant forms part of the joint but should not be the sole means of holding the flashing to the wall.
Install in the direction of water flow
A simple arrangement starts at the lower zone, followed by the side connections, the rear section and the upper terminations. The precise prefabrication sequence may vary by system. The essential point is the lap arrangement: water must flow onto the next lower layer rather than beneath its edge.
Reinstate the underlay around the penetration too. Water below the roof covering also needs a drainage route. Do not terminate the membrane arbitrarily against the masonry. Keep joints and fixing points accessible for inspection before covering them with metal; photograph them at this stage.
Avoid unnecessary holes in drainage channels
Position fixings so they do not create unnecessary holes where water drains. Select fasteners and seals for the detail and substrate. There is no single screw count appropriate for every chimney. Avoid incompatible combinations of metals; flashing material must be compatible with the covering.
Use cutting tools that do not overheat the edges. Remove swarf and inspect the coating afterwards. Folds must not form pockets that retain water. Profile fillers must match the particular cross-section: an excessively tall filler may lift the flashing and obstruct proper fixing.
Inspect behind the chimney at handover
This area is difficult to see from ground level. Shallow flashing, an obstruction or leftover material can easily be missed. Check drainage on both sides and ensure the upper termination is not secured to loose render. Photographs should show the whole perimeter, not just the front.
Later inspections should include leaf removal and seal checks. Do not scrape the coating with sharp metal tools. If a leak returns, inspect the masonry and chimney top as well: faulty flashing is one possible cause, not an automatic diagnosis.
Arrange handover before roof access and protective equipment are dismantled. Defects can then be corrected without organising access again. Do not restrict inspection to a photograph taken from the garden.
Frequently asked questions
Can flashing be attached with silicone alone?
The entire detail should not depend on sealant. Correct shaping, fixing and termination at the chimney are necessary.
Does the same profile filler fit every T18 sheet?
No. The designation does not describe the entire cross-section. The filler must match that manufacturer’s profile.

Free quote
What to include in your enquiry
Tell us how you plan to use the material, the dimensions and the quantity you need. Include the thickness, grade or variant name, along with the delivery town or your preferred collection branch. For a specific product, add its name or a link to the product page. We will reply to the email address you provide to discuss availability and the terms of your order.
More from the building guide
Choosing metal roofing for a house with a narrow access route means checking the delivery journey as well as the roof covering.…
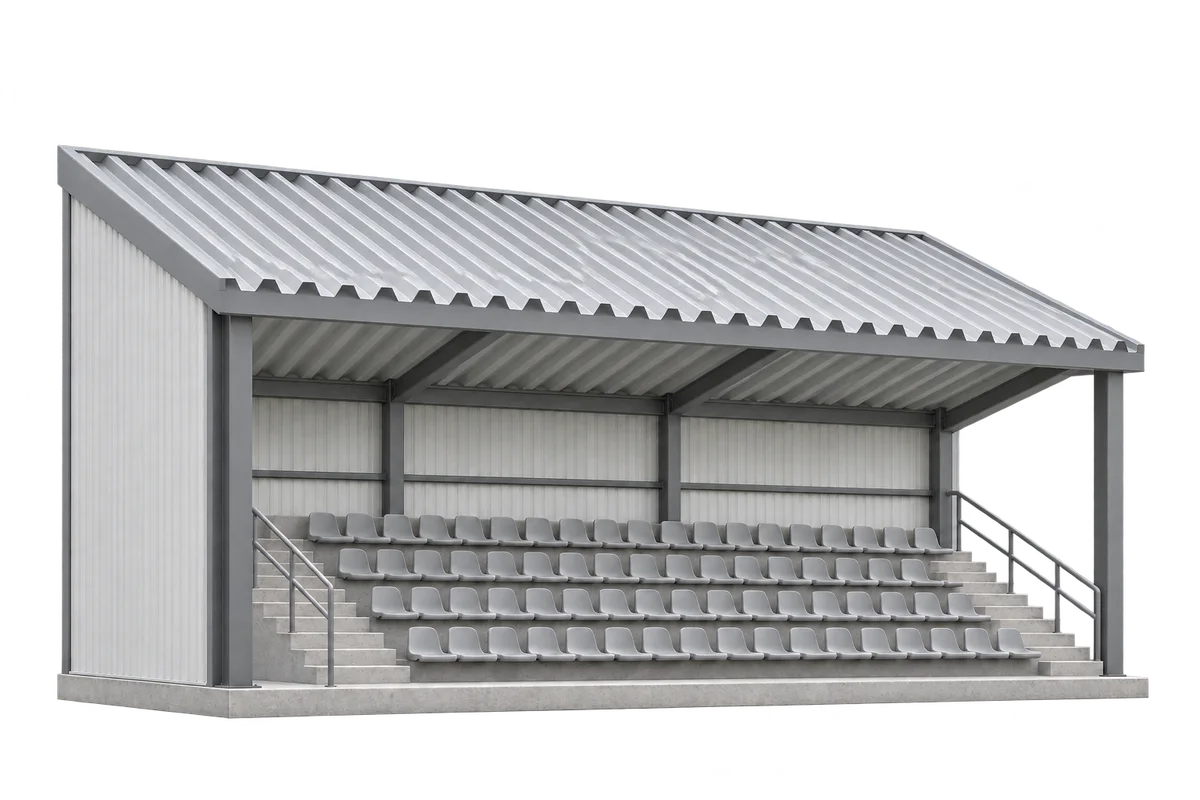
Use the sheet layout drawing to count the sheets for a grandstand canopy. The order needs dimensions in two directions. Across the…
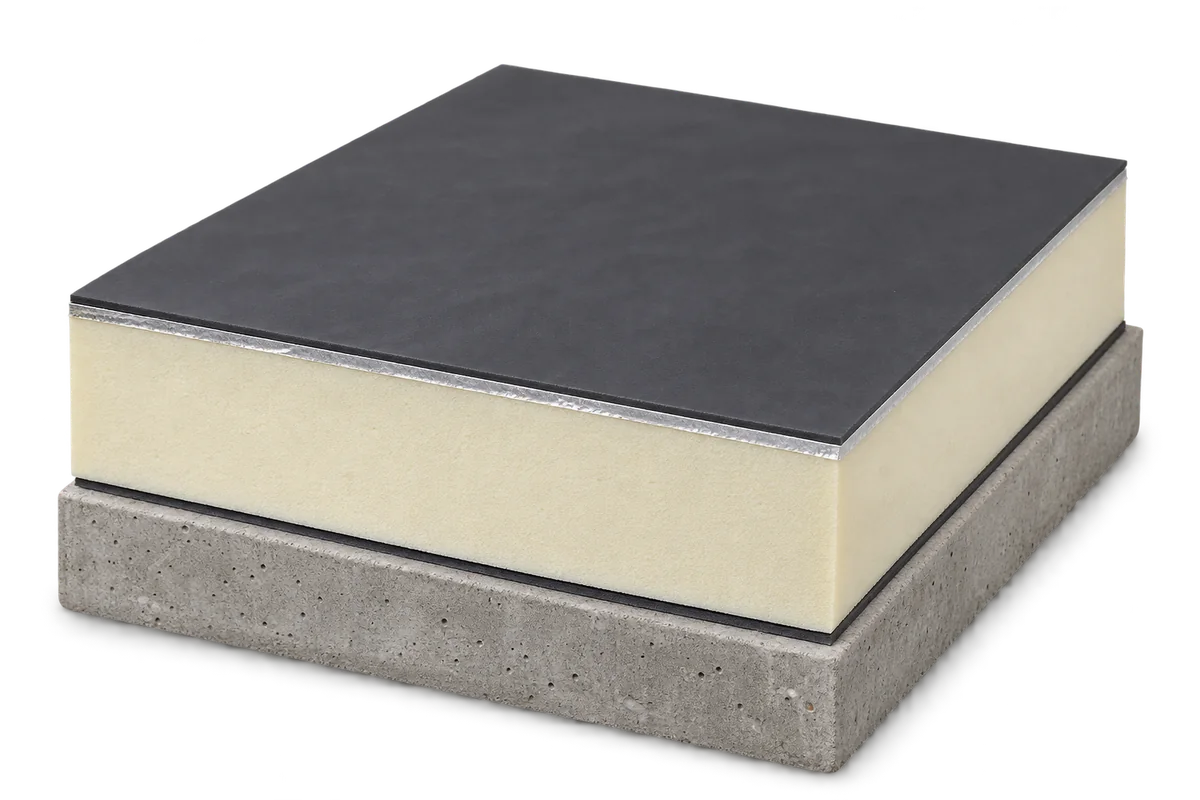
A flat roof consists of several layers that work together. The structure carries the loads, insulation reduces heat loss and waterproofing keeps…
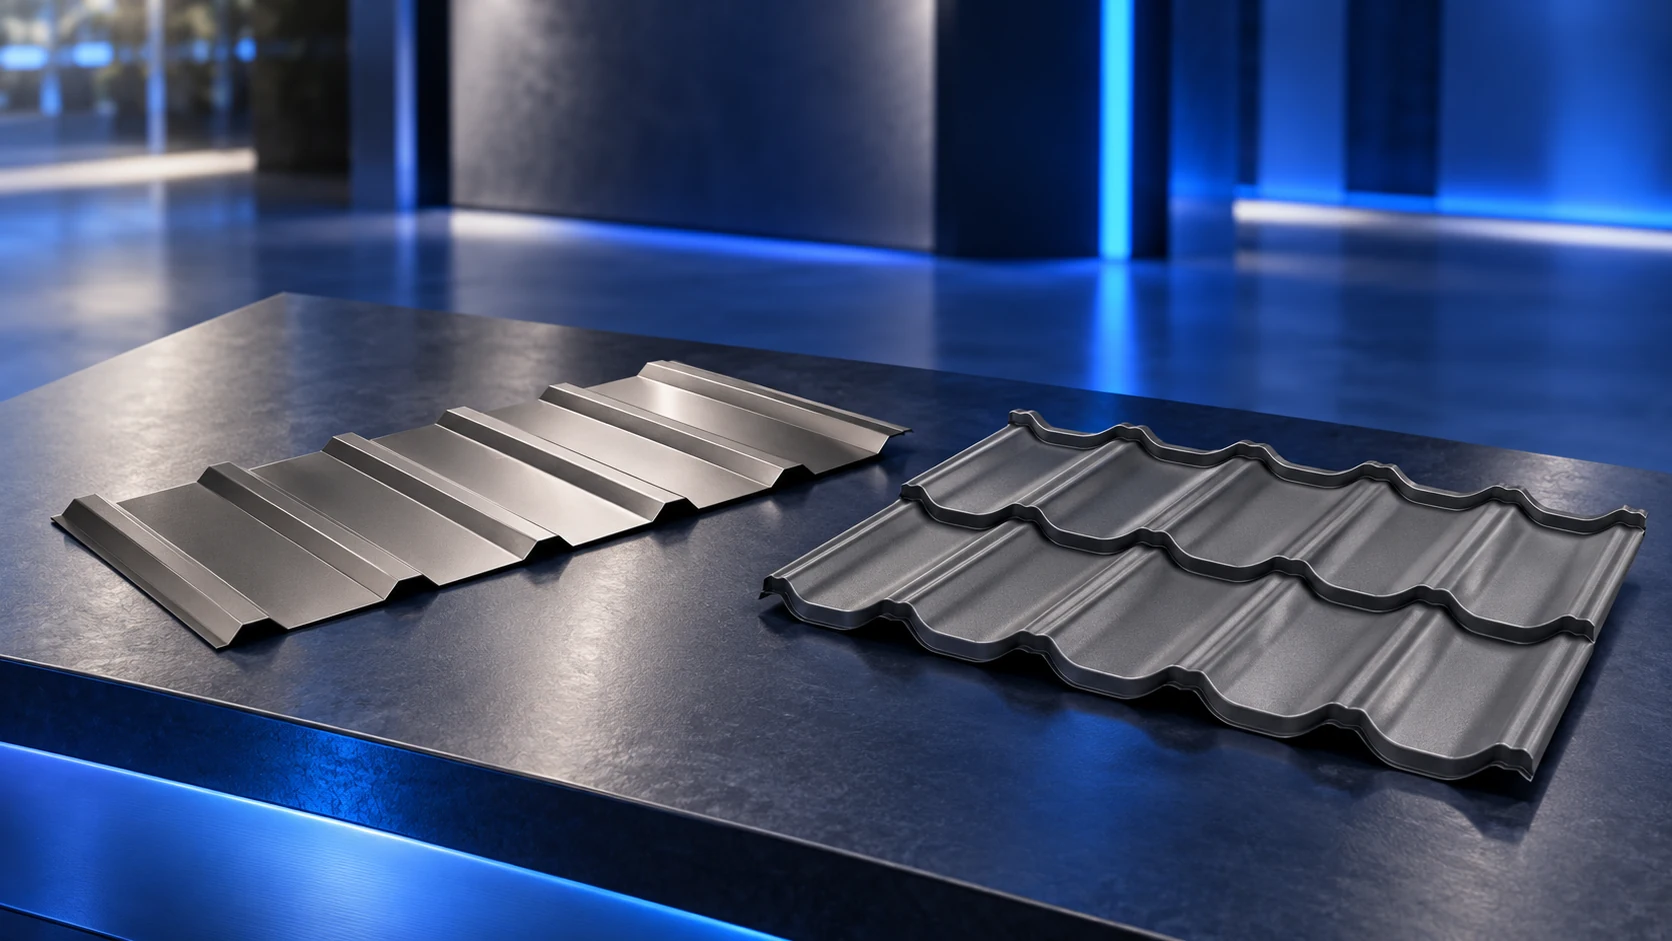
Both steel tile-effect sheets and trapezoidal profiles can form a reliable roof when they suit the design and are installed correctly. Tile-effect…
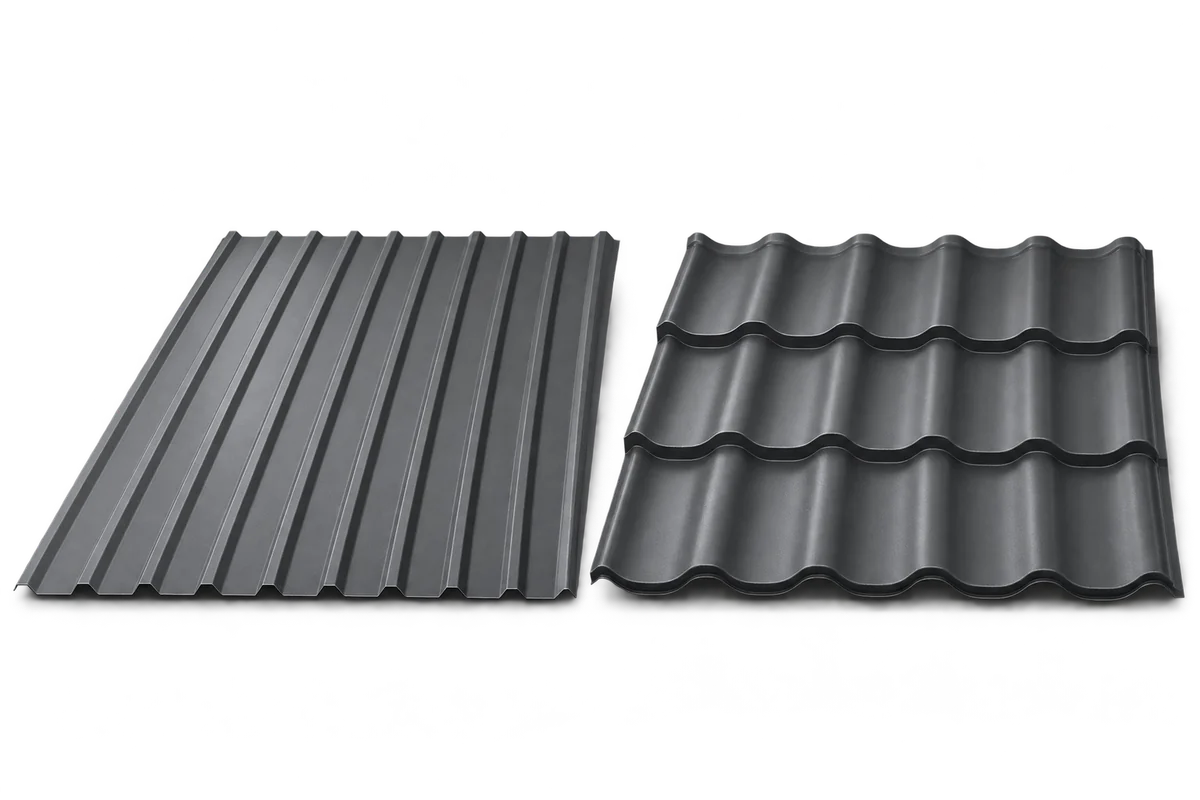
Metal roof tiles suit traditional houses, while trapezoidal sheets create a simpler roofline. Check the roof pitch, support spacing, protective coating and…
A useful trapezoidal steel sheet quotation lets you verify the product, quantity and complete price. The name T18 and a colour alone…
Choose trapezoidal sheets for a canopy by starting with roof conditions, not sheet colour. Establish pitch, support spacing, how enclosed the sides…
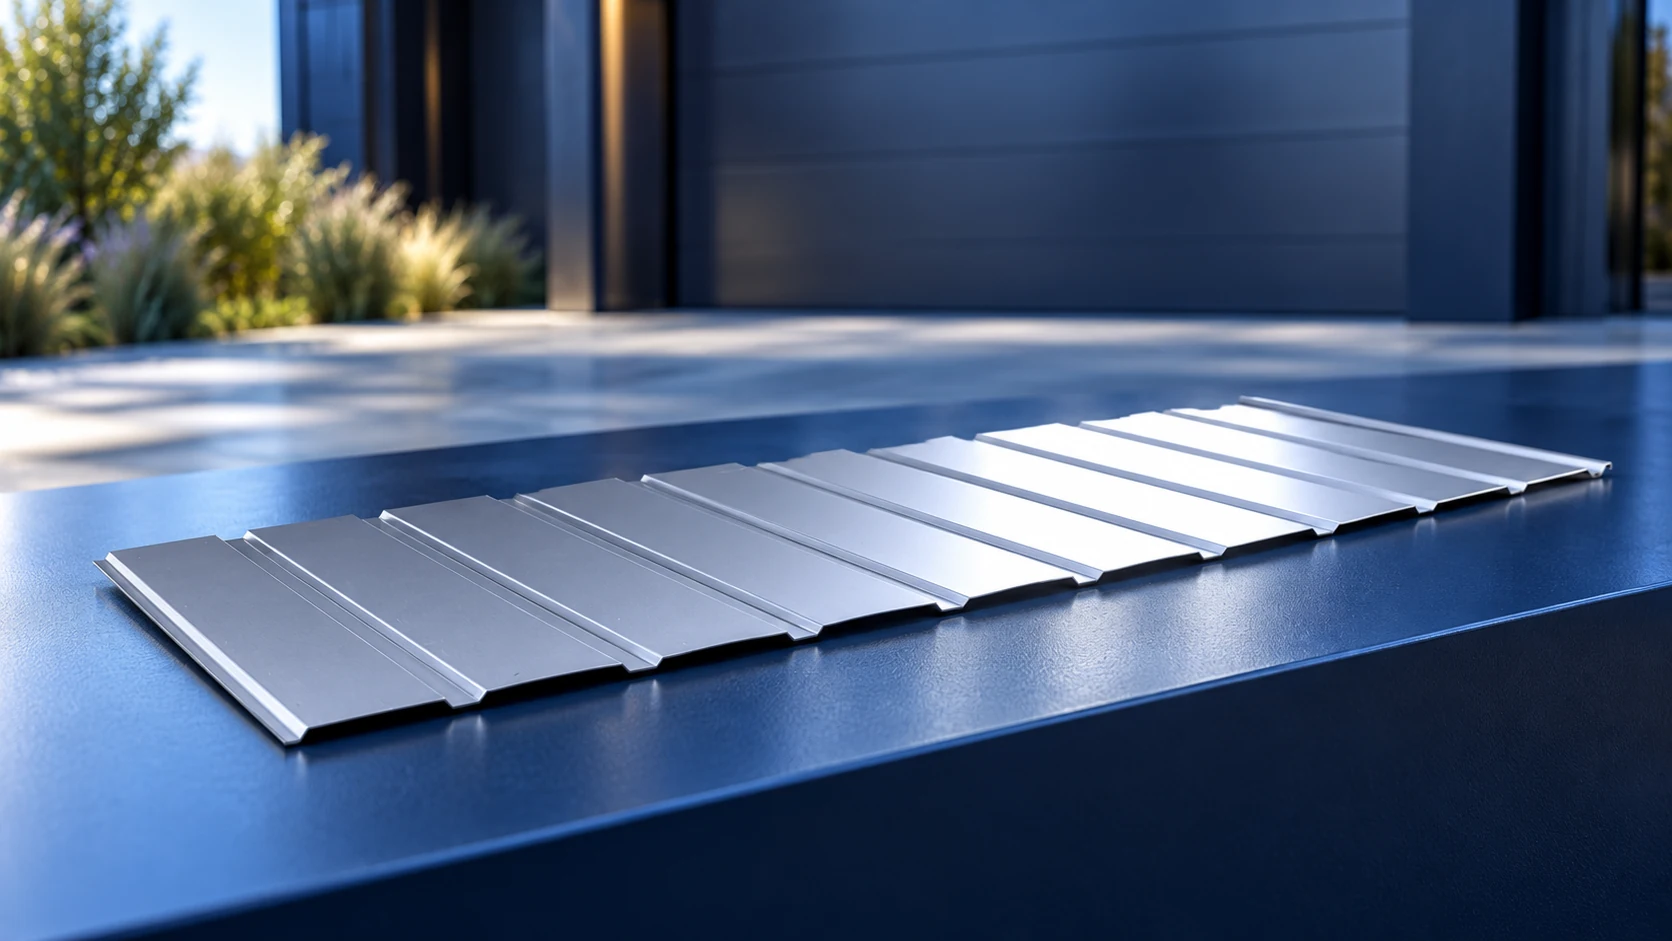
T7 is a very shallow trapezoidal sheet profile. One wall-cladding version is 7 mm high, covers 1175 mm and measures 1197 mm…