






Insulating a 1990s house internally while retaining its facade
PIR boards and insulation
Internal insulation in a 1990s house should start with an assessment of the existing wall, not a board order. The construction date does not establish which masonry, cavity or insulation was actually installed. Keeping the facade can reduce external work, but moisture, services and thermal bridges still need attention. This guide covers checking old drawings against the building, choosing plasterboard-faced PIR, planning fixings for heavy fittings and inspecting concealed joints. The intended heating and ventilation arrangements matter too. A successful refurbishment depends on dry, suitable construction and coordinated details, rather than insulation thickness alone.
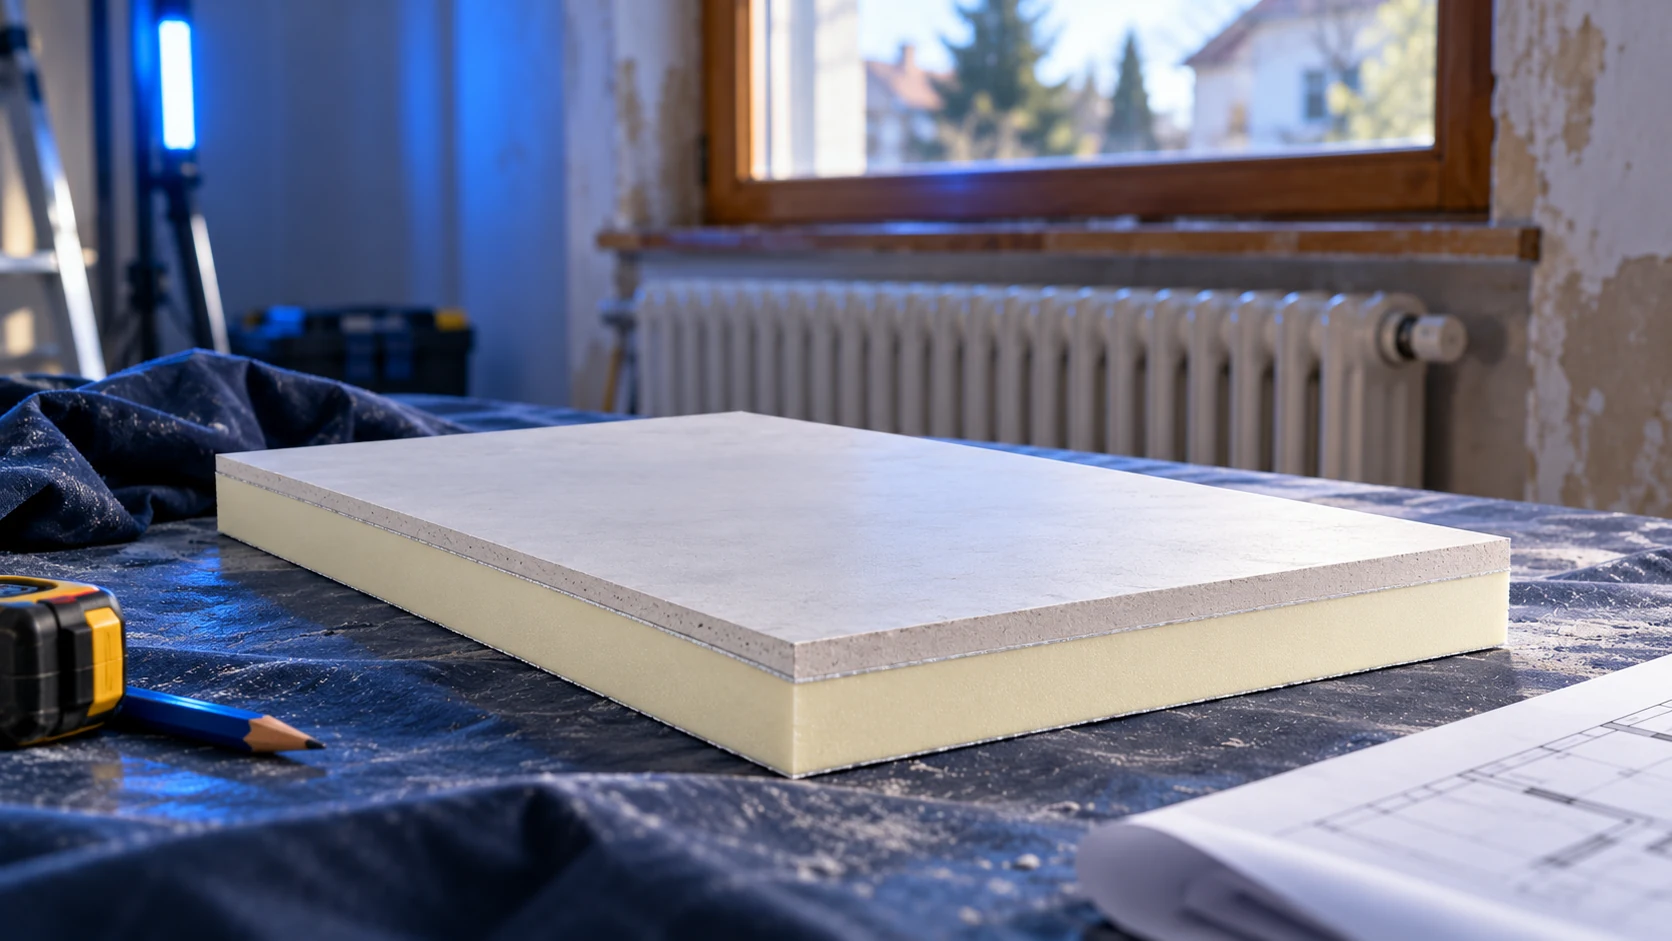
Check the drawings, then the actual wall
Archived drawings are a useful starting point but may differ from the as-built structure. Check masonry thickness at openings and establish whether the wall has one, two or three layers. Investigate any cavity. A carefully chosen inspection opening can prevent numerous incorrect assumptions.
Record later alterations as well. Replacement windows or new render may have changed operating conditions. Identify where the house loses heat most quickly. Insulating every wall internally may not be the first priority: the main problem could be a floor junction, roof or major air leaks.
Plan the refurbishment over several years
Will the house be heated as it is now? Are changes to the boiler, ventilation or attic use planned? These answers affect the required result. Consider the building as a whole so that insulation of one wall fits the subsequent stages.
A U-value calculation helps assess the additional layer, provided the material data are correct. Do not promise bill savings solely from an improved U-value for one element. Energy consumption also depends on ventilation, temperature, building services and how occupants use the house.
Do not conceal a wall that is taking in water
Inspect the roof, flashings, plinth and services. Even a small leak may have persisted for years in an older house, and a new lining makes it harder to detect. Establish whether the masonry is dry and whether it will still be able to dry after the build-up changes.
Internal insulation changes temperatures within the existing wall, making a moisture assessment necessary. Simple models do not cover every water-transport mechanism, particularly in heterogeneous or damp walls. Additional investigation is part of the refurbishment in these cases and helps avoid trapping moisture in the masonry.
PIR with plasterboard combines otherwise separate layers
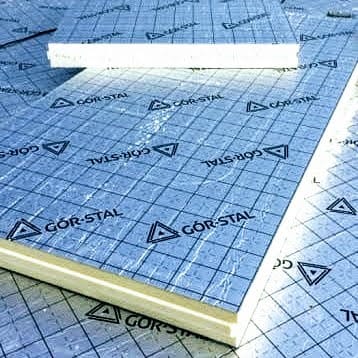
A composite board with a factory-applied plasterboard facing is one option. Different versions are intended for dry rooms and spaces with increased humidity. Check the permitted conditions for the complete composite. Reduced water absorption of the facing does not remove the need for ventilation or protection in areas exposed to water.
Check whether the quoted thickness covers the whole product or only its PIR layer. Room measurements must allow for the complete lining and fixing method. Similar appearance does not guarantee equal thickness, resistance or classification. Specify the exact version and properties rather than simply “PIR with plasterboard”.
Plan services and heavy fittings in advance
Locate cables, sockets and pipes before installation. Older services may need checking during the refurbishment. Do not accommodate electrical work by casually cutting out large sections of insulation. Plan airtight joints and service penetrations beforehand.
Cable penetrations and boxes should maintain the airtight layer. Use details intended for the chosen boards. Plan radiator, cabinet and bracket fixings separately, transferring their loads to suitable supporting construction. Decisions left until the end often lead to cuts or holes through finished insulation.
Refurbish junctions as well as flat wall areas
Check window reveals and sills, and assess the ceiling junction. These areas often remain cold after refurbishment. A thick board across a large surface cannot solve an uninsulated strip left at its edge.
A junction detail may require insulation to return along an adjoining wall; do not guess its length. Allow for furniture and valve access. In an older house, a trial area can reveal the total thickness, flatness and alterations needed before work extends to every room.
Inspect before concealing joints
Photograph the substrate, fixings and seals. A smooth finished wall does not reveal the quality of concealed layers. Retain board labels and records of the other materials used to support later repairs and alterations.
Maintain effective ventilation after refurbishment and observe the wall through the first winter. Confirm thermal and formal requirements for the actual scope of work; the year of construction alone does not determine them. The aim is a dry building element used correctly, rather than merely a fresh surface ready for paint.
Frequently asked questions
Does the age of the house determine the PIR thickness?
No. The wall’s actual construction and condition matter more.
Can the existing facade remain?
Often it can, but check its resistance to water ingress and how internal insulation affects the masonry’s ability to dry.

Free quote
What to include in your enquiry
Tell us how you plan to use the material, the dimensions and the quantity you need. Include the thickness, grade or variant name, along with the delivery town or your preferred collection branch. For a specific product, add its name or a link to the product page. We will reply to the email address you provide to discuss availability and the terms of your order.

More from the building guide
PIR insulation is not invariably half as thick as EPS. The equivalent thickness depends on the thermal conductivity of both chosen products.…
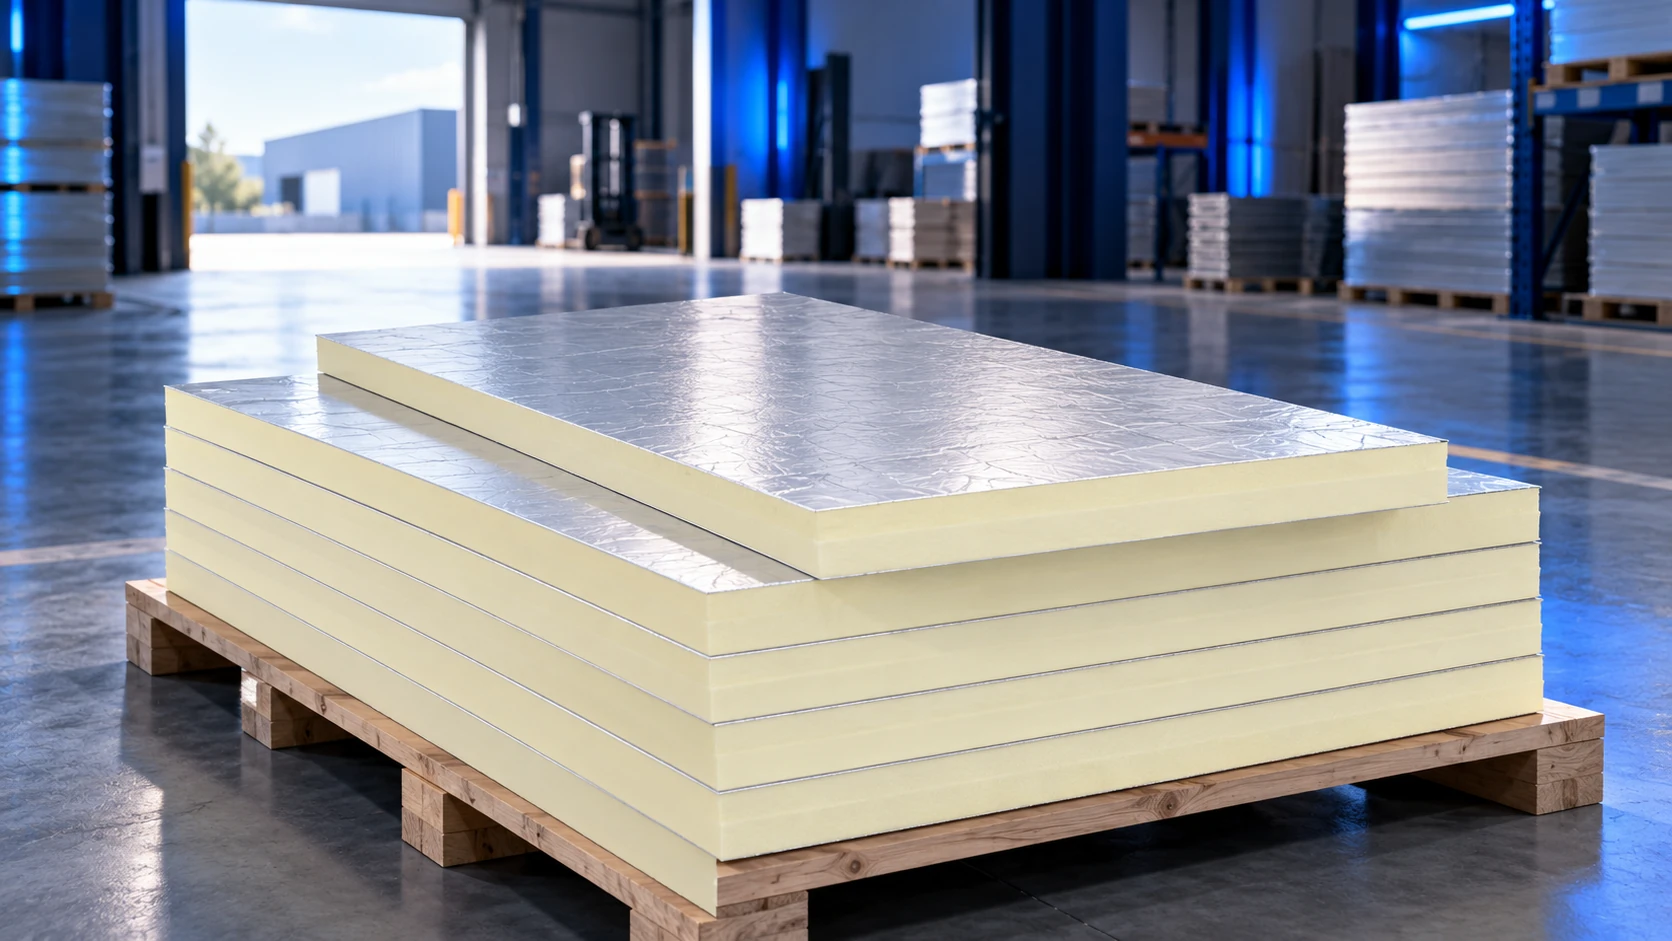
PIR insulation boards are often encountered in 120 × 60 cm and 120 × 240 cm formats, but neither size nor effective…
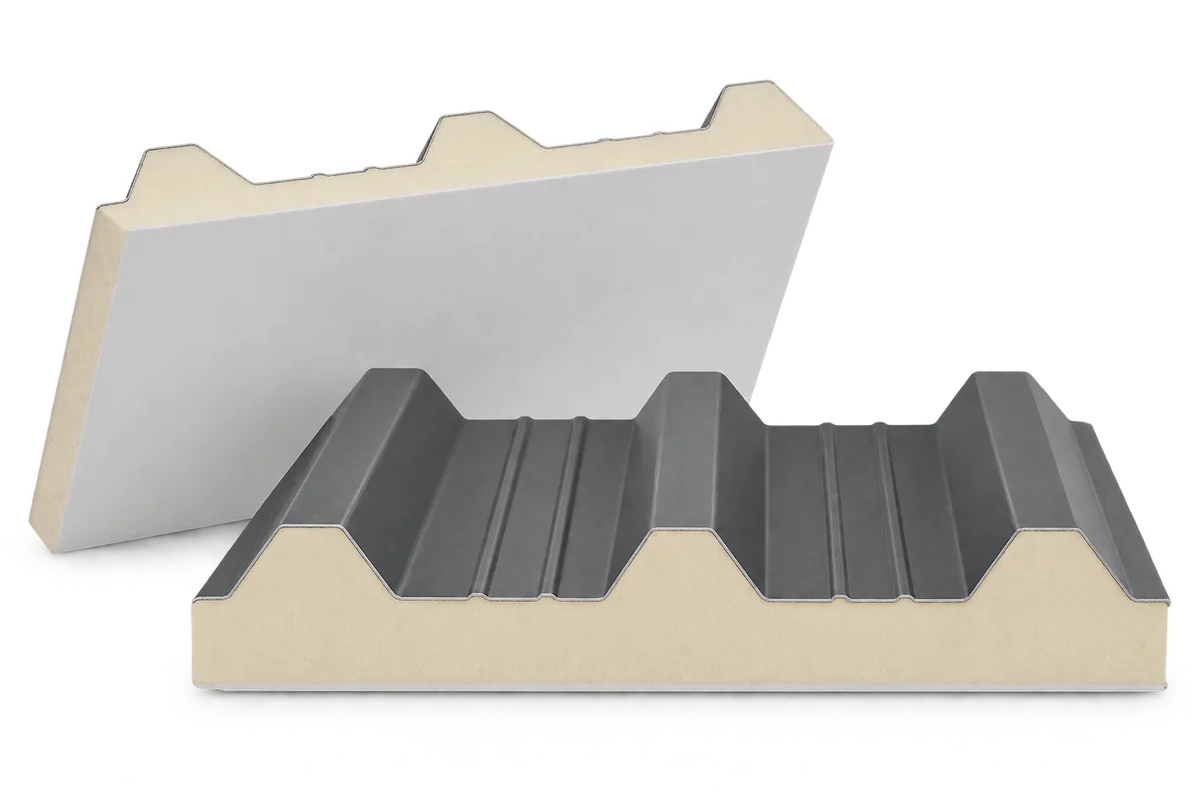
A livestock building, food store or workshop needs a roof that keeps rain out and limits heat transfer. The underside may also…
A PIR calculator helps compare insulation options, but its result is only as reliable as the data entered. Use the actual masonry,…
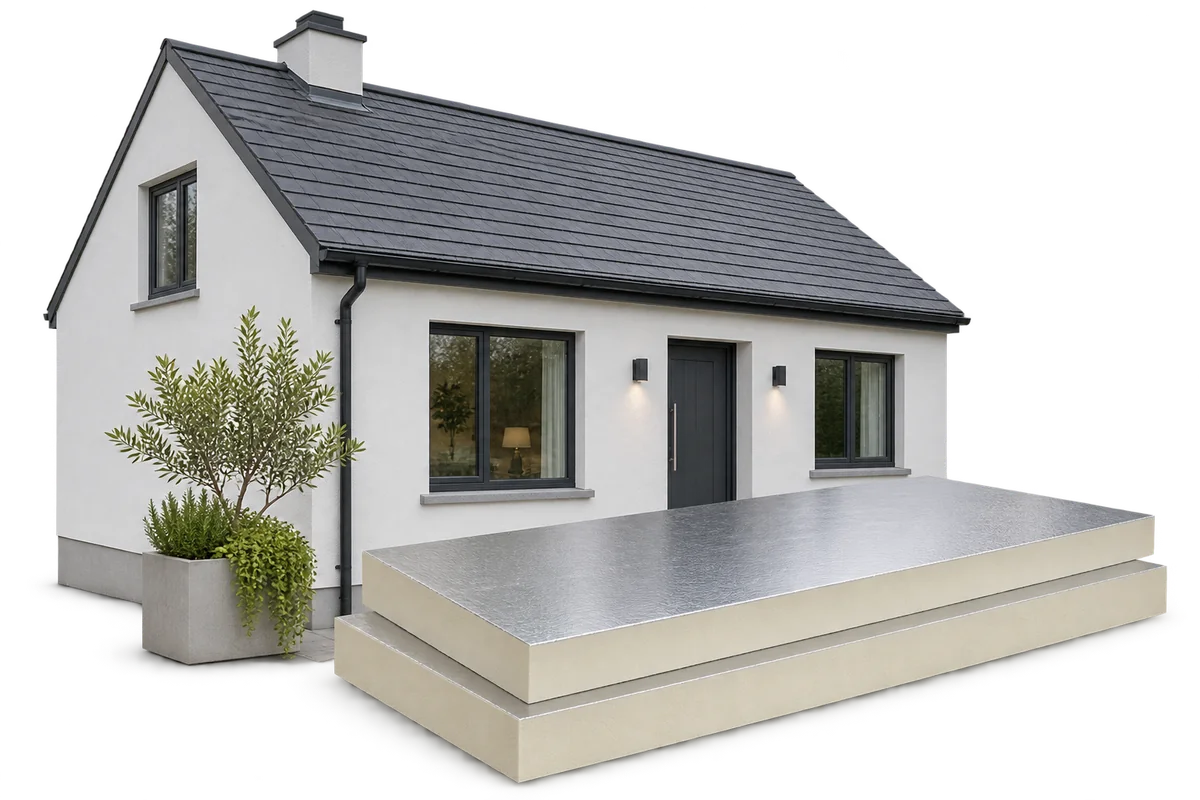
A retrofit can reduce energy use and retain parts of the existing building if their condition is assessed first. PIR is useful…
Two insulation quotations may cover the same part of a house while including different quantities and delivery arrangements. When comparing PIR, EPS,…
After insulating a home, check both energy consumption and the cost of purchasing it. A lower bill alone does not prove that…
In these products, fibreglass means a glass-reinforced plastic facing, often described as GRP. It may protect the room-facing side of a PIR…