






Correcting roof falls with BauderPIR T: from survey to cutting plan
PIR insulation
When refurbishing a roof with standing water, survey the deck before ordering BauderPIR T tapered boards. Record levels at the outlets, on both sides of each valley and along the parapets. These levels determine the direction in which the insulation thickens and where adjacent roof areas drain into a common valley. Order the boards by the references on the layout. Each reference needs a gradient, starting thickness and quantity. A gradient alone does not establish the finished level at the outlet.
What to settle before delivery
Agree one survey datum with the contractor and plot the readings on a grid. Where the existing fall reverses, take closer readings to distinguish a local depression from the slope of the whole roof area.
Identifying the board and its declared properties
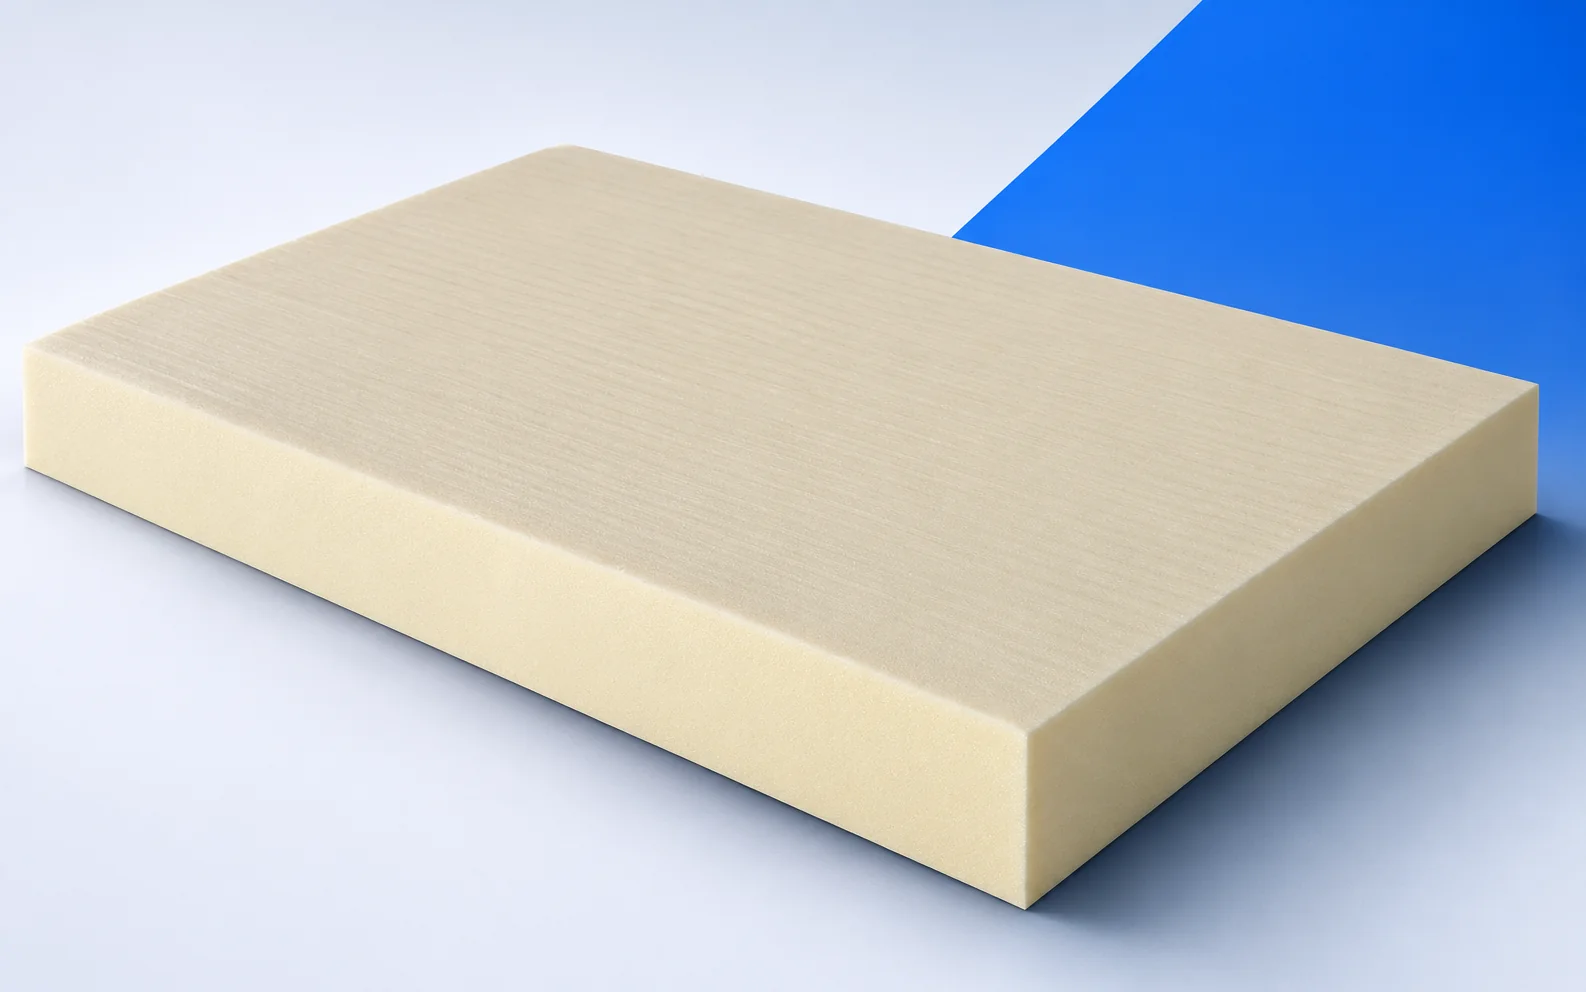
BauderPIR T consists of unfaced, square-edged tapered boards measuring 1200 × 800 mm. Polish product documentation lists gradients from 1% to 5% in half-percentage-point steps, a compression value of at least 120 kPa and reaction to fire class E.
Using a worked example
Over a horizontal run of 1.20 m in the direction of fall, a 2% gradient gives a 24 mm difference in level. Mark both ends on the sketch, with an arrow pointing towards the outlet.
The 24 mm describes the change along one run. To establish the board thickness at the high end, start with the thickness at the low end. When checking finished levels, also account for the actual deck slope.
Comparing the available options
Where roof areas meet, compare the valley line under two cutting layouts. Prefer a layout that carries water across the junction to the outlet and avoids narrow unsupported offcuts.
Inspection before covering
After a trial layout, recheck levels along the valley bottom and on both sides of each junction. Trace a complete drainage path from its highest point to the outlet, marking any section where water would have to flow uphill.
What the quote should cover
Ask for a pack schedule grouped by roof zone and laying sequence. Boards with different starting thicknesses can look alike. Adding the zone reference to the label helps during unloading and reduces mix-ups on the roof.
Records to keep after completion
Keep the as-built falls plan with outlet levels and the actual valley line. If water collects later, its location can be checked against the levels recorded before the roof covering was laid.

Free quote
What to include in your enquiry
Tell us how you plan to use the material, the dimensions and the quantity you need. Include the thickness, grade or variant name, along with the delivery town or your preferred collection branch. For a specific product, add its name or a link to the product page. We will reply to the email address you provide to discuss availability and the terms of your order.
More from the building guide
Before adding IDELCO α-therm SARKING above rafters, draw the eaves with the existing gutter. Raising the covering changes where water leaves the…
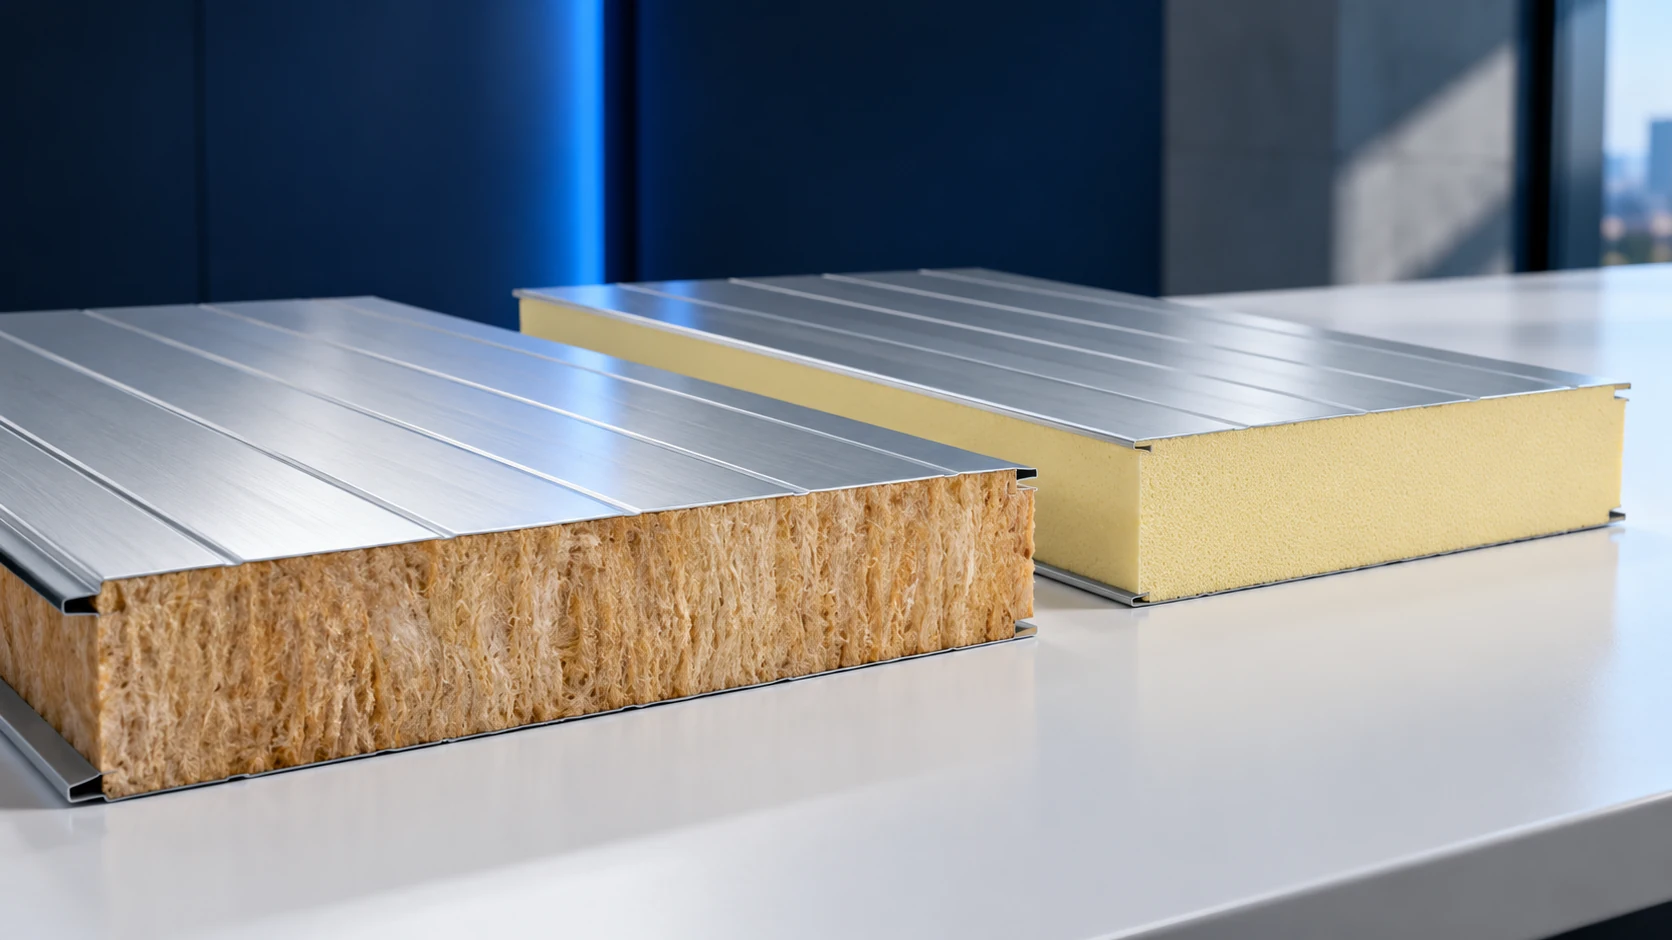
PIR generally achieves a low U-value with less thickness, while mineral-wool sandwich panels may suit particular fire requirements better. Neither is the…
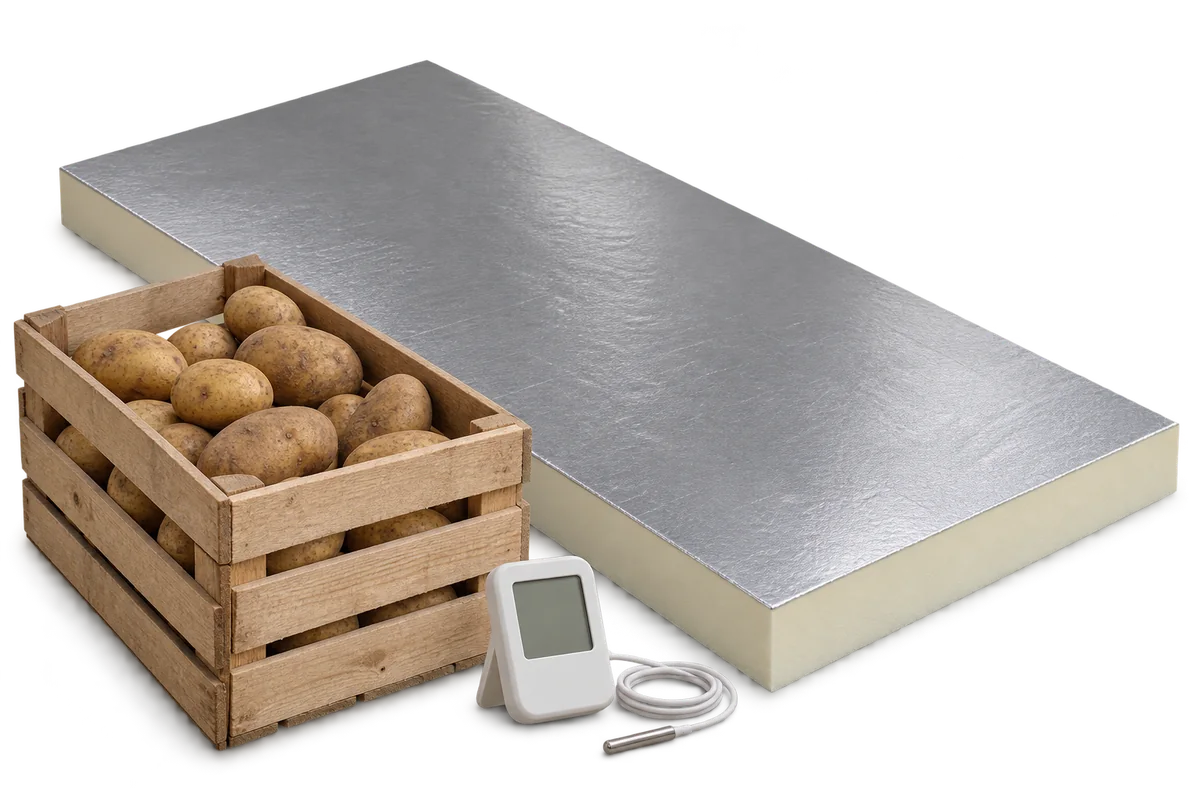
A potato store log helps distinguish symptoms associated with a particular batch of crop from problems occurring in a specific part of…
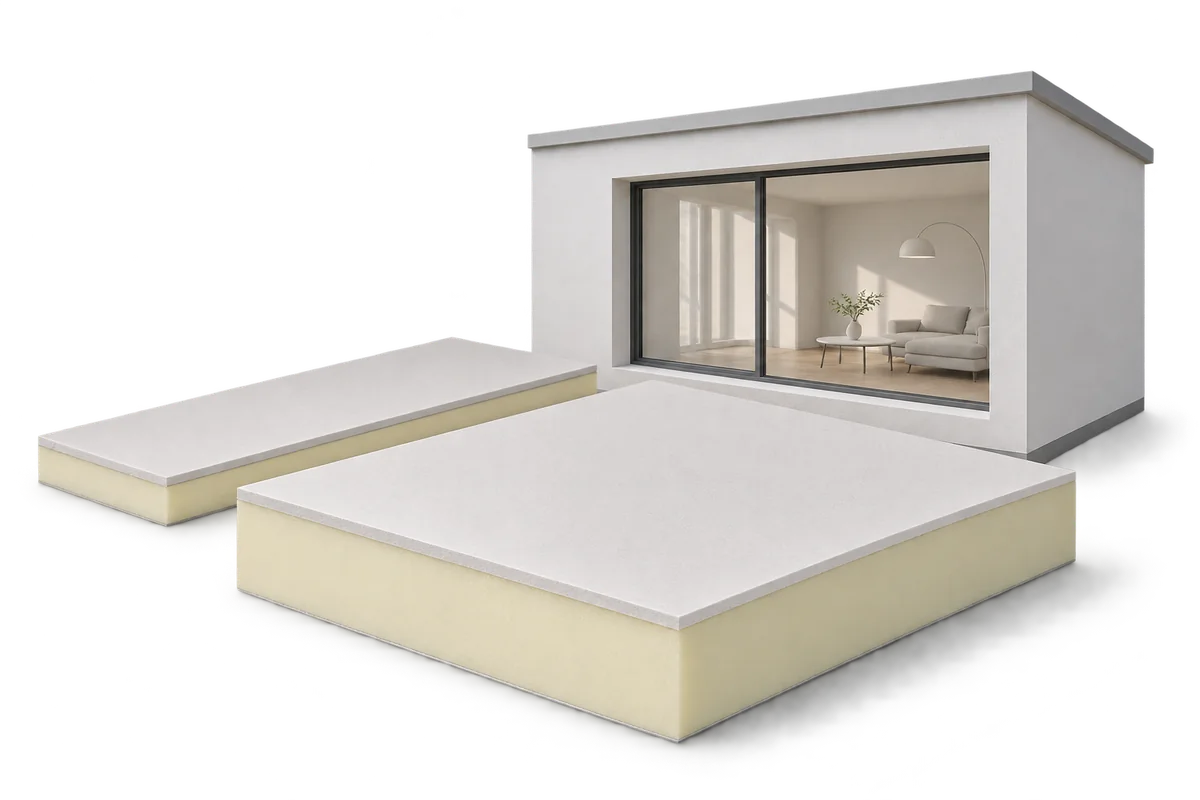
Assess thinner internal insulation by comparing two complete solutions that meet the required performance. PIR’s low thermal conductivity can reduce insulation thickness,…
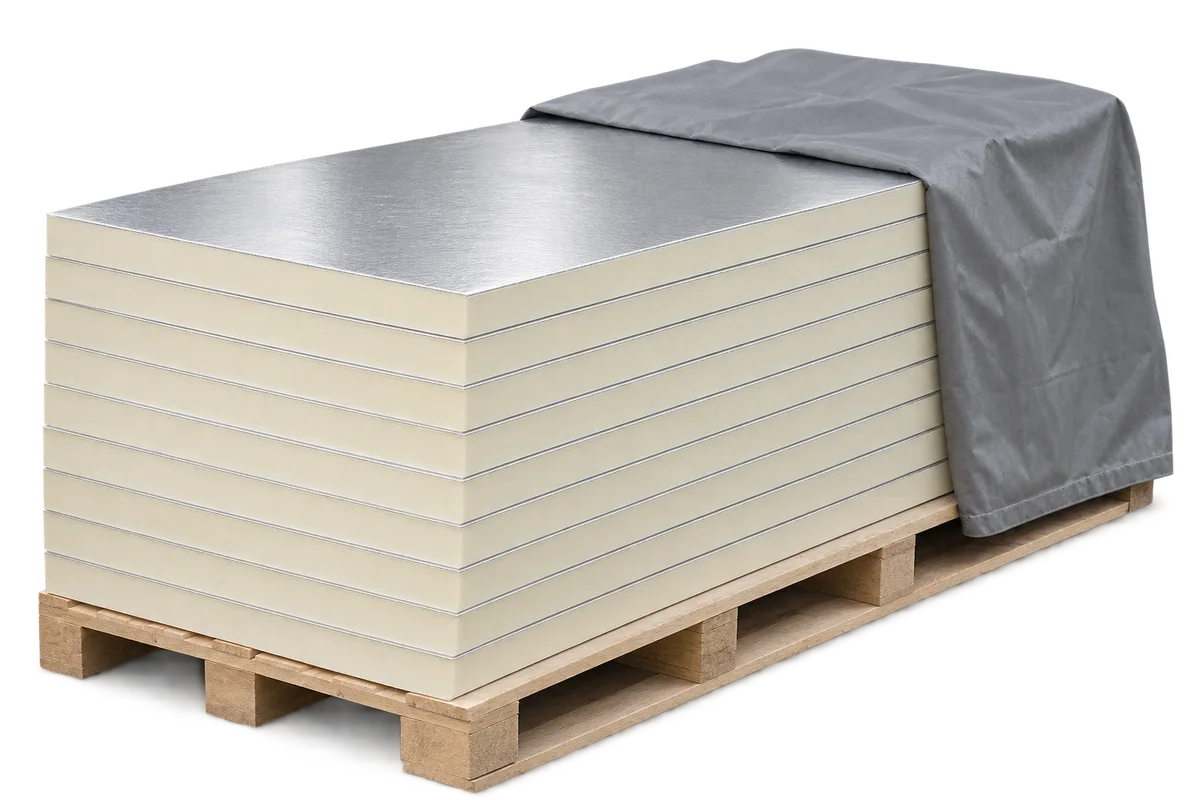
Several packs on the lorry may look alike without containing the same board. When insulation arrives, check the product designation and intended…
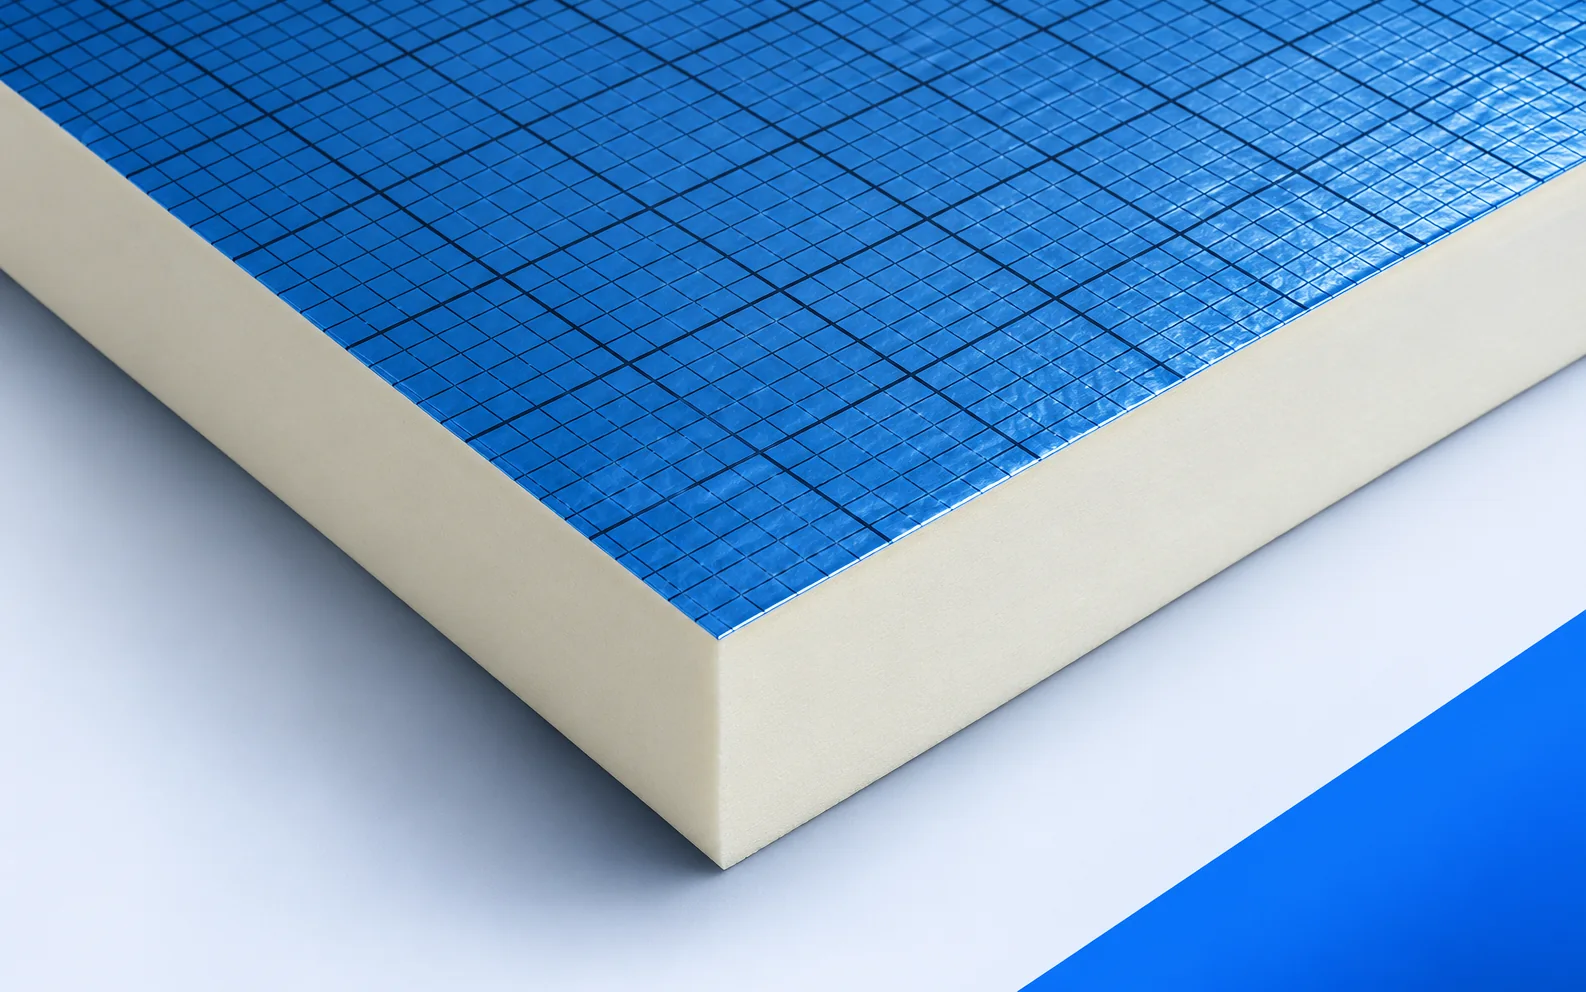
On a flat roof using SOPREMA EFYOS BLUE A, start at the tightest detail: what height remains at the parapet once insulation…
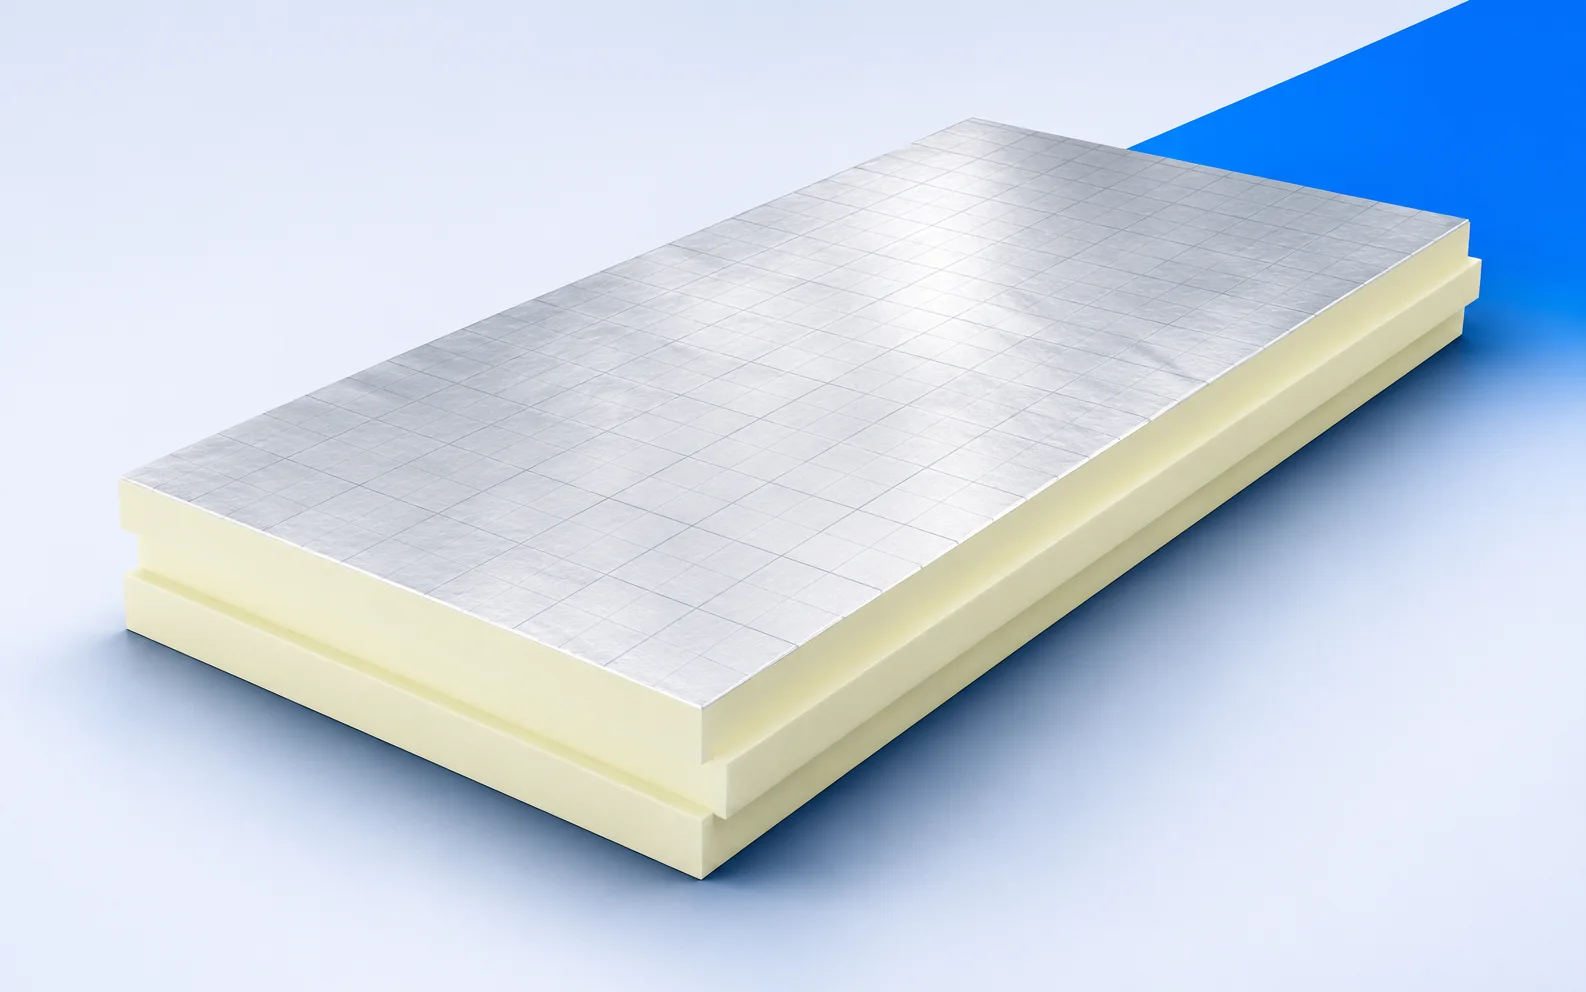
Start with the place you intend to insulate. Two boards with the same core colour may need different adhesives, suit different substrates…
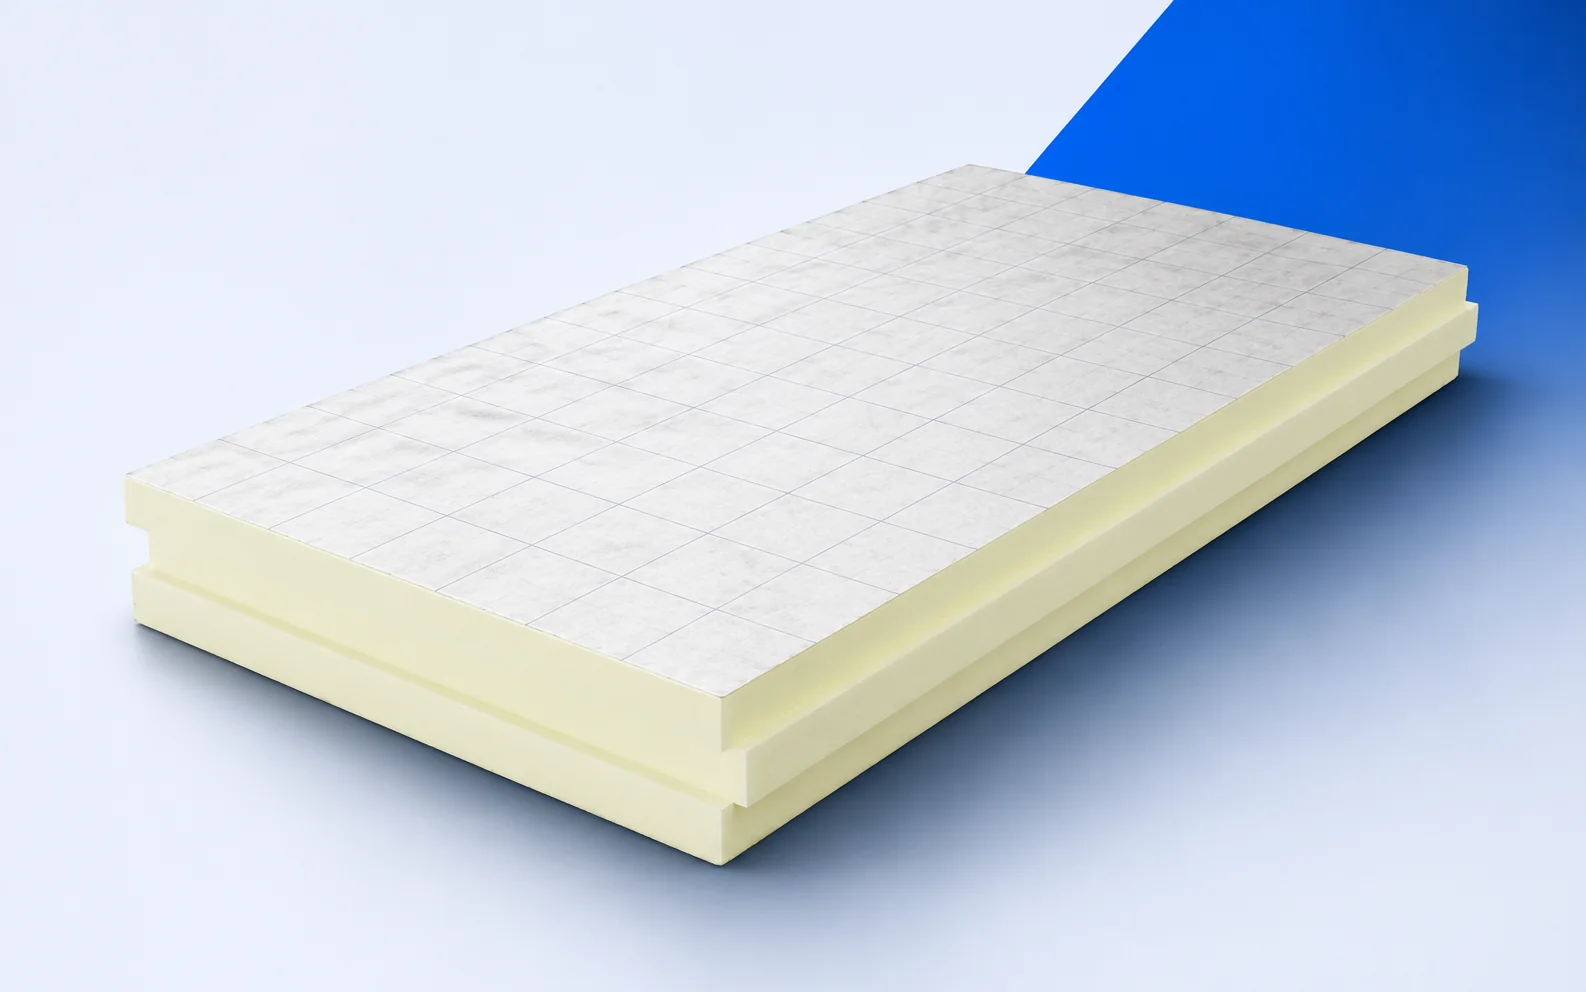
termPIR AL is a rigid PIR board faced on both sides with a gas-tight laminate containing aluminium, paper and polyethylene. The same…