






How to embed reinforcing mesh over EPS insulation
EPS and thermal insulation
Embed the mesh in fresh base coat on stable, flat, dust-free EPS boards. Mortar must remain beneath the strands; putting mesh against dry insulation and coating only its outer face does not produce the same bond. The ETICS specification sets the coat thickness, mesh position, overlap and extra reinforcement around openings. Check compatibility too: similar weights per square metre do not guarantee the same strength or durability in mortar. Photograph the details while the strips and overlaps are still visible.
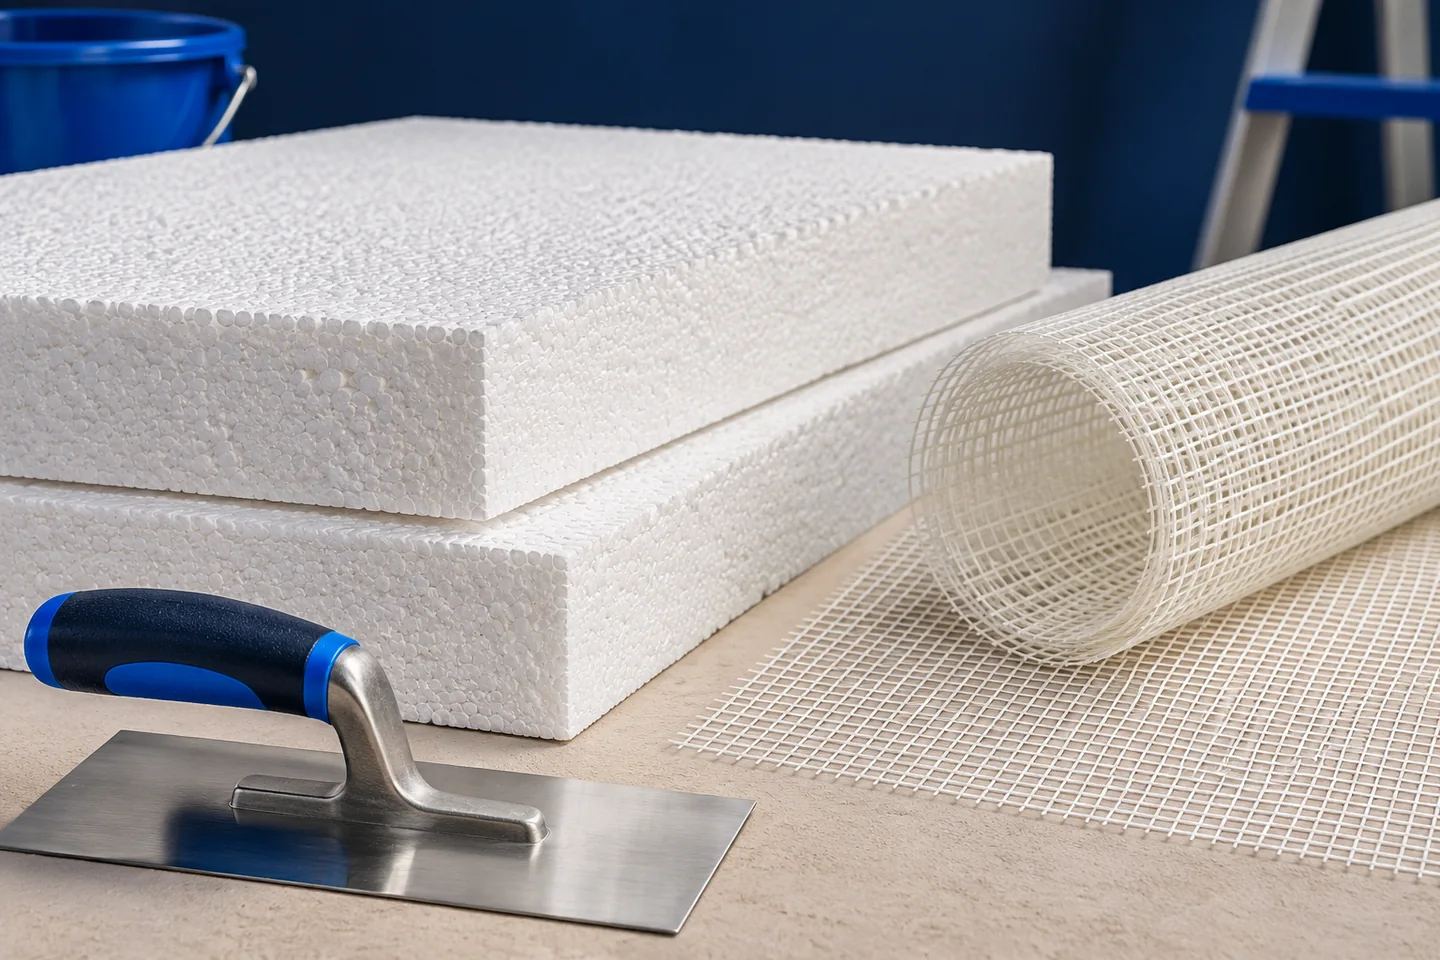
Why is the mesh a system component?
The mesh helps distribute local stresses in the mortar, including those arising as temperatures change. Mesh of a similar weight is not necessarily interchangeable. The embedding mortar matters just as much: a board adhesive may not be approved for a reinforced base coat. Check the labels, documents and material condition. Inspect any damaged or dirty roll before cutting it into strips.
How should the boards be prepared?
Check that boards are secure, level and free of dust. Repair gaps as specified. Do not level proud edges by arbitrarily thickening the mortar. Inspect any mechanical fixings: proud plates or indentations make it difficult to maintain the required base coat profile.
Follow the system sequence for corner details, window profiles, diagonal patches and plinth connections before installing the main mesh. Do not postpone these details. Adding a small patch to a dried, inadequately prepared surface may not restore continuous reinforcement.
How is the mesh embedded in mortar?
Apply the mortar first, lay the mesh into it and smooth the surface. Use the thickness and mesh position specified for the system. Mesh laid on dry EPS and coated only from above can have too little mortar beneath the fibres for complete embedment.
Work in areas you can finish within the mortar’s open time. Never embed mesh in material already drying at the surface. Smooth the strip free of wrinkles and raised areas without pressing all the mortar out from underneath. Control its position rather than relying on the amount left on the trowel.
What should you check at overlaps and corners?
Overlap adjacent strips by the width specified. Butting two edges together does not make the reinforcement continuous. Plan cuts to avoid small patches. Where a profile has its own mesh, connect this to the main mesh as detailed.
Openings need extra mesh at defined points. An impact-prone ground-floor area may require a different build-up from an upper floor. Do not simply add layers everywhere: follow the tested arrangement, sequence and thickness. Excessive local overlaps produce ridges.
When is the base coat ready for primer and render?
Let the coat reach the condition specified by the manufacturer. Curing time depends on material and weather. A pale surface is not proof that the material beneath it is dry. Coating too early can hinder curing and drying of the assembly.
Protect fresh mortar and areas awaiting render against sun, wind and rain. Screening does not cancel temperature limits. Investigate cracks, efflorescence or damage before priming. Finish render should not conceal an unchecked base coat.
How should you document the work?
Record the mortar and mesh product names. Photograph extra mesh, junctions and overlaps before covering them. Check thickness by the agreed procedure. Finally check flatness and ensure no mesh is exposed. Inspection during installation reveals much more than looking at finished render.
EPS board manufacturers include Austrotherm, Styropmin, Knauf Therm and Swisspor. The complete system specification determines which reinforcement is compatible with the insulation.
Before proceeding, determine what the defect actually requires. A wrinkle, missing overlap and insufficient thickness are different faults; another skim coat cannot fix them all. Inspect now while a specific repair is possible without removing the finish.

Free quote
What to include in your enquiry
Tell us how you plan to use the material, the dimensions and the quantity you need. Include the thickness, grade or variant name, along with the delivery town or your preferred collection branch. For a specific product, add its name or a link to the product page. We will reply to the email address you provide to discuss availability and the terms of your order.
More from the building guide
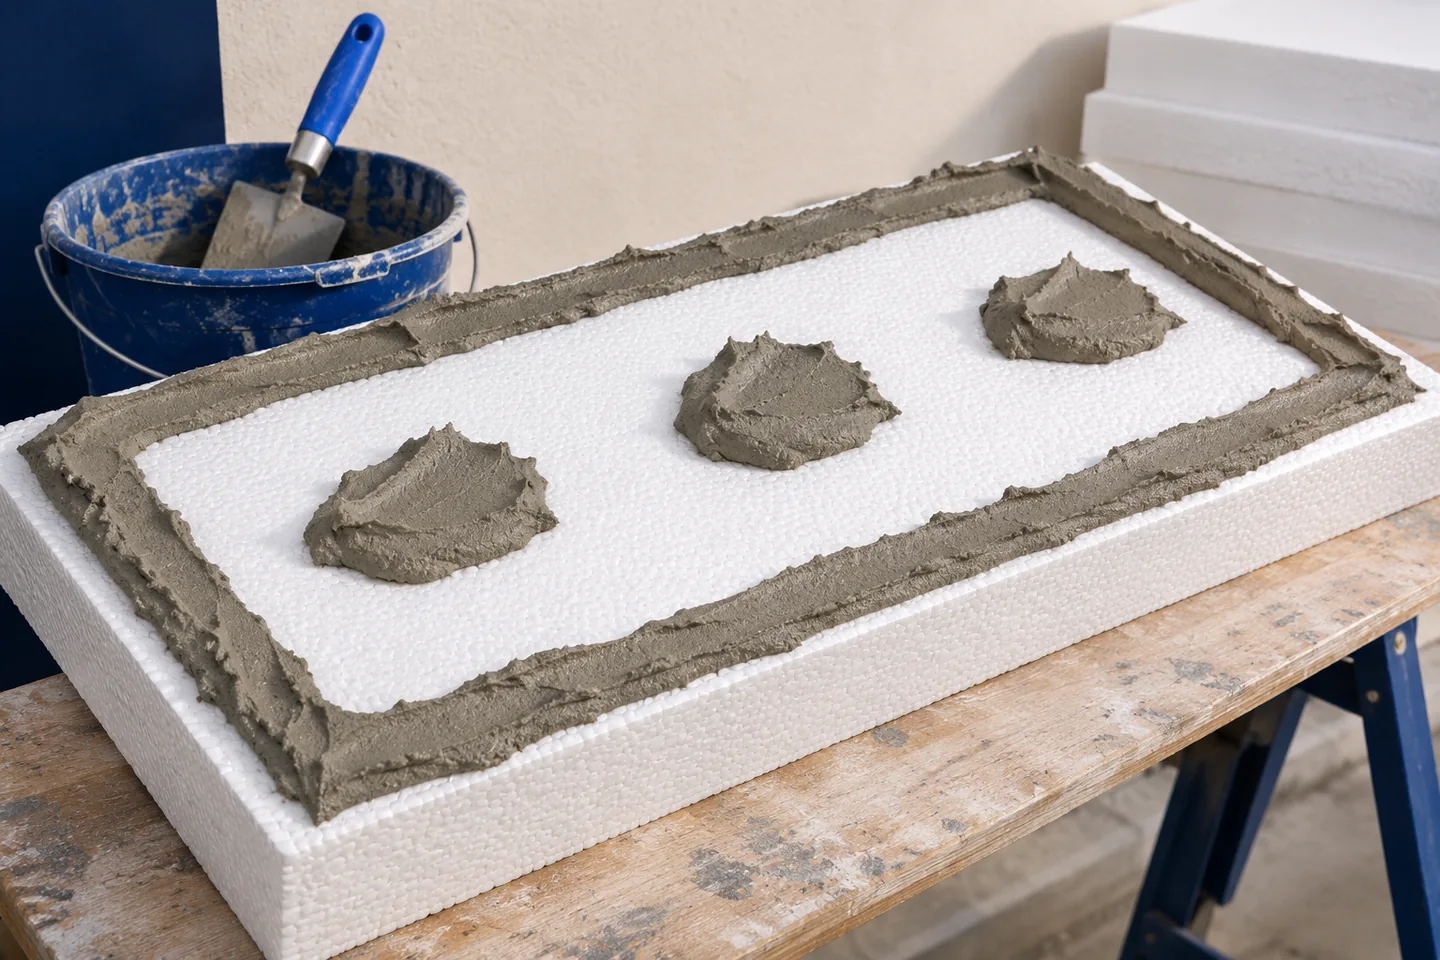
Use the bonding method specified for the substrate, EPS board and adhesive in your external thermal insulation composite system (ETICS). On a…
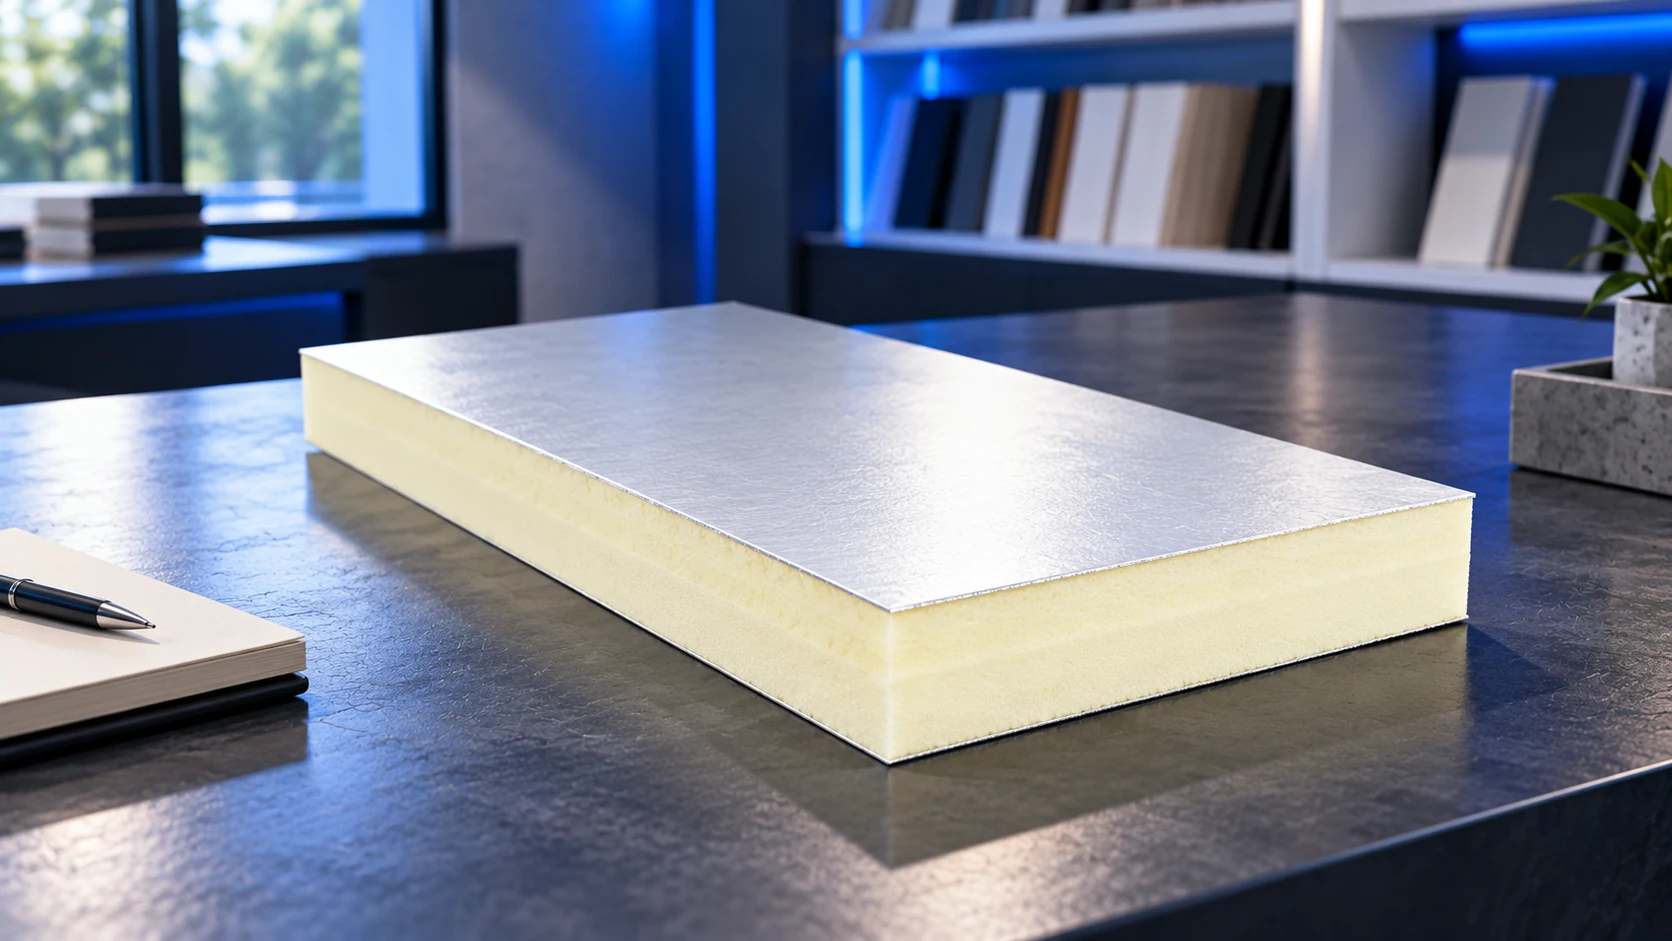
Insulation selection starts with its position in the building. A rendered wall, a roof and a continuously loaded floor impose different requirements.…
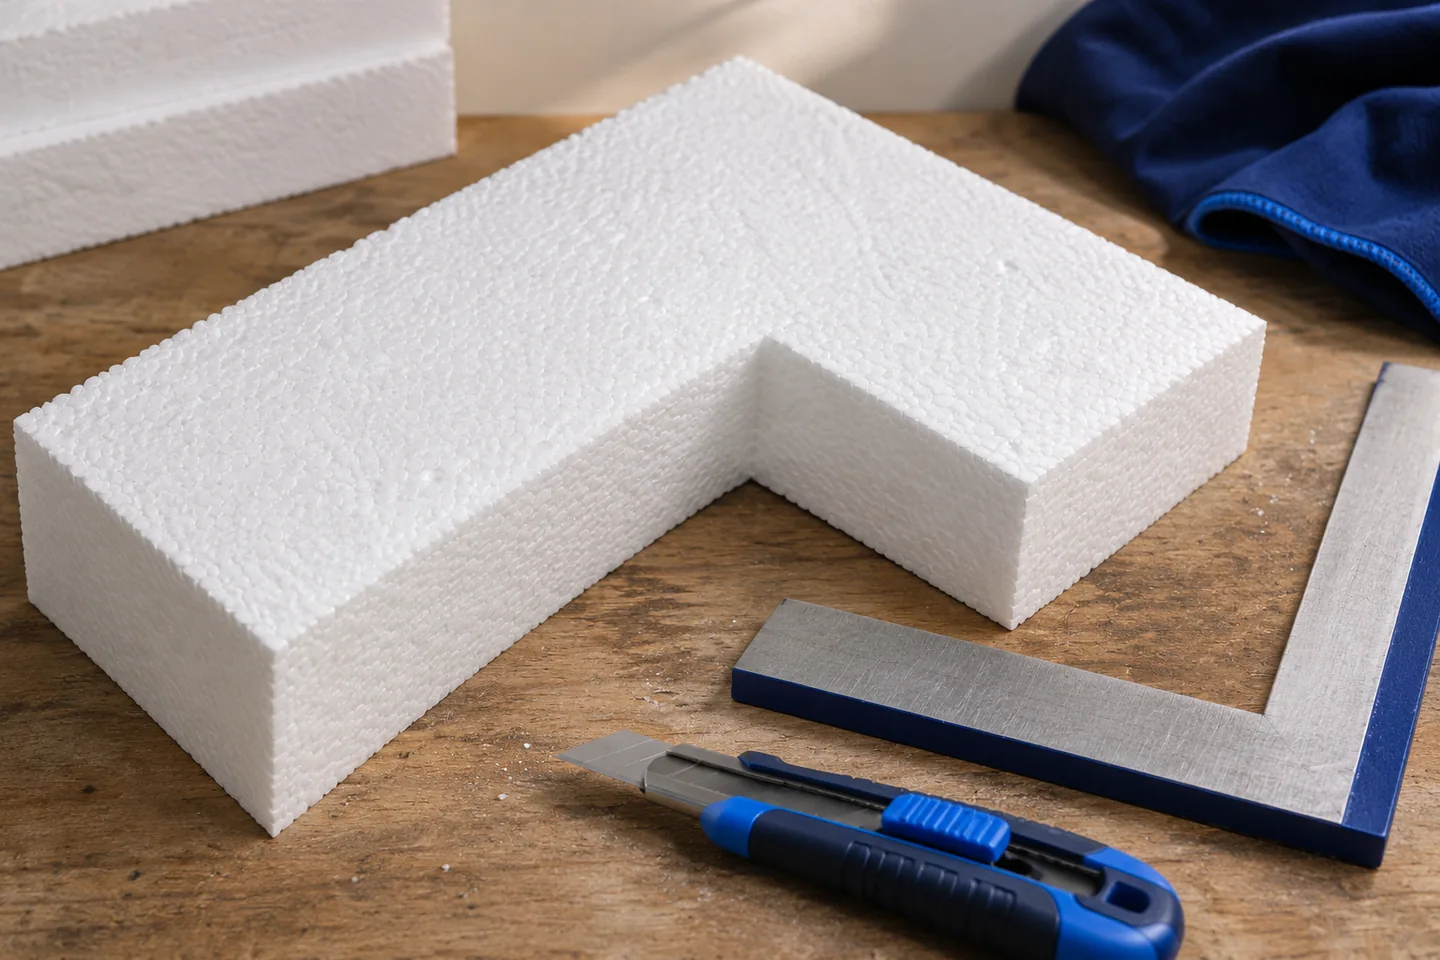
Three details work together at a window corner: an EPS board cut around the opening, diagonal mesh in the base coat and…
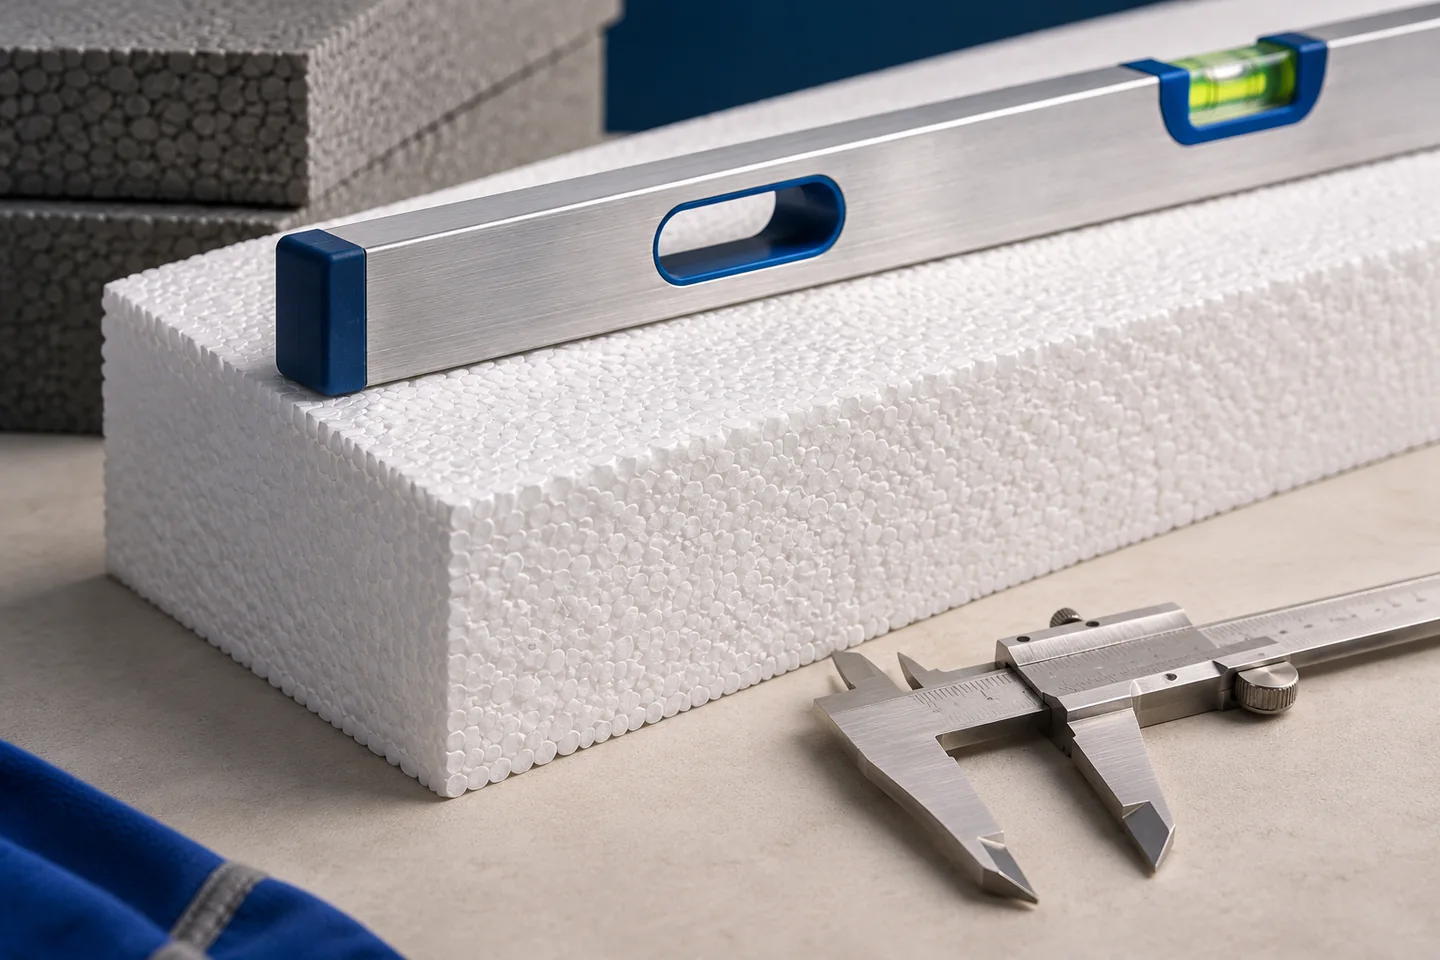
Inspect EPS insulation before each layer is covered. Compare the design and order with the board labels, checking application, thickness and properties…
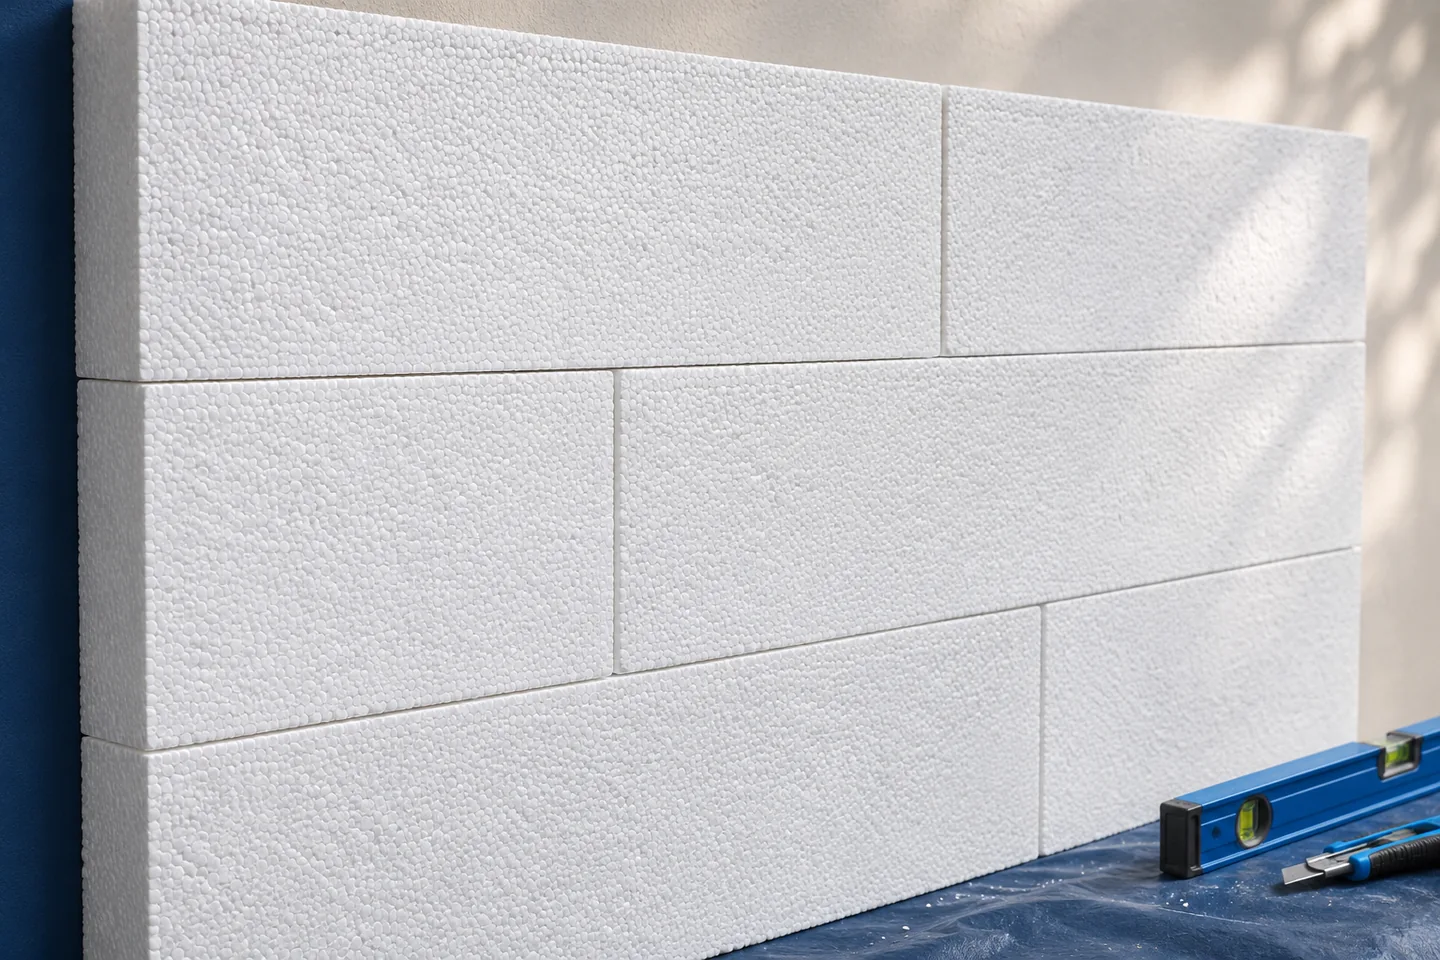
Stagger EPS facade boards so that vertical joints in successive courses do not form a continuous line. The insulation does not take…
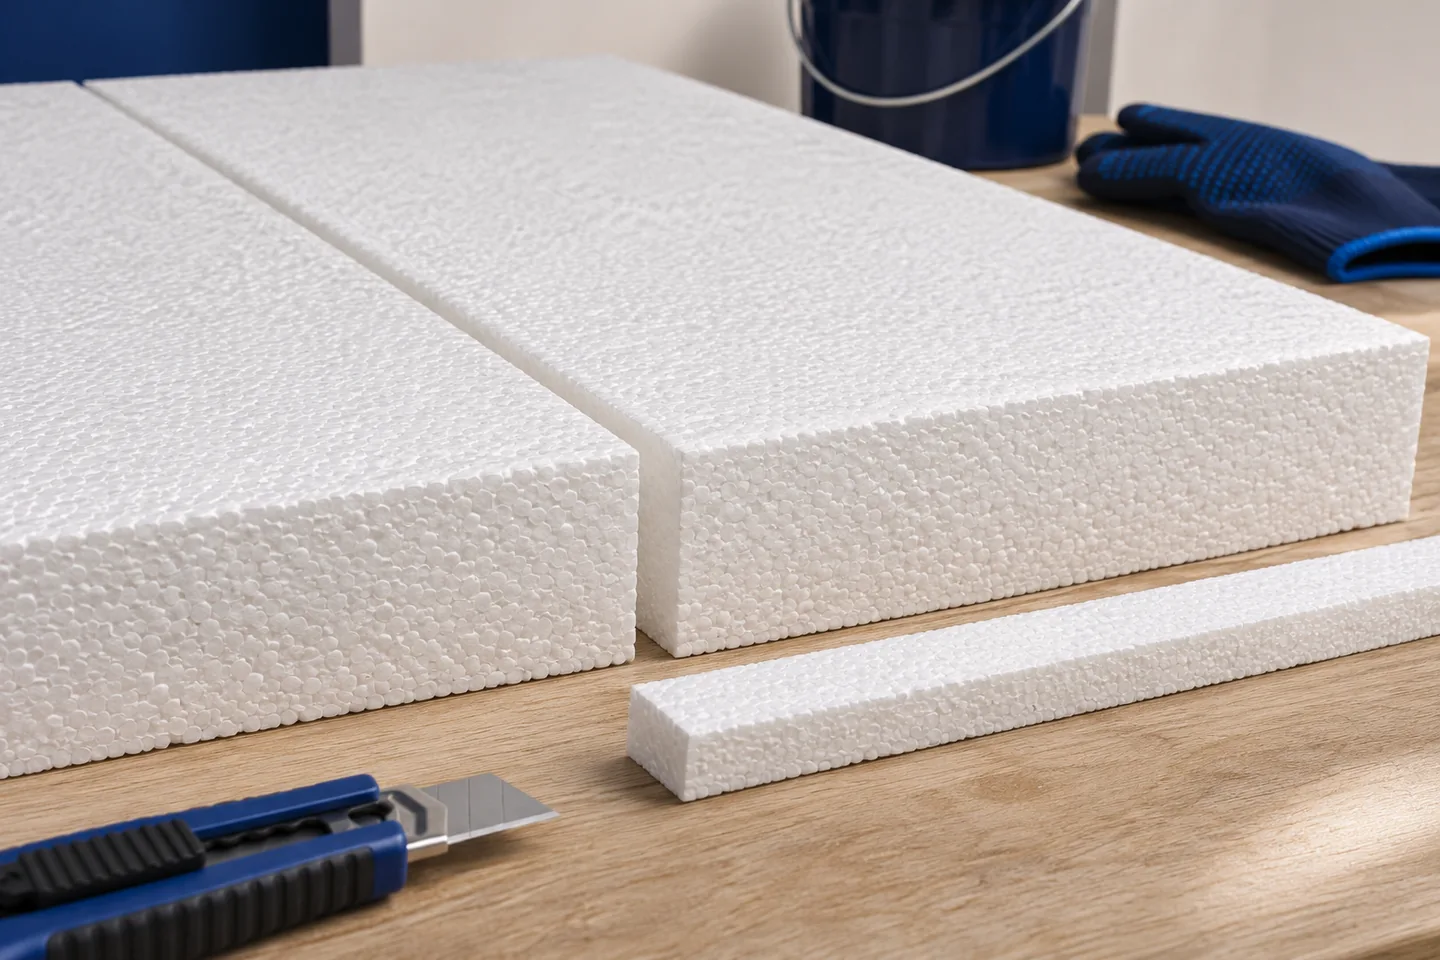
Inspect a gap between EPS boards to its full depth before applying the reinforced base coat. A poor cut, a damaged edge…
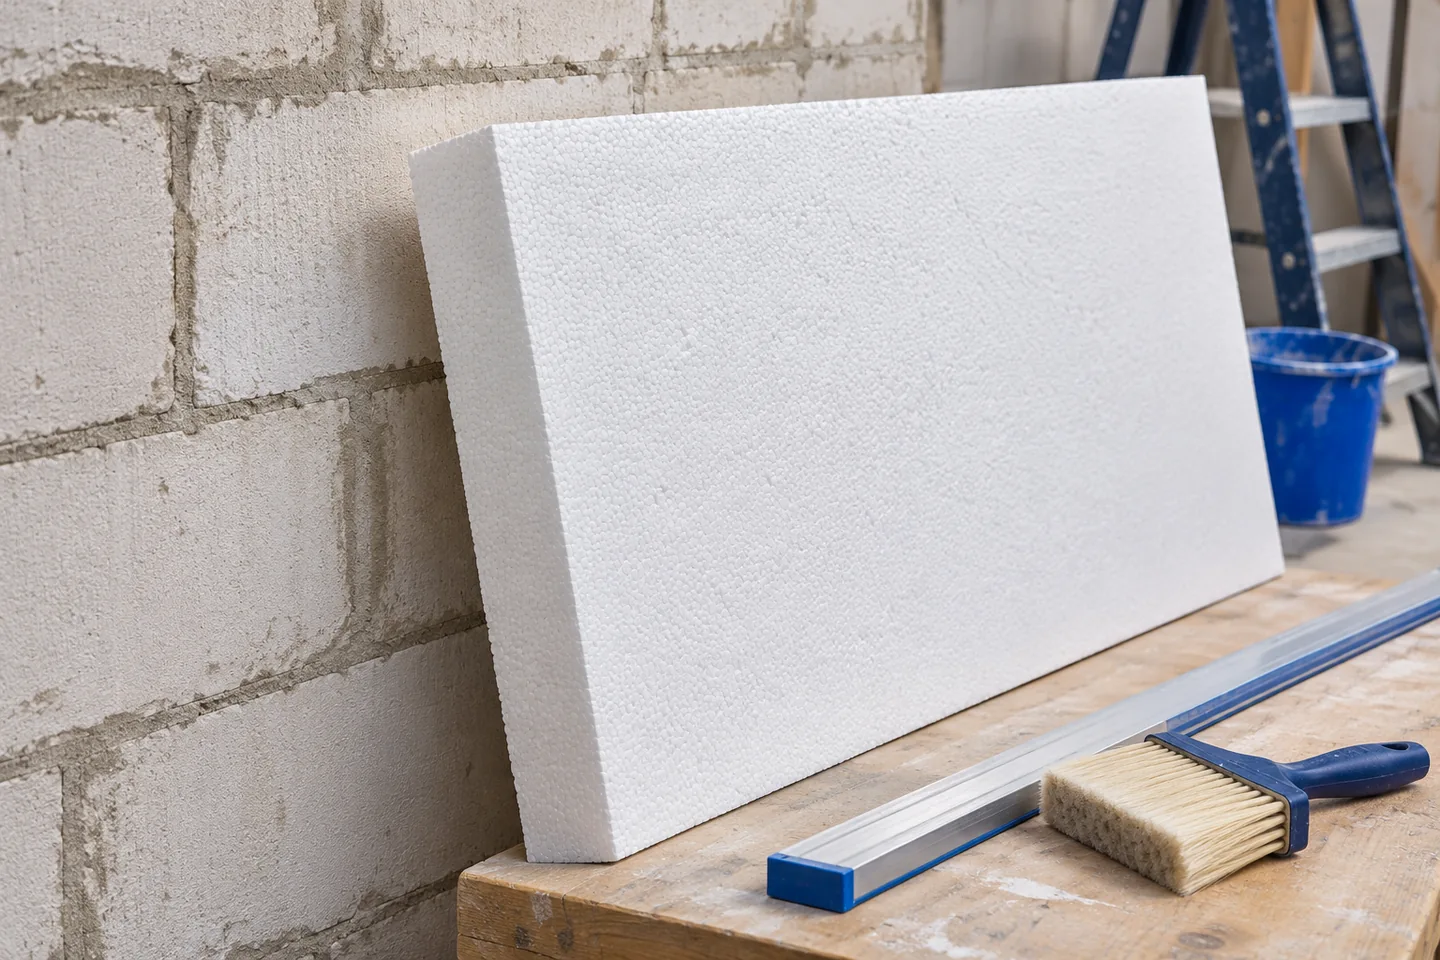
Before bonding expanded polystyrene (EPS) insulation, check that the wall is sound, dry, clean and flat enough for the specified adhesive. Inspect…
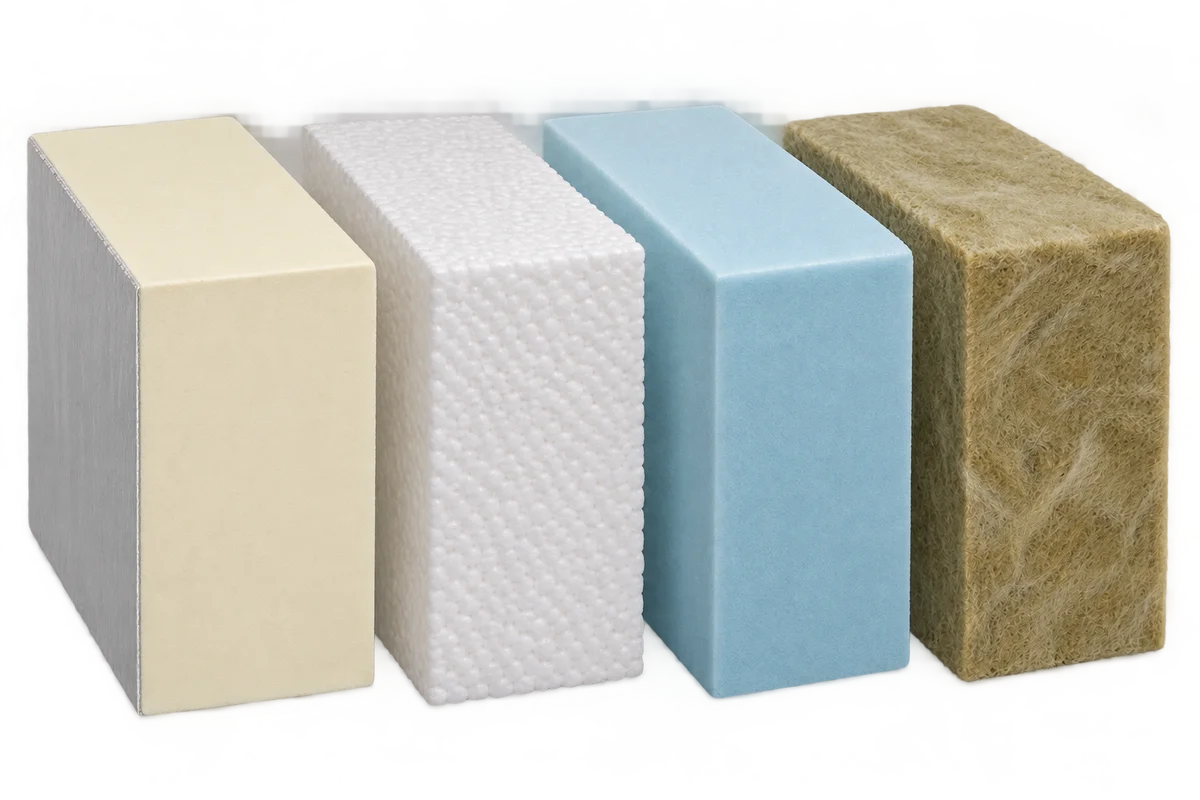
The combination of PIR with mineral wool, EPS or XPS should be assessed on the basis of the entire cross-section of the…