




Internal wall insulation: maintaining continuity of an aluminium-faced PIR layer
PIR boards and insulation
Internal wall insulation can improve comfort without altering the façade, but needs a prepared substrate and carefully sealed details. An aluminium facing limits vapour transmission only as part of an assembly with suitable joints, perimeter seals and penetrations. It cannot remedy a leak or remove moisture already trapped in masonry. Before choosing PIR, assess the wall from both sides, its drying potential and the room’s use. Include the full lining thickness, window reveals and services in the design. This guide explains where continuity is commonly lost and what to check before bonding, finishing and using the newly insulated room.
Start by identifying cold and damp causes
Inspect both sides before buying boards. Check gutters, sills, cracks and ground junctions. Damp plaster may result from a leak, poor ventilation or a cold corner; these call for different remedies.
Do not conceal a wet surface. Eliminate the cause and assess the substrate first. Internal insulation reduces heat reaching the masonry from the room, so its moisture conditions must be checked. A simple model does not include every process, such as airflow through gaps.
What the aluminium layer actually does
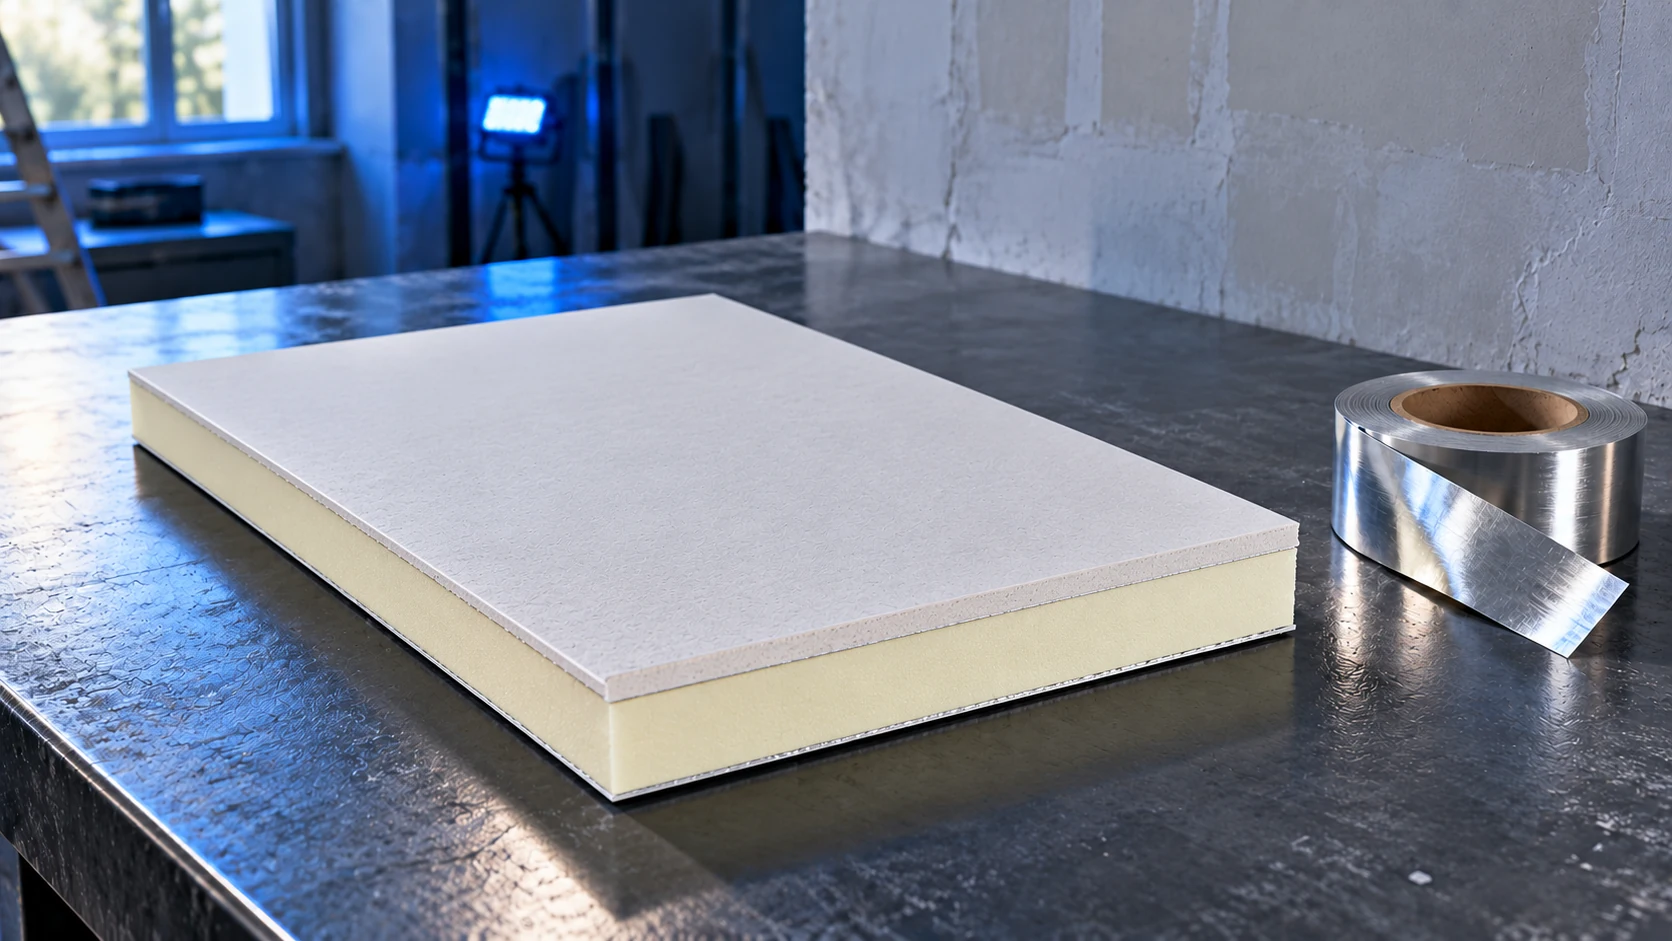
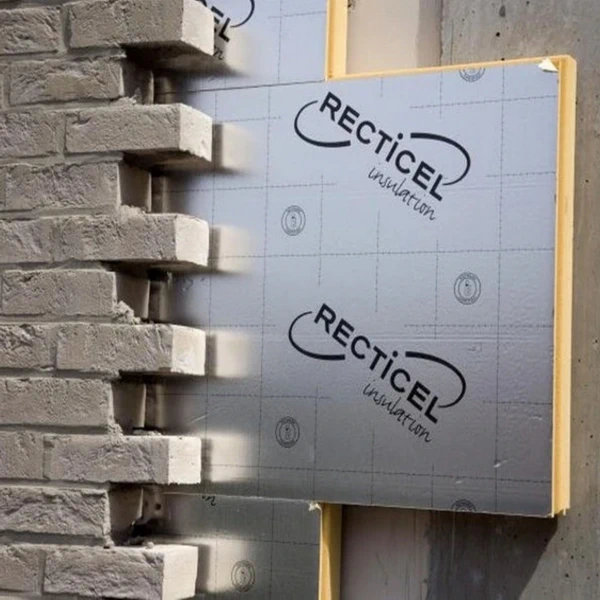
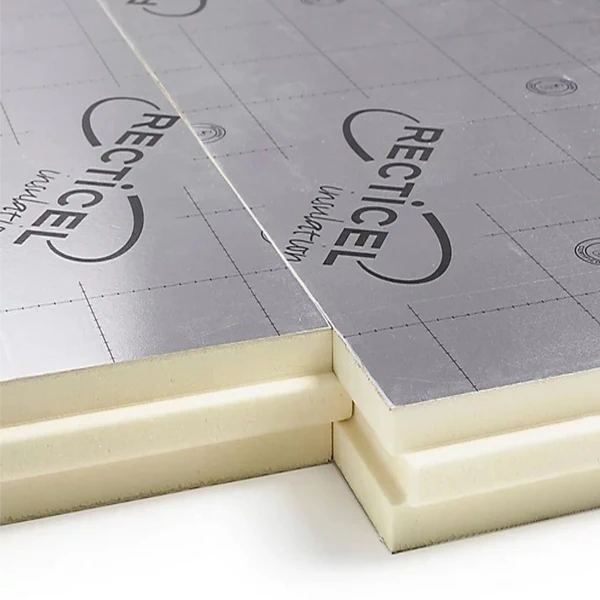
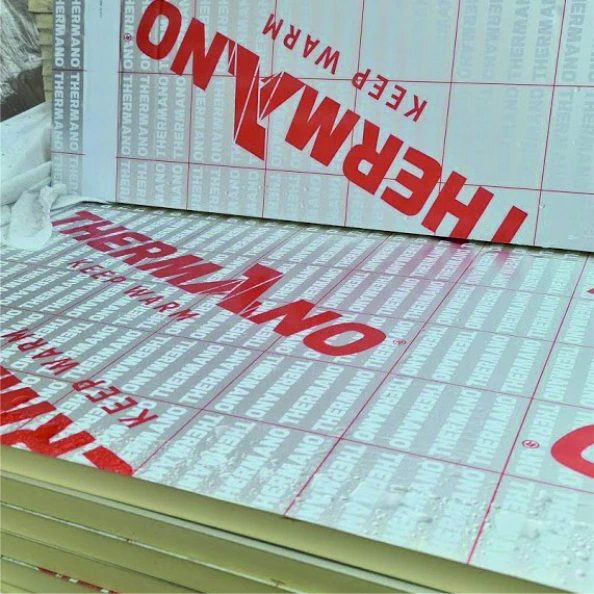
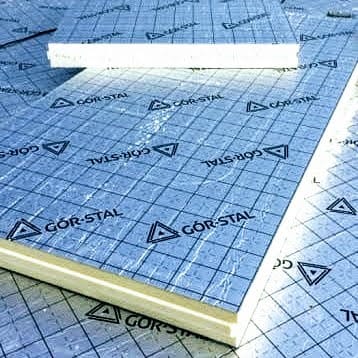
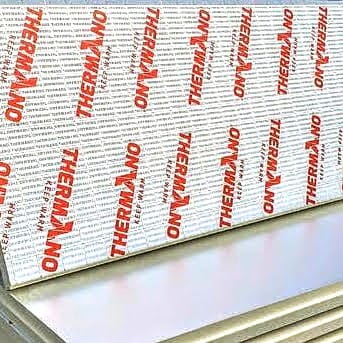
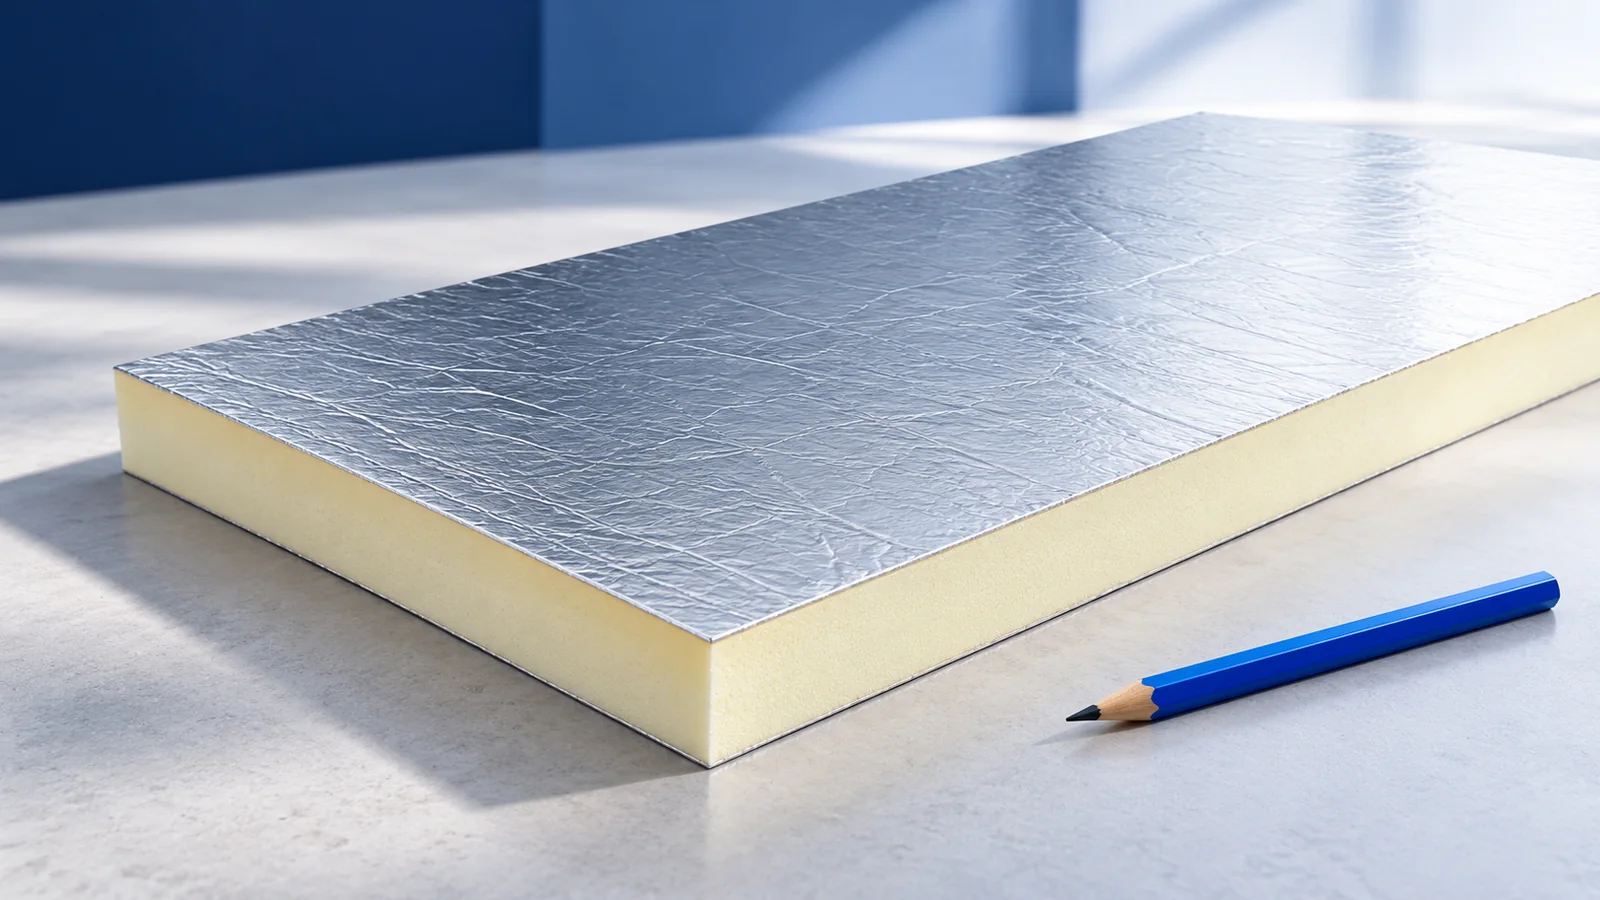
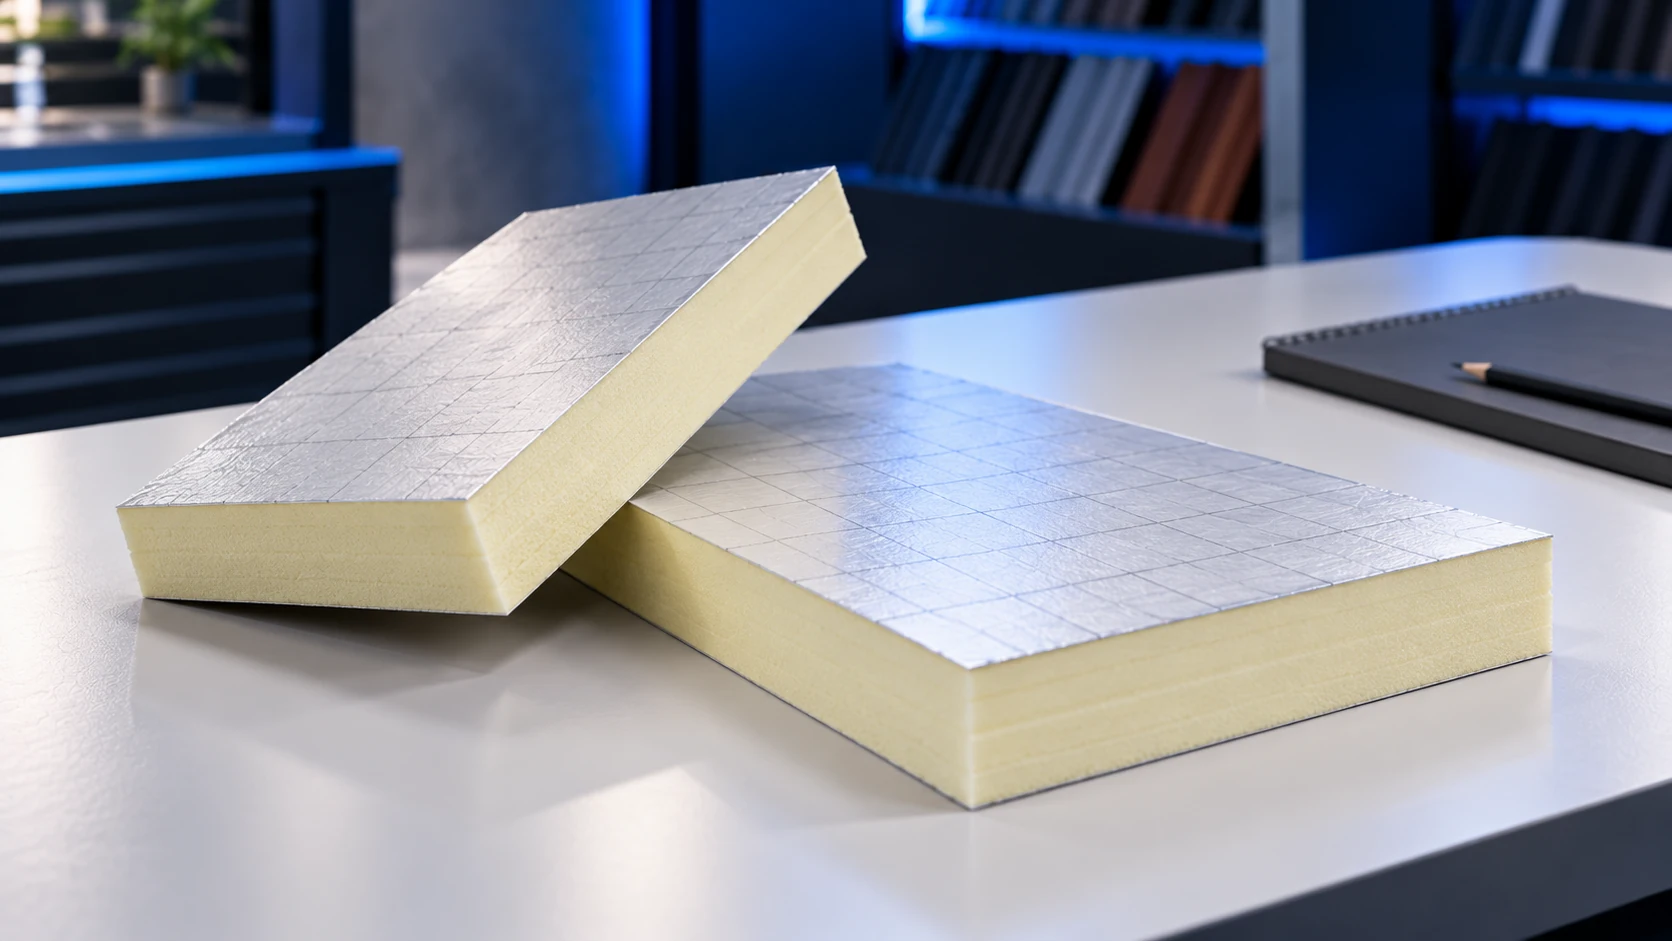
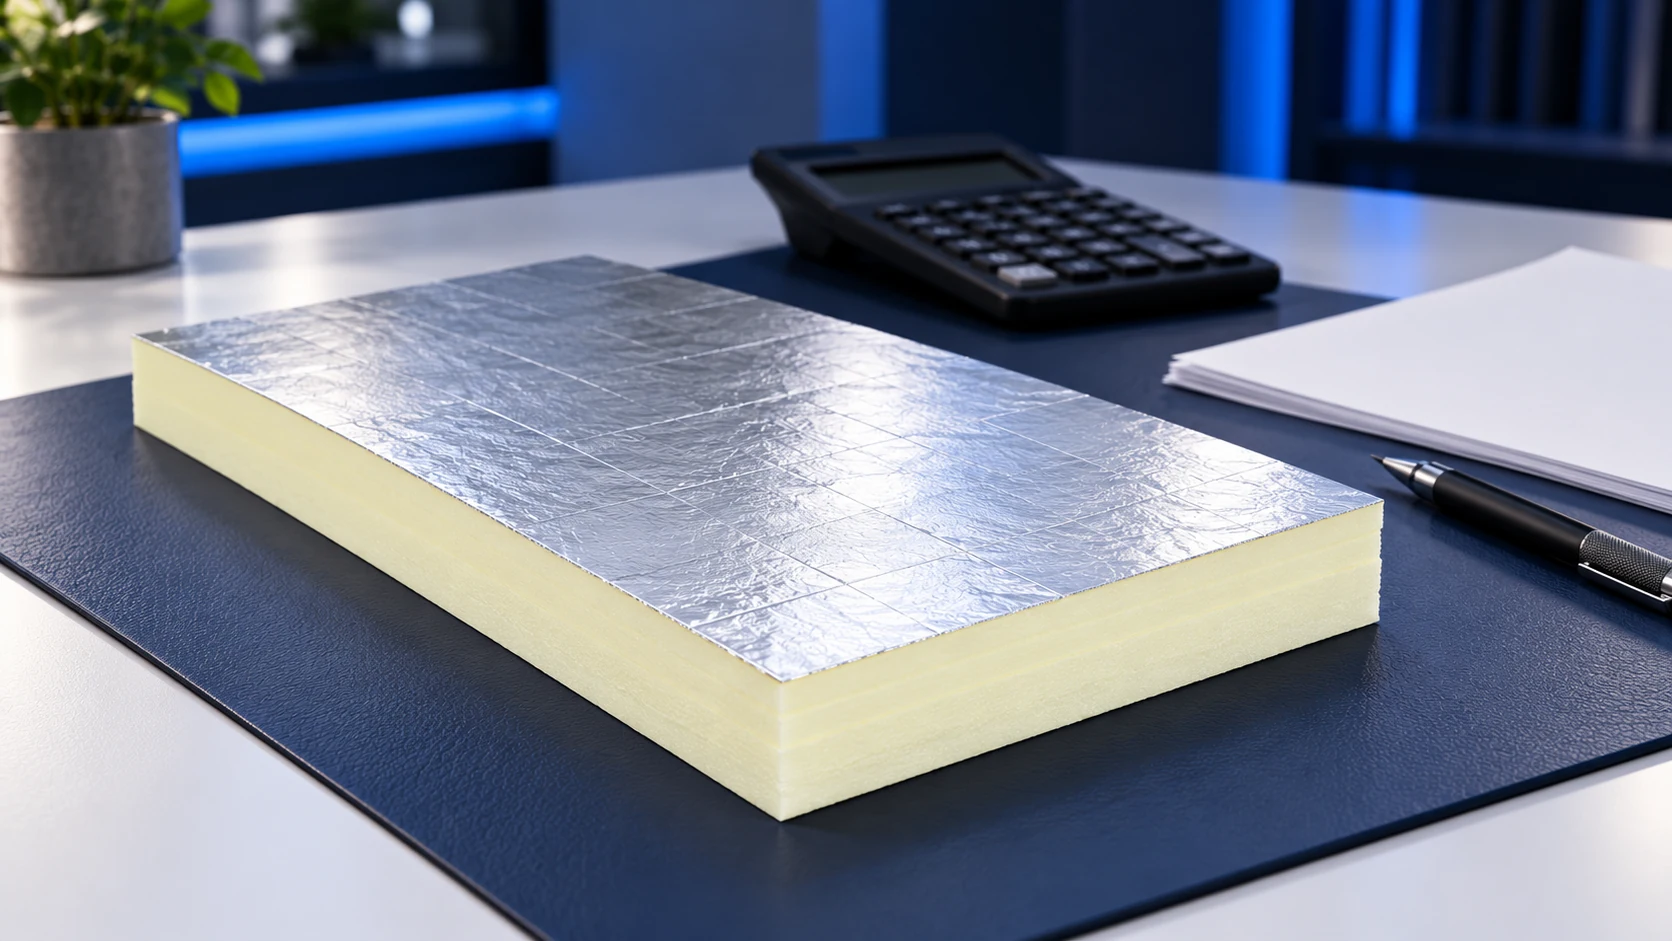
Gas-tight PIR facings are thin layers containing aluminium. One construction combines aluminium, paper and polyethylene; the exact composition depends on the product. This is not a structural steel facing. It limits gas exchange and vapour transmission through the board surface.
Simply placing such boards side by side is insufficient. Moisture can reach colder wall layers through joints and openings, so design a continuous airtight and vapour-control layer. Nor should shine be assigned an arbitrary “heat-reflecting” benefit: wall resistance follows from the actual assembly.
Choose a suitable finish
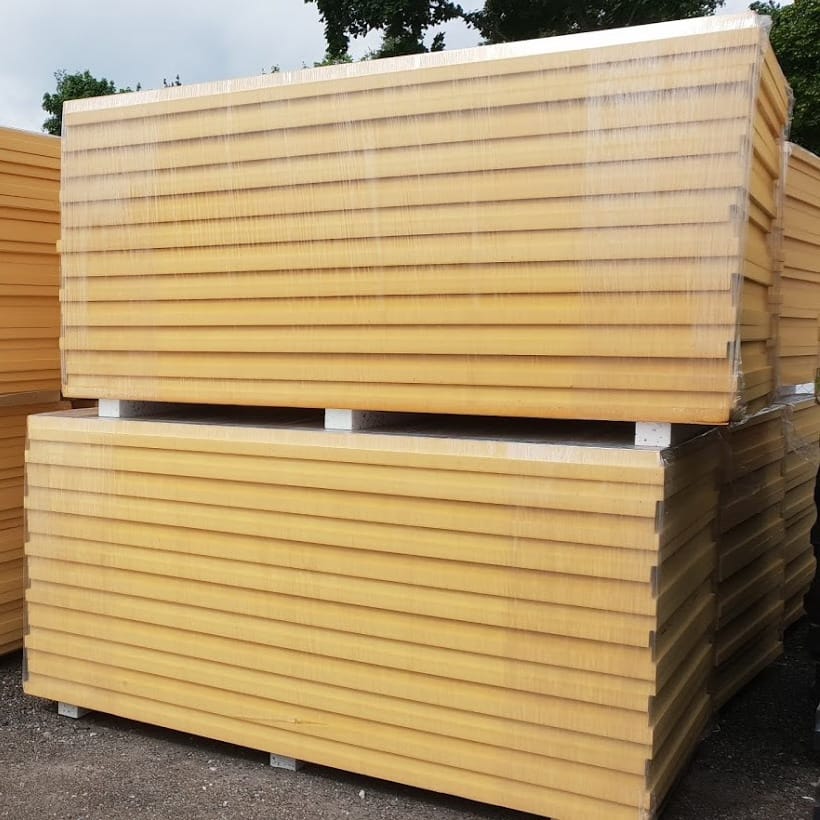
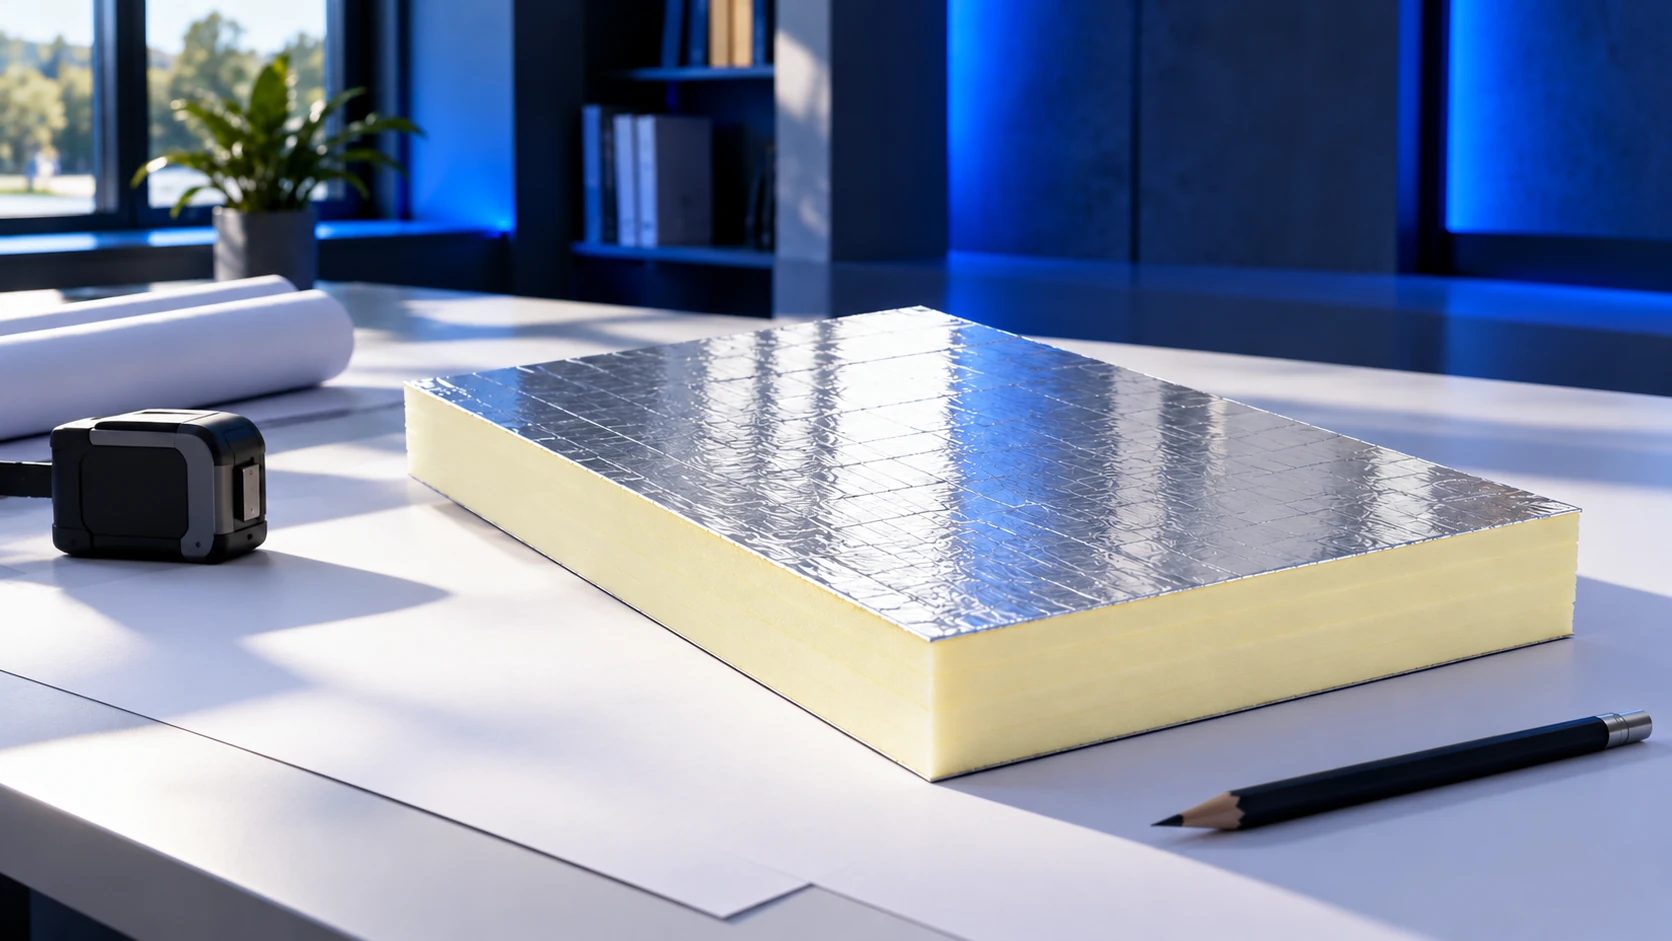
For a paintable interior, PIR factory-bonded to plasterboard is one option. The plasterboard may be 12.5 mm thick, which is added to the core. Confirm whether the quoted dimension means insulation alone or the complete composite. Similar-looking boards can have different constructions.
Allow for adhesive or a subframe, reveals, window sills and radiator position. A few centimetres on the main wall may make a larger difference at the window. In humid rooms use a version intended for those conditions, rather than choosing ordinary plasterboard solely on price.
Substrate preparation determines adhesion
Remove loose coatings, dust and wallpaper residues, and check plaster strength. Smooth or absorbent surfaces may need preparation compatible with the adhesive. Check required substrate and board temperatures; no single threshold covers every system. A cold wall can prevent installation even when the room air is warm.
Choose adhesive and fasteners for the system and substrate. Do not copy fixing spacing from another project. Uneven walls may need levelling or a subframe. Ceiling installation cannot simply copy wall bonding: the lining’s weight must be supported as specified.
Give junctions the most attention
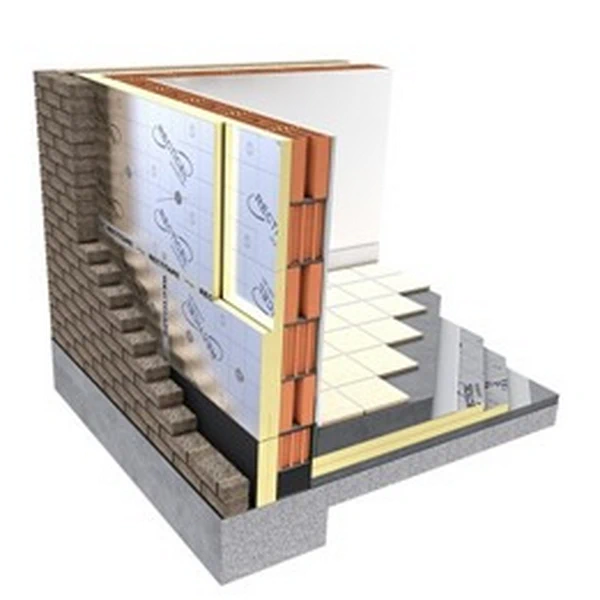
Check where insulation meets the floor, ceiling and adjoining walls, including the window perimeter. Do not leave accidental gaps behind skirting. A skim coat cannot replace sealing of joints deeper in the assembly.
Plan insulation-gap filling and electrical-box sealing to suit the system. Arrange cables before bonding and do not cut improvised channels through the core. Adding a socket later can breach the completed sealed layer. Provide a defined detail for each service penetration.
Try the arrangement at a window first
Dry-fit a board at a window and corner before bonding the whole wall. Check reveal finishing, trims, handle and sash movement, and radiator-valve access. This inexpensive check reveals conflicts that become visible only with the complete lining thickness.
Do not shave away a large area of core to disguise a measurement error. Local thickness changes alter thermal performance. Decide the reveal detail beforehand; a thinner board or alternative arrangement should follow the design and system documentation.
Allow installation materials to dry
Finishing too early can hinder drying. Set the waiting period for the adhesive, substrate and room conditions rather than assuming a universal time for PIR-plasterboard composites. High humidity and low temperature prolong drying. Check conditions before joint finishing.
After renovation, check ventilation and heating. Do not immediately place a large wardrobe against a previously damp area. Observe corners through the first season and keep photographs of hidden details with the product documents. They help investigate later stains or damage.
Frequently asked questions
Does aluminium foil replace every other seal?
No. Performance also depends on joints, perimeter connections and service penetrations.
Can a mouldy wall be insulated?
First identify and remove the cause of moisture. Covering the wall alone does not solve it.

Free quote
What to include in your enquiry
Tell us how you plan to use the material, the dimensions and the quantity you need. Include the thickness, grade or variant name, along with the delivery town or your preferred collection branch. For a specific product, add its name or a link to the product page. We will reply to the email address you provide to discuss availability and the terms of your order.
More from the building guide
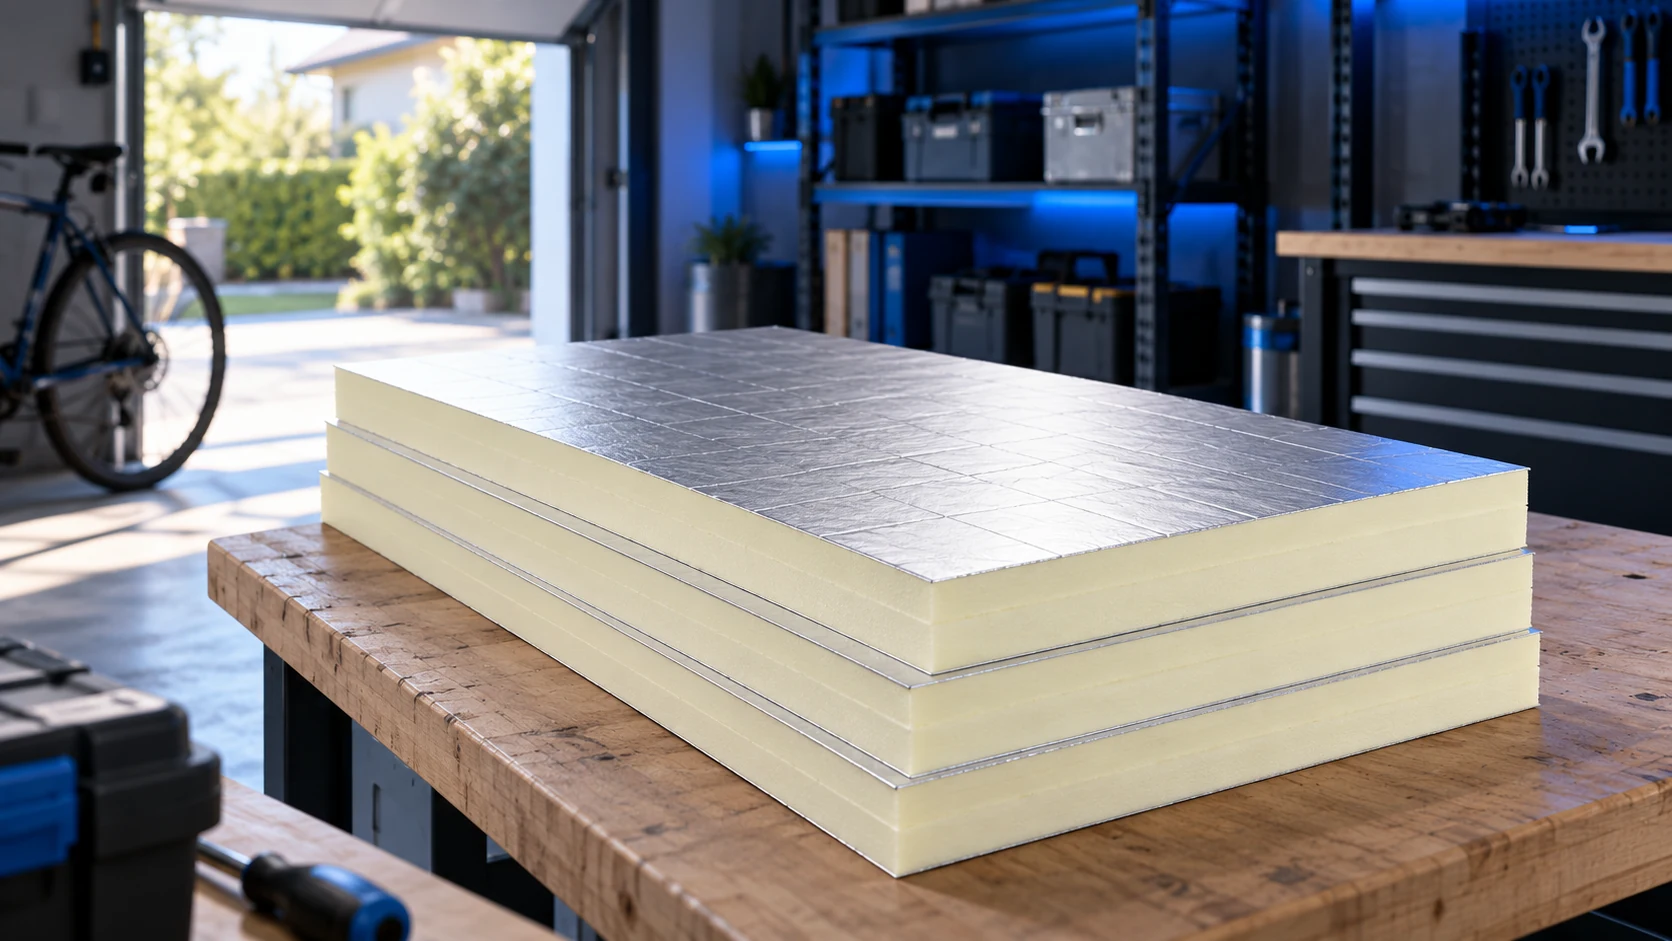
Cost-effective insulation suits the way a building is used. An unheated garage has different needs from a workshop or a holiday cabin…
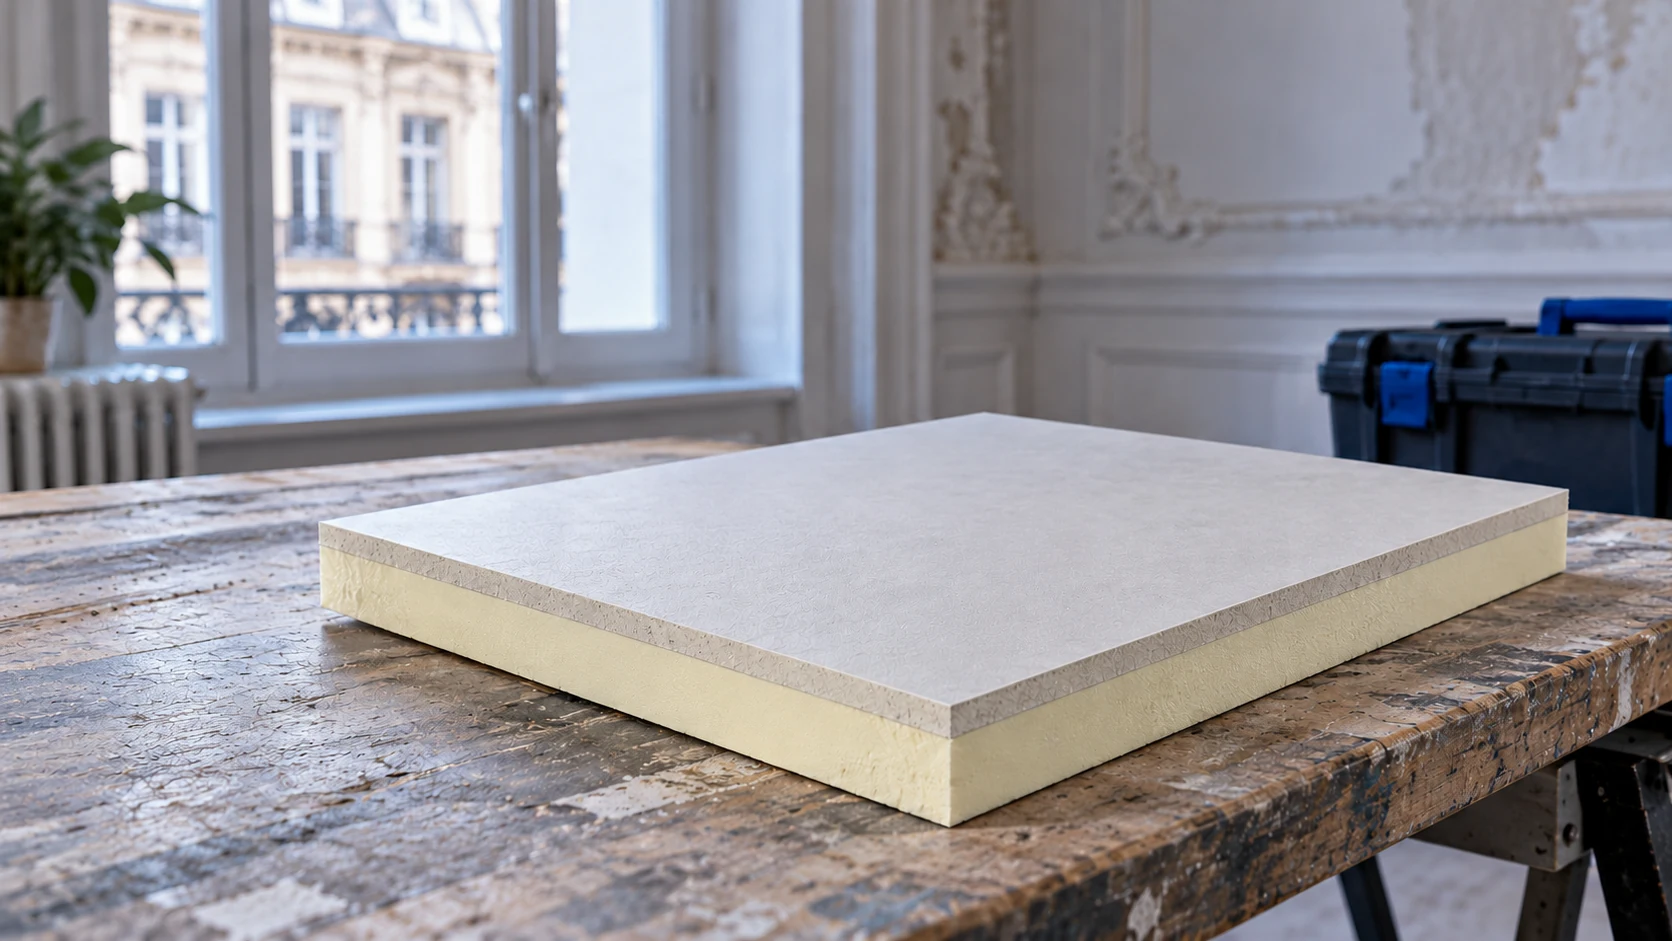
Internal insulation can be considered when an older masonry building's facade must remain unchanged. Its suitability depends on the existing construction: thick…
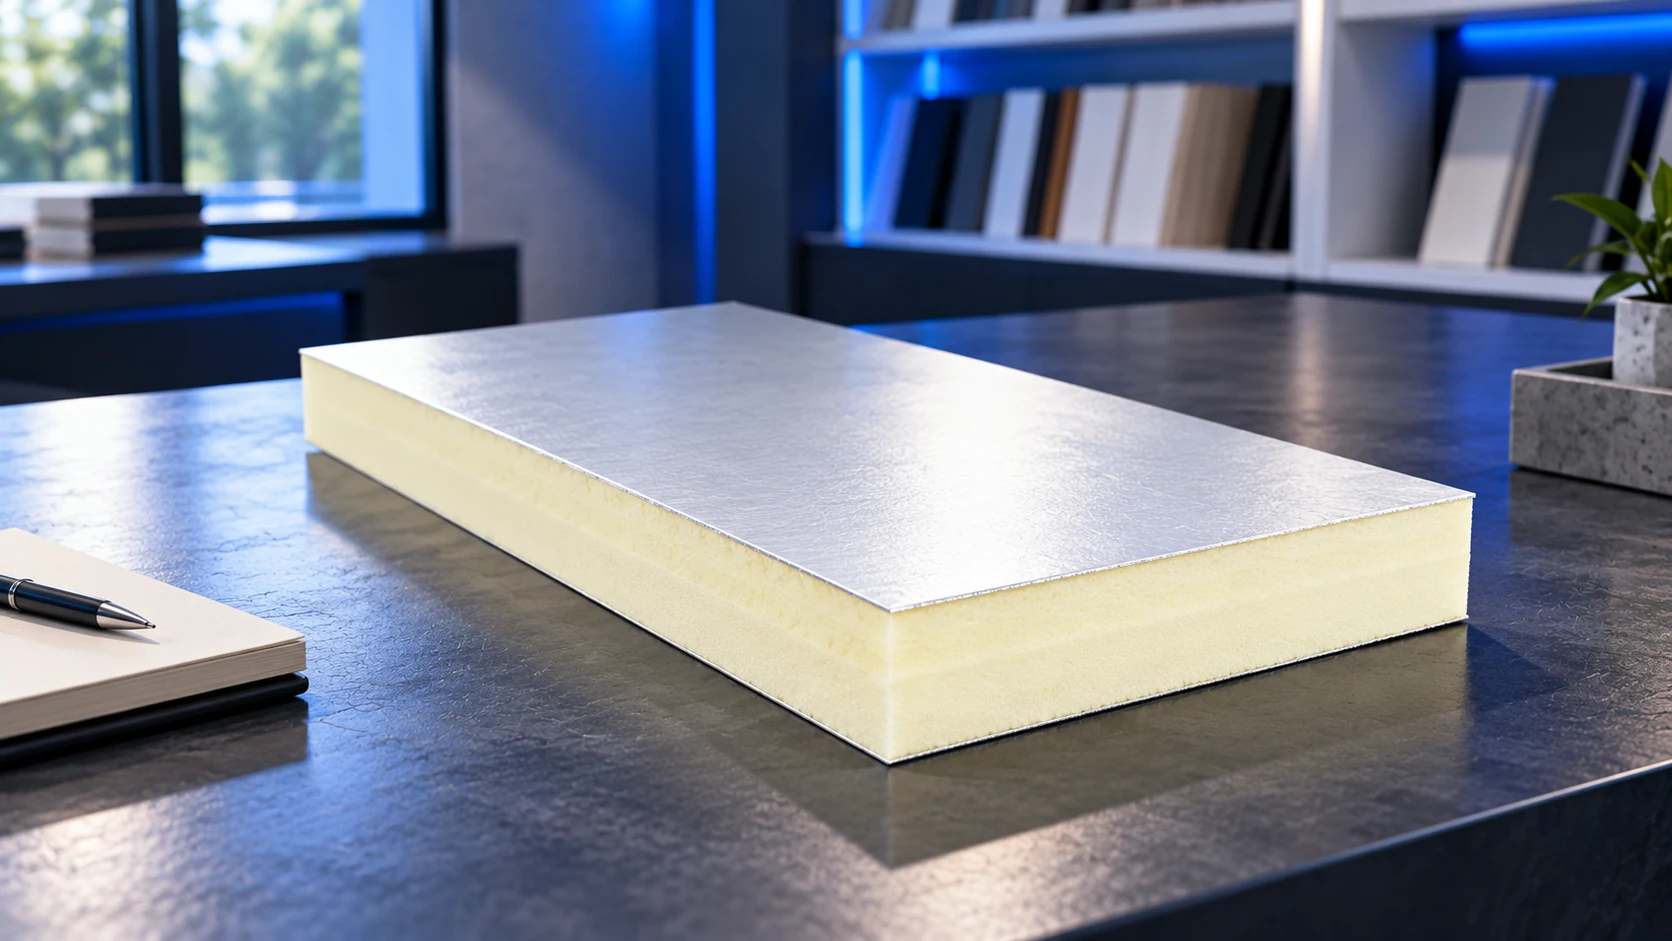
Insulation selection starts with its position in the building. A rendered wall, a roof and a continuously loaded floor impose different requirements.…
Attic insulation works when it forms a continuous layer and the entire roof manages moisture and air leakage. A thicker board cannot…
PIR insulation is not invariably half as thick as EPS. The equivalent thickness depends on the thermal conductivity of both chosen products.…
A calculator can quickly produce a wall's U-value, but it cannot inspect the masonry, check airtight junctions or identify every moisture risk…
A correctly specified roof sandwich panel can provide the required thermal insulation without an extra layer, provided the complete roof meets the…
A PIR calculator helps compare insulation options, but its result is only as reliable as the data entered. Use the actual masonry,…