Tracing a leak at the verge of a metal roof
Sheet metal flashings
A damp corner in the loft or a stain on the bargeboard is a reason to inspect the verge, where the roof edge faces wind-driven rain. It does not tell you to add a screw or seal the entire edge. Trace the route of water through the covering, its support and any drainage channel beneath the flashing. Note which wind direction and kind of rain bring on the leak. A mark that appears only in a particular storm can help locate the entry point, but water may travel along the roof layers before reaching the wall. Inspect beyond the visible stain.
Record when the stain appears
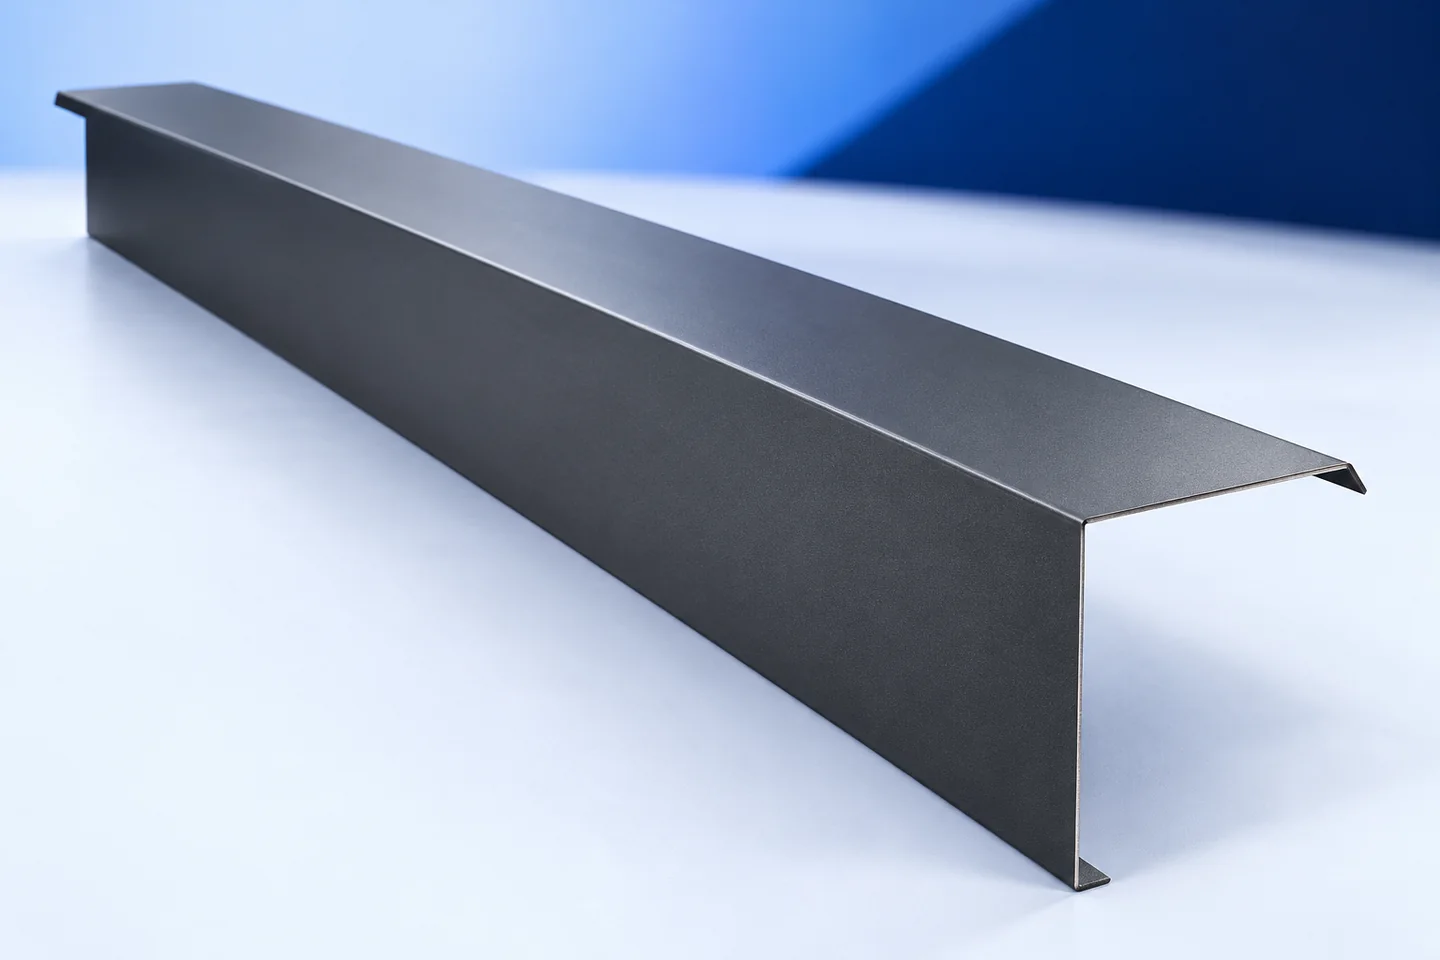
Inspect the flashing at both verges: the flange on the roof, the vertical face and both ends. Some defects are only visible from below or after lifting part of the trim. Use a roofer with suitable fall protection; do not go onto a wet roof edge during rain to look for entry points.
Inspect the fixings and what they grip
A screw in damaged timber cannot provide the intended hold. A fastener intended for a different substrate may also fail. If the flashing rattles or lifts in gusts, check the board, the fixing layout and the roof system detail as well as the sheet itself.
Tightening every screw as hard as possible is not a repair. Crushing a washer or distorting the sheet can make the joint worse. Fixing spacing must suit the wind action at the roof edge. Use the specified detail rather than copying the screw count from the old installation.
Look for a concealed drainage channel
Some verge systems have a small channel beneath the outer cover. It may be invisible from outside. A blocked outlet or a missing section can cause a leak even if the top flashing looks correctly fitted.
Follow the lower end to the eaves. Water should leave by the intended route, not run behind the board. Gutter apron and verge flashings must overlap in the correct order. At the upper end, inspect where the verge meets the ridge cap. These short junctions may need more attention than the long straight run.
Size the new verge flashing to the actual edge
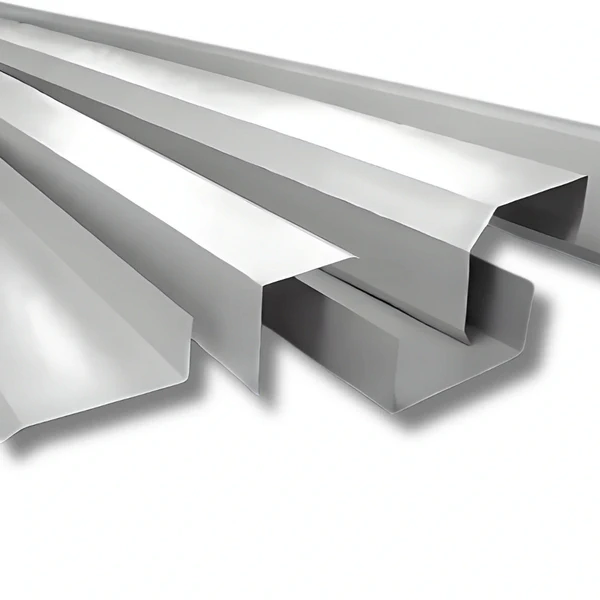
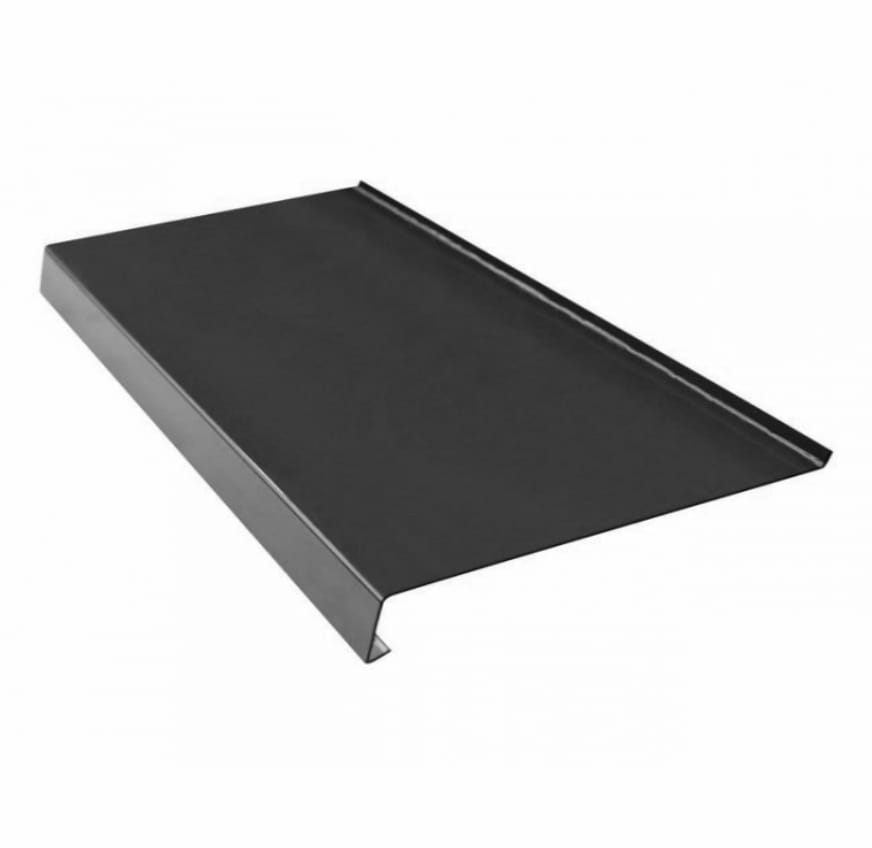
Measure the edge height and the position of the last roof sheet. An old flashing may have been bent open or altered and is not necessarily a reliable template. The replacement should cover the intended area without pulling on the roof covering. Check for handed parts where the system distinguishes left from right.
For an unusual edge, supply a dimensioned section so the flashing can be folded to suit. Correct any defects in the support first; a wider cover cannot provide firm bearing. Check the end of the eaves starter profile too, especially if the first roofing sheet hooks onto it.

Choose a compatible sheet and finish
Galvanised, aluminium-zinc-coated and colour-coated steel can all be used for verge flashings. During repairs, match the material to the existing covering and adjacent components. Sheet thickness alone is insufficient: coating, shape and fixing method affect how the edge performs.
Compare a colour sample against a cleaned area of the old roof. A mismatch can reflect weathering or a different finish even when the colour number is correct. Coordinate any chimney or ridge flashings that also need replacement; a small shade difference is not a reason to discard sound parts.
Use sealant only where the detail calls for it
The sealant must be compatible with the material and its location. It cannot replace a missing lap, correct a fold or restore a failed fixing. Sealing the entire edge can dam the channel that should drain it. Establish where water must be stopped and where it must escape before starting repairs.
Clear away swarf and inspect the adjoining sheets. Photograph repaired ends while the connections are still visible. After the next rainfall, check the old stain for new wetting. If it returns, trace the source again instead of adding another cover over the flashing.
Questions and answers
Do more screws always improve a verge flashing?
No. Fixings must engage sound material and follow the specified layout. Random holes and overtightened screws can introduce new defects.
Must both verge flashings be replaced together?
Not always. Inspect both sides, then base the scope on the condition of the material and the cause of the fault.
Does a stain beside the wall prove the verge is leaking?
No. Water may reach the wall from another part of the slope. Check the joints and layers over a wider area to trace it back.

Free quote
What to include in your enquiry
Tell us how you plan to use the material, the dimensions and the quantity you need. Include the thickness, grade or variant name, along with the delivery town or your preferred collection branch. For a specific product, add its name or a link to the product page. We will reply to the email address you provide to discuss availability and the terms of your order.
More from the building guide
Dark marks below a gutter do not necessarily mean that the gutter leaks. Water can reach the fascia if the roof covering…
A single damp patch beneath a roof warrants an inspection. The scope of work depends on the route taken by the water…
Start with a section through the bottom of the window. Mark the frame drainage outlets, the support, the finished wall face and…

Chimney flashing must return water to the roof covering while accommodating movement between the roof and chimney. A strip of sheet metal…
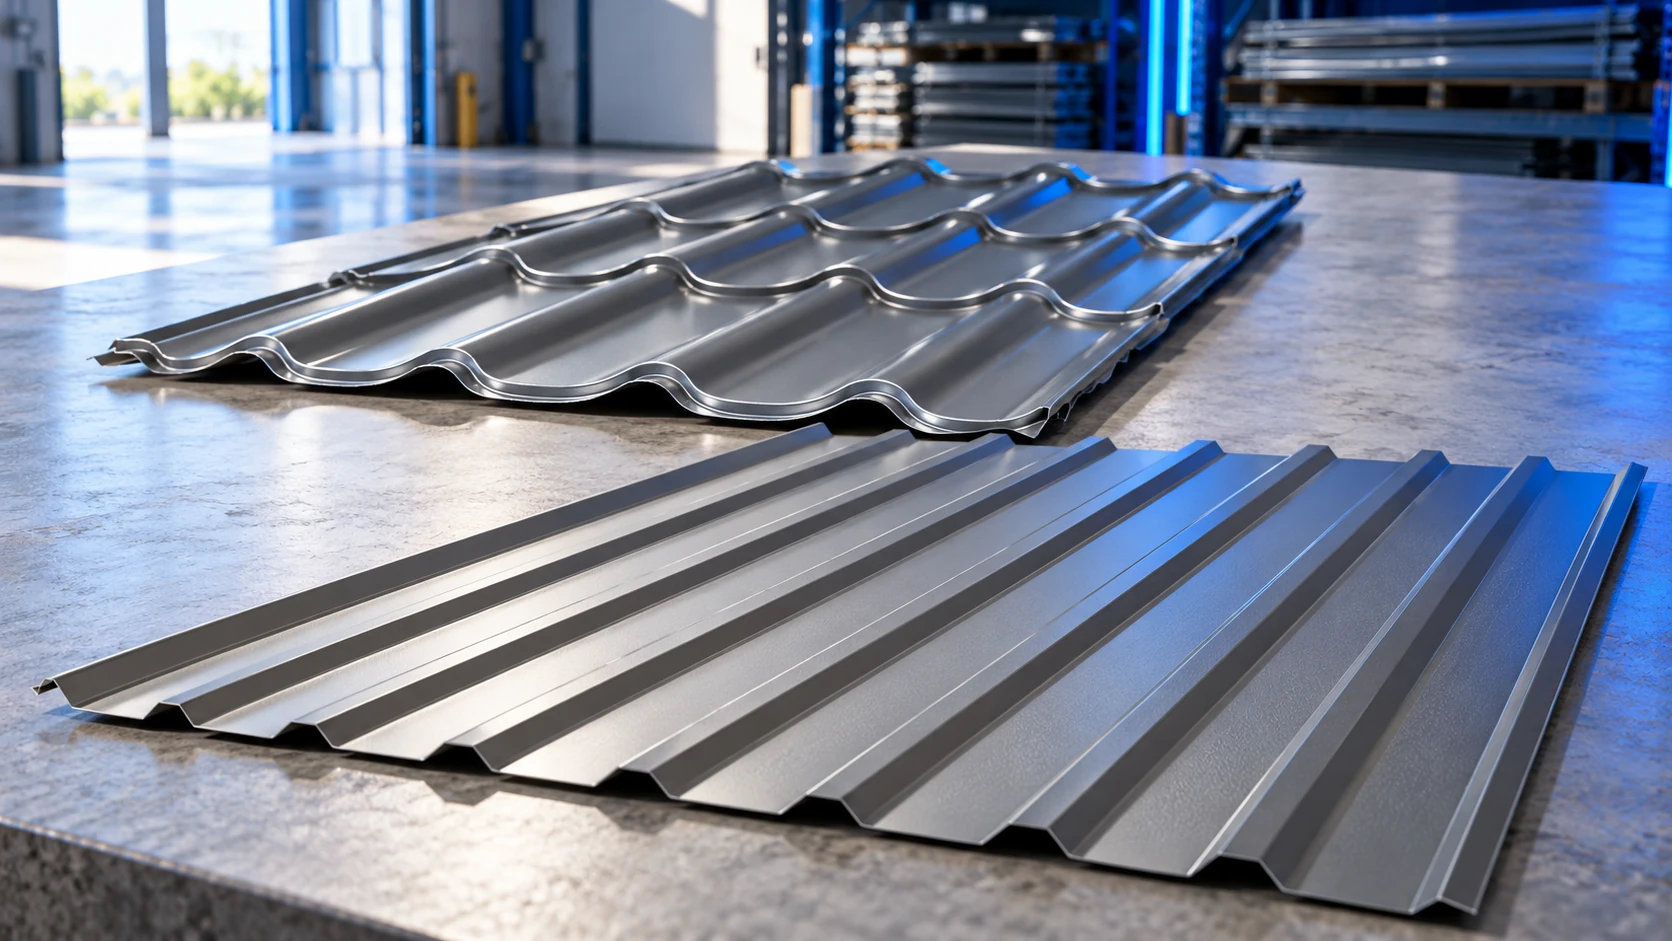
The cheapest sheet does not necessarily produce the cheapest finished roof. Substructure, flashings, cutting waste and installation all belong in the comparison,…
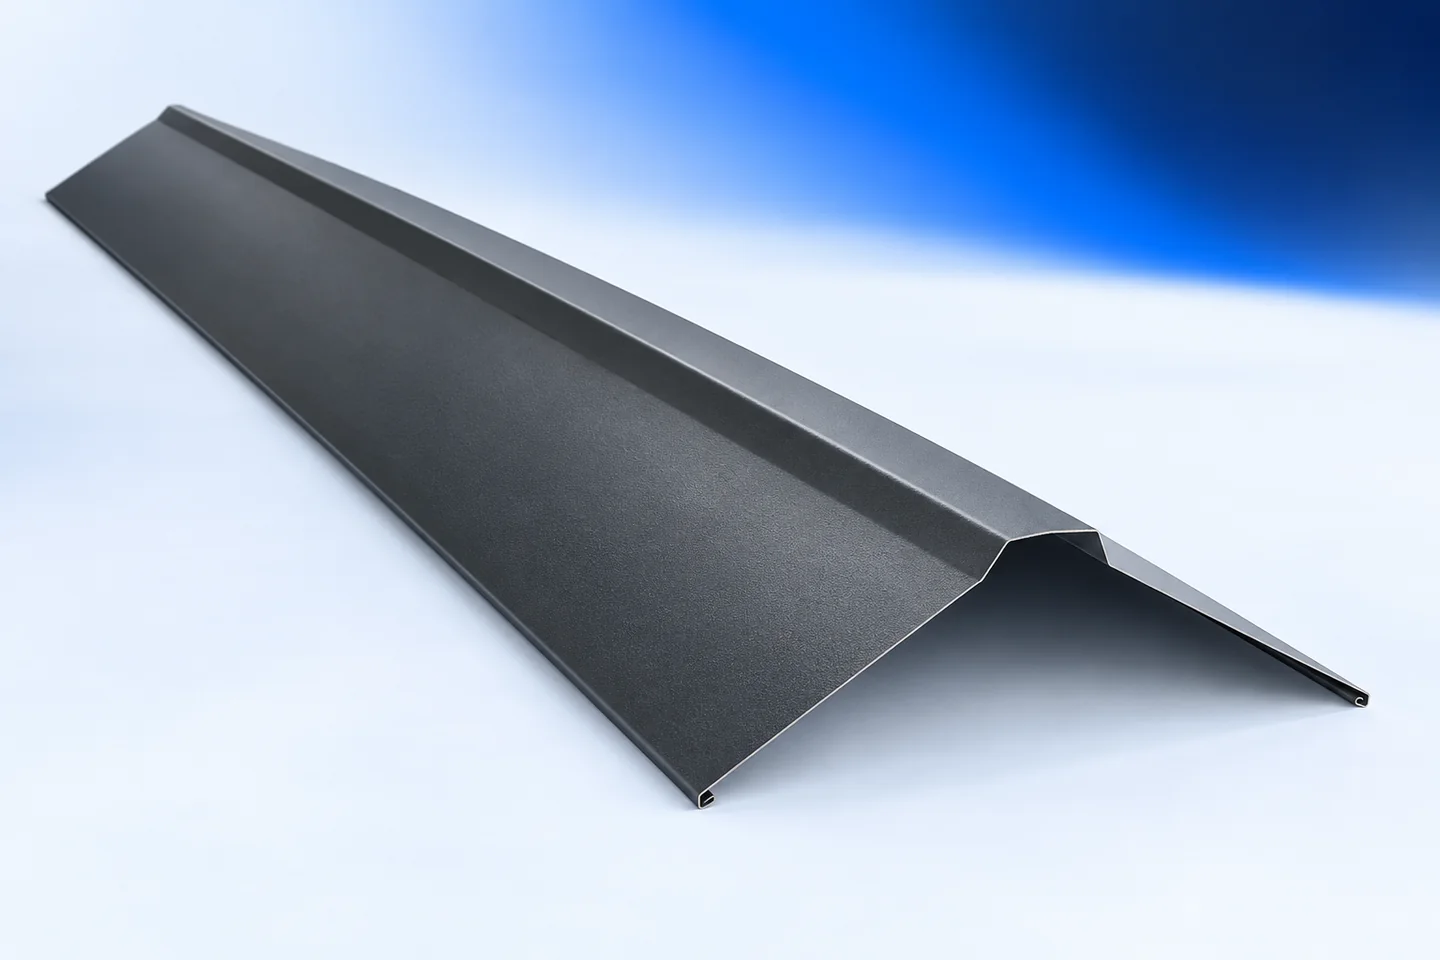
A loose or corroded ridge cap does not necessarily mean the roof needs a new covering. A local repair may be enough…
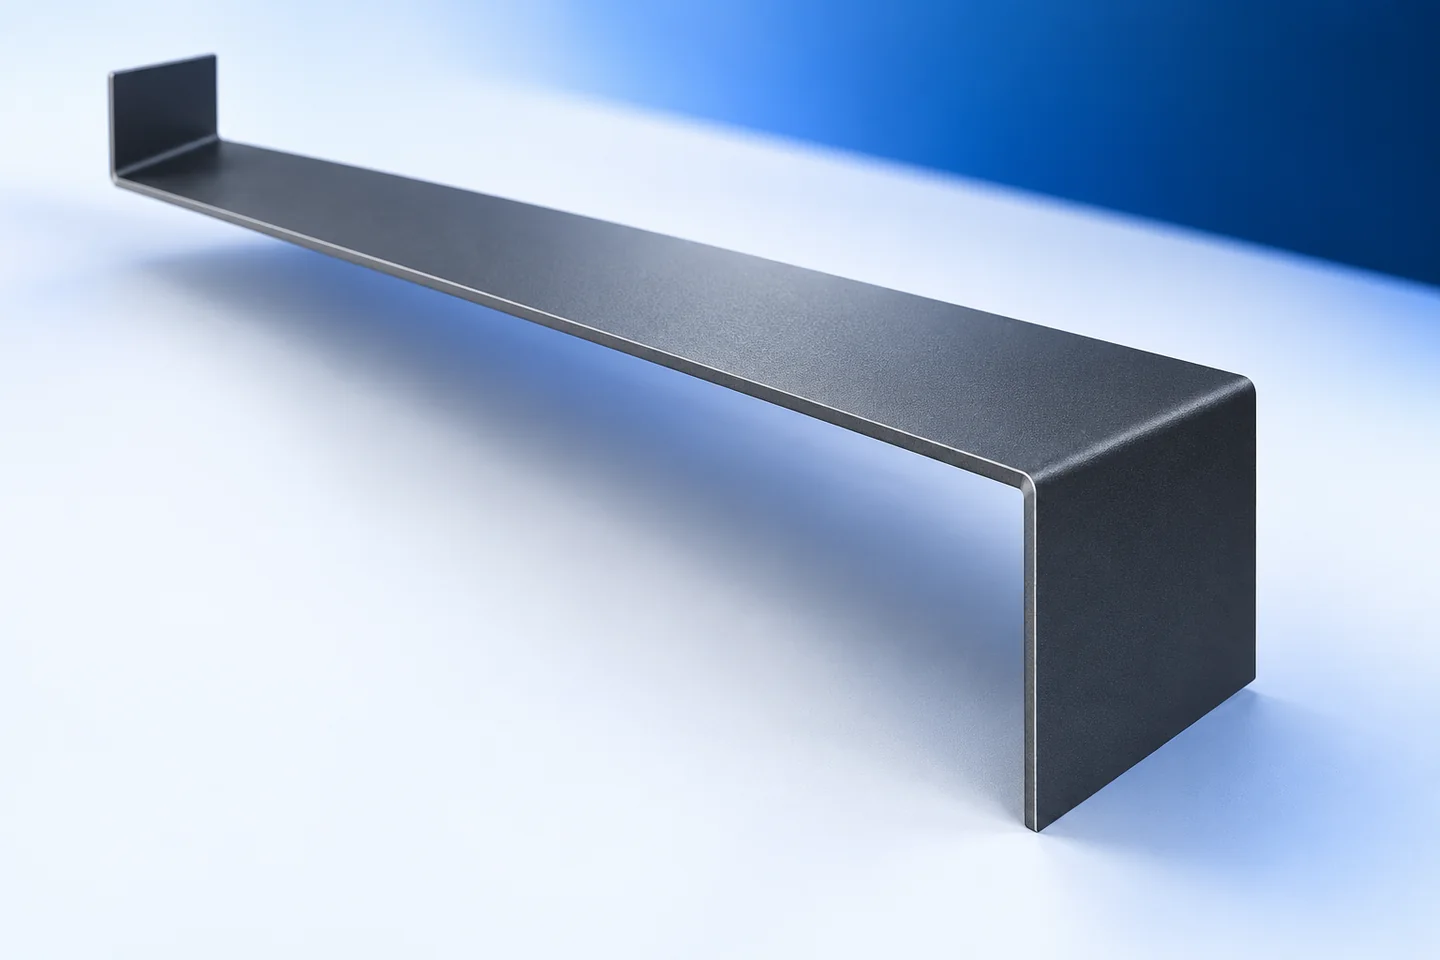
A single photograph rarely gives a fabricator enough information to replace an unusual roof flashing. Perspective alters the proportions, and an old…
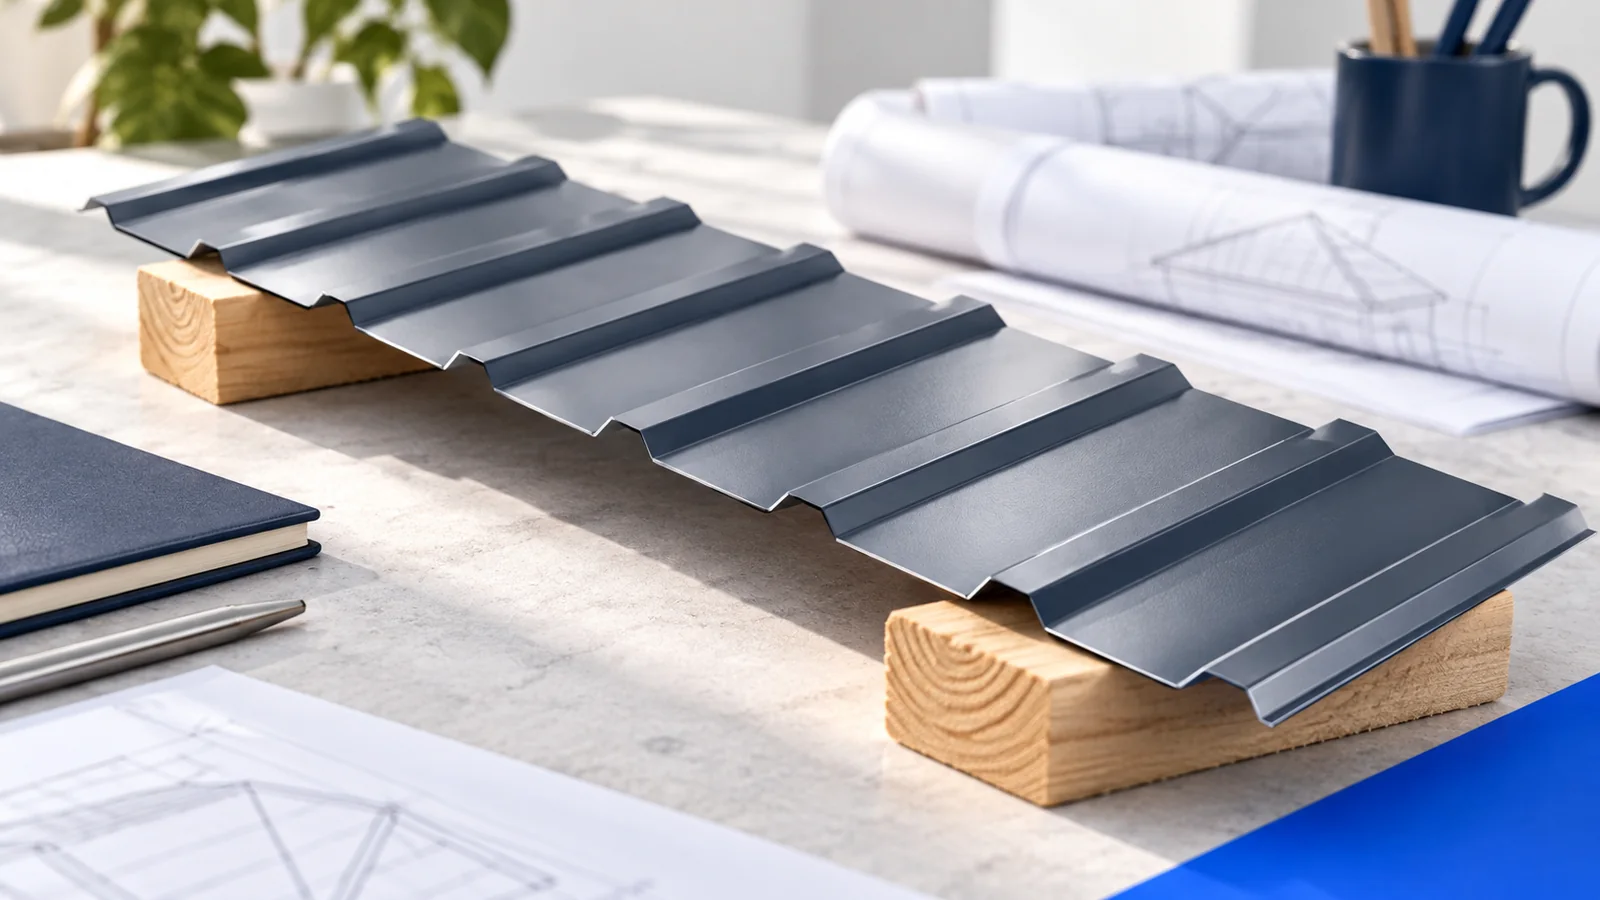
A hipped roof over a rectangular house usually has two trapezoidal and two triangular slopes joined by a ridge and hips. The…