





How to avoid common sandwich-panel installation mistakes
Sandwich panels
Avoiding sandwich-panel installation defects requires checks from delivery through to handover. Small deviations repeated across a wall or roof can cause serious problems: uneven supports, incorrectly compressed washers and poorly closed edges can compromise a correctly specified panel. Check the structure before covering it, match fasteners to their supports, remove cutting swarf and follow the system’s sealing and storage instructions. Record concealed junctions while they remain accessible. A neat-looking finished façade does not reveal the condition of every connection. This guide organises common errors by work stage so they can be caught before repairs require substantial dismantling of the completed building envelope.
Mistake one: installing on an unchecked structure
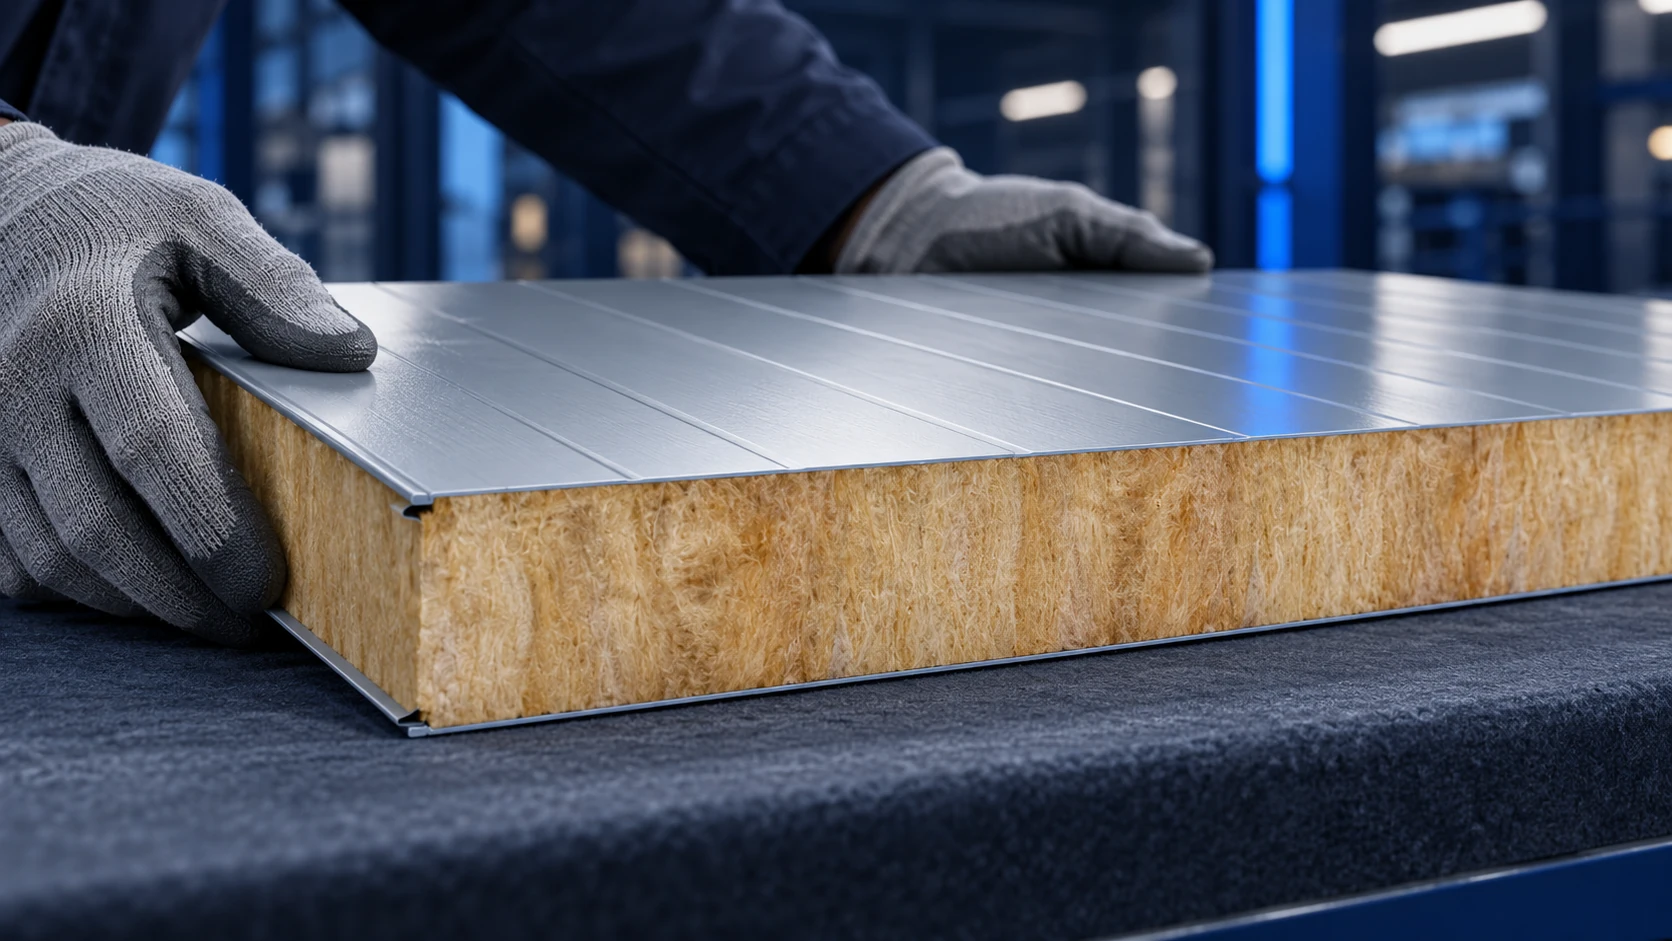
Before work starts, check the frame against the design. Measure support spacing, flatness and bearing width. Verify the material receiving the fasteners. Do not try to straighten a distorted structure by tightening the panel harder. This can deform the facing and joint.
Support acceptance includes checking geometry and spans against the design. This is a practical construction stage, not a formality. Check fixing positions and the condition of contact surfaces as well. Resolve deviations before covering them. A later correction may require dismantling the finished envelope. Do not leave the decision to the crew when they first place a panel against the frame.
Mistake two: unsuitable fasteners and washer compression
A screw must suit both the panel and its support. Length, drilling capacity, washer and corrosion protection matter. Buying more screws cannot correct an unsuitable type. The number of fixings follows from loads and the connection arrangement.
Control the screw’s direction during installation. Too little compression can leave a leak path; too much can damage the facing or seal. The tool should allow control of fastener position and depth. Check settings at the start of work. Do not reuse them unchecked when the support material or thickness changes.
Mistake three: unsuitable cutting and leftover swarf
An angle grinder can damage the coating through heat. Hot particles may also land on neighbouring panels. Manufacturers specify fine-toothed tools and methods that avoid overheating the sheet. Flashings need suitable cutting methods too.
Remove swarf immediately. Check beneath the panel and where offcuts are placed. Do not drag panels across one another. These small actions influence the condition of corrosion protection. After work, inspect edges and coating damage. Carry out repairs according to the instructions for the installed system.
Mistake four: improvised sealing at junctions
The base, corners, openings and roof junctions each need their own detail. One sealant or foam cannot replace every specified component. Maintain the drainage route and close the core correctly. Do not cover damp material without assessing it first.
Different seals perform different tasks. Where a building element requires fire resistance, the entire detail must comply with the design. Extra filling added “just in case” does not confirm a fire-resistance class and may alter how the joint works. Assess significant changes before covering them with flashing.
Mistake five: poor storage and protective film left in place
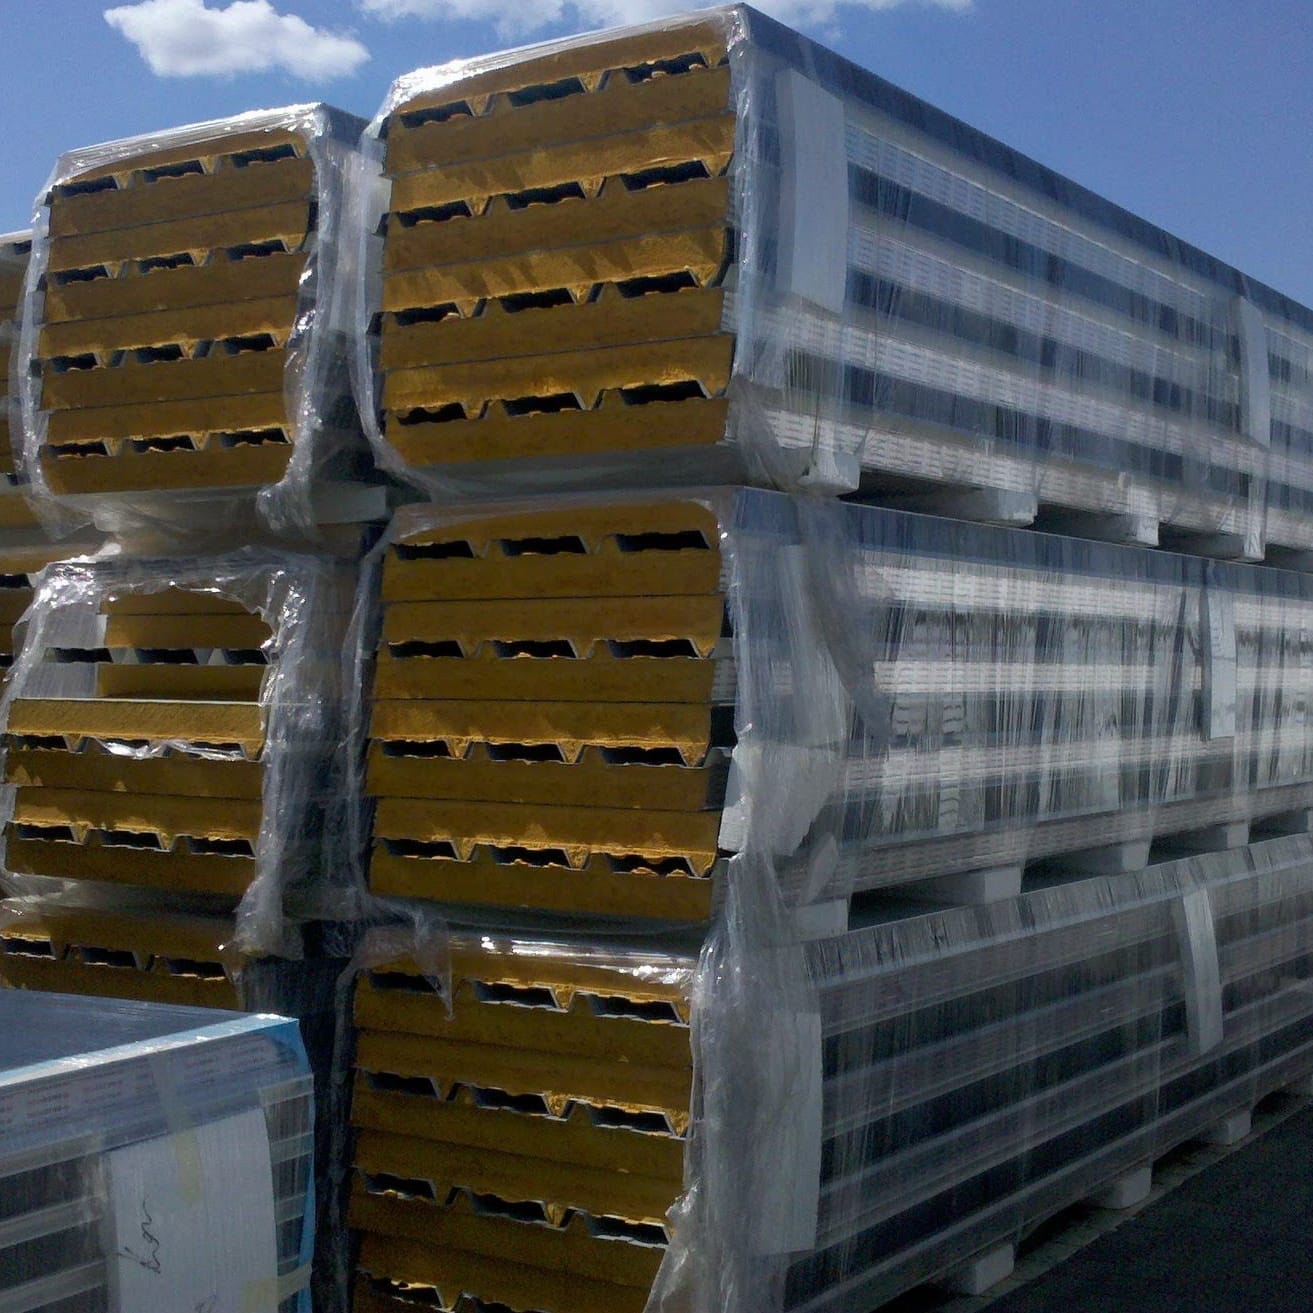
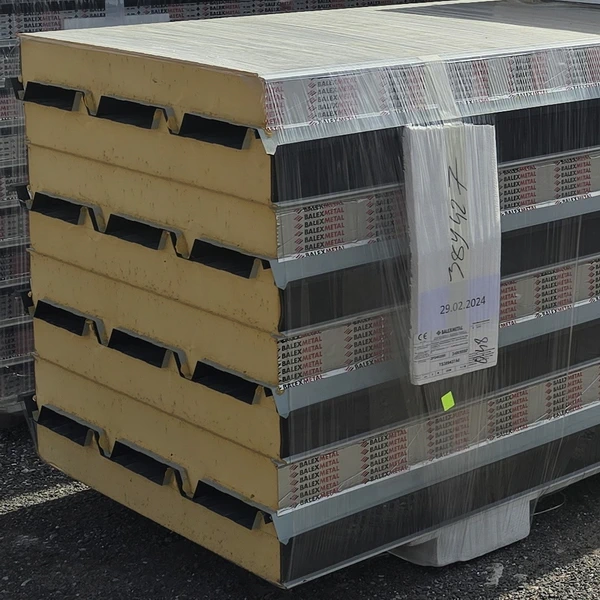
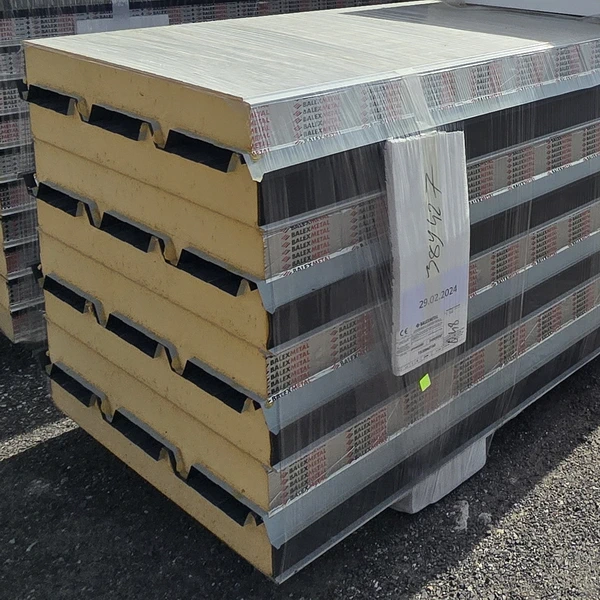
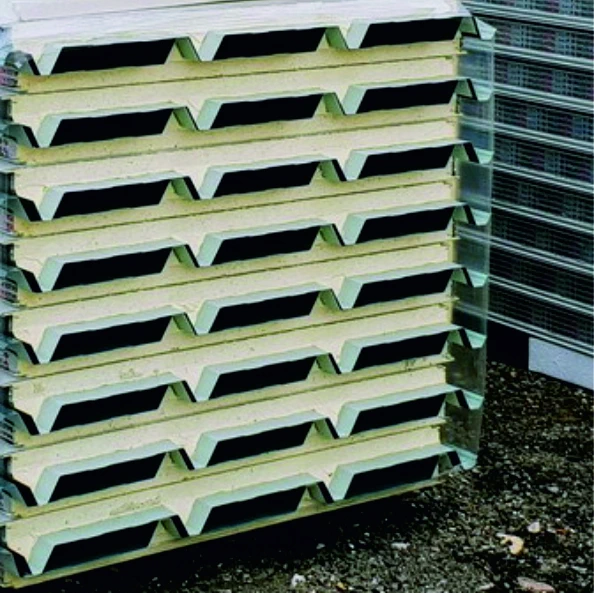
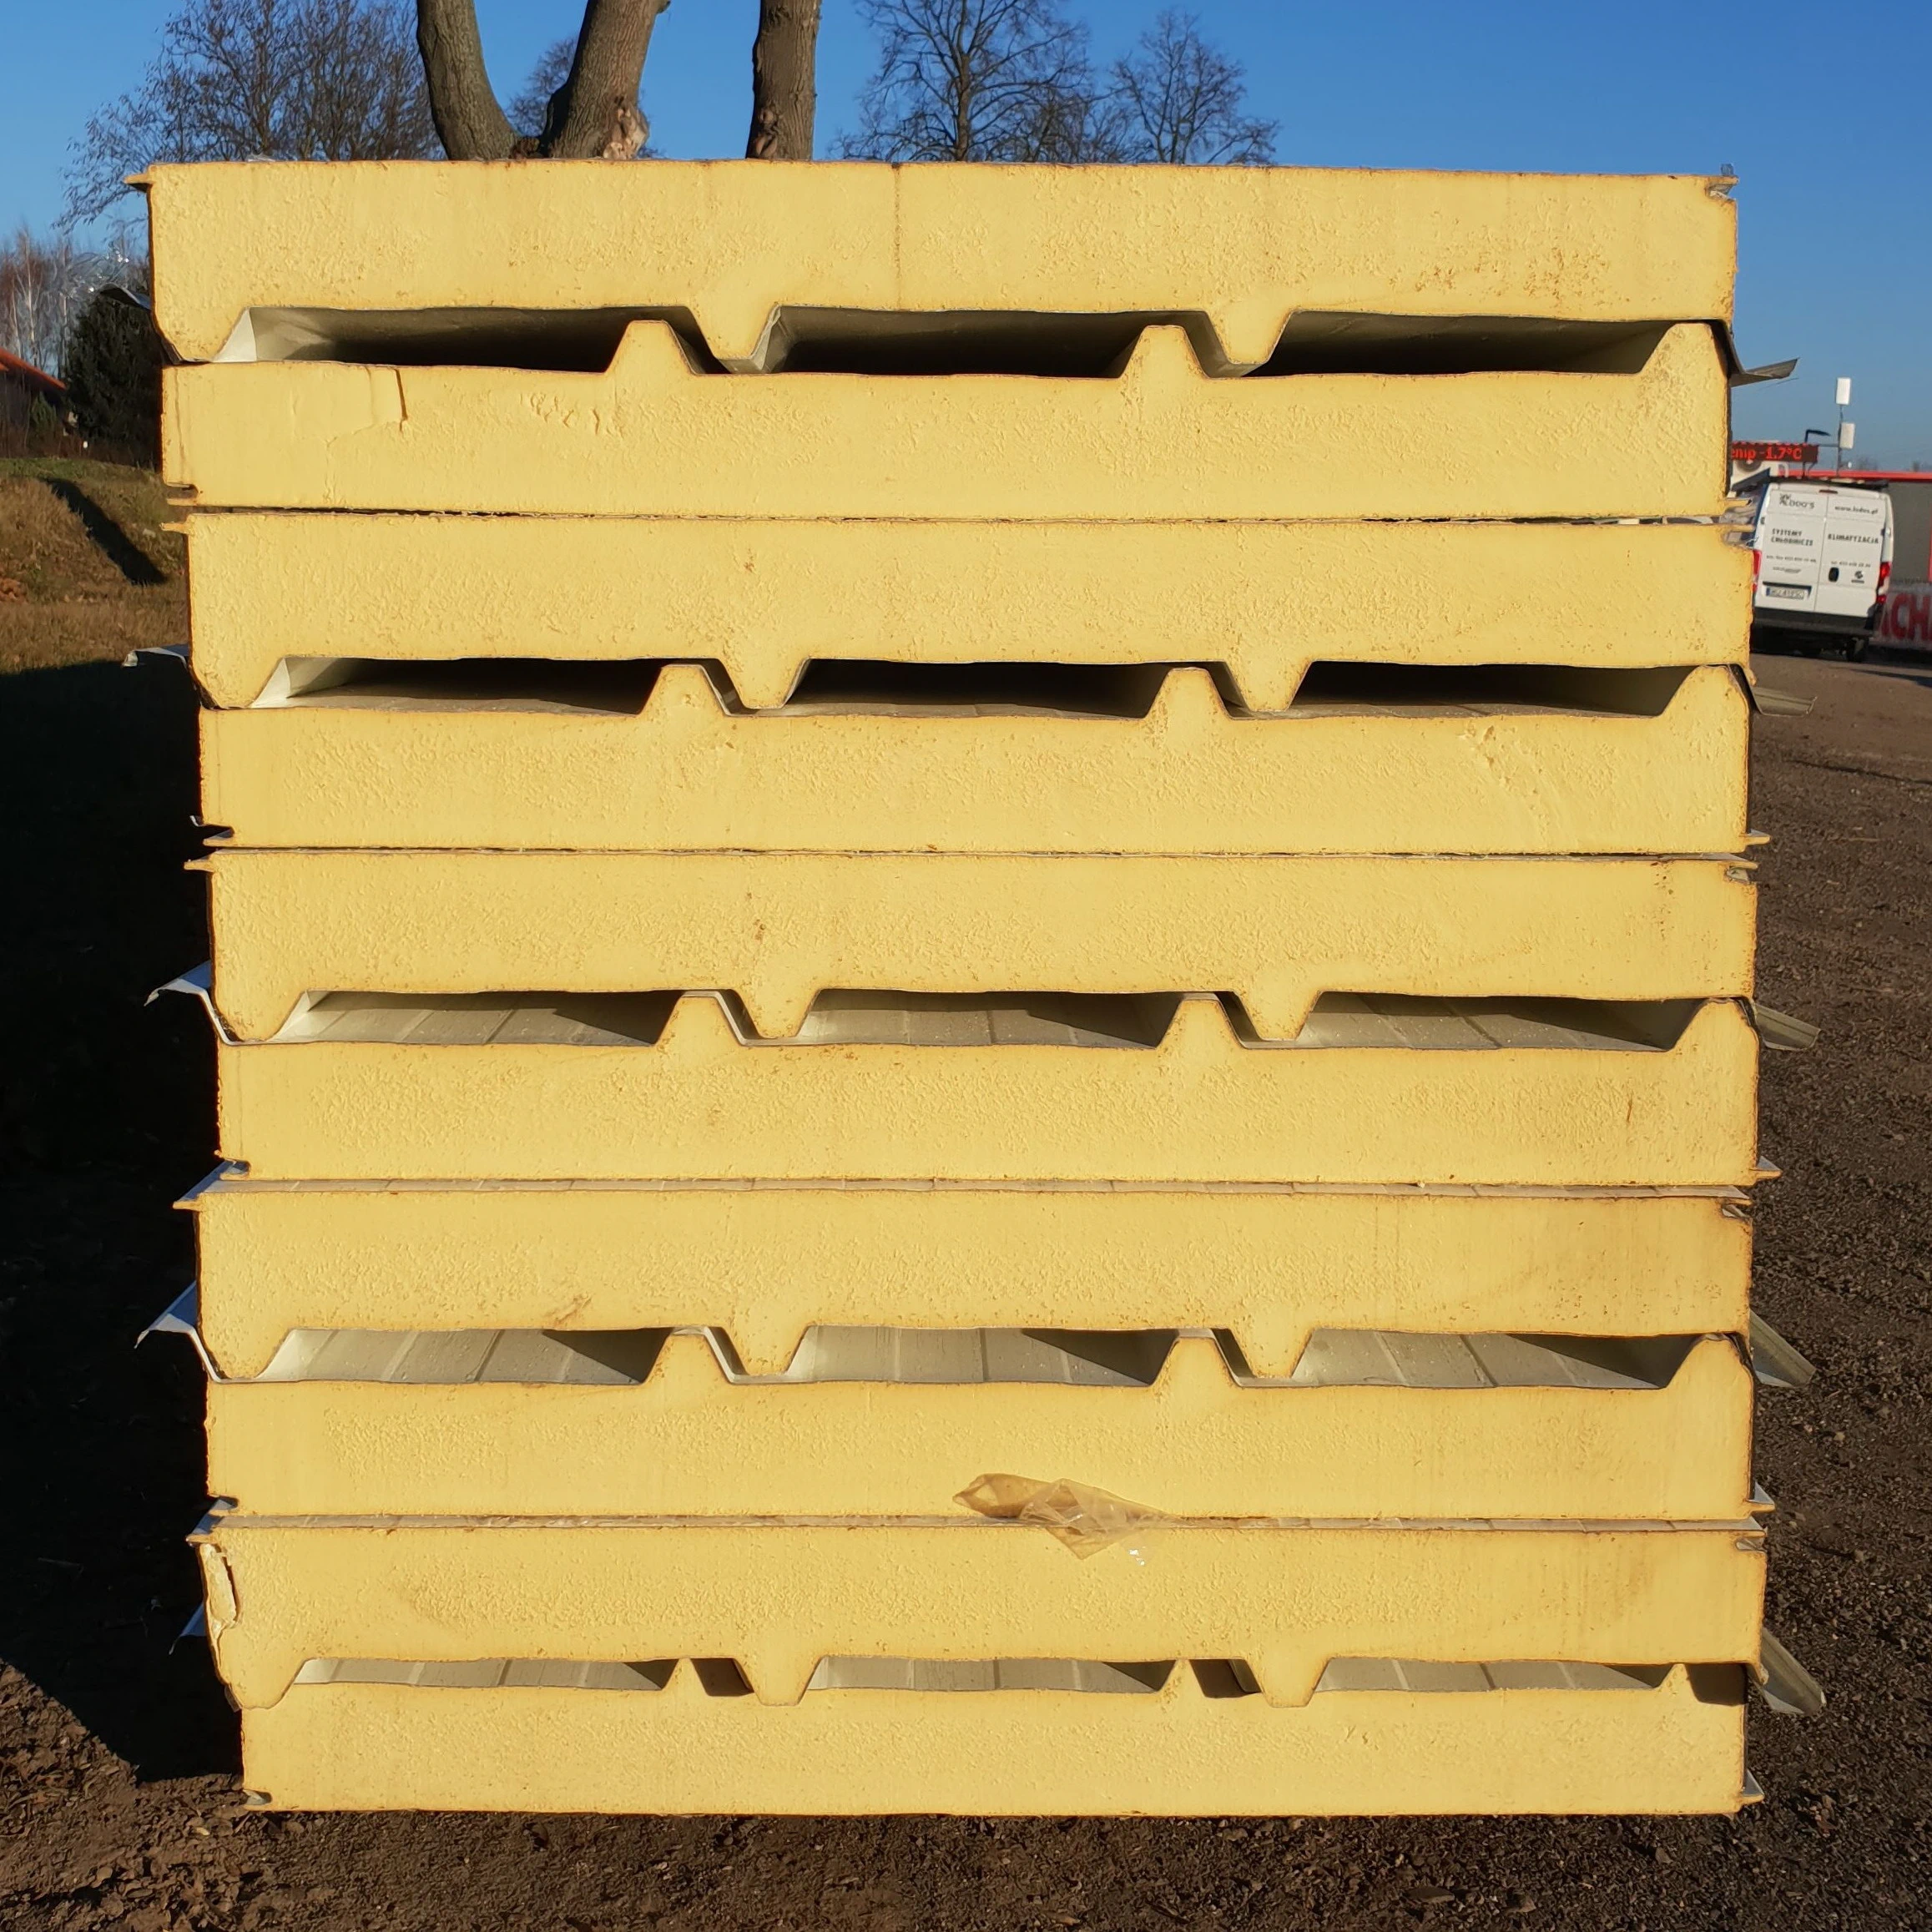
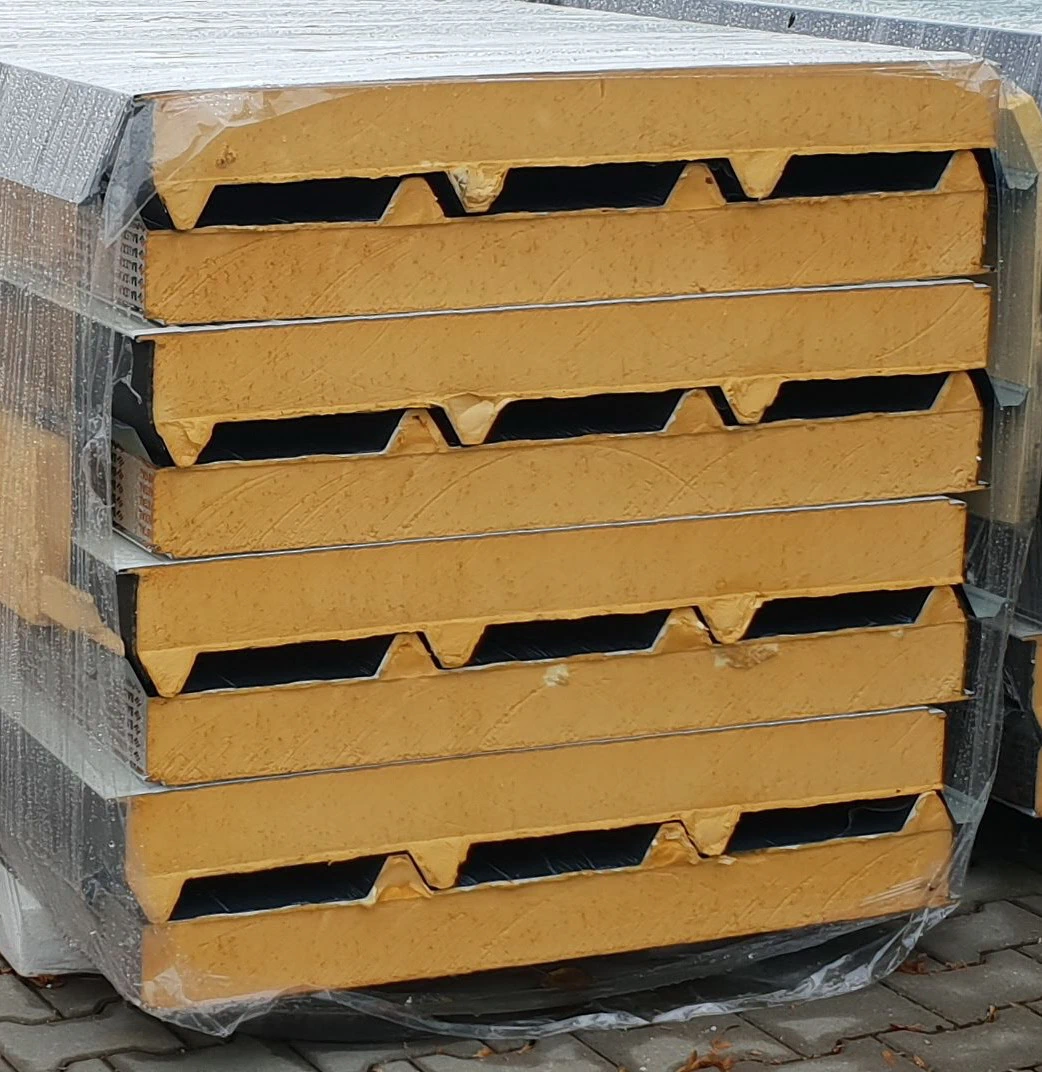
Protect panels from water, dirt and damage. Do not leave them arbitrarily on uneven ground. Support, covering and moisture drainage matter. Instructions also specify how to lift packs. Do not use improvised lifting points.
Protective film is intended for transport and installation, not as a permanent service layer. Check the removal deadline in the instructions for the delivered product. Do not assume one number of days applies to every brand and coating. Film left too long can complicate acceptance and cleaning. Its removal should be a scheduled work stage.
Mistake six: inspecting only from ground level
A finished façade can look even despite a defective concealed joint. Document work before closing flashings. Check panel, fastener and seal identification. Record deviations and how they were corrected. This makes it easier to assess whether the designed solution was actually built.
After handover, prepare a maintenance plan. Allow for inspection of the envelope at least once a year and washing in accordance with coating requirements. Include fixings and flashings. Defects there may allow water into the panel. Early repairs usually involve less work than dealing with prolonged moisture damage.
Divide the checklist into delivery, supports, first panels, closing details and handover. Assign responsibility for checking each stage. The aim is not paperwork for its own sake, but identifying errors while they can still be corrected without dismantling large areas of the envelope.
Frequently asked questions
Does more sealant improve every junction?
No. The correct material, location and application matter. Improvised filling can interfere with joint performance.
Can installation be accepted solely from a façade photograph?
No. Supports, fixings and details concealed beneath flashings must also be checked.
What should be checked after the first rain?
Junctions, openings and drainage. However, the absence of leaks does not replace a full technical inspection.

Free quote
What to include in your enquiry
Tell us how you plan to use the material, the dimensions and the quantity you need. Include the thickness, grade or variant name, along with the delivery town or your preferred collection branch. For a specific product, add its name or a link to the product page. We will reply to the email address you provide to discuss availability and the terms of your order.
More from the building guide
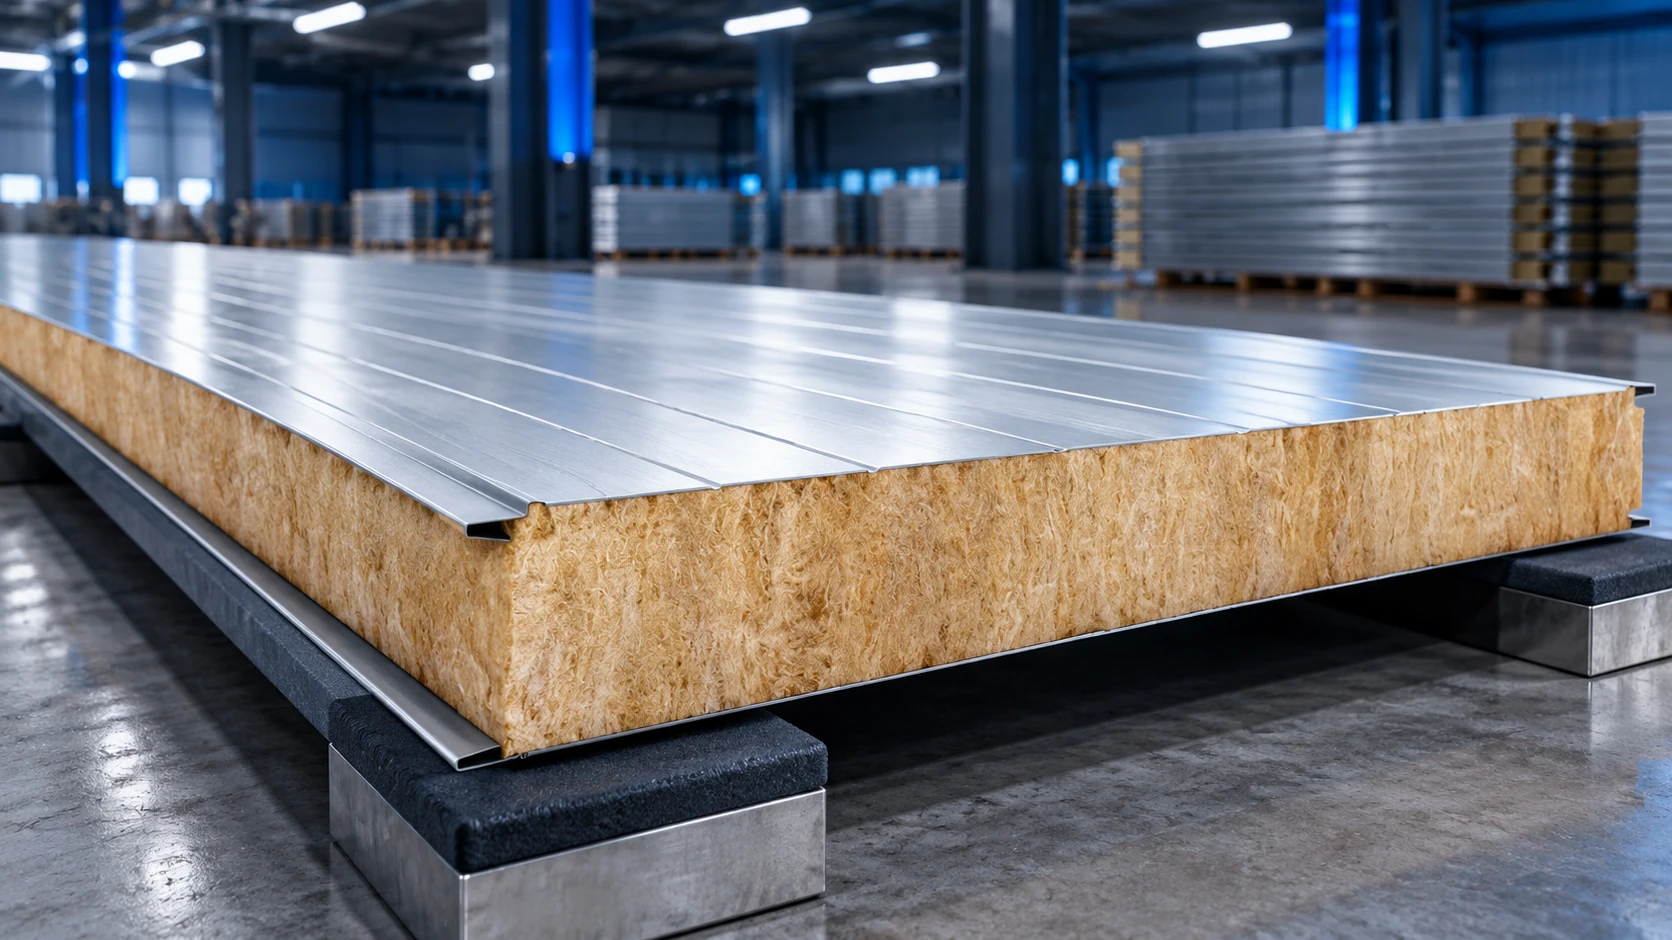
Mineral-wool panel weight depends on the model, thickness and both facings; there is no single figure for the whole product group. Planning…
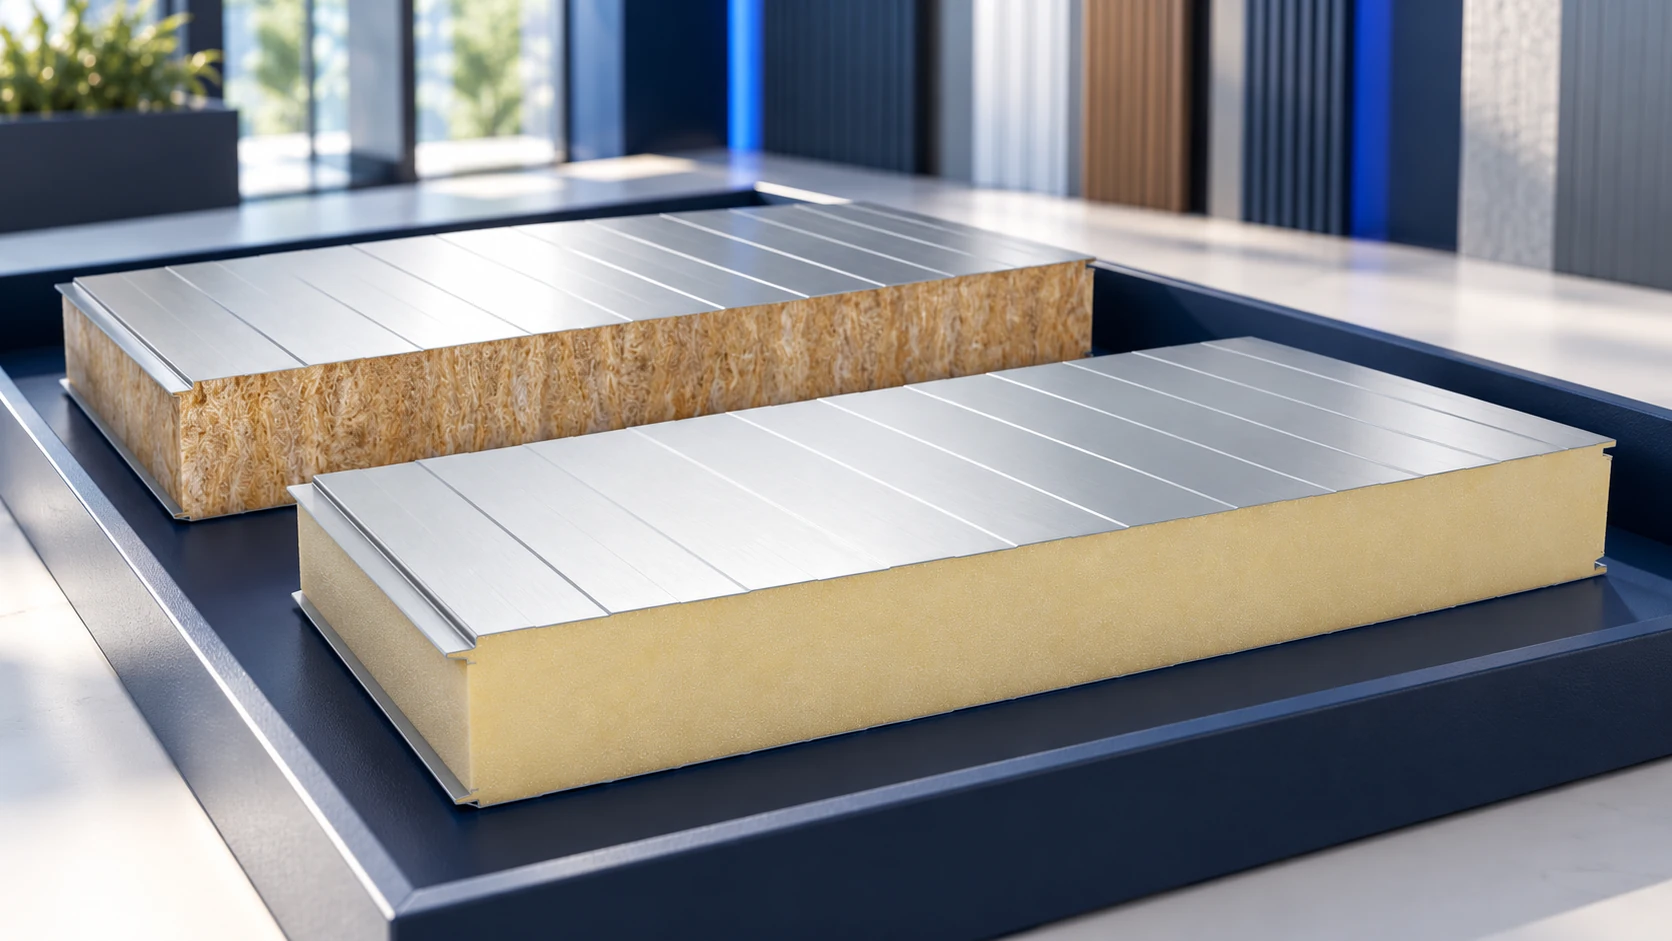
In Polish sales listings, “płyta obornicka” usually means a sandwich panel, but the name does not identify its core, thickness or intended…
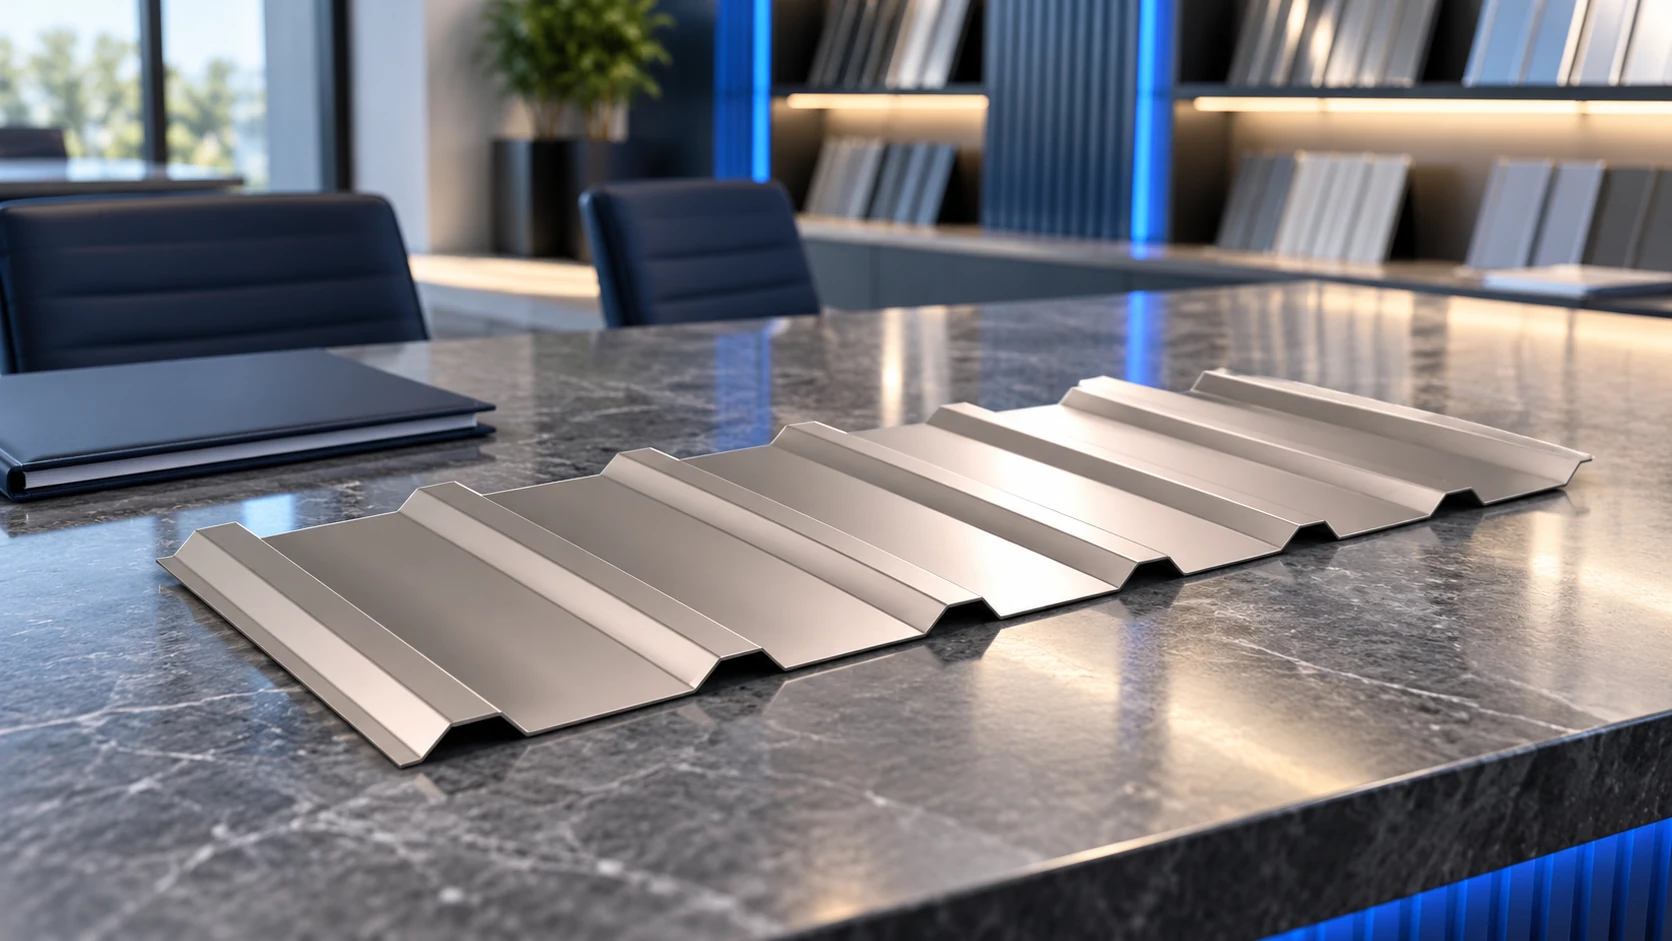
Supplier reviews can help assess service, but they do not replace checking the material being purchased. Separate product quality from transport, advice…
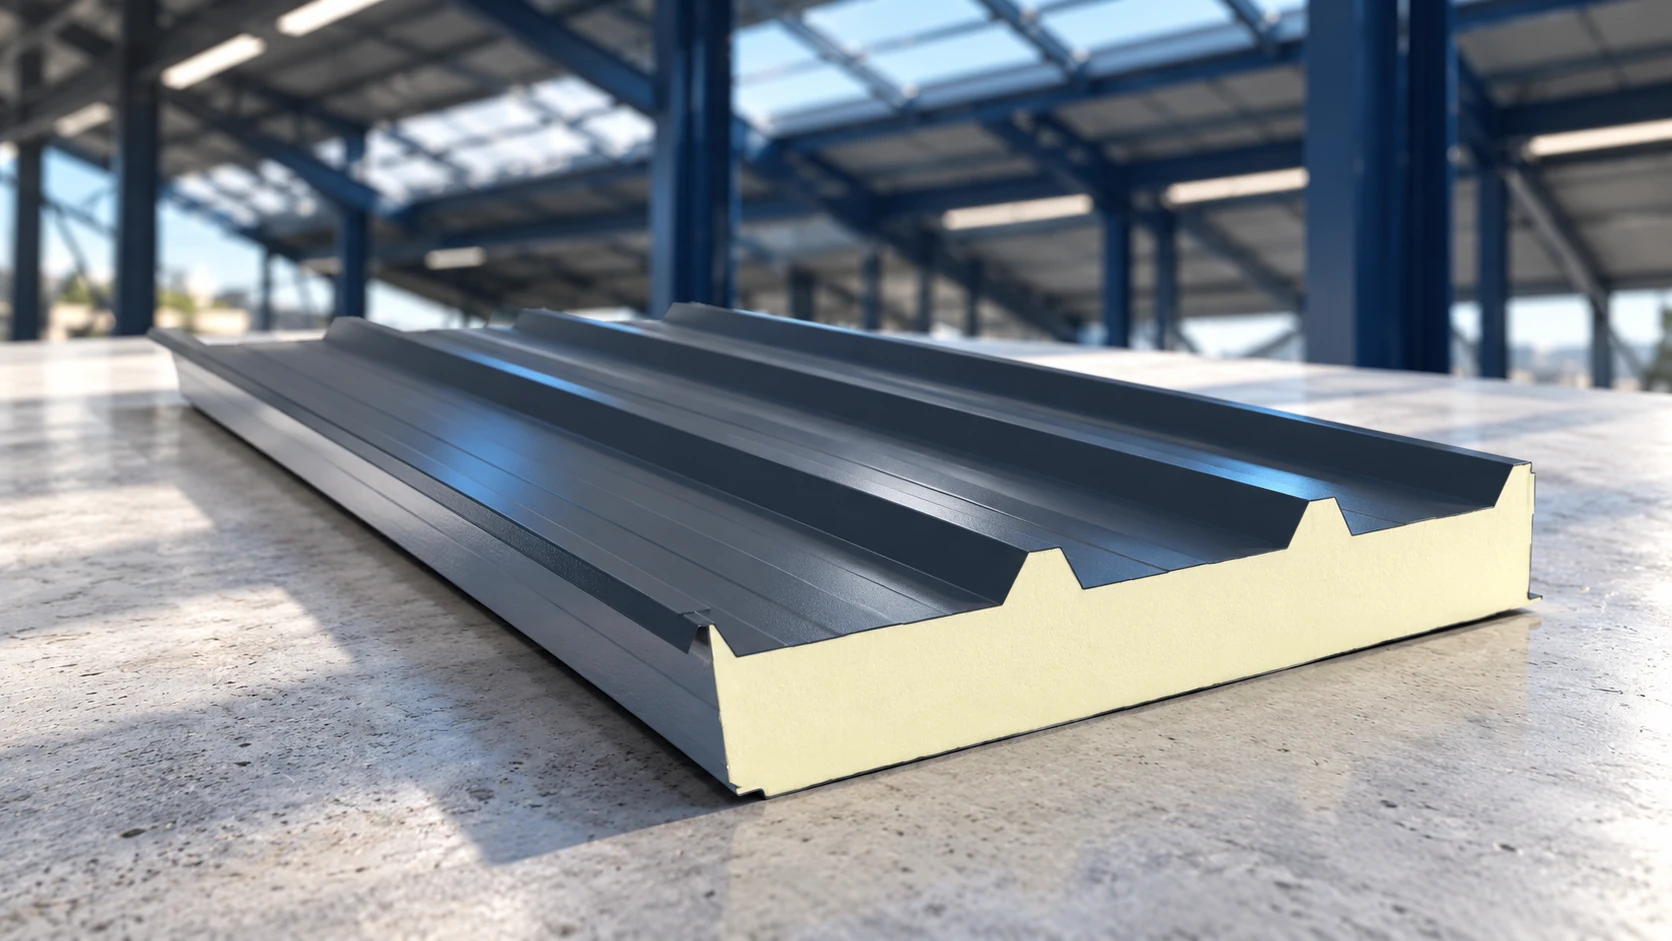
A sandwich-panel roof costs more than the panels alone. Flashings, fasteners, seals, transport and installation must be included, while the supporting structure…
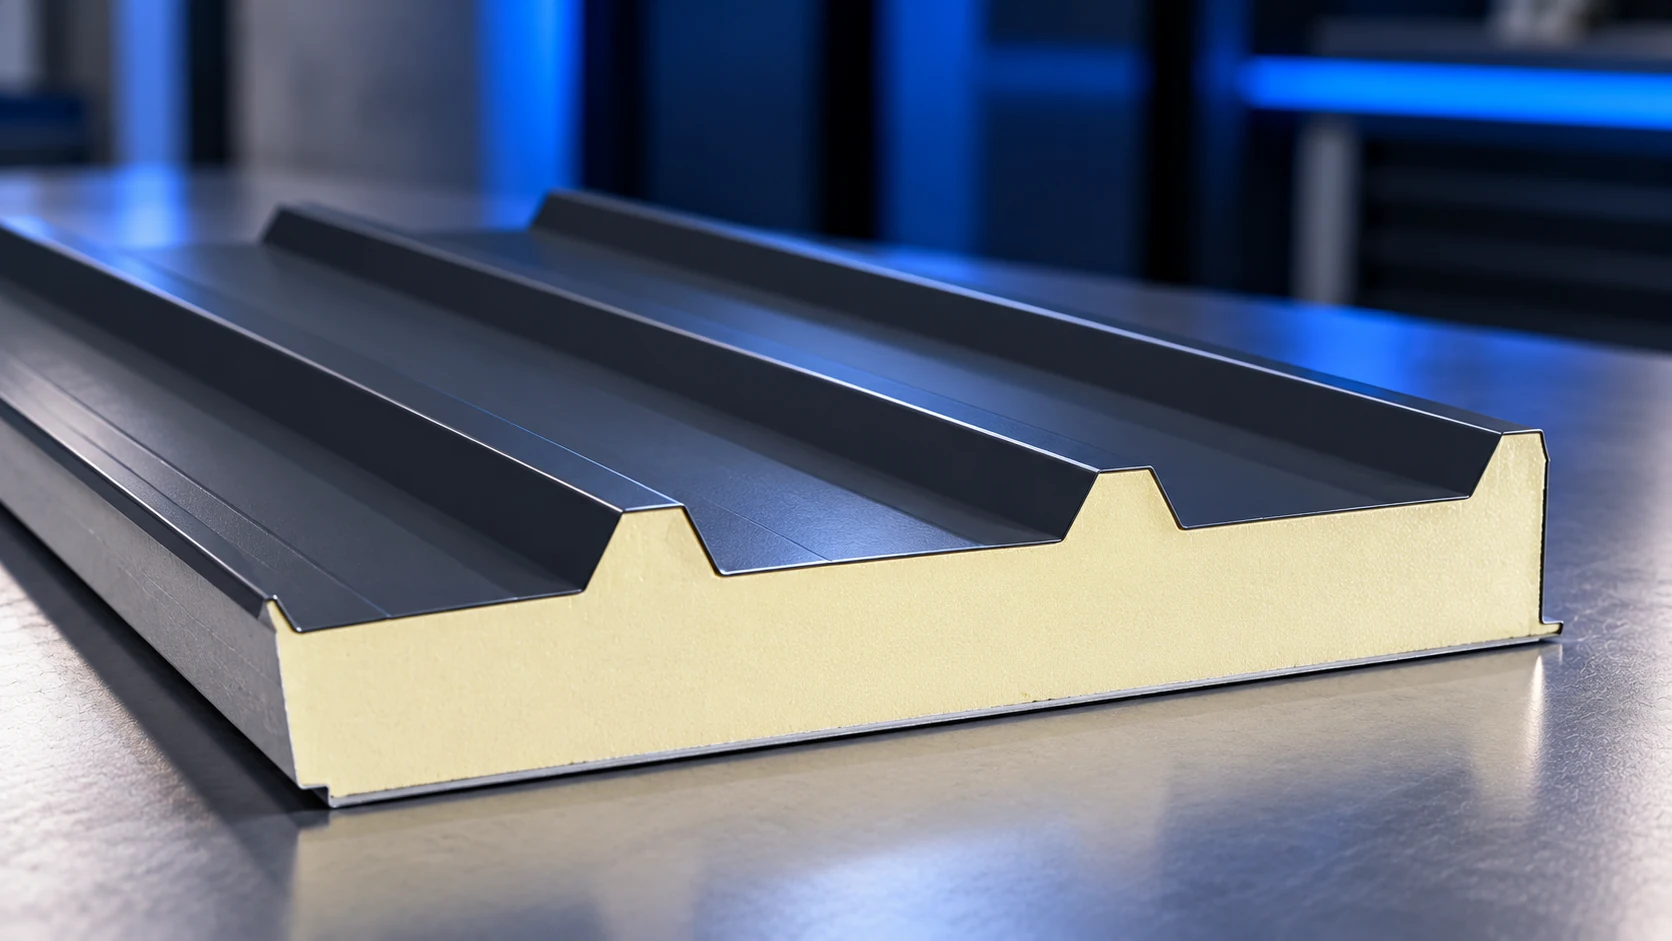
A correctly specified roof sandwich panel can provide the required thermal insulation without an extra layer, provided the complete roof meets the…
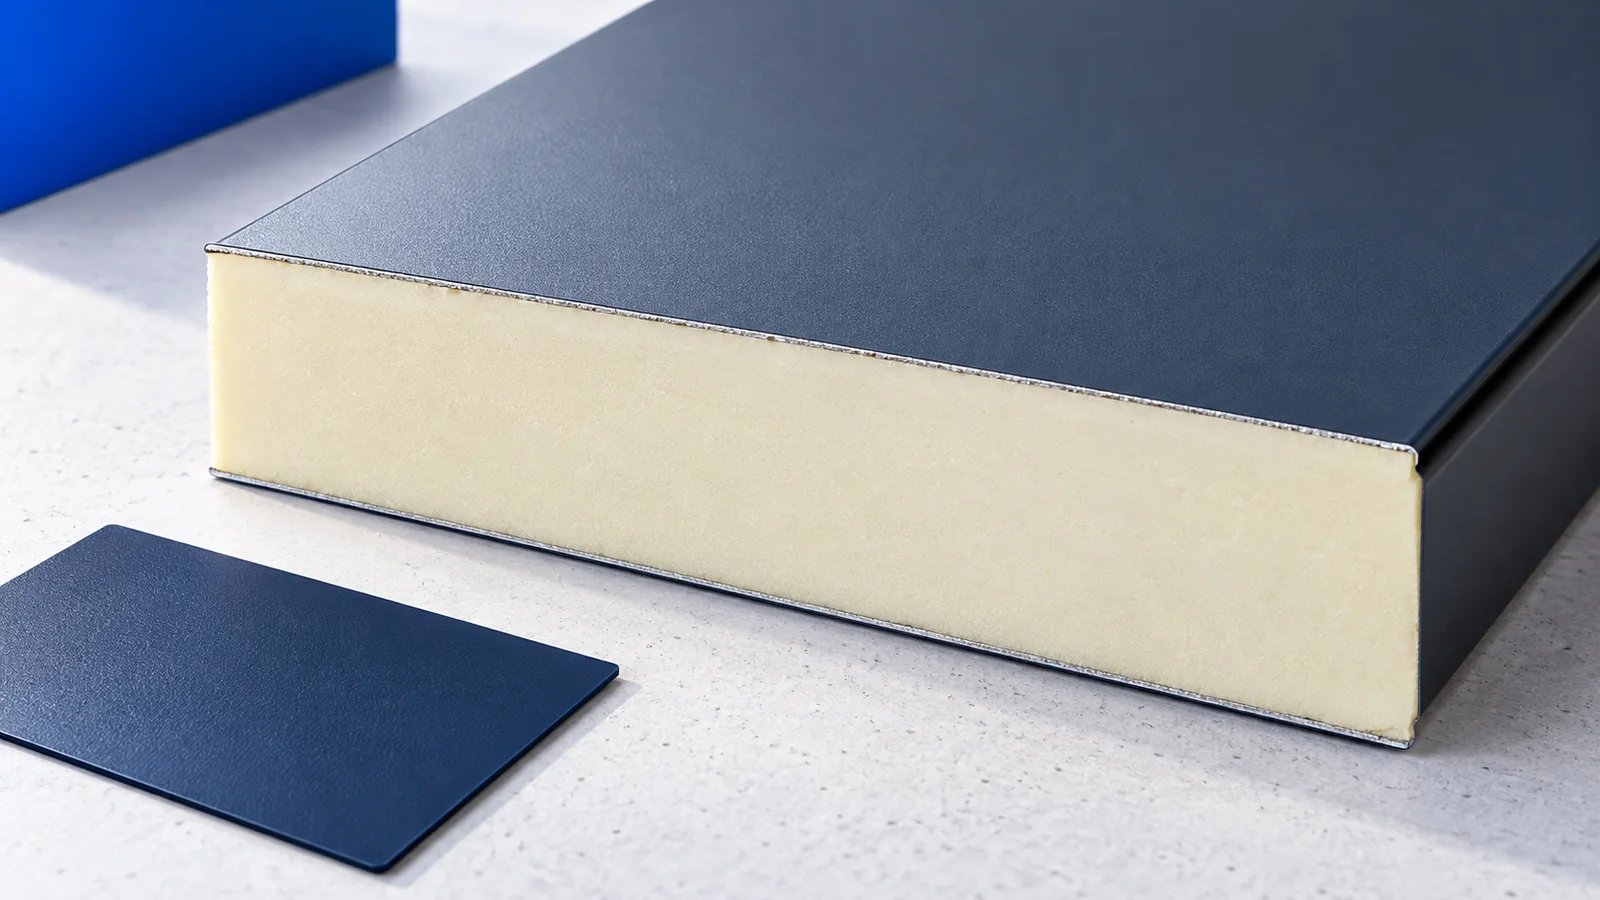
A sandwich-panel façade combines an external enclosure with insulation, but appearance and weather resistance depend on the completed system. Before ordering, coordinate…
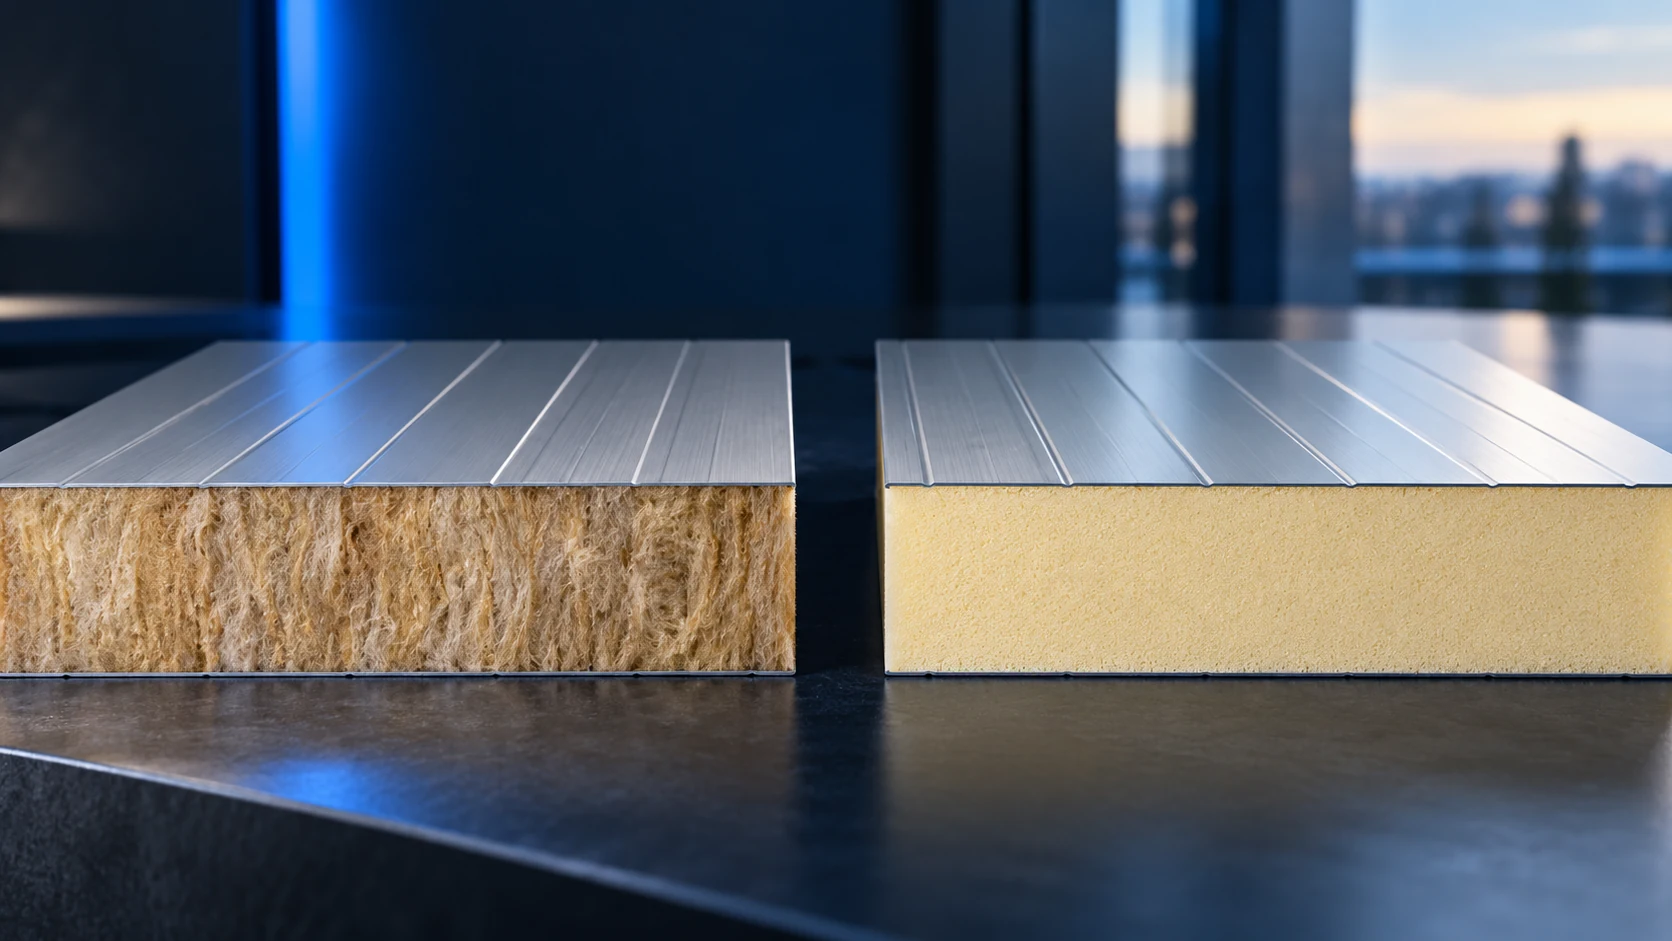
Mineral-wool sandwich panels have useful strengths, but they are not the best option for every application. Selection should start with the building's…
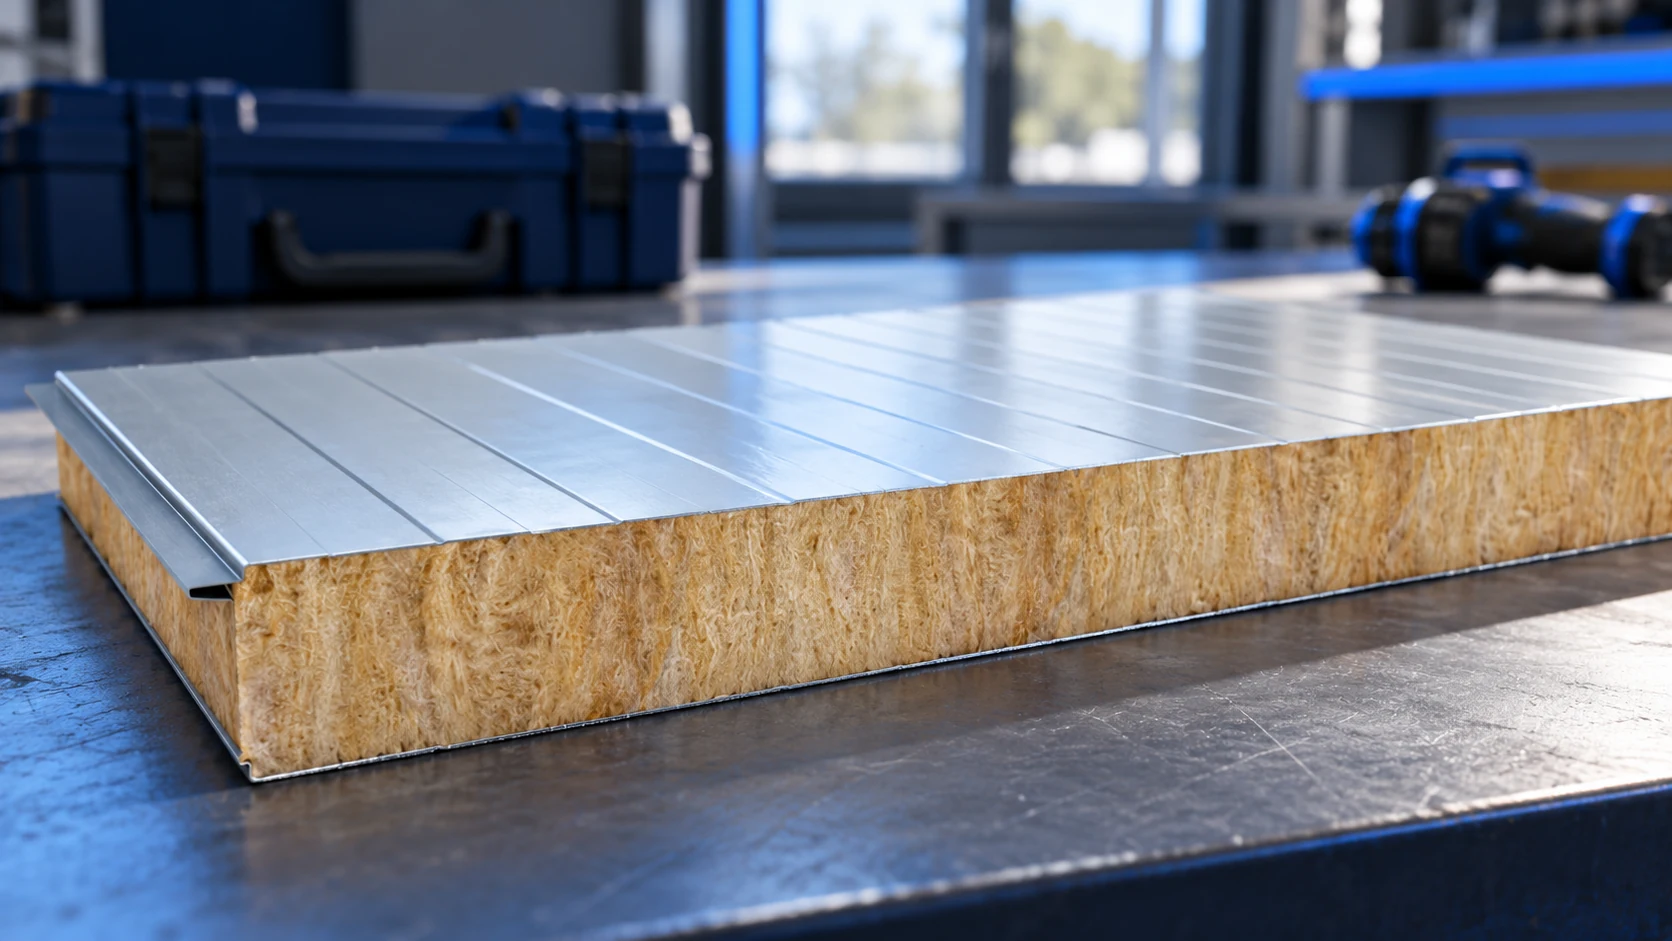
No single screw suits every mineral-wool sandwich panel. The fastener must match panel thickness, support material and the loads on the connection;…