





How is a roof built, and what do its structural members do?
Structure and installation
A roof can be understood as two cooperating systems: a load path and a drainage path. Rafters, wall plates, purlins and connections form the first; compatible layers and sound details provide the second. A heated loft also needs insulation and internal airtightness. This Budowlanka.org guide works from supports towards the covering, identifying checks to complete before each stage is concealed. Large timber sections are not enough if an anchor or joint fails. Good sheets are not enough if water beneath them reaches the insulation. Assess structural changes before carrying them out and document important connections before finishes hide them.

What carries the roof loads?
The structure collects loads from the covering and transfers them to the building’s supports. Snow and wind also act on the roof. Some forces press it down; others can lift it. Timber sections and connections therefore both matter. A thick rafter with weak anchorage does not make a safe system.
The design defines the load path through wall plates, walls, purlins, posts or trusses, depending on the arrangement. Removing a post to make furniture placement easier changes that path, as does cutting a beam for services. Such alterations require structural assessment even if the covering remains unchanged.
How do common roof frames differ?
A rafter roof uses pairs of rafters. A collar-beam roof adds horizontal members connecting opposing rafters. A purlin roof supports rafters on additional beams and supports. These are not merely different names for the same structure: each arrangement behaves differently and affects the usable roof space.
Prefabricated trusses allow much of the structure to be made off site. Their geometry and connections follow the design documents. Do not cut webs or chords to create an attic passage. Whether the loft can serve as storage or living space depends on the intended use and load capacity.
Where are battens and counter-battens located?
Battens support the covering and provide fixing positions. Counter-battens usually run down the roof slope and help form a ventilation space above the underlay. Air needs both an inlet and an outlet. Timber strips beneath the sheets do not by themselves guarantee effective airflow.
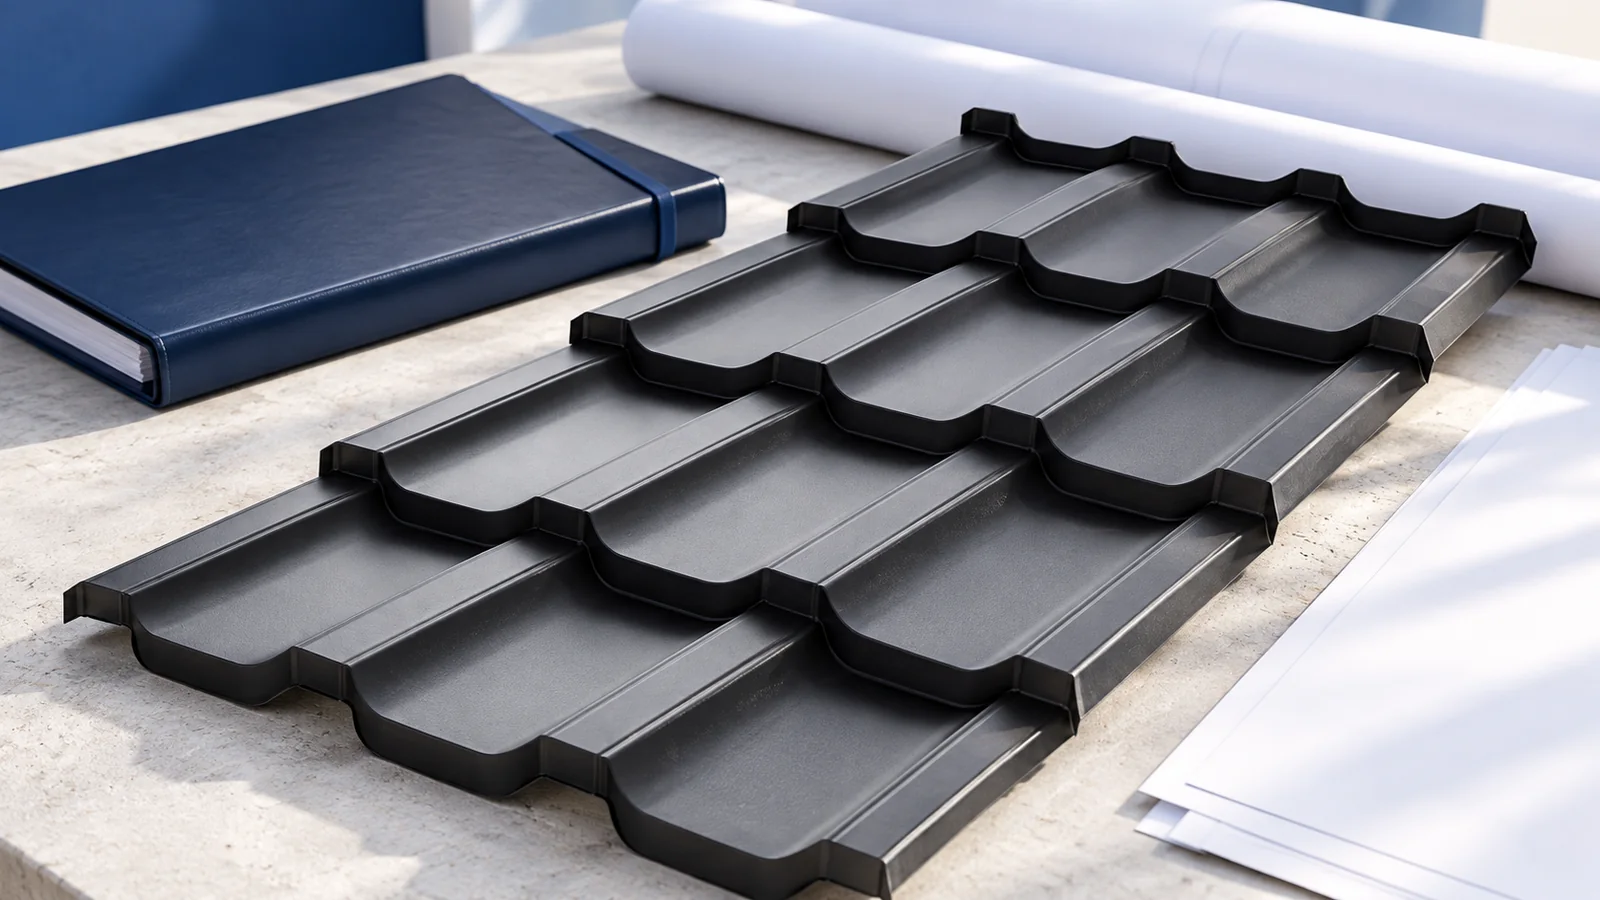
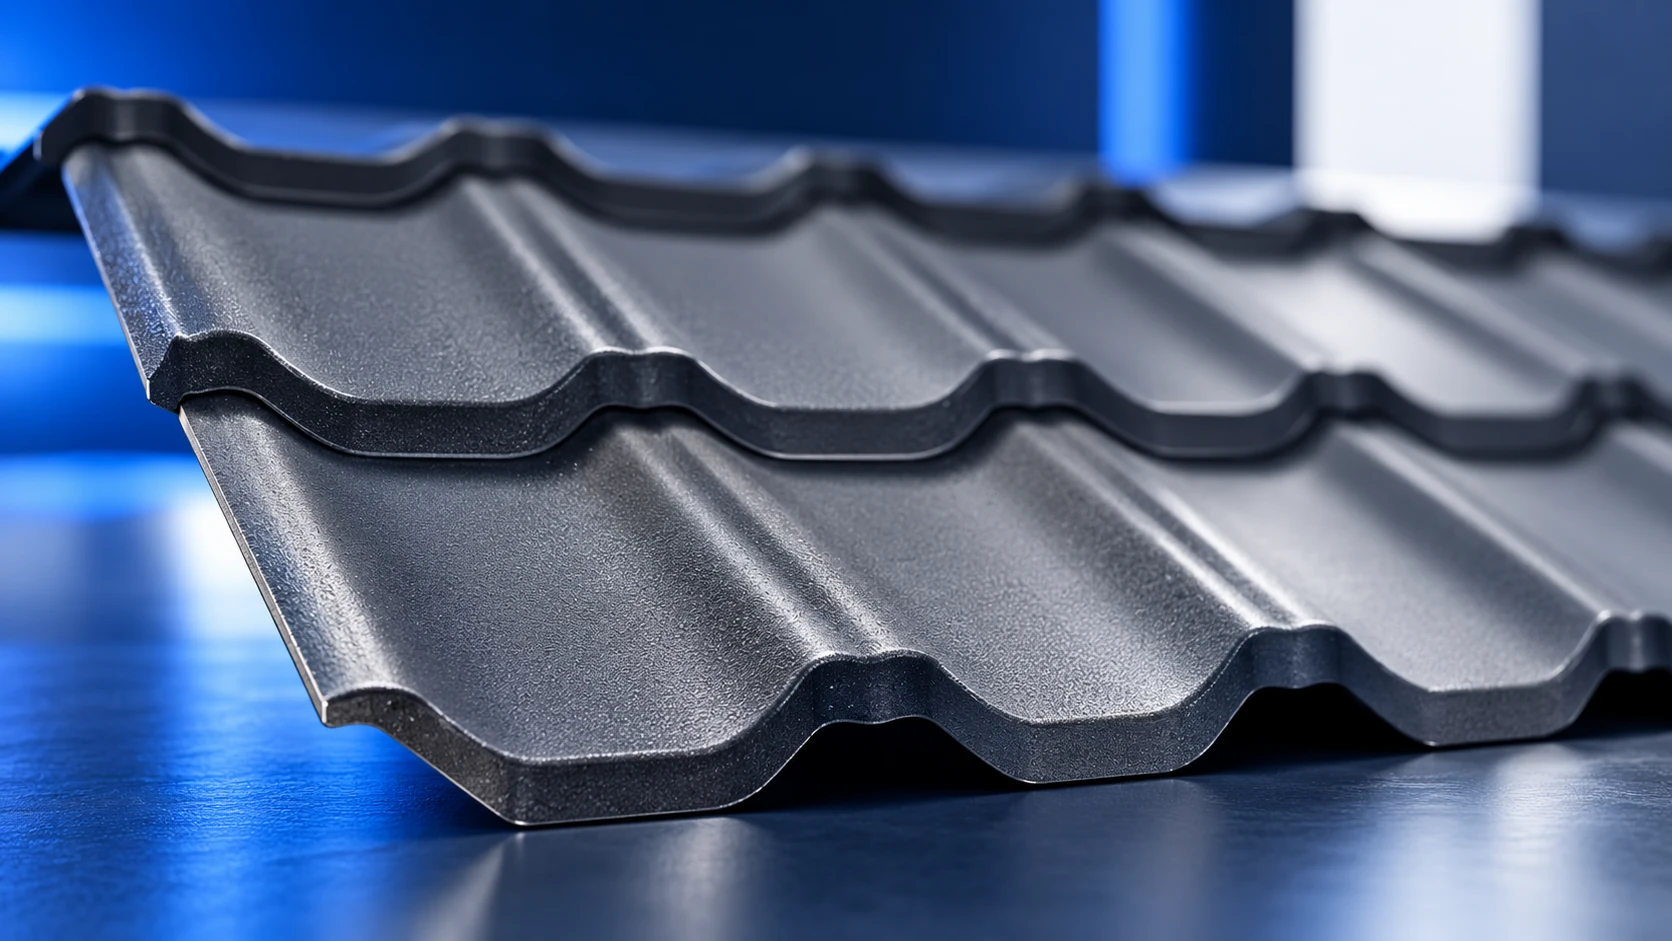
Batten spacing for tile-profile sheets follows the particular module. For trapezoidal sheets, sheet capacity and support spacing are decisive. Do not transfer dimensions from one covering to another. A product change also requires checking the first batten position, eaves details and flashing fixing points.
Ridges, hips and valleys need their own details. Valleys collect water from adjacent slopes, while the ridge often provides an air outlet. Filling every gap with foam can disrupt roof performance. Weathertightness depends on correct geometry and compatible layers, not simply sealing every visible space.
Which layers protect the loft?
The covering drains rainwater, but an appropriately designed underlay is needed beneath it. Its arrangement depends on roof geometry and material. Valleys, windows and service penetrations deserve special attention. Water on this layer must have a drainage route rather than ending in the insulation or on the wall plate.
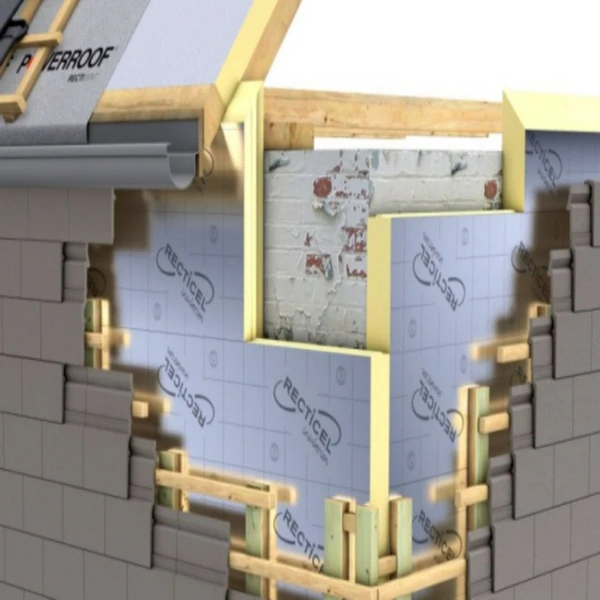
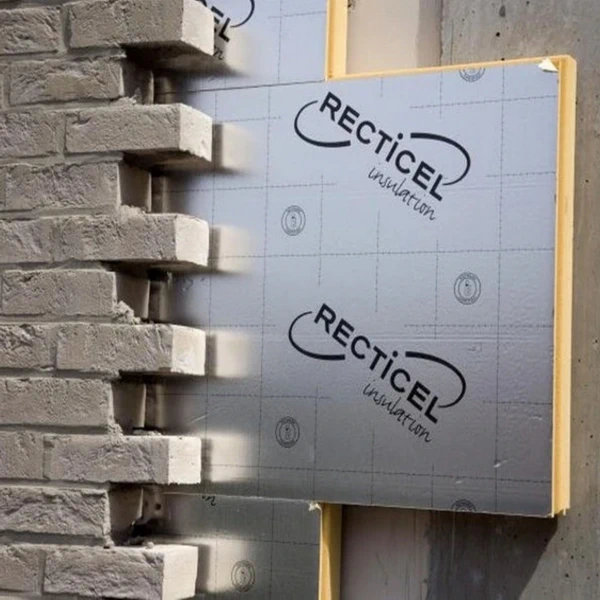
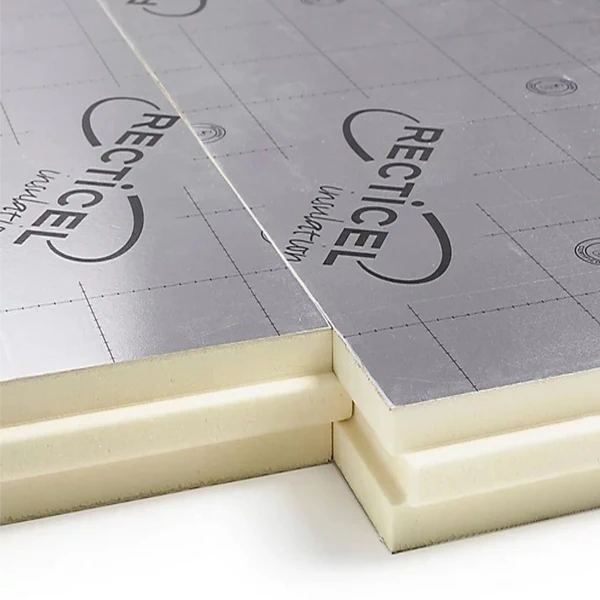
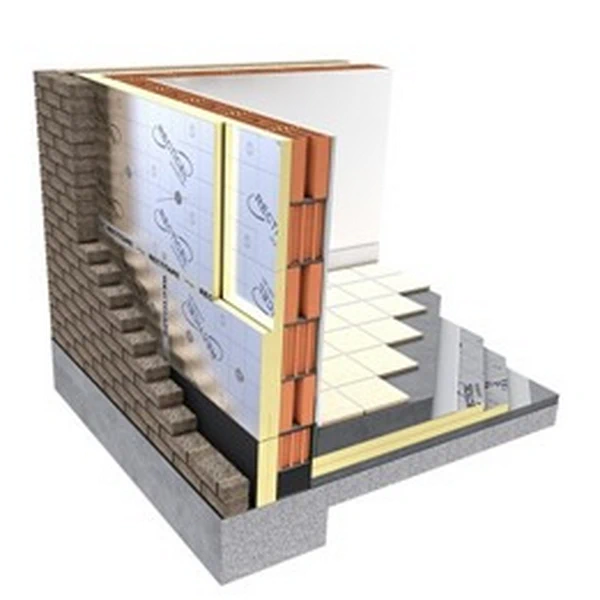
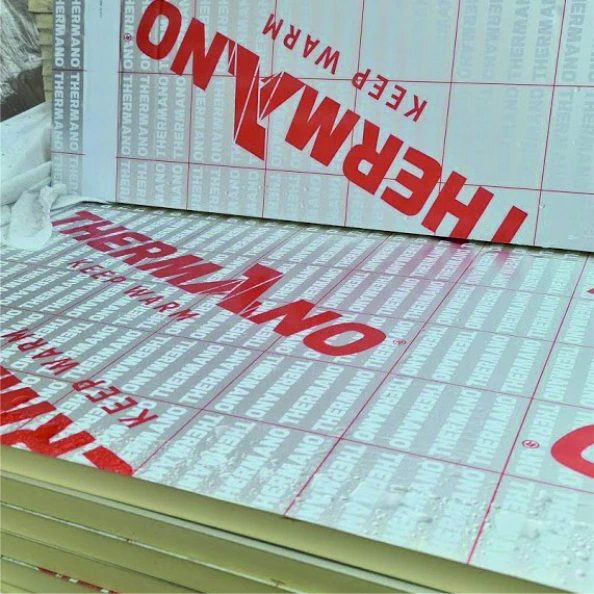
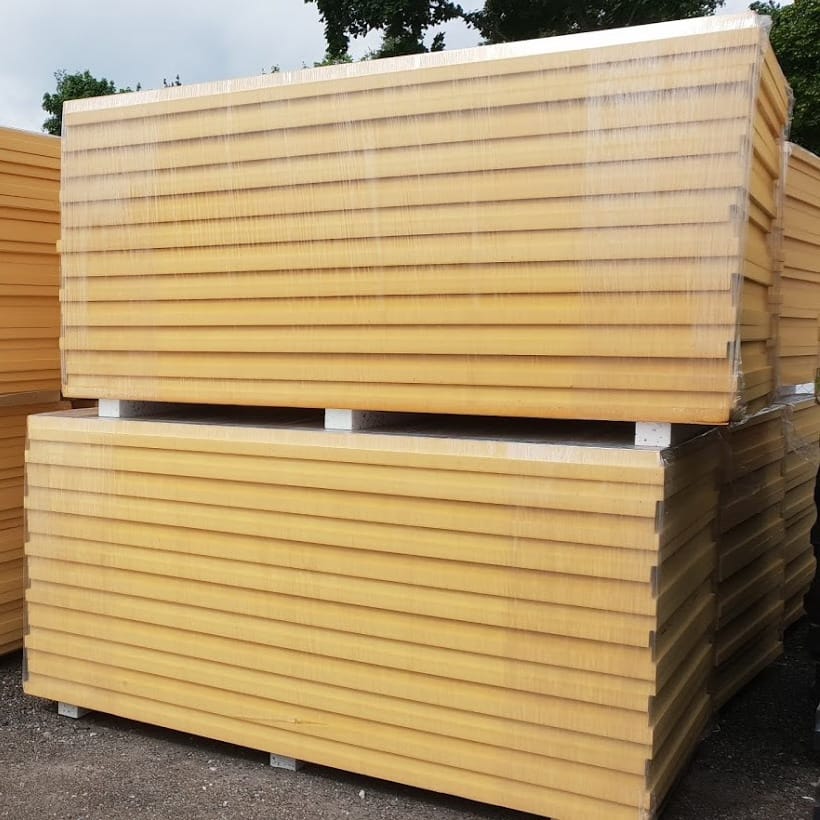
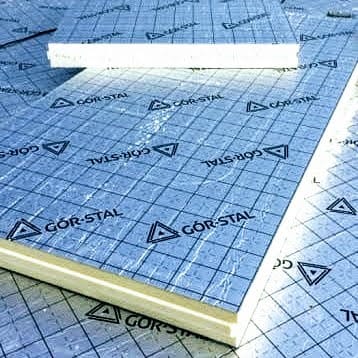
A heated loft also requires thermal insulation and a layer limiting uncontrolled movement of moist indoor air. PIR boards can provide high thermal resistance at modest thickness, but joints and connections to other components need care. Between-rafter and over-rafter insulation are different assemblies with different detail requirements.
What should you check in timber and connections?
Timber sections and strength grades must match the design. Moisture, surface condition and damage also matter. A badly twisted or excessively notched member is not made acceptable by adding an arbitrary angle bracket. Select connectors for the application, including screw type, number, layout and edge distances.
Inspect bearings and anchorage particularly carefully. Timber also needs separation from moisture-prone substrates. Preservative treatment cannot replace a sound detail. During refurbishment, expose vulnerable areas for assessment. An attractive view from the attic does not rule out concealed damage beside walls or chimneys.
When should construction stages be inspected?
Inspect the frame before it is concealed. The next inspection should cover the underlay and preparation for roofing. Once sheets are installed, many areas are hidden. Photographs of connections, anchors and flashings document the work. They do not replace inspection but can help investigate a later defect.
At acceptance, check the drawings and records of agreed deviations. Structure, insulation and covering must work together; a hidden saving at a connection can cost more than a better coating. Add a simple record for each critical location: the load-carrying member, its connection and a photograph before concealment. This makes the particular detail easier to check later.

Free quote
What to include in your enquiry
Tell us how you plan to use the material, the dimensions and the quantity you need. Include the thickness, grade or variant name, along with the delivery town or your preferred collection branch. For a specific product, add its name or a link to the product page. We will reply to the email address you provide to discuss availability and the terms of your order.

More from the building guide
In Poland, the term “building inspector” can refer to two distinct roles. The inspector appointed by the client (inspektor nadzoru inwestorskiego) represents…
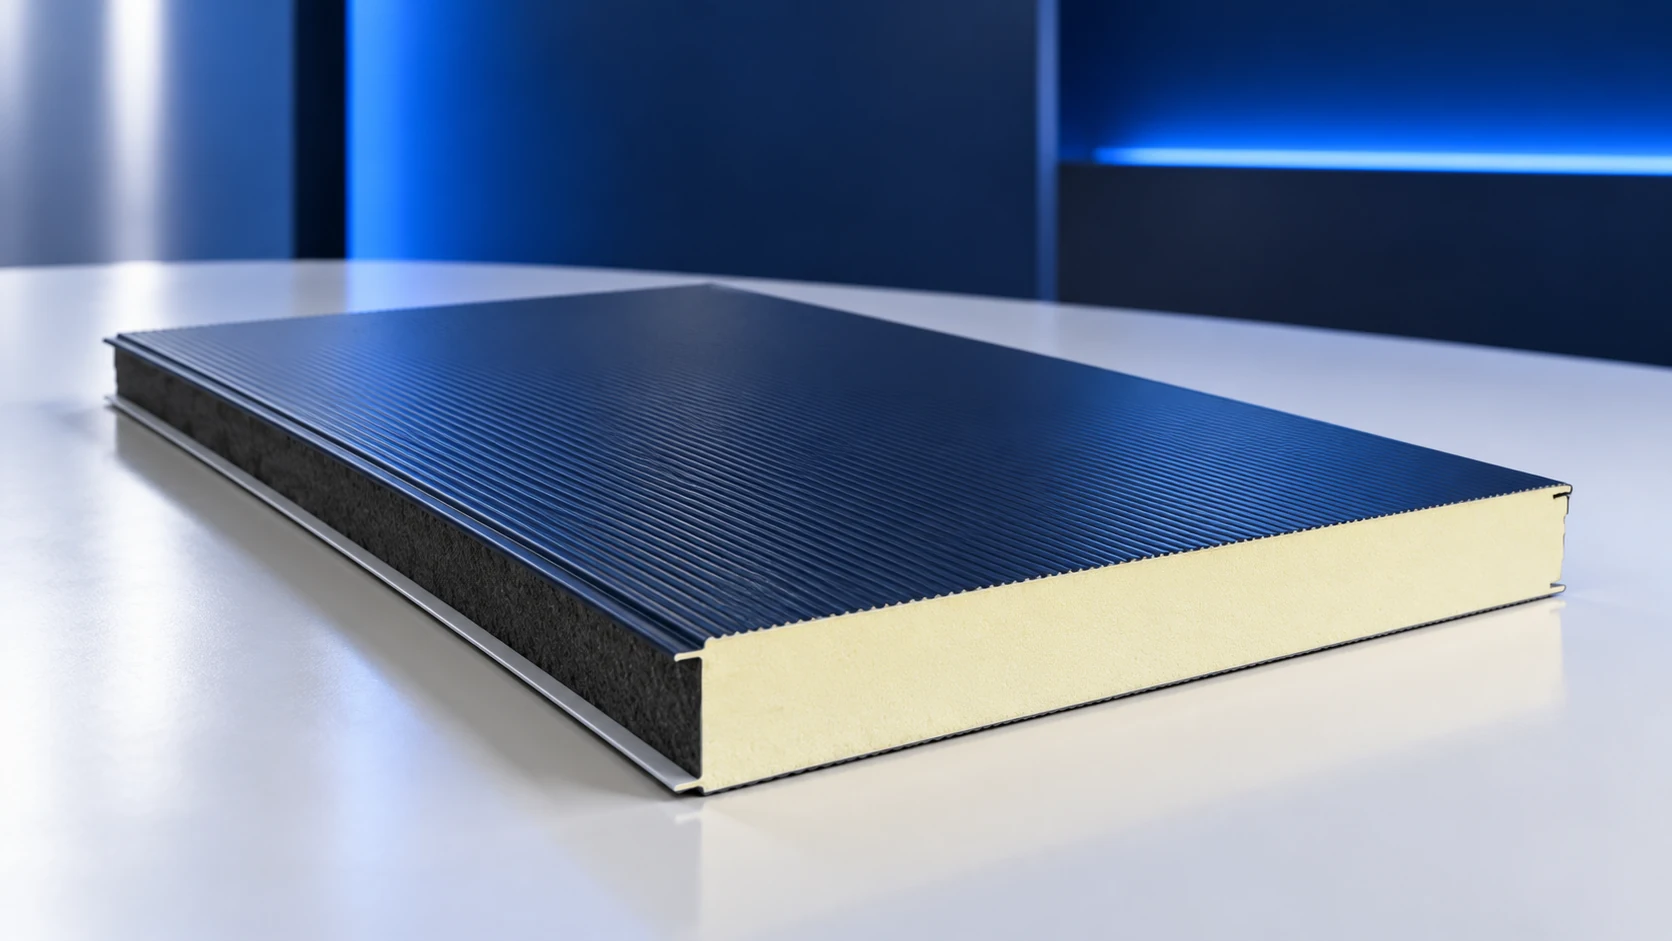
The cost of a 40 mm wall sandwich panel depends on its model, facings, coating, dimensions and batch. A single market-wide price…

Clear gutters carry rainwater from the roof to the intended outlet. Leaves, twigs and silt can slow the flow even in a…
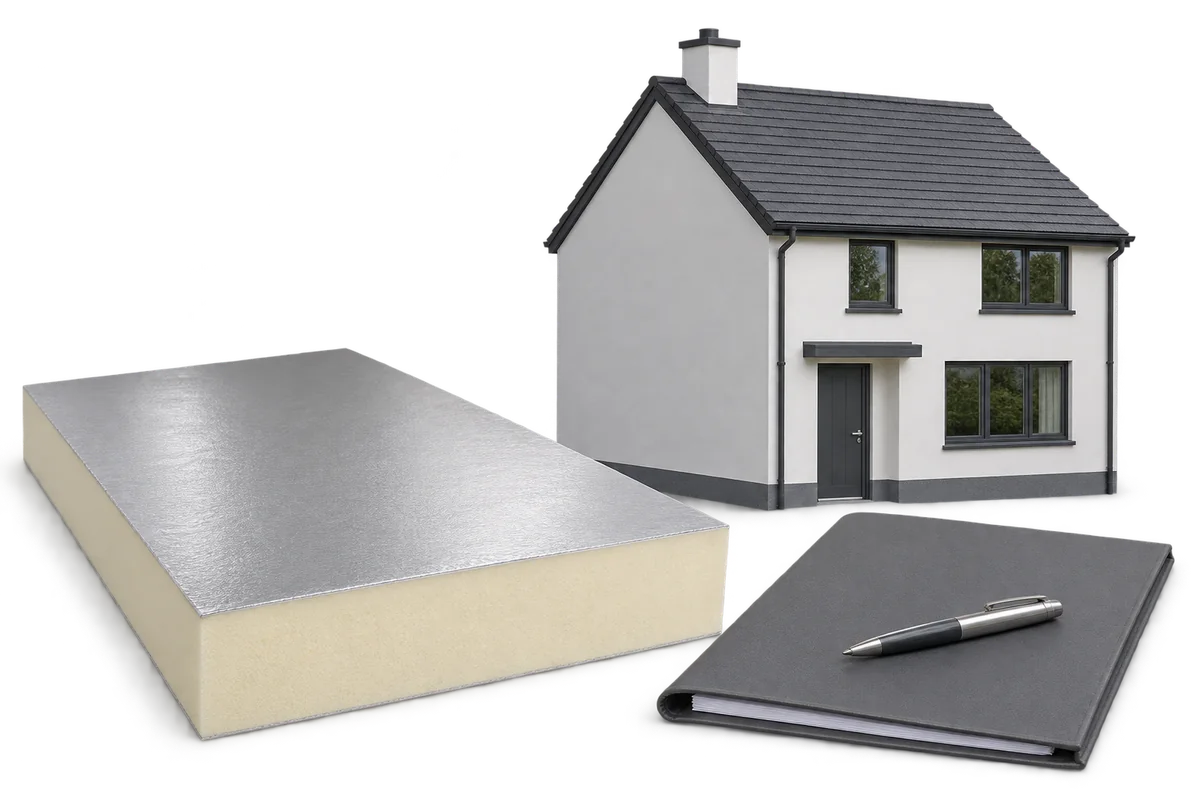
Whether insulation work qualifies for a grant depends on the scheme, the building, the work proposed and the thermal performance required of…
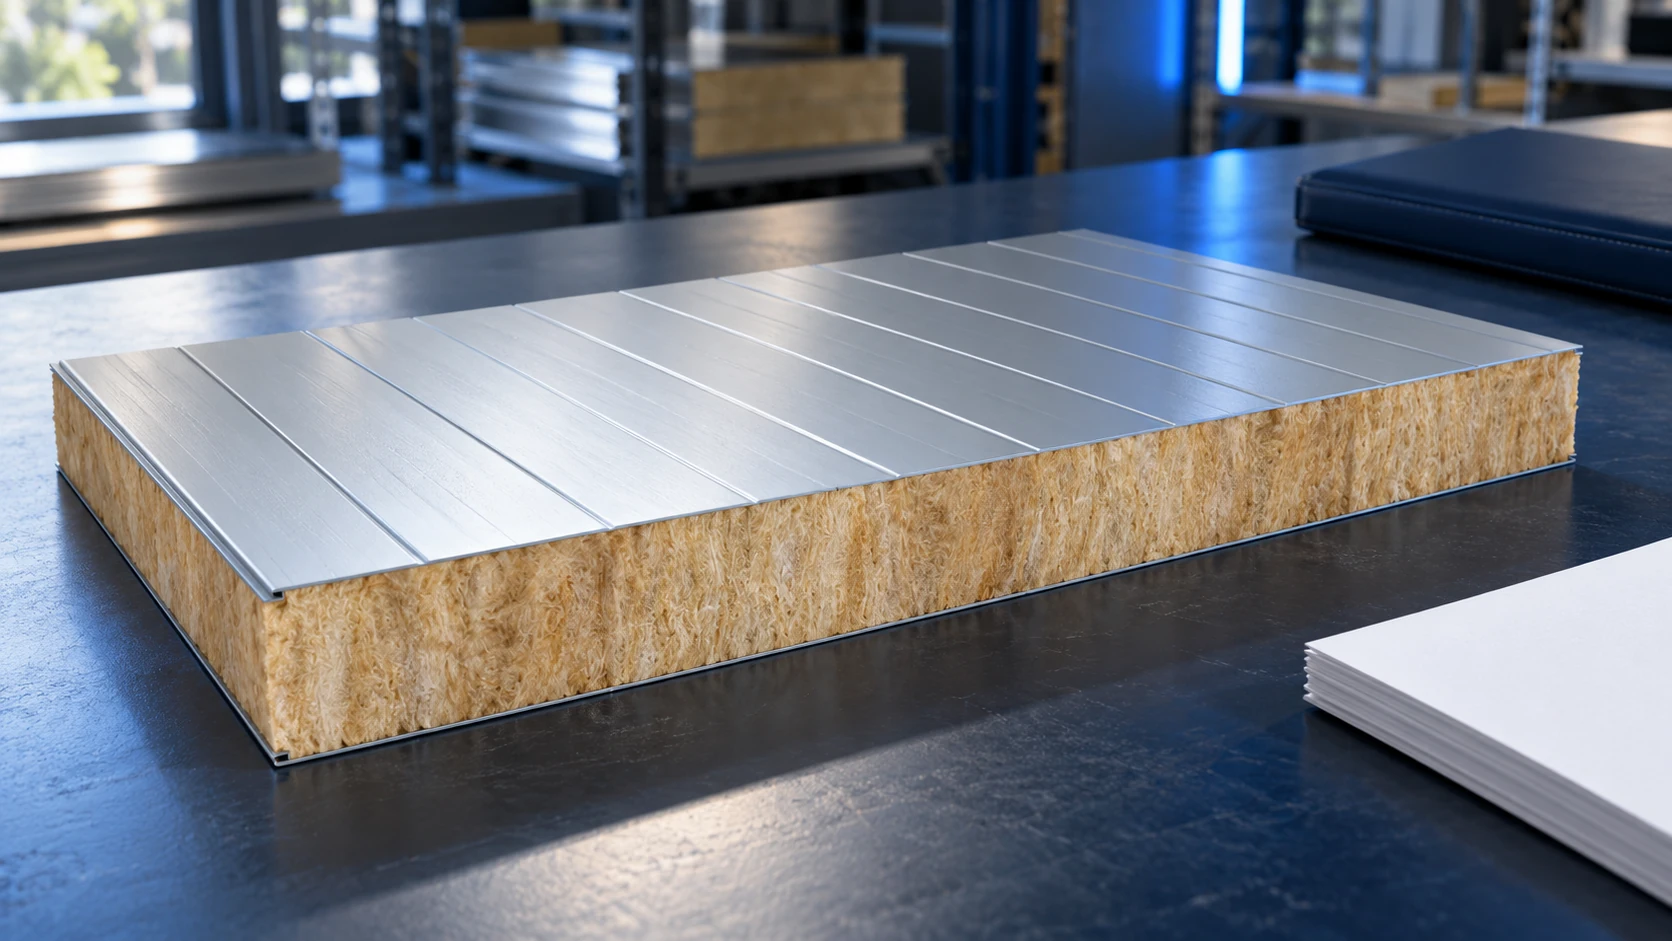
There is no universal screw count per square metre of sandwich panel. First establish the fixings required at every panel-to-support connection, taking…
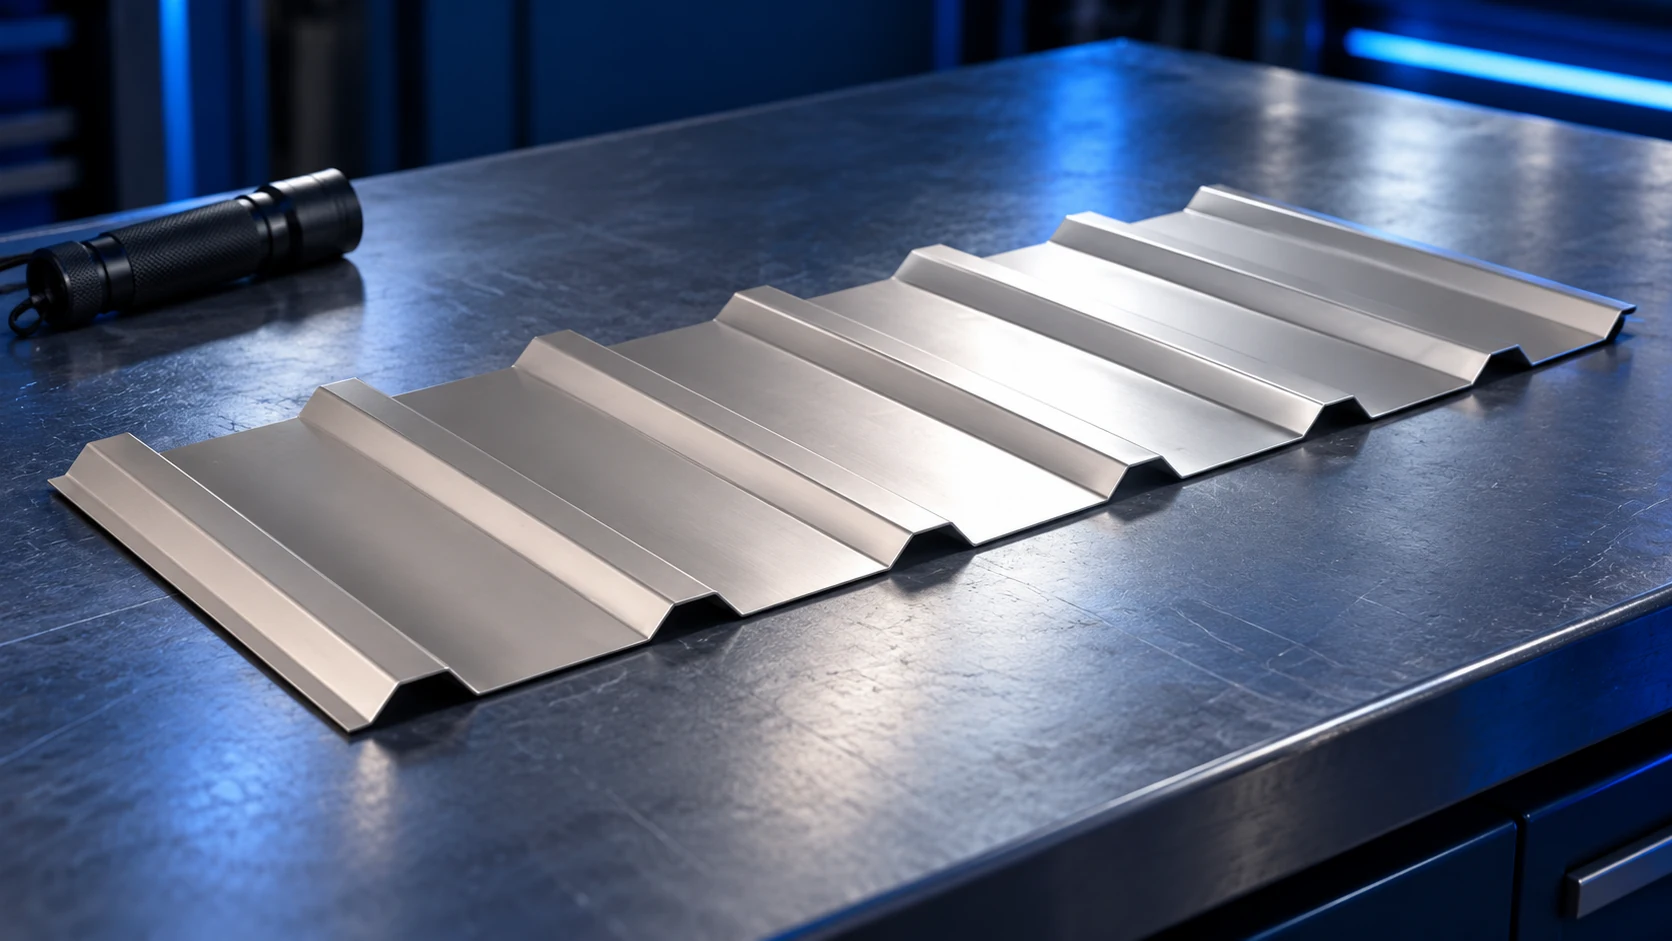
A useful trapezoidal steel sheet quotation lets you verify the product, quantity and complete price. The name T18 and a colour alone…
Organise documents for building in Poland around the decisions they support. Plot information establishes development possibilities; the design specifies structure and materials;…
Steel roof tiles are profiled metal sheets with a pattern resembling individual roof tiles. The products discussed here use steel with protective…