





Installing cut-to-length and modular steel roof tiles: checks from delivery to handover
Structure and installation
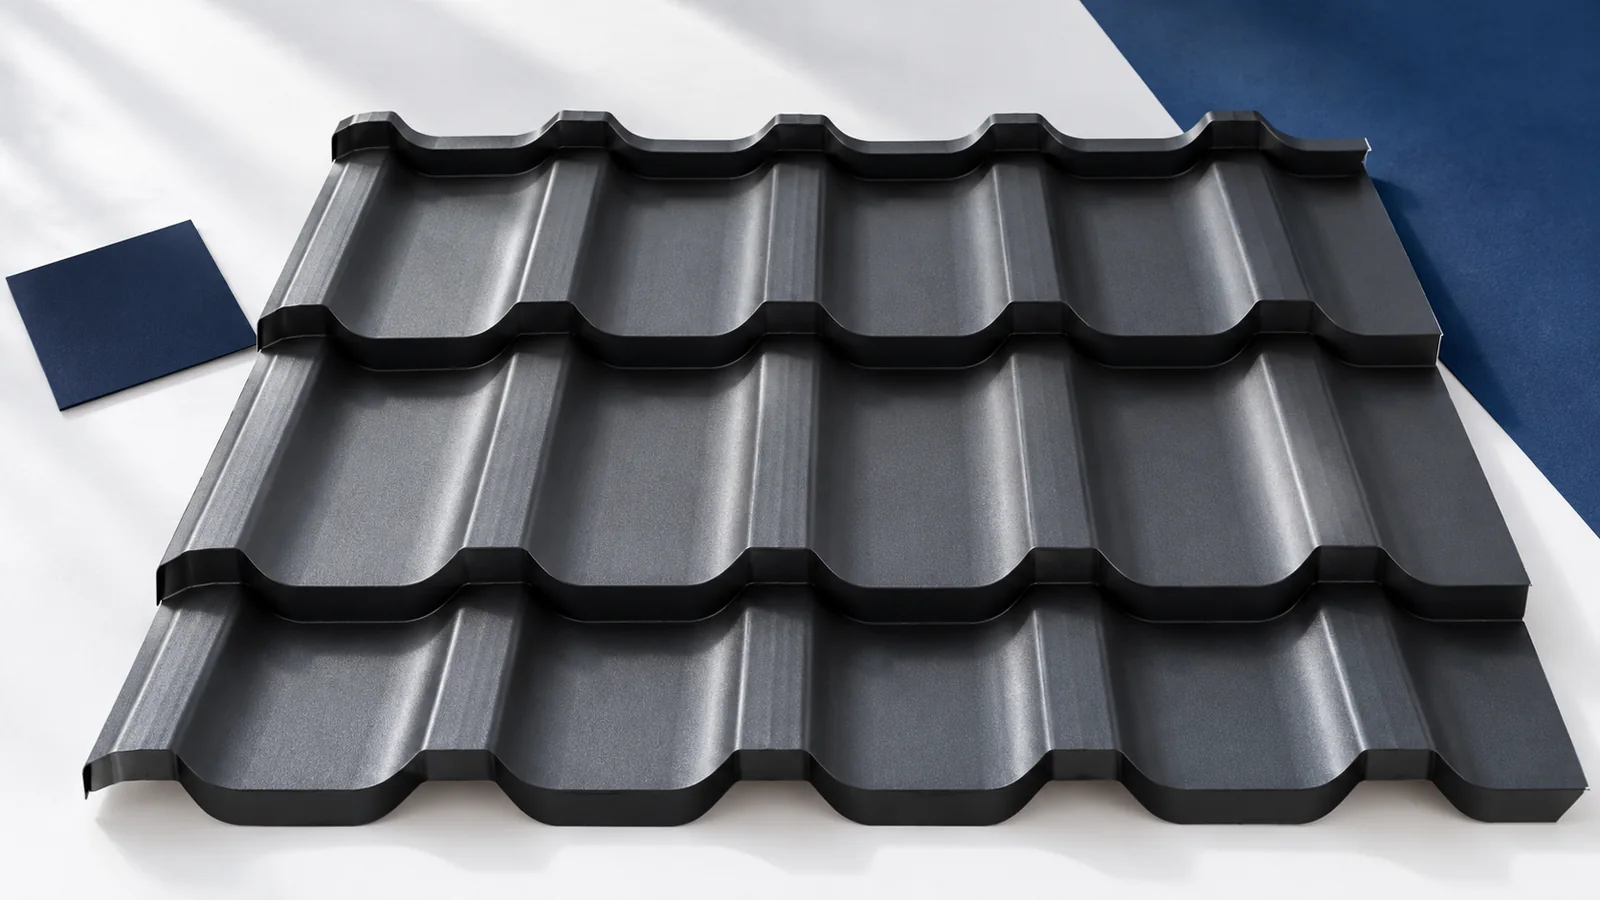
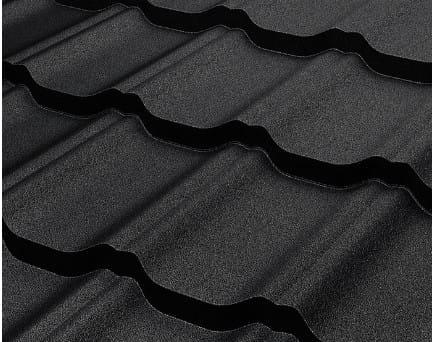
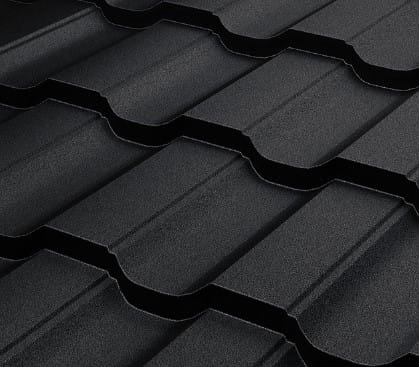
Correct installation of steel roof tiles depends on agreement between roof geometry, the prepared substructure and the specific profile’s instructions. Cut-to-length sheets and modules differ in handling, but both can carry an initial alignment error into subsequent rows. Divide the work into stages with checks before final fixing and concealment. This guide covers delivery inspection, battens, fasteners, cutting and flashings. It does not replace the manufacturer’s installation drawings or the project design. Instead, it identifies information the team needs and what to inspect at handover, so an attractive outer surface is supported by a correctly assembled roof beneath.
What should be checked before unpacking?
At delivery, check profile identification, coating, colour and ordered lengths. Photograph packaging and visible edge damage before work starts. Establish permitted storage conditions and the protective-film removal deadline; leaving a pack on site does not remove those requirements.
Plan support for long sheets and the lifting route before unloading. Do not slide sheets over each other. Modules are easier to distribute but still need protection from scratches and distortion. Handling damage can later prevent proper assembly despite accurate setting-out.
How should the roof plane and battens be prepared?
Start substrate inspection with diagonals, eaves straightness and plane alignment. Take batten spacing from the ordered profile’s instructions. A 350 mm module may apply to a particular product, but is not universal; the first batten and eaves detail need separate checking.
Before laying sheets, inspect the underlay, its joints and drainage. Confirm the required ventilation path and details at windows, chimneys and valleys. Concealed errors cost more to correct, so inspect these areas before covering them.
How do you set out the first sheets?
Align the first elements to the agreed eaves line and check their relative positions. Laying direction depends on the lap design. Do not compensate for an uneven substrate by stretching a sheet; forced alignment can impair joints and displace subsequent elements.
With modules, check successive rows before small deviations accumulate. For cut-to-length sheets, compare placement with the length schedule before final fastening. Clearly identifying each sheet’s location reduces errors, especially on roofs with many cuts.
How should screws be selected and tightened?
Select fasteners for substrate and function: fixing to timber is not the same as stitching a lap. Documentation defines fixing positions and patterns with regard to design and roof zones. A single approximate screw count per metre cannot replace edge and central-zone requirements.
Drive screws square and inspect the seal rather than relying on tool resistance alone. Crushed or extruded washers indicate excessive compression; loose fixings also need correction. Recheck settings as material thickness or support hardness changes.
How should cutting and flashings be handled?
Use approved cold-cutting tools. Remove swarf after each stage, including from recesses and valleys. Treat minor damage with the recommended touch-up system; heat and sparks can damage protection beyond the cut edge itself.
At flashings, check water flow through successive layers: it must be directed outside, including during wind-driven rain. Chimneys and wall junctions deserve particular attention. Sealant cannot replace a correctly formed upstand or lap; it belongs within a complete detail.
What difference does sheet size make?
Long sheets may reduce end laps on simple slopes, but require accurate dimensions and careful handling. Small modules offer different logistics on complex geometry. Do not judge waste by format alone; calculate the actual cutting layout with profile direction and required joints.
When ordering extra material, verify system, profile version and shade. A similar wave shape does not guarantee compatible interlocks. Different batches with the same colour code can look different, so resolve compatibility before placing them side by side.
What should the finished roof inspection cover?
Inspect sheet alignment, flashings, fixings, cleanliness and ventilation openings. Check for remaining film and debris in gutters. Arrange safe access to details; a view from the driveway cannot reveal every lap and seal.
Hand over product documents, stage photographs and inspection arrangements. Identify components needing maintenance access. This completes the checking sequence begun at measurement, confirming substrate, geometry and joints as well as appearance.

Free quote
What to include in your enquiry
Tell us how you plan to use the material, the dimensions and the quantity you need. Include the thickness, grade or variant name, along with the delivery town or your preferred collection branch. For a specific product, add its name or a link to the product page. We will reply to the email address you provide to discuss availability and the terms of your order.


More from the building guide
Efficient sandwich panel installation depends on preparation: panels must match the supporting structure, accessories must be available, and the crew needs agreed…
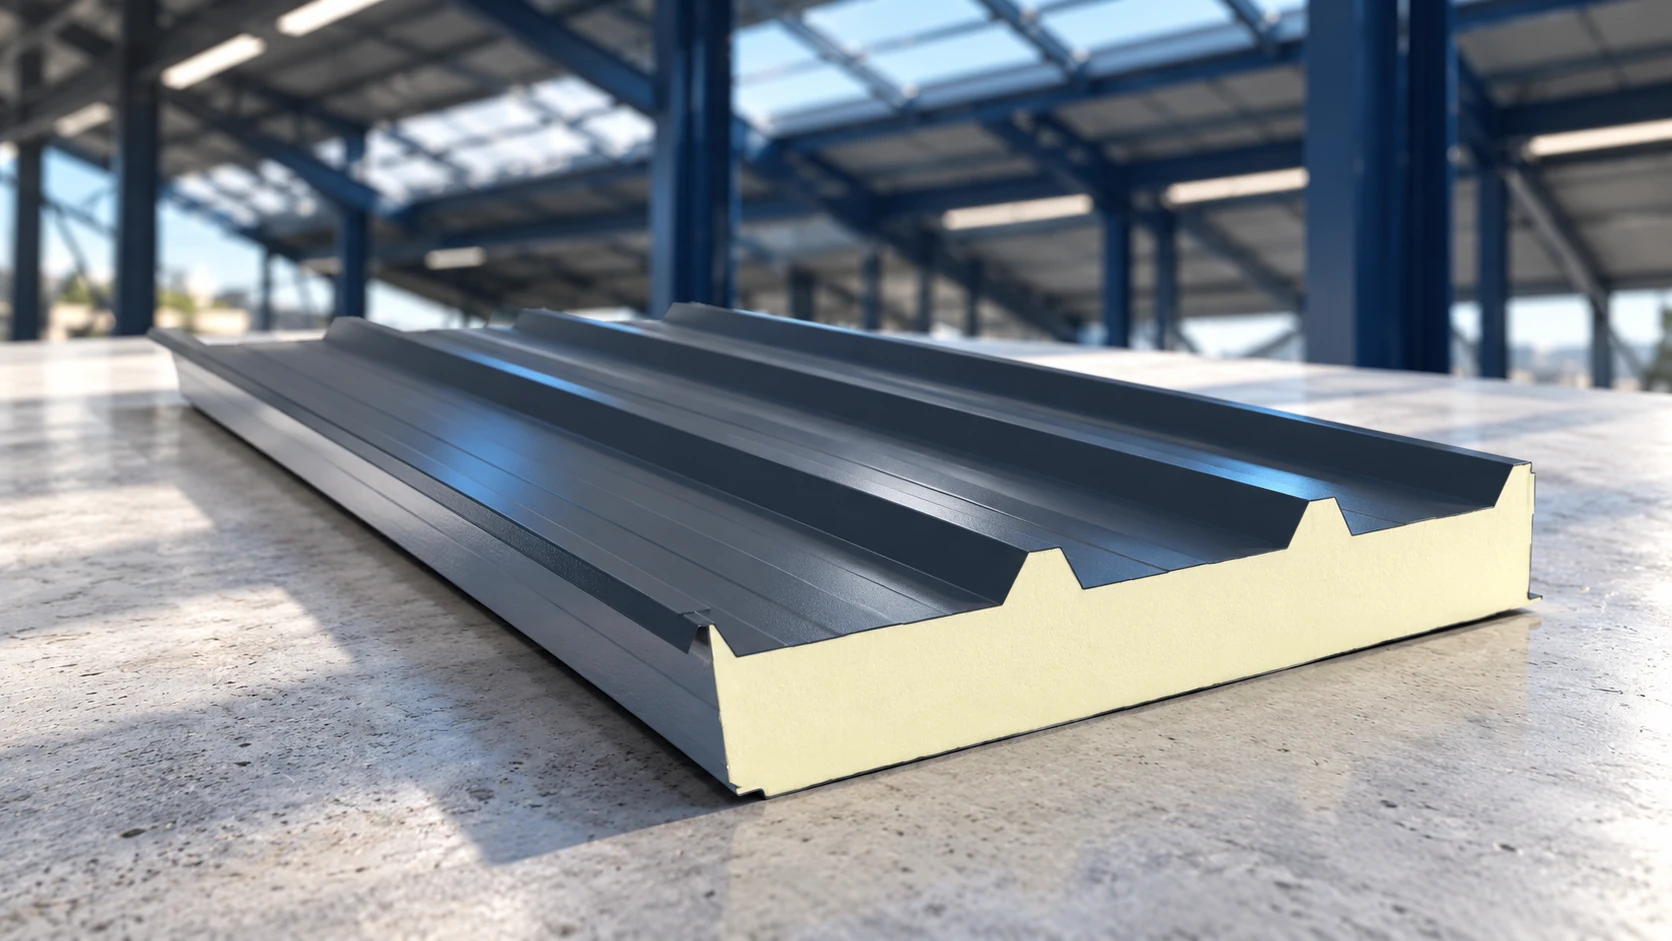
A sandwich-panel roof costs more than the panels alone. Flashings, fasteners, seals, transport and installation must be included, while the supporting structure…
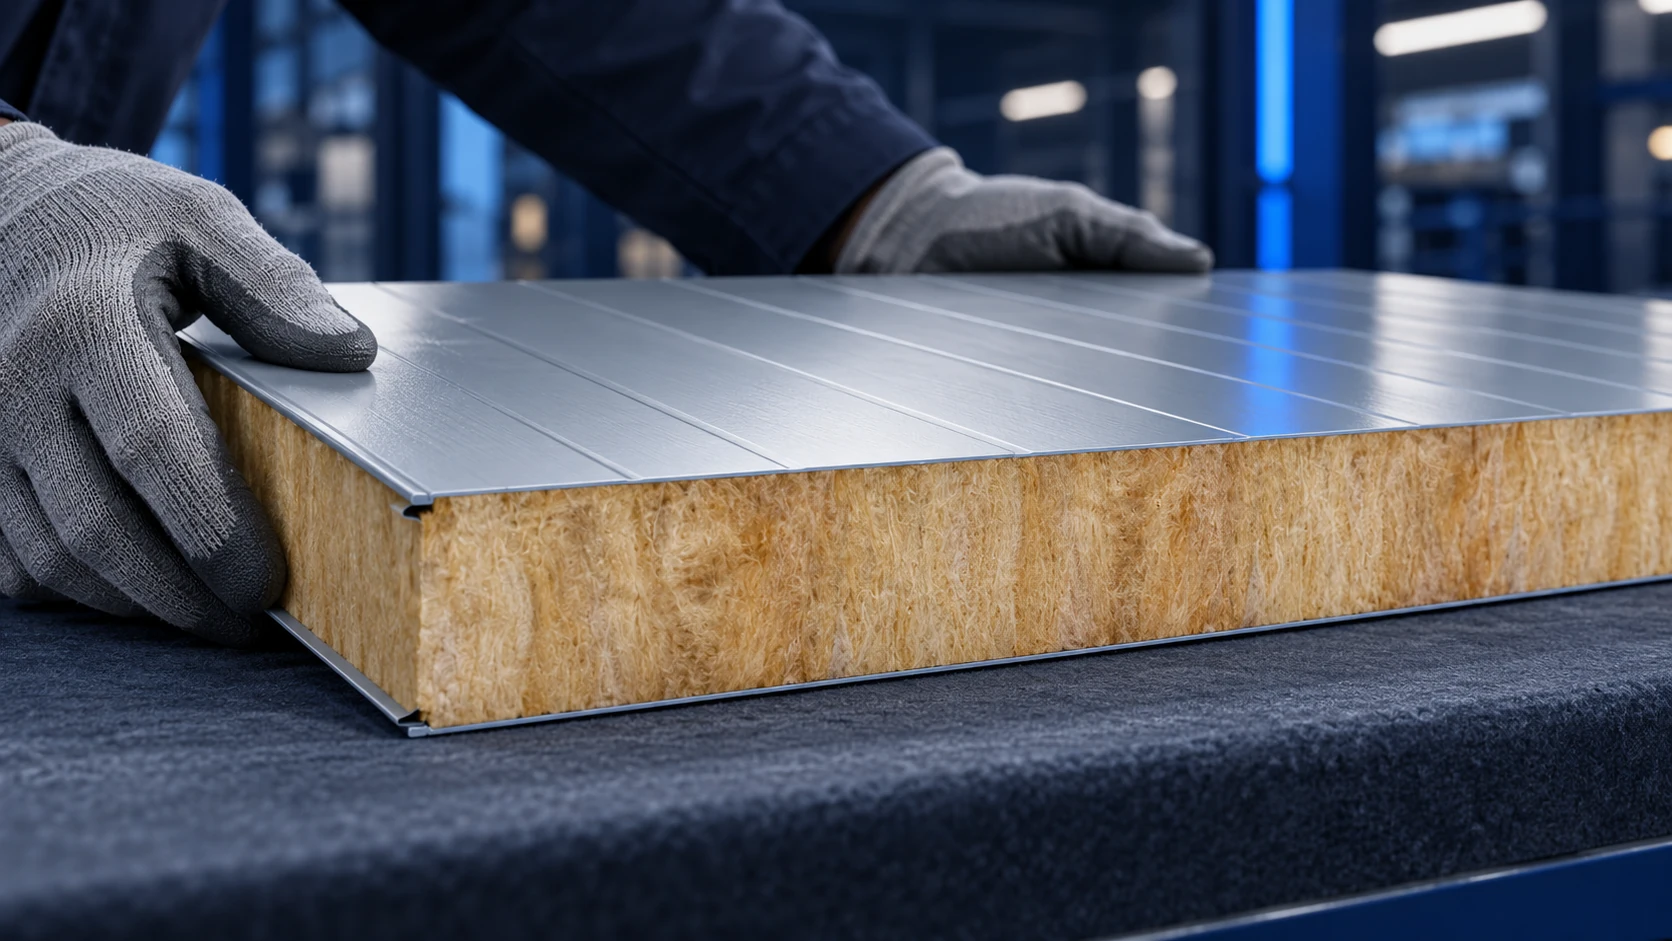
Avoiding sandwich-panel installation defects requires checks from delivery through to handover. Small deviations repeated across a wall or roof can cause serious…
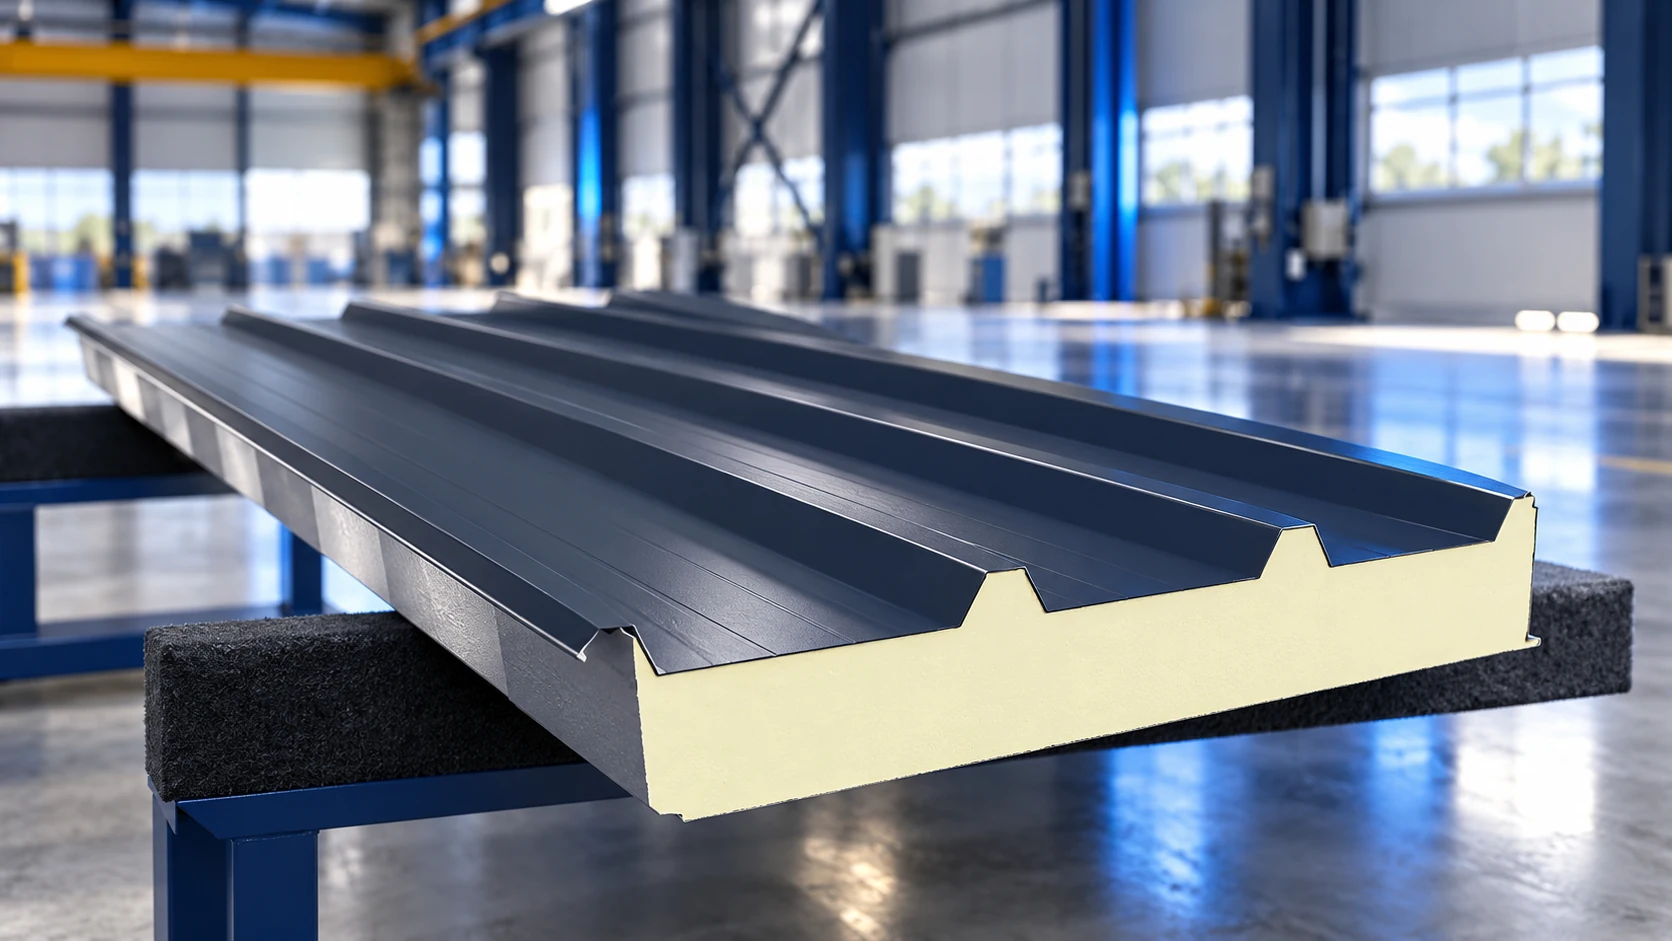
Installing roof sandwich panels begins with checking the supporting structure and product documents, before any panel is lifted into place. Roof pitch,…
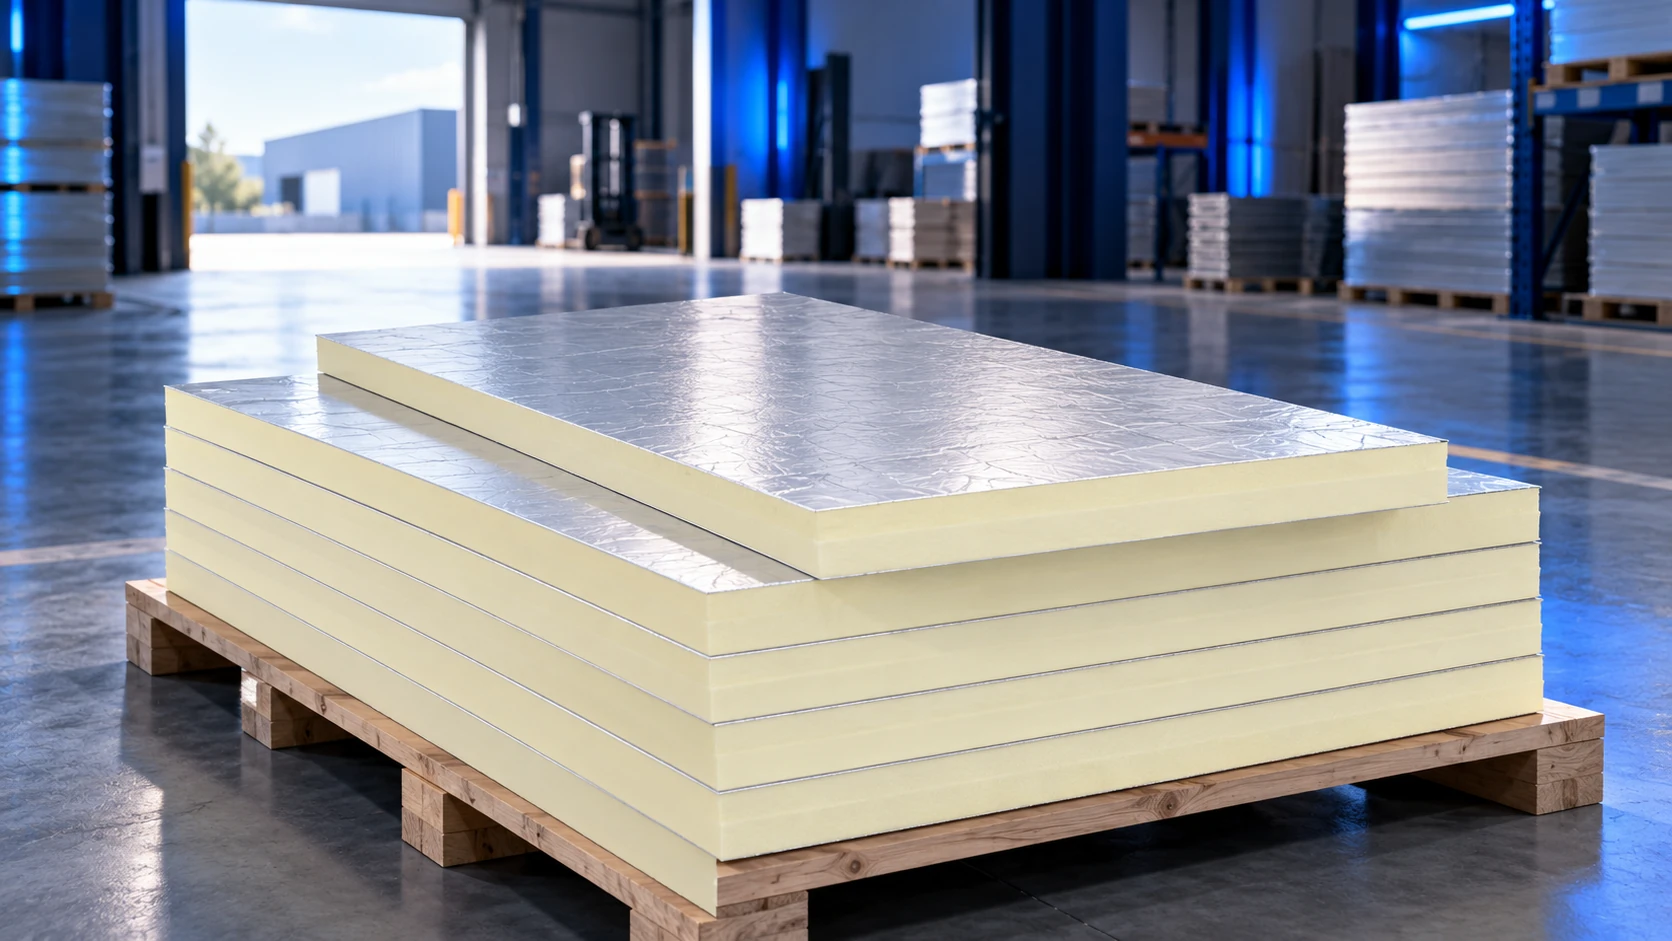
PIR insulation boards are often encountered in 120 × 60 cm and 120 × 240 cm formats, but neither size nor effective…

Sandwich panels can form an enclosure over a masonry wall, provided the substrate, connections and complete build-up are assessed for the project.…
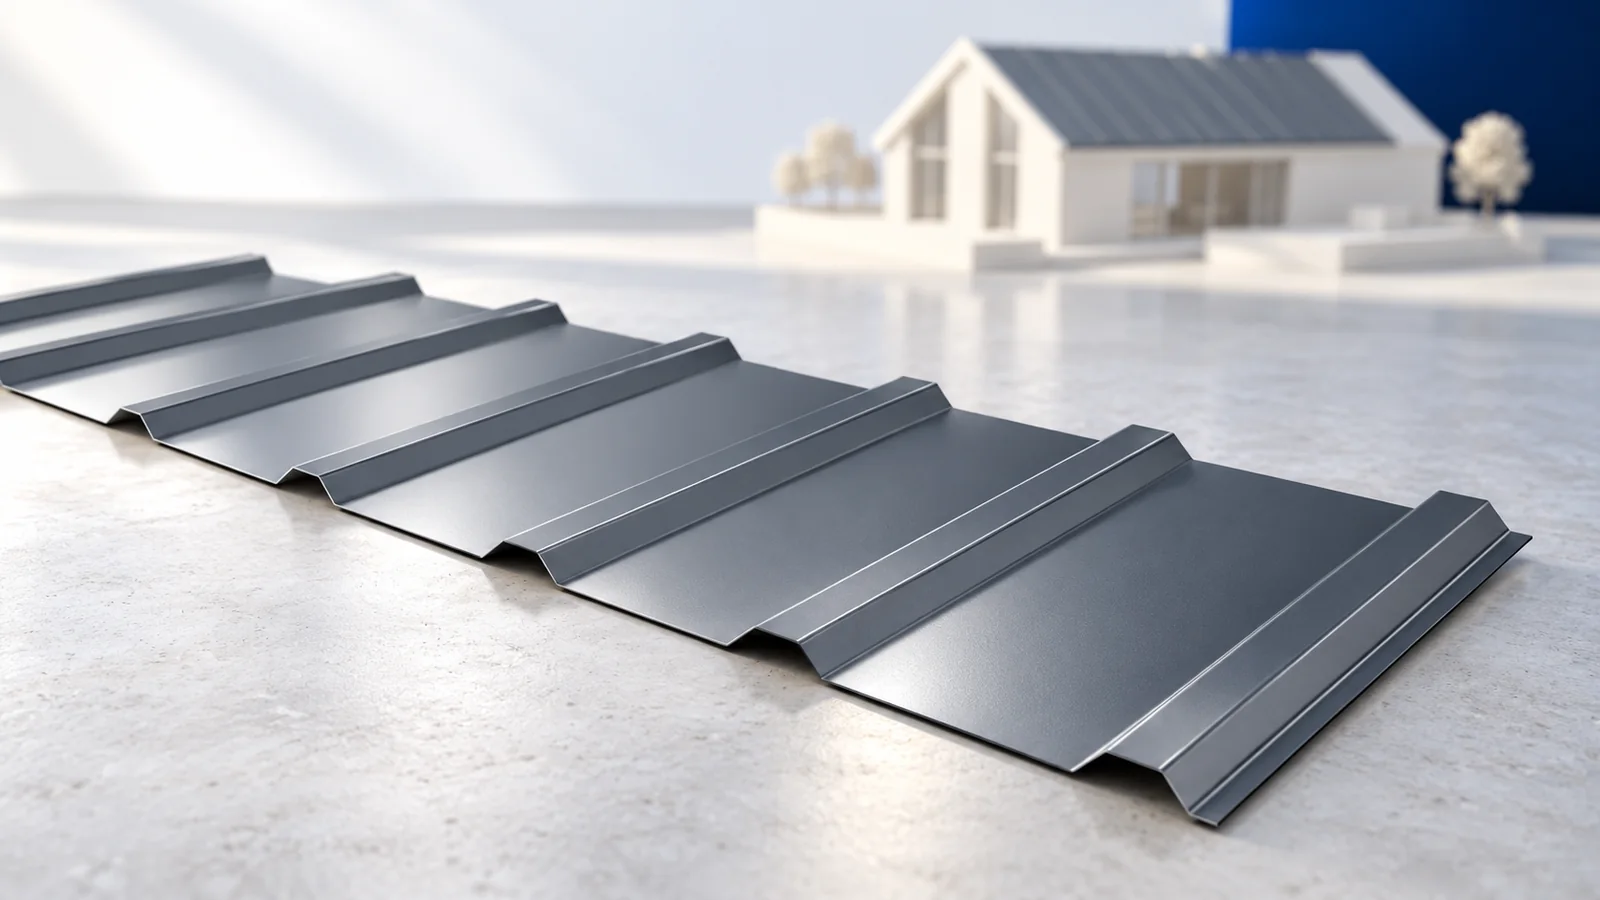
The regular profile helps with T18 and T35 trapezoidal-sheet installation, but efficient work starts before the sheets arrive. Accurate slope dimensions, prepared…
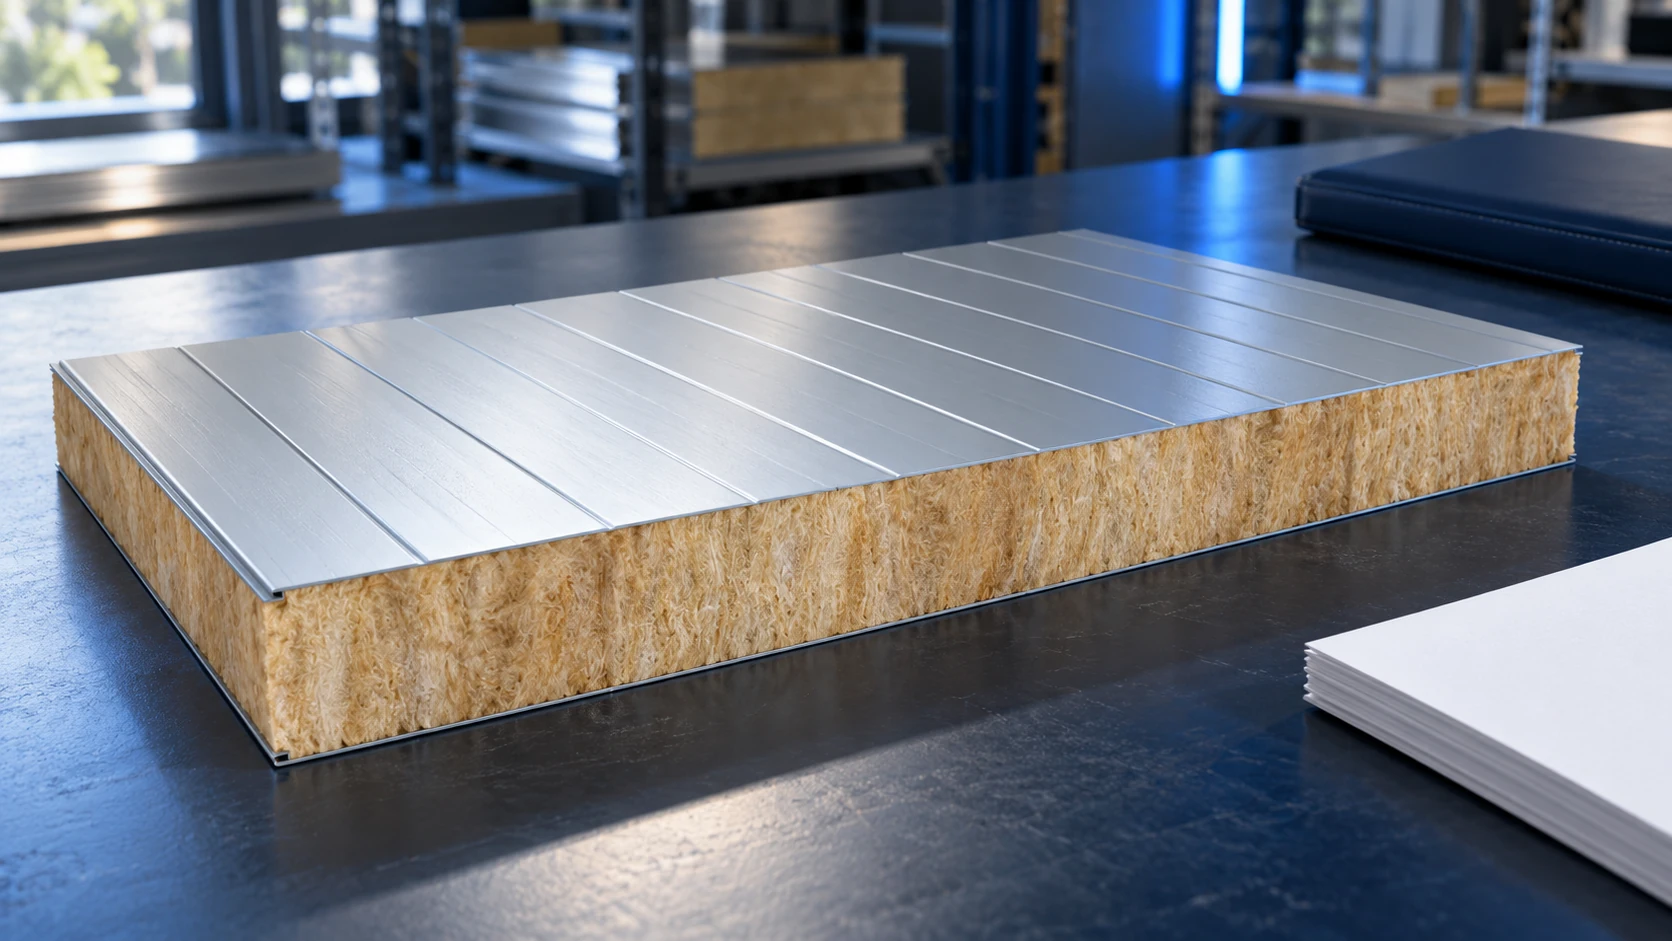
There is no universal screw count per square metre of sandwich panel. First establish the fixings required at every panel-to-support connection, taking…