






Staggered metal fence pickets: setting out two rows of infill
Metal fence pickets and fencing
A staggered fence has pickets on both faces of the frame, with the second row offset to cover gaps in the first. It looks different from a single row and can interrupt sightlines, but it needs its own layout. Decide where privacy matters and from which angle. Gaps hidden when viewed head-on may reappear from the side, depending on the distance between rows and the width of the pickets. Draw and count each row separately; doubling the quantity for a standard bay does not necessarily give the right result.
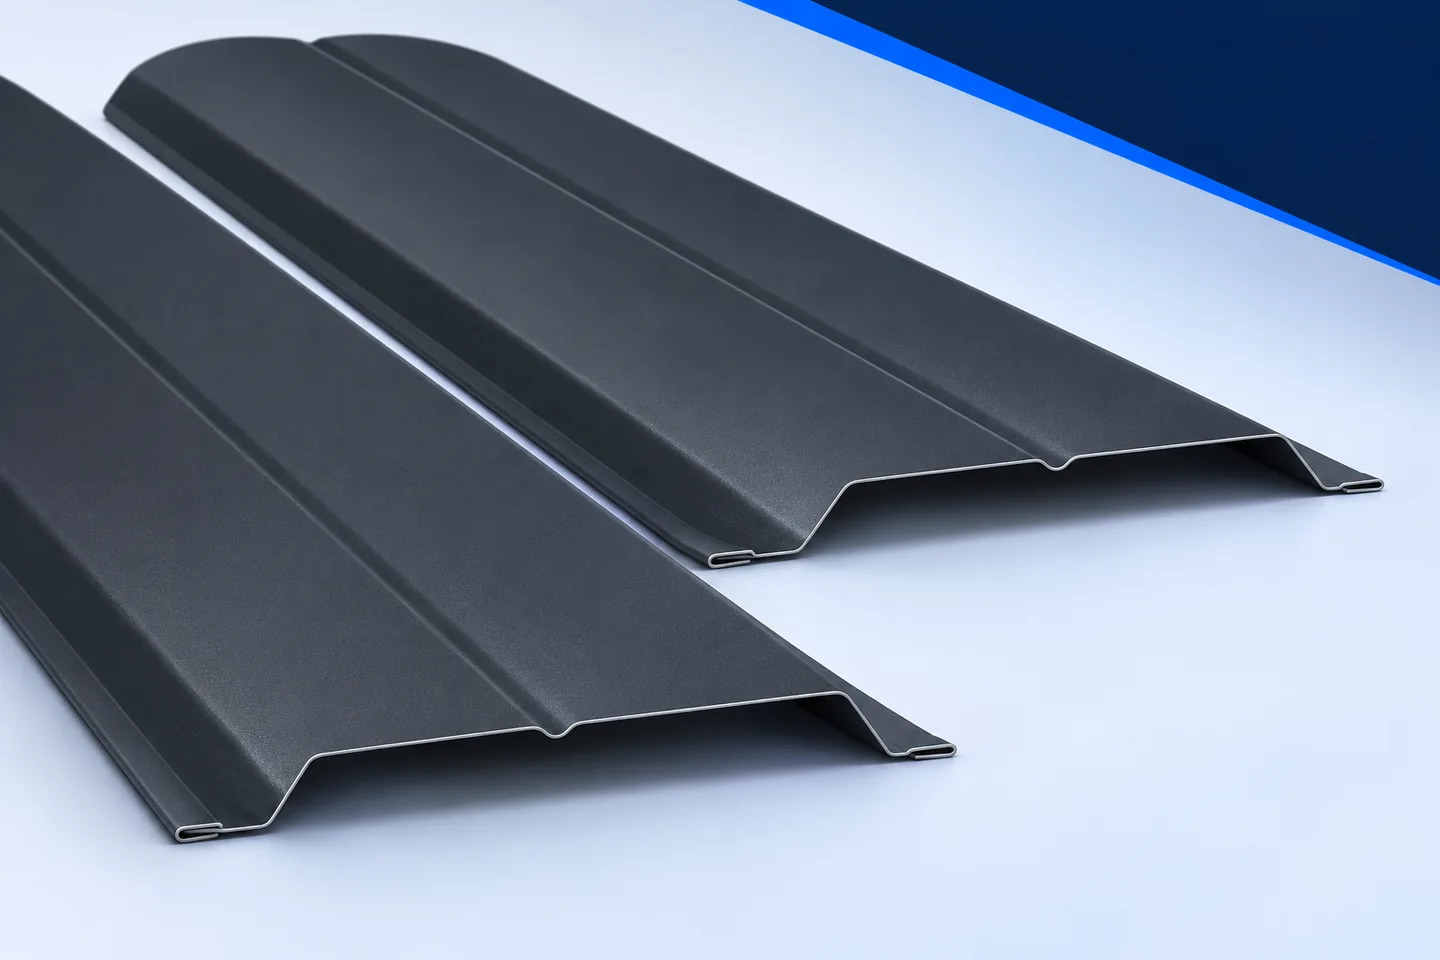
Decide which sightlines to screen
Set several pickets in their intended positions. Look from the street, the seating area and along the bay. This reveals sightlines that a flat front elevation misses and helps match the layout to the intended use.
Draw each row separately
Mark quantities, clear gaps and margins for both faces. Dimension the second row relative to the first, including its ends at the posts. An instruction simply to alternate the pickets leaves too much undecided.
The rows can need different numbers of pickets. Count each against the measured bay width instead of doubling one purchase quantity. The accuracy required is the same on both sides.
Check the frame before increasing the infill
More infill changes the weight and the area exposed to wind. A frame built for one row may be unsuitable for two. Check posts, rails, brackets and foundations, particularly for tall fences and exposed sites.
The low weight of one picket tells you little about wind on a whole bay. Size the frame for the intended density and height. Where system data is unavailable, obtain a technical assessment.
Plan access to the fixings
The second row can block screw positions on the first or leave too little room for a tool. Decide the installation order beforehand and try it on a sample with the intended rail and screws. A viable drawing can still be awkward to assemble.
Check where screw points emerge on the opposite side. They must clear the other pickets and fasteners. Choose lengths and fixing points for the complete assembly without shifting pickets out of the planned pattern.

Choose the finish on all visible faces
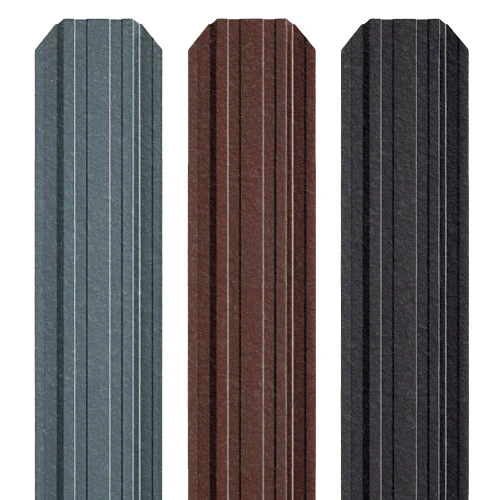
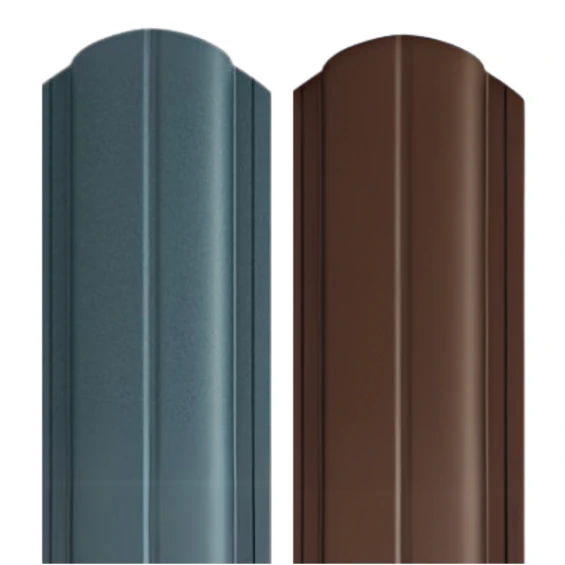
At an angle, a staggered layout can expose the reverse faces. Check the finish of the exact variant if both sides will be seen. Double-sided coating describes the material; double-row installation describes the layout. One does not imply the other.
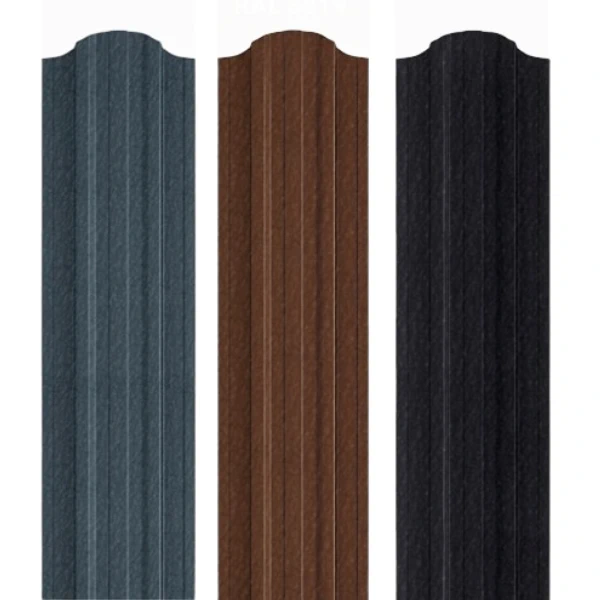
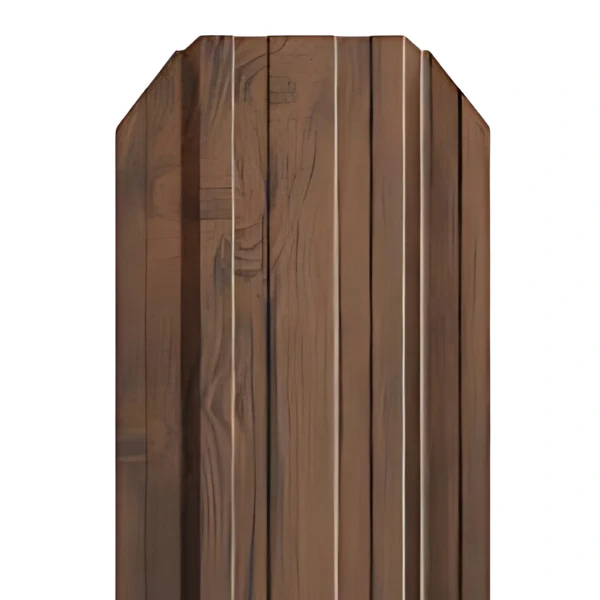
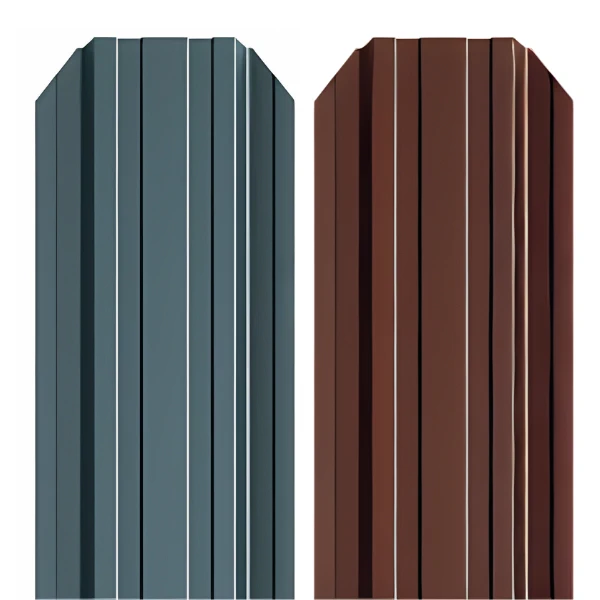
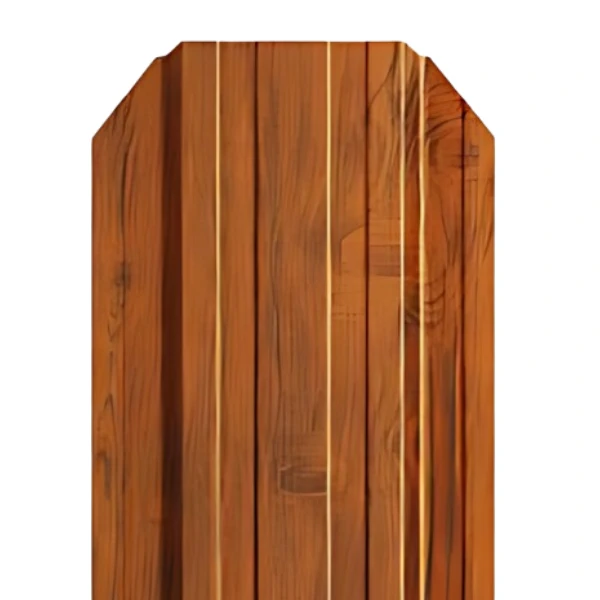
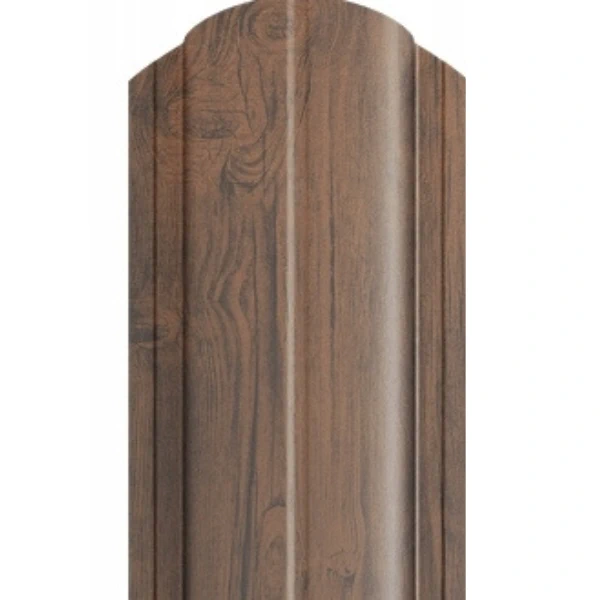
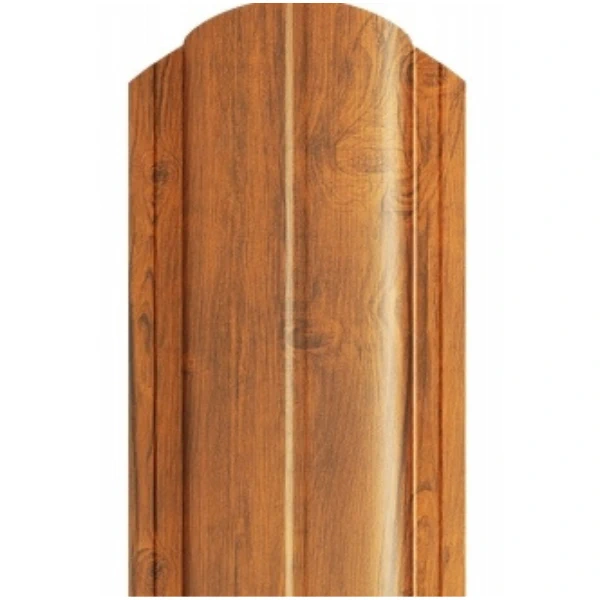
A plain finish may look quieter than a strongly contrasting pattern, but the effect depends on the layout. View several actual pieces together, especially for wood-grain finishes where pattern repetition and grain direction can be apparent.
Keep the space between rows accessible
Check whether leaves, deposits and debris can be removed from between the rows. Clear drilling swarf before it becomes inaccessible and inspect the surfaces that the second row will hide.
The layout should permit care as specified for the coating. Do not fill gaps with sealant to avoid cleaning: it may trap water and hinder removal. Choose details for their function rather than to hide the inside of the bay.
Check the first bay before repeating the pattern
Inspect screening, gaps, corners, fasteners and the ends at both posts. Adjust any row offset before repeating it along the fence. When changing a connection, assess the existing holes first.
Record the accepted dimensions and sequence so the crew can reproduce them in later bays. Two rows use more material, and a repeated setting-out error can mean substantial rework.
Treat the staggered fence as a design in its own right
A planned stagger can provide an attractive screen and limit views through the fence. It does not automatically create an opaque wall or acoustic barrier. Its performance depends on the actual spacing, row offset and supporting frame.
Before buying, prepare separate picket and fastener schedules for each face. Check how a single damaged piece would be reached and replaced. Extra screening is practical only if the fence can also be maintained.
List the left and right end pieces individually if their positions differ. In two rows, the edge arrangement determines how neatly the pattern finishes. Settle those details before most of the fixings are in place.

Free quote
What to include in your enquiry
Tell us how you plan to use the material, the dimensions and the quantity you need. Include the thickness, grade or variant name, along with the delivery town or your preferred collection branch. For a specific product, add its name or a link to the product page. We will reply to the email address you provide to discuss availability and the terms of your order.
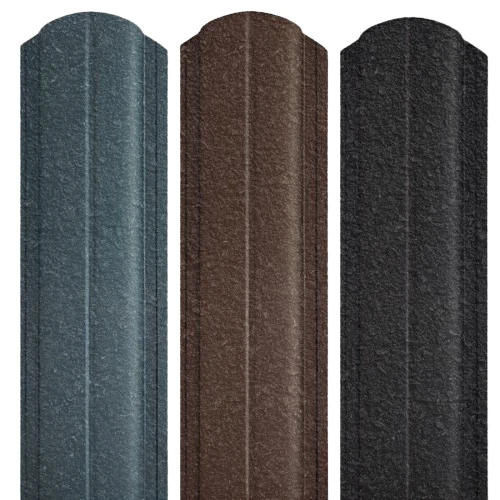
More from the building guide

Plan a metal-picket fence around everyday use of the property: visibility at the gate, garden privacy and pedestrian access. Picket width, gaps…
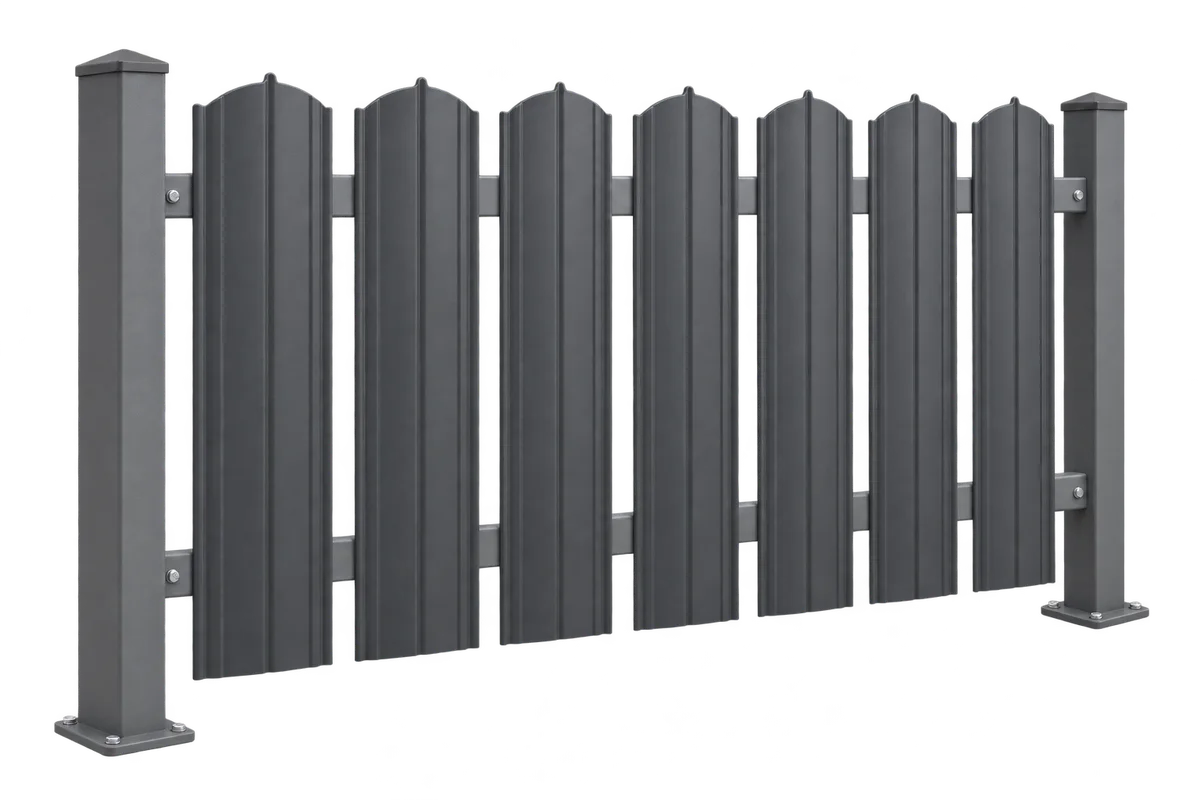
Start with one complete fence bay. Measure between the posts, choose the picket orientation and draw the gaps at both ends. A…

Ordering pickets to their finished length avoids most site cuts. If a piece appears too long, compare it with the bay drawing…

Assess metal pickets on a trial fence panel showing the gaps, both coated faces and access to fixings. Their benefits include manageable…

Assess a metal picket fence as a complete arrangement of posts, rails and infill. The pickets determine colour, rhythm and screening, but…

Set out the entire bay before fastening the first metal picket. Measure the clear infill width, choose the margins at both posts…

Square-cut and rounded tops create different fence lines, but the end detail involves more than choosing a shape. Inspect the side folds,…
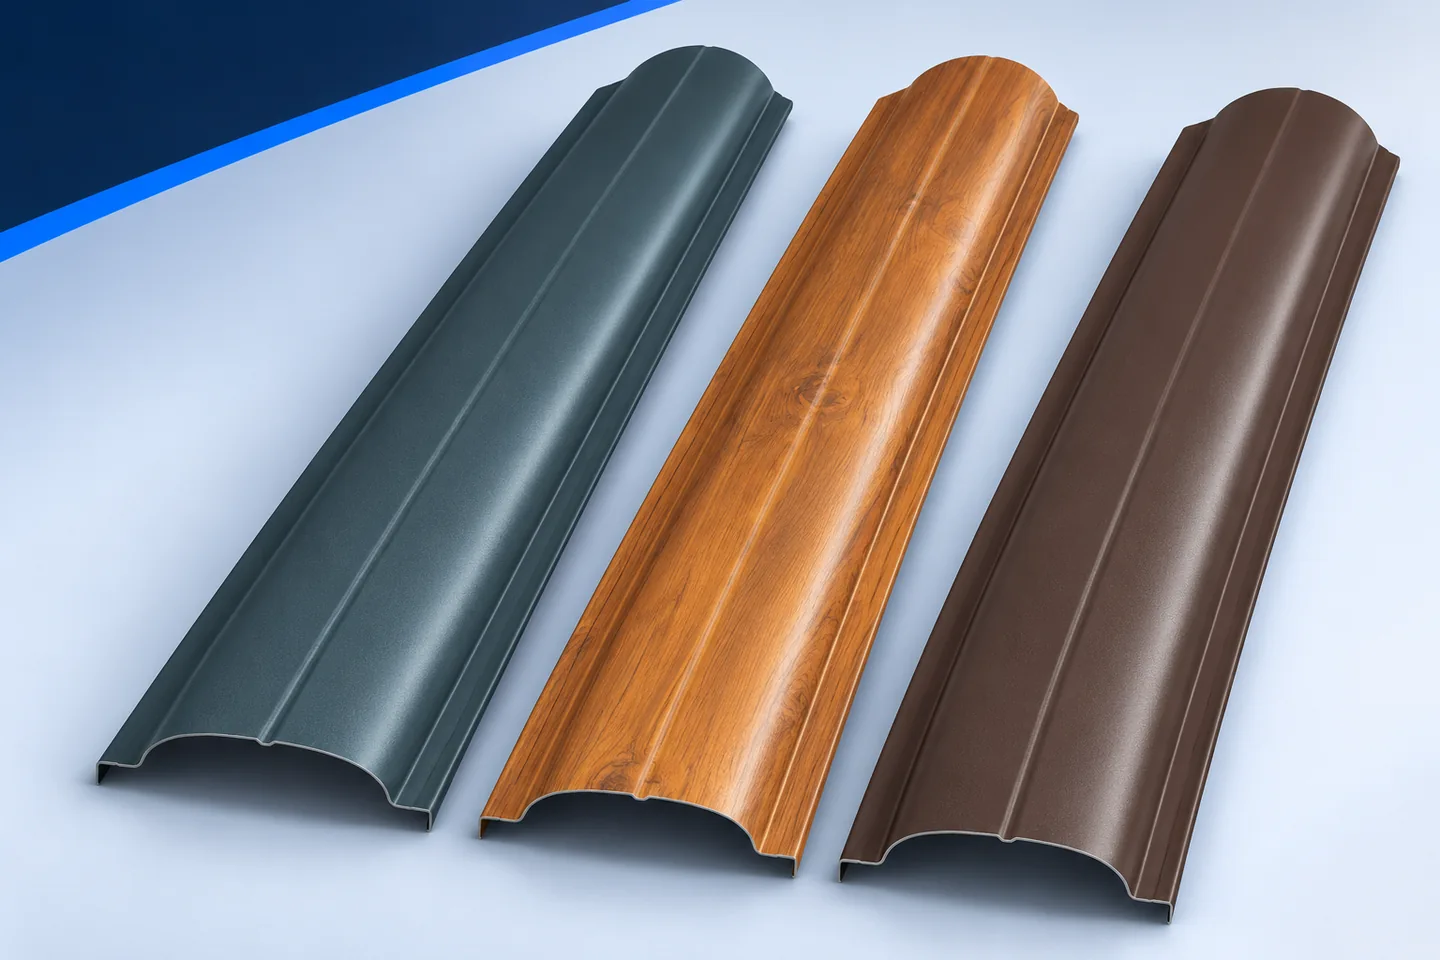
Before laying metal fence slats horizontally, check that the manufacturer permits that orientation. Turning a vertical picket on its side changes its…