






Insulating window corners: how to reduce the risk of cracks in the render
EPS and thermal insulation
Three details work together at a window corner: an EPS board cut around the opening, diagonal mesh in the base coat and sealed junctions with the frame and sill. Each addresses a different problem. Stress concentrates at the corner; the frame and render respond differently to temperature; and the sill must shed water clear of the facade. Inspect the board pattern before embedding the mesh, then check the reinforcement and seals before rendering. A thicker layer of mortar cannot replace any of these details.
What makes a window corner difficult to insulate?
Decide the finished insulation thickness first. Check reveal widths, hinges, roller shutters and frame drainage. A late decision may restrict sash opening or leave part of the masonry uninsulated. Inspect old windows and openings of different depths individually; one detail may not suit the whole building.
How are boards cut at the corners of an opening?
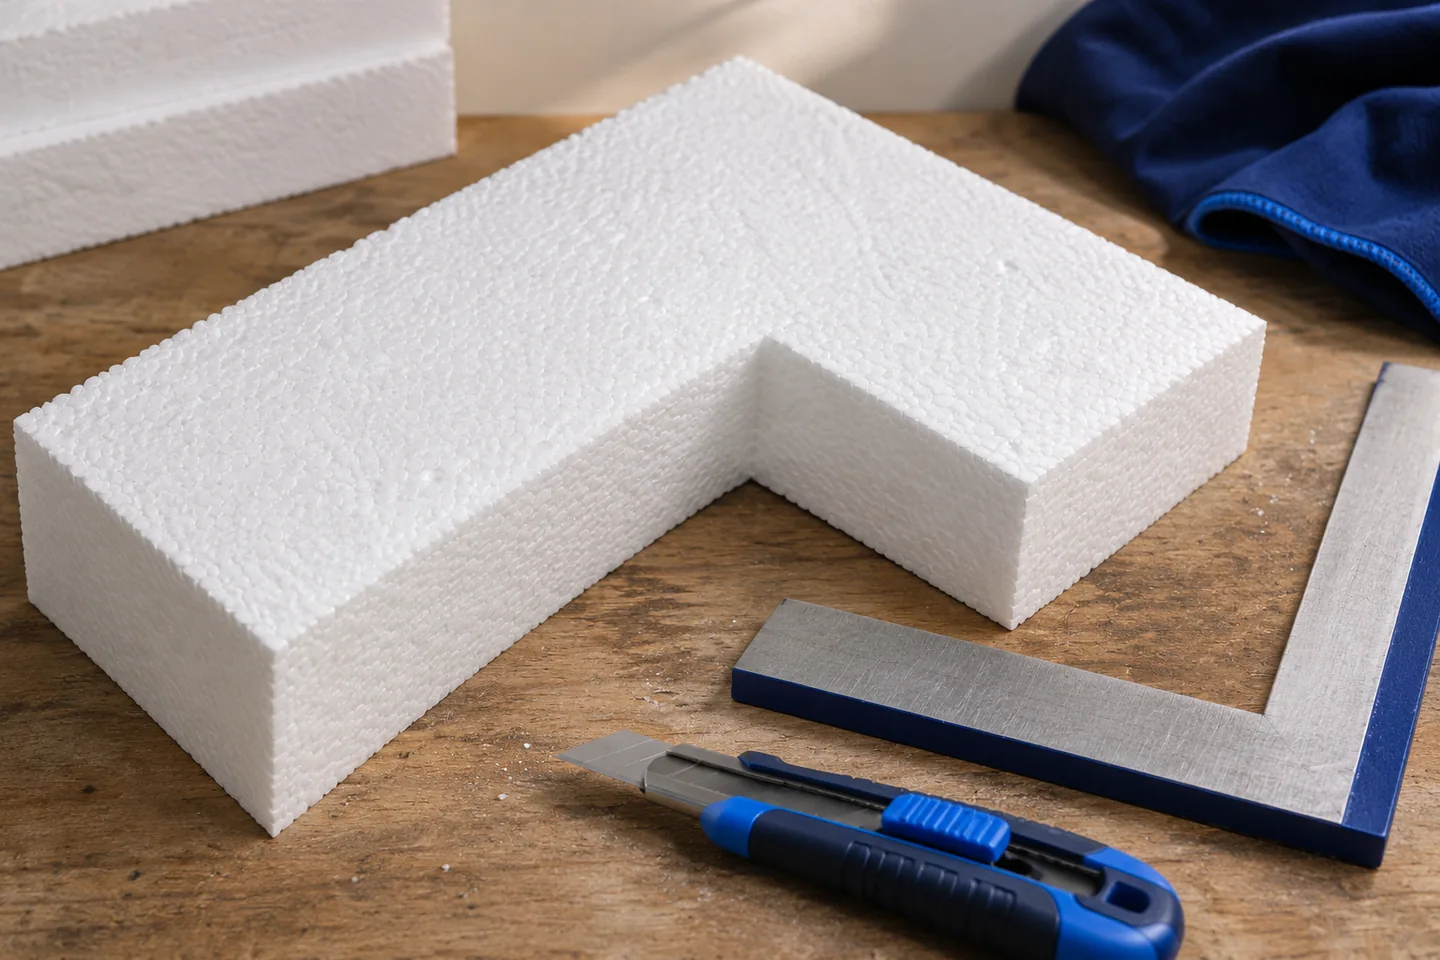
Do not let an EPS joint start at the window corner. A sufficiently large L-shaped board can wrap around it, placing both joints away from the corner. Follow the system instructions for clearances and bonding. Small, loosely fitted offcuts are a poor way to save material here.
Check adhesive support at the reveal. A deeply notched board can break during handling. Make a clean cut with no torn edges or cracks running through the board. Once fitted, it should have neither an open gap nor a strip of adhesive in the joint. Repair discontinuities as specified before applying reinforcement.
What does diagonal mesh reinforcement do?
Extra diagonal mesh at opening corners helps distribute local stress within the reinforced base coat. The ETICS documentation gives its position, size and installation sequence. Embed the strip in the specified mortar. Placing it on dry EPS and skimming a thin coat over the top does not achieve the same result.
Install the diagonal strips even though the main mesh covers the whole wall. The two layers perform different tasks, and a corner bead cannot take the place of a diagonal patch. Photograph the detail while visible; mesh positions and overlaps cannot be assessed on a finished facade.
How should the facade meet the window frame?
The junction must seal the opening and accommodate the expected movement. Use the system detail, such as a compatible window connection profile with mesh and a seal. Select the profile for the opening dimensions, frame position and expected movement. Similar-looking profiles can have different uses.
Check the condition and cleanliness of the frame before bonding the profile. Keep the seal continuous at corners and at the sill. Render bonded rigidly to a frame can crack. A bead of silicone afterwards may not remedy a badly shaped joint. Plan the junction before fitting the boards.
What needs checking at the sill?
The sill must discharge rainwater beyond the finished face. Size its projection and end details for the total thickness of the facade layers. A short sill directs water onto the render; a leaking end can let it behind the insulation. Before ordering, check whether the existing sill can be replaced without damaging the window.
Installation foam alone is not a complete seal against driving rain. Form the layers below the sill and its ends to the selected detail. Keep the frame’s drainage outlets open: covering even a small outlet with insulation can cause recurring water stains.
How should the window area be inspected?
Inspect first after fitting the boards and again after installing the reinforcement. Check joint layout, continuous reveal insulation, profiles and diagonal mesh. Examine the sill junction with each side reveal. A defect hidden at one corner may become visible only after the first temperature cycles.
Termo Organika, Knauf Therm, Styropmin and Austrotherm are among the EPS manufacturers. The choice of board manufacturer does not remove the need to design the window details for the particular ETICS.
If there is already a crack, find its cause first. It may be in the base coat, window junction or substrate. Painting over it does not stop movement or close a path for water. Base repairs on an inspection; extensive or growing cracks need more investigation than a local patch to the render.

Free quote
What to include in your enquiry
Tell us how you plan to use the material, the dimensions and the quantity you need. Include the thickness, grade or variant name, along with the delivery town or your preferred collection branch. For a specific product, add its name or a link to the product page. We will reply to the email address you provide to discuss availability and the terms of your order.
More from the building guide
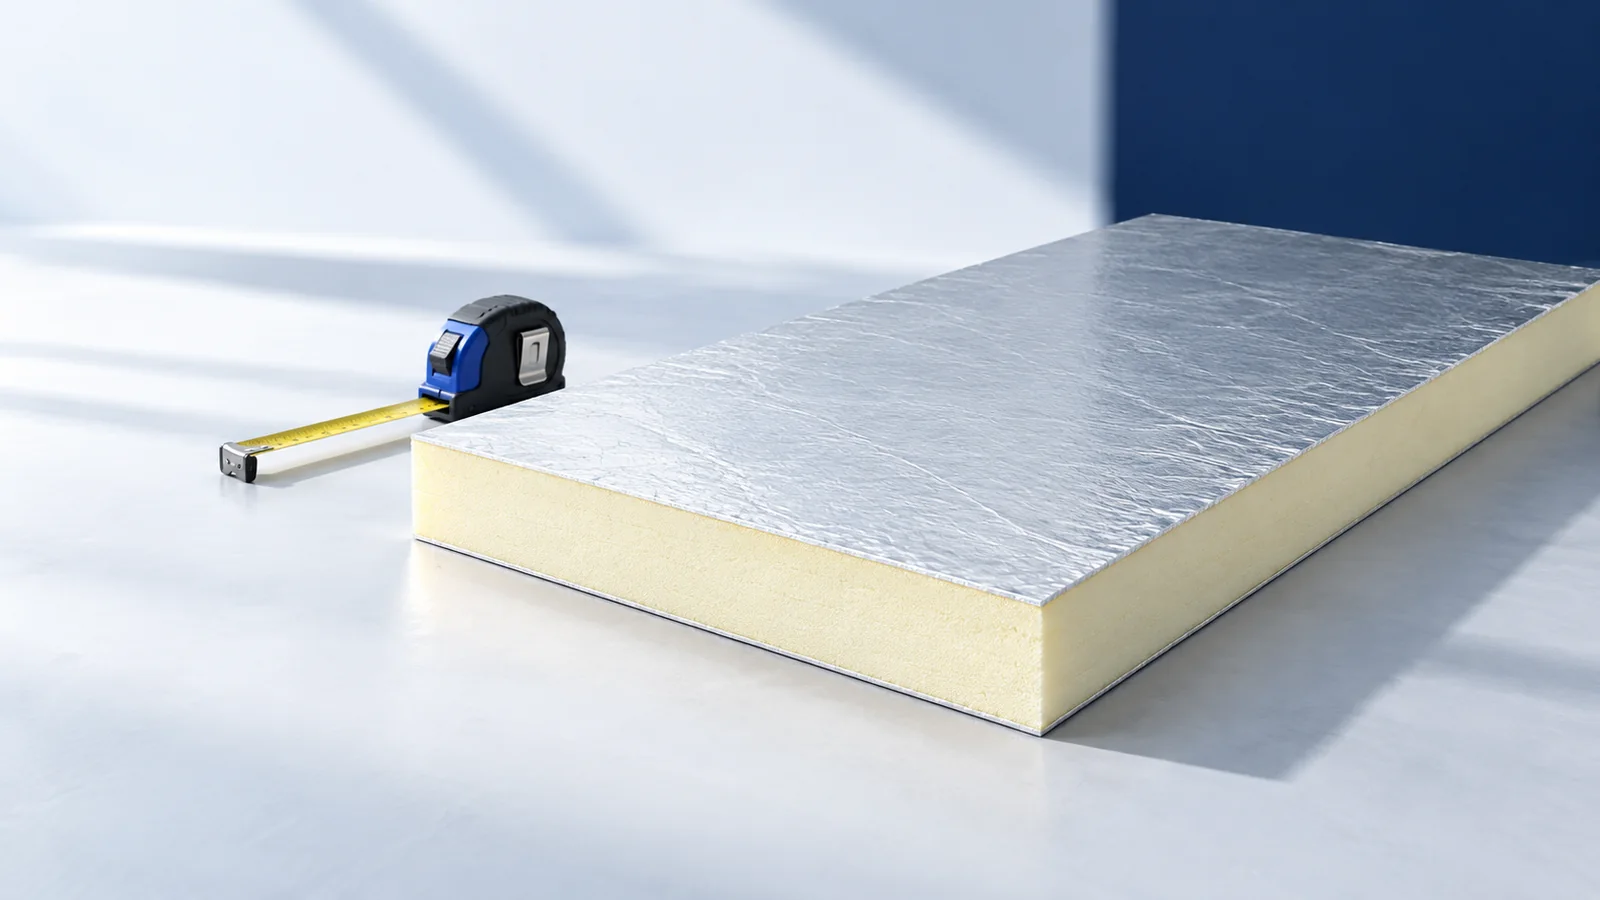
Mark the insulation position on the roof section before choosing PIR, EPS, XPS or mineral wool. Irregular rafter bays need insulation that…
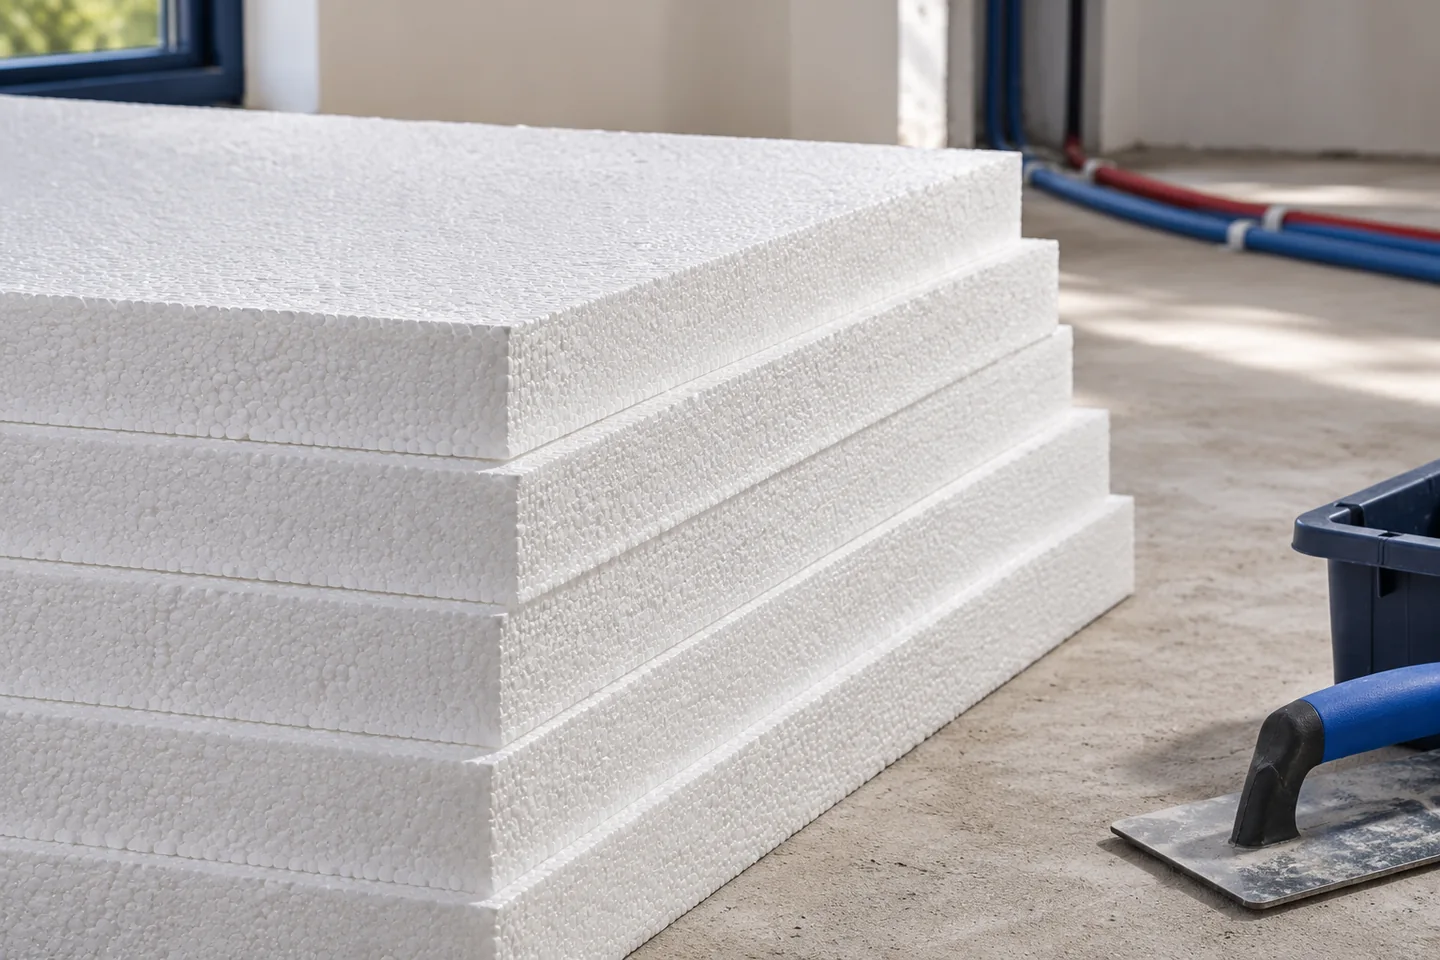
Before ordering EPS for a screeded floor, establish the finished level and mark pipe runs, sleeves and crossings on a plan. Allow…
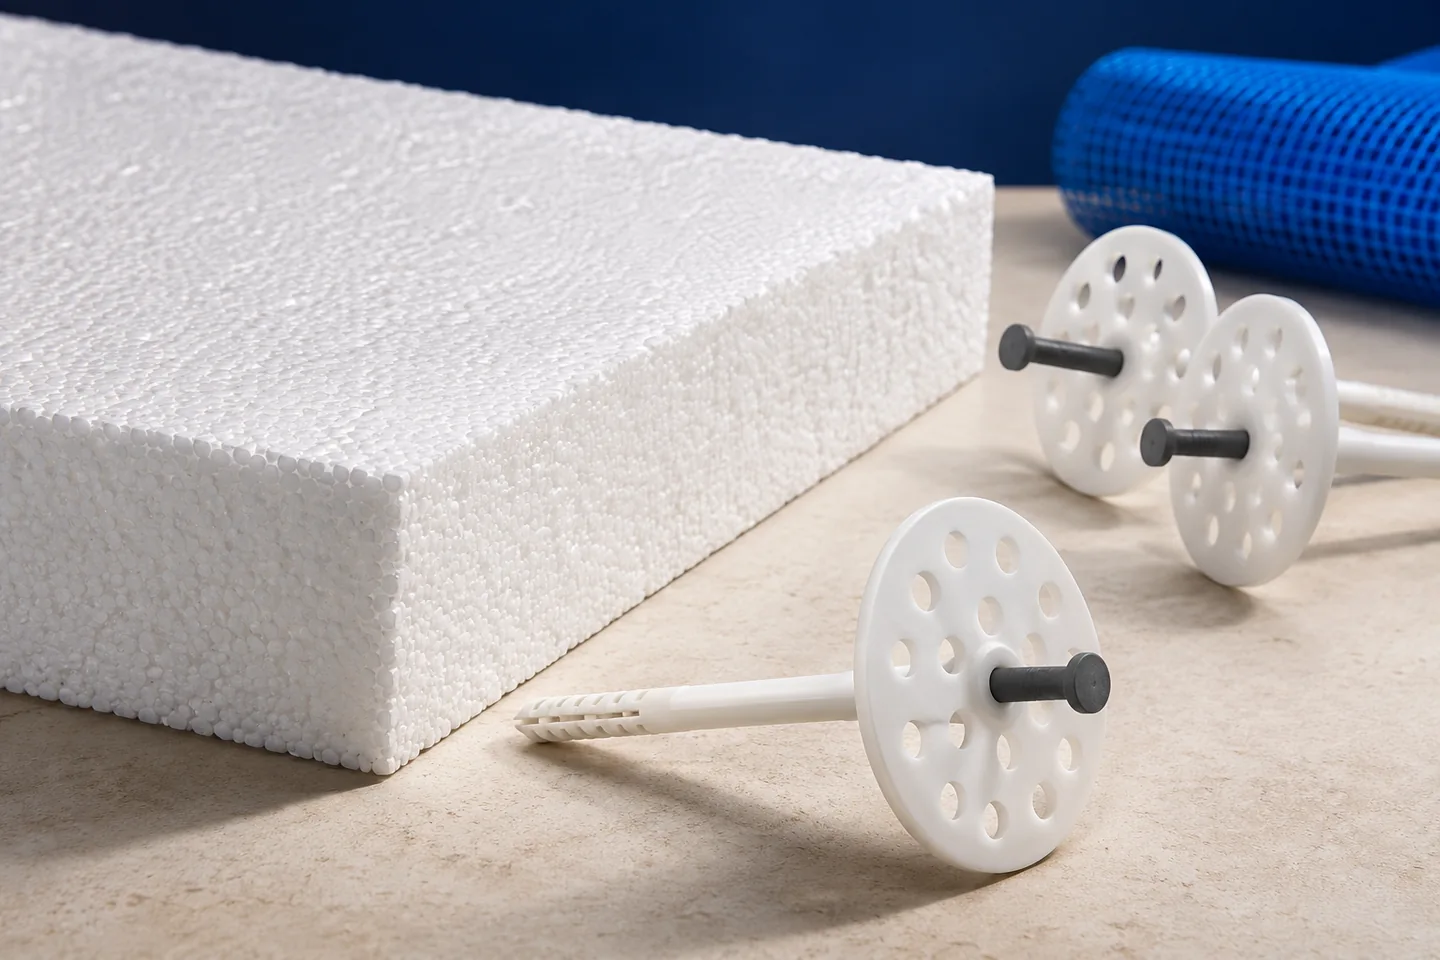
The insulation design and ETICS documentation determine whether EPS facade boards need mechanical fixings. The wall material and its condition, wind exposure,…
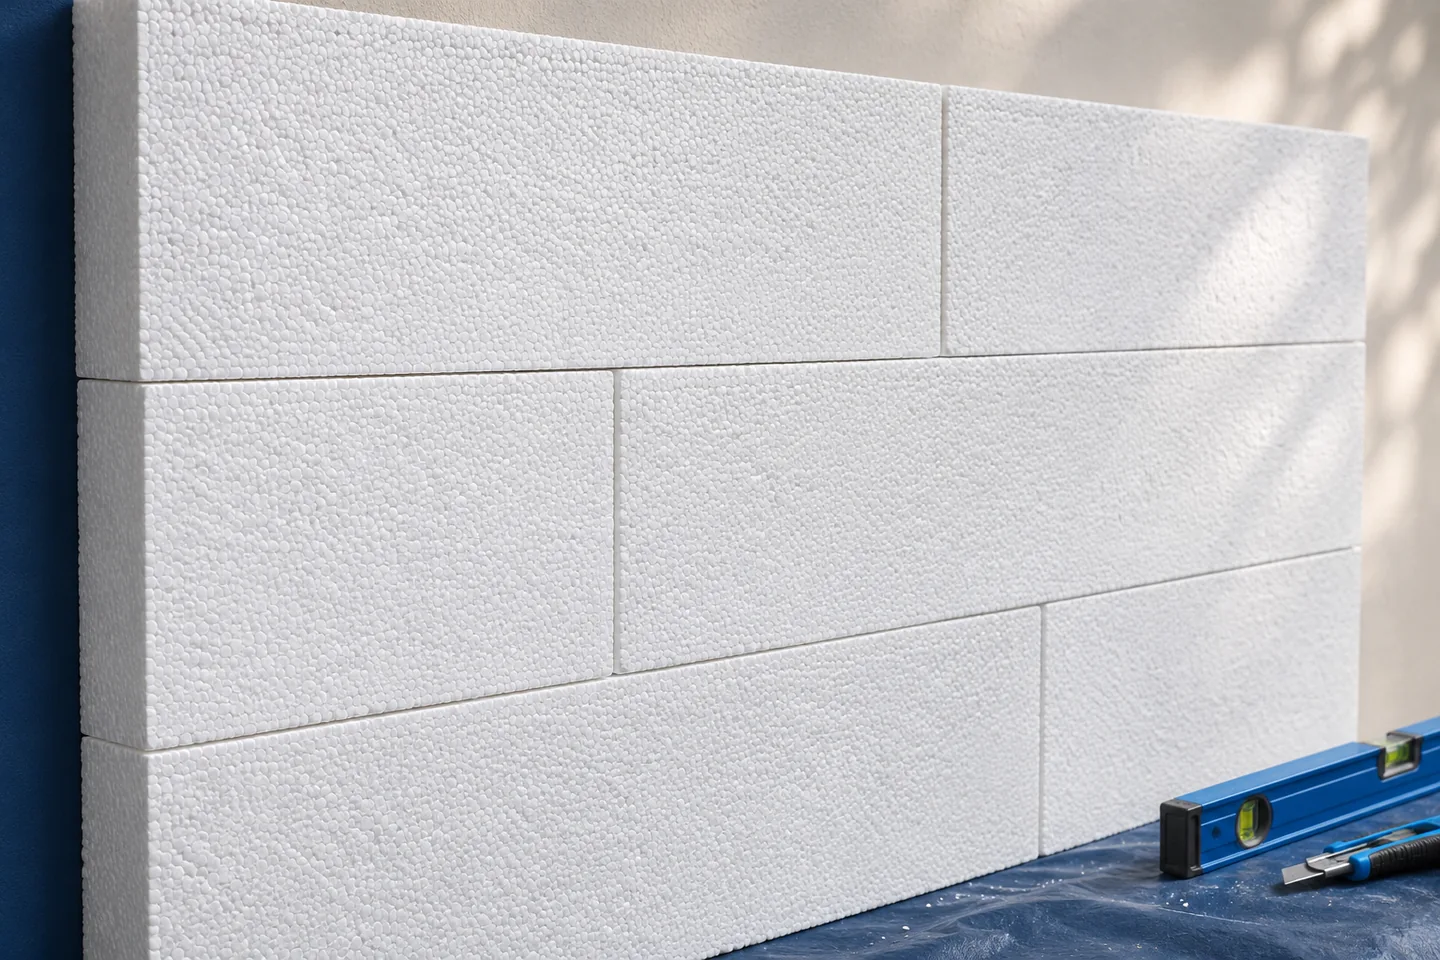
Stagger EPS facade boards so that vertical joints in successive courses do not form a continuous line. The insulation does not take…
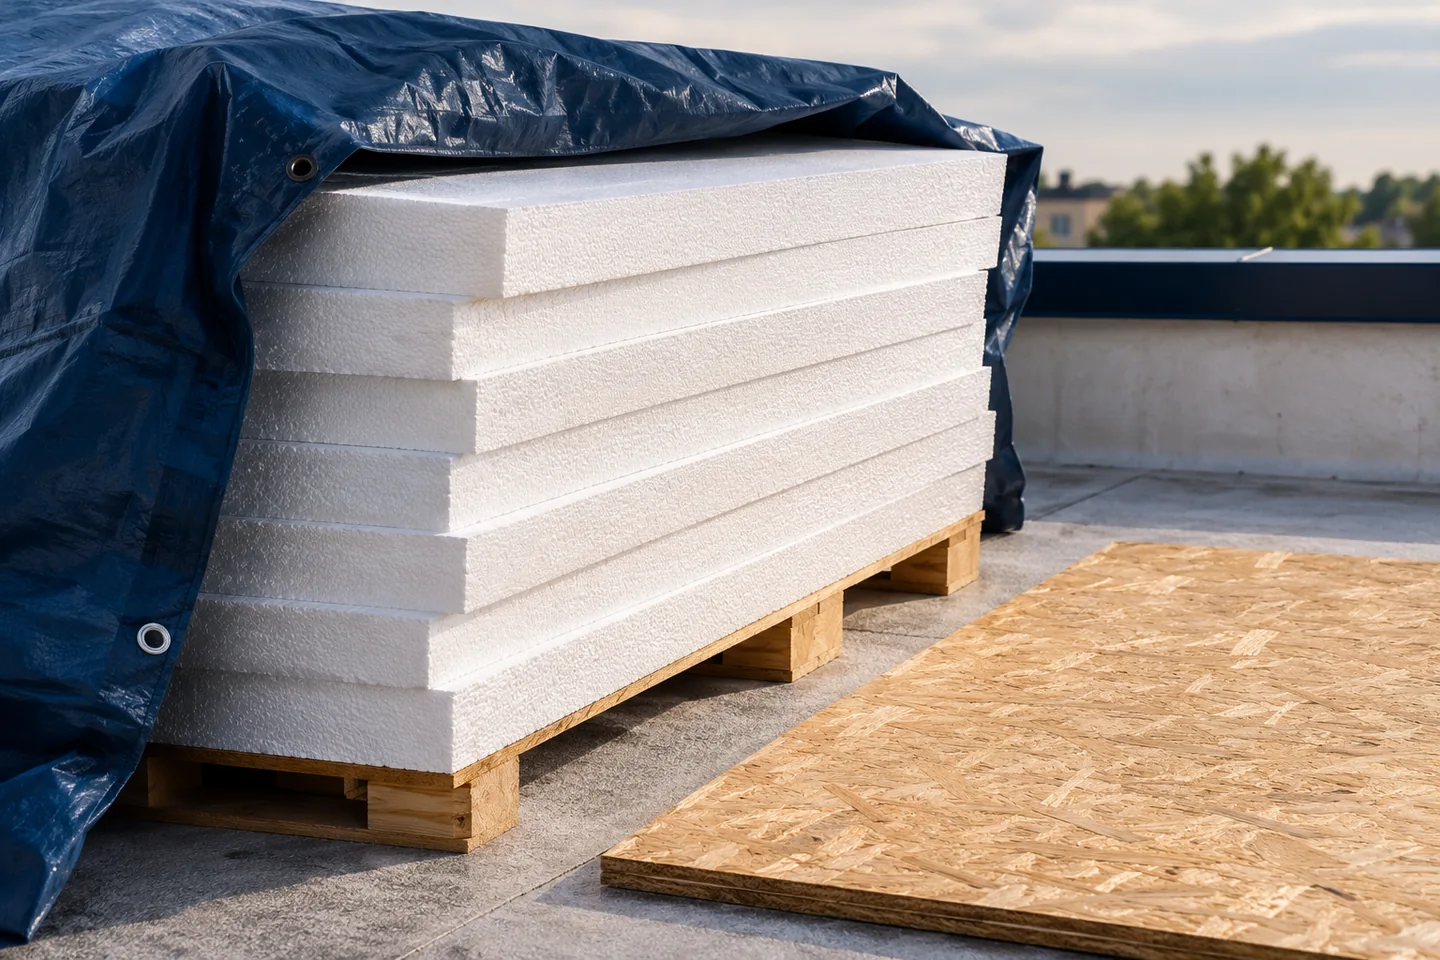
Before laying EPS on a roof, check the specified layer sequence, positions of vapour control and waterproofing, and direction of drainage. A…
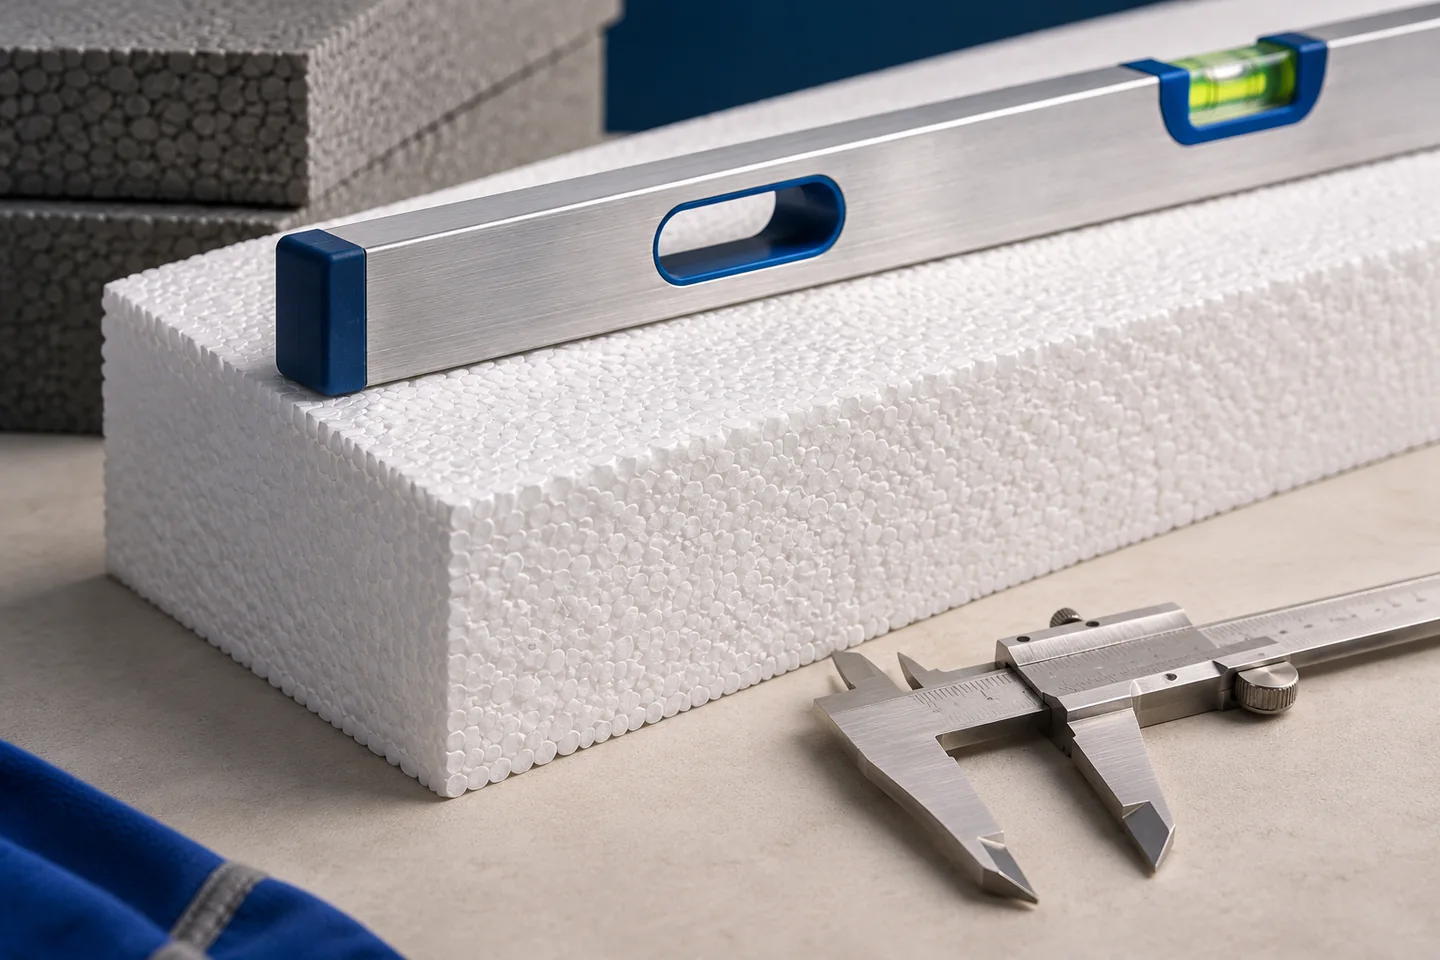
Inspect EPS insulation before each layer is covered. Compare the design and order with the board labels, checking application, thickness and properties…
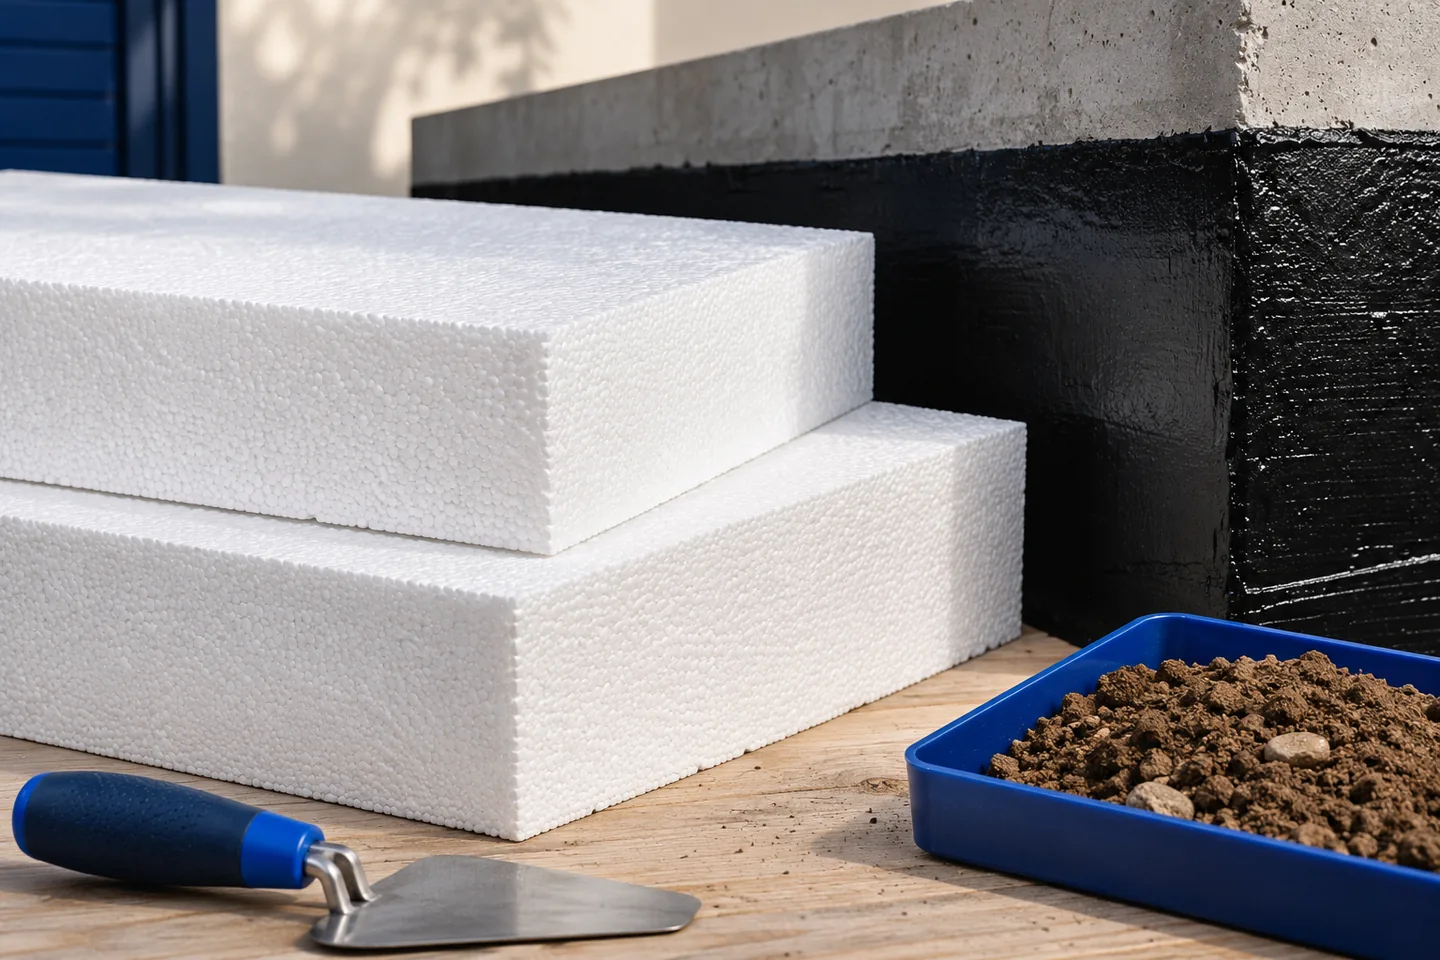
Before backfilling a foundation, check the continuity of the waterproofing, the bond of the EPS boards and their protection against mechanical damage…
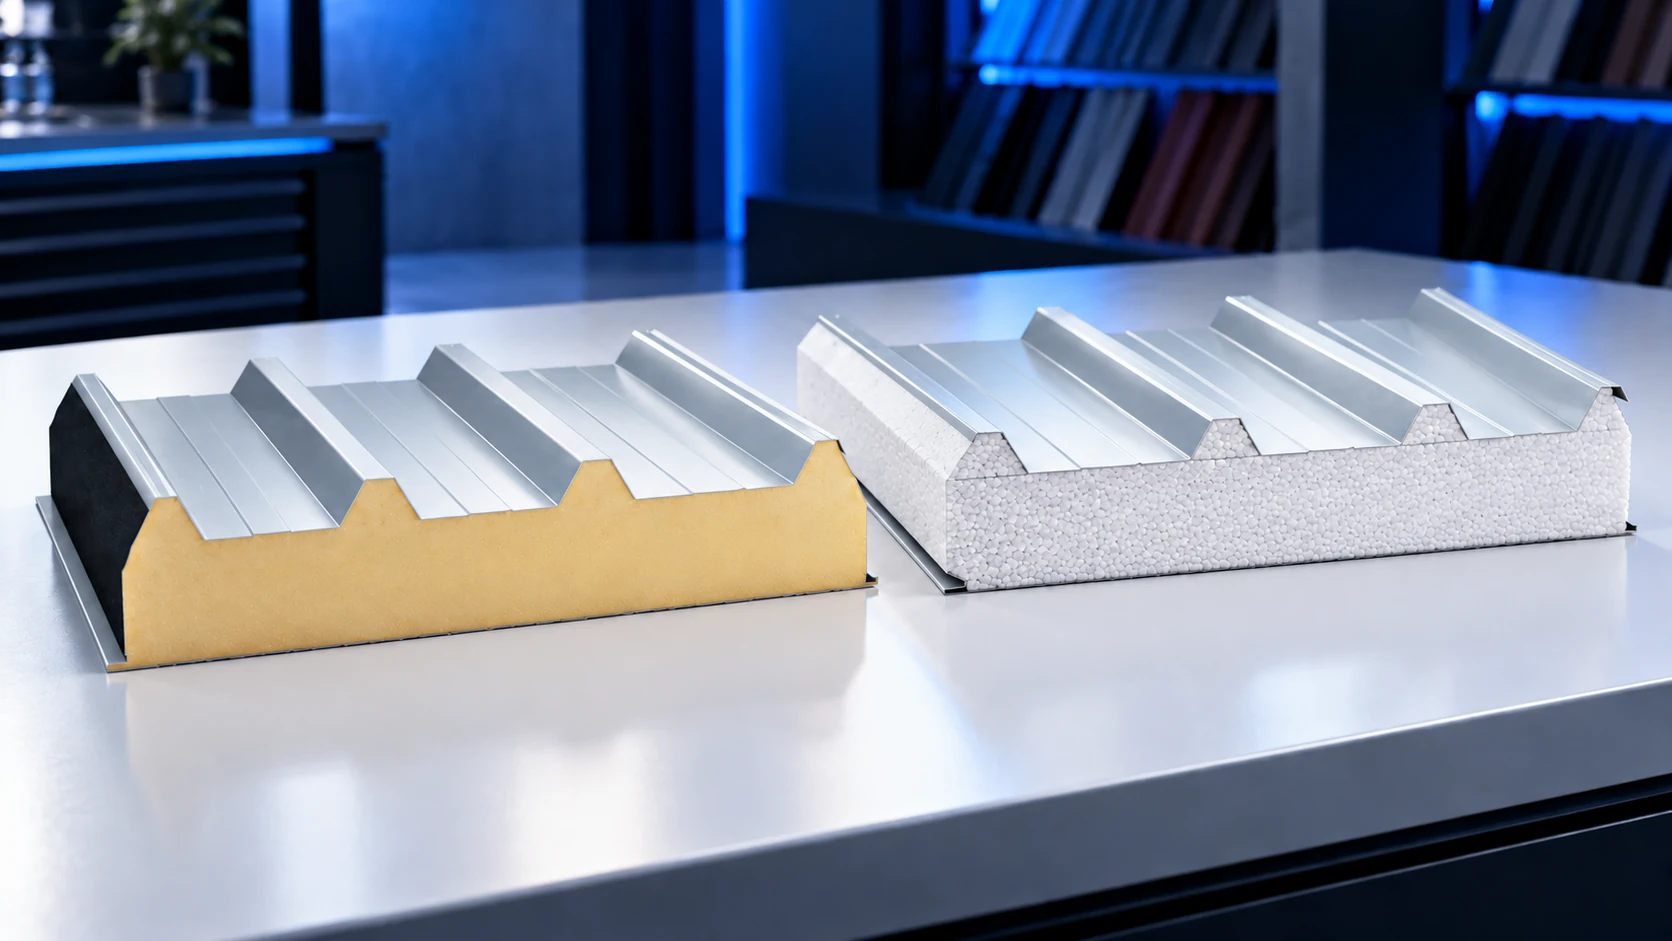
Compare PIR and EPS cores using the declared performance of complete roof sandwich panels, not figures for loose insulation boards. U-values, weight,…