






Five checks for a metal roof, from sheet supports to flashings
Structure and installation
Plan five inspections while faults on a metal roof are still accessible. Measure the supports before lifting the sheets into place. On the first fixed sheet, inspect the screws and washers. After cutting, check the edges and remove swarf. Before covering a valley or wall abutment, follow the laps in the direction of water flow. Before closing the eaves, inspect the drainage path and, on a ventilated roof, the air inlet. Use the drawings and the instructions for the actual roof covering at each stage. Photographs taken now will help trace the source of a stain or distortion later.
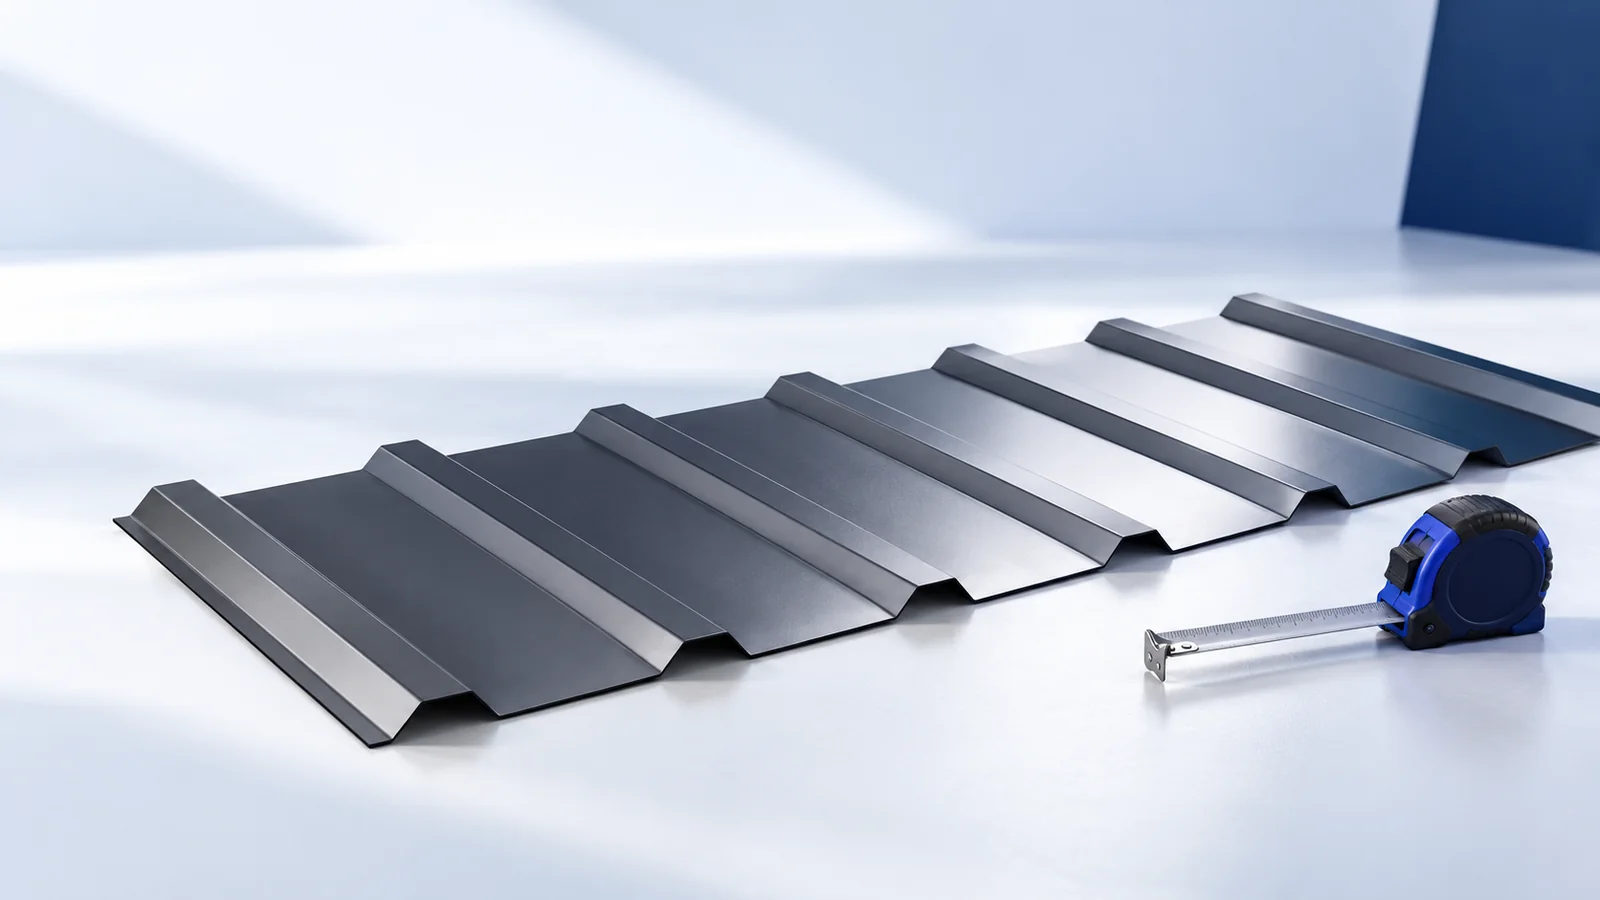
1. Do the supports suit the profile?
Check tile-effect sheet batten spacing against the tile module. For trapezoidal steel sheet, match the profile, thickness and steel grade delivered to the design loads in the documentation. A T18 or T35 designation alone gives too little information to establish the span.
Check the plane of the battens and the position of joints. For sandwich panels, also measure the bearing width on the purlin. If a support has moved from its designed position, recheck the span for the actual product.
2. Are the fasteners suitable for the substrate?
Before opening a box, match its screw reference to the substrate. Timber and steel purlins require suitable threads, lengths and drill points. Follow the fixing layout for the wind zones, including corners and edges.
On the first fixing, check screw alignment, washer seating and the surface around the hole. A loose seal can admit water, while overtightening can damage it. On sandwich panels, also check for local crushing of the facing and core.
3. How and where are the sheets cut?
Support both parts of the sheet before making the cut. Choose a tool approved for the coating, typically one for cold cutting. Keep the cutting station clear of finished roofing to prevent swarf and sharp edges damaging adjacent sheets.
Remove drilling swarf and inspect the cut edge. Rust from a loose steel particle can resemble damage to the coating itself. Use the repair method specified for the finish and assess extensive damage before installing the sheet.
4. Do the flashings shed water outwards?
Trace the path of rainwater on the detail drawing for a valley, chimney or wall junction. At a change of slope, check that it discharges onto the top of the next flashing. Allow for movement between the sheet and the wall.
Before covering a flashing, check the lap sequence and the fixing positions relative to the main flow of water. Select the seal for the correctly formed joint. Include both the joint and the direction of fall in the inspection photograph.
5. Can the roof dry out?
On an insulated roof, inspect the room side as well. Air leaking through a joint can carry moisture to the cold sheet. Where a ventilation path is specified below the covering, check it from inlet to outlet after fitting the insulation.
If the roof drips on a dry morning, record indoor humidity and inspect ventilation. Anti-condensation fleece holds droplets temporarily and needs a chance to dry. Establish the moisture source before sealing the visible drip point.
How should the work be inspected at handover?
Keep profile, coating and screw labels with the installation photographs. At handover, inspect edges and flashings and check that outlets are clear. Check removal of waste and swarf, and of protective film within the supplier’s specified period.
Record the location and reason for each agreed departure from the drawings. Attach the as-built detail, especially where another layer will cover it. At a later inspection the record identifies what to open and which material to prepare for repair.

Free quote
What to include in your enquiry
Tell us how you plan to use the material, the dimensions and the quantity you need. Include the thickness, grade or variant name, along with the delivery town or your preferred collection branch. For a specific product, add its name or a link to the product page. We will reply to the email address you provide to discuss availability and the terms of your order.

More from the building guide

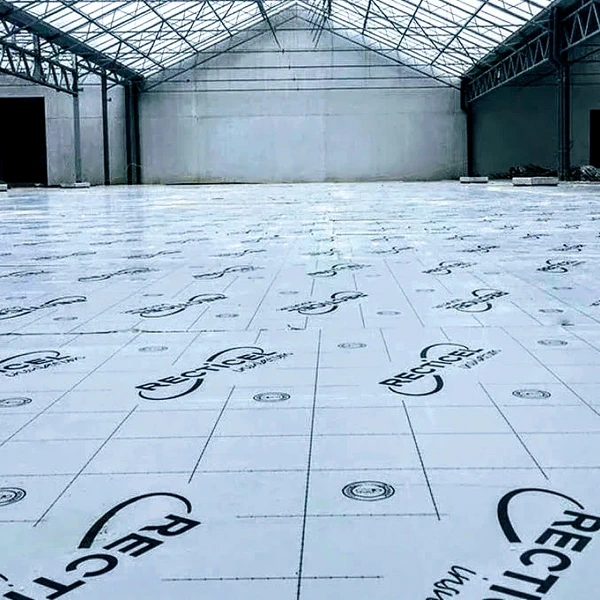
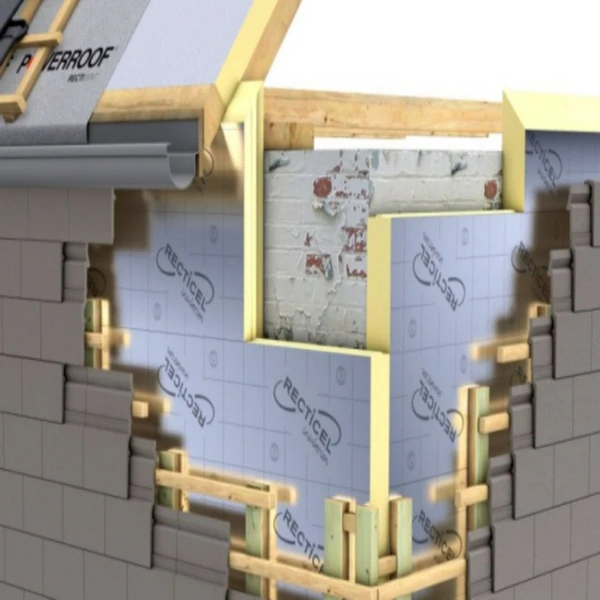
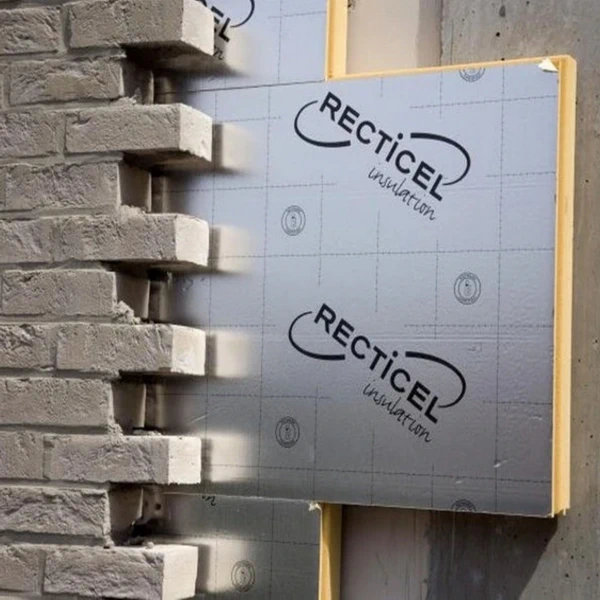
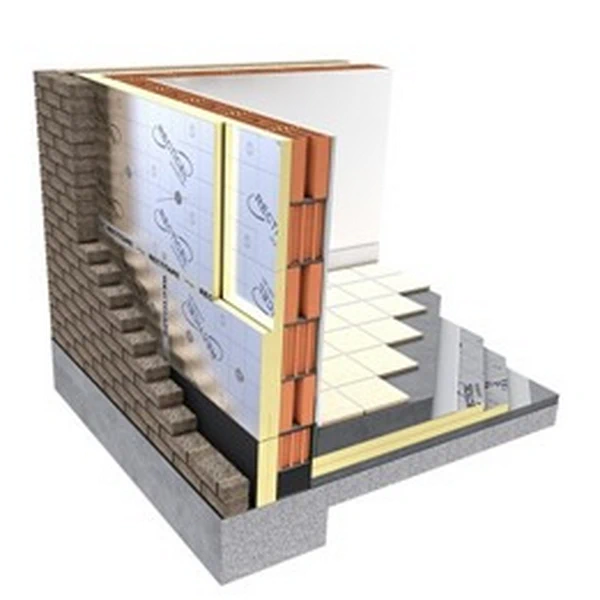
Recticel Eurothane G combines PIR with gas-tight facings on both sides and a 12.5 mm plasterboard lining. In a flat renovation it…
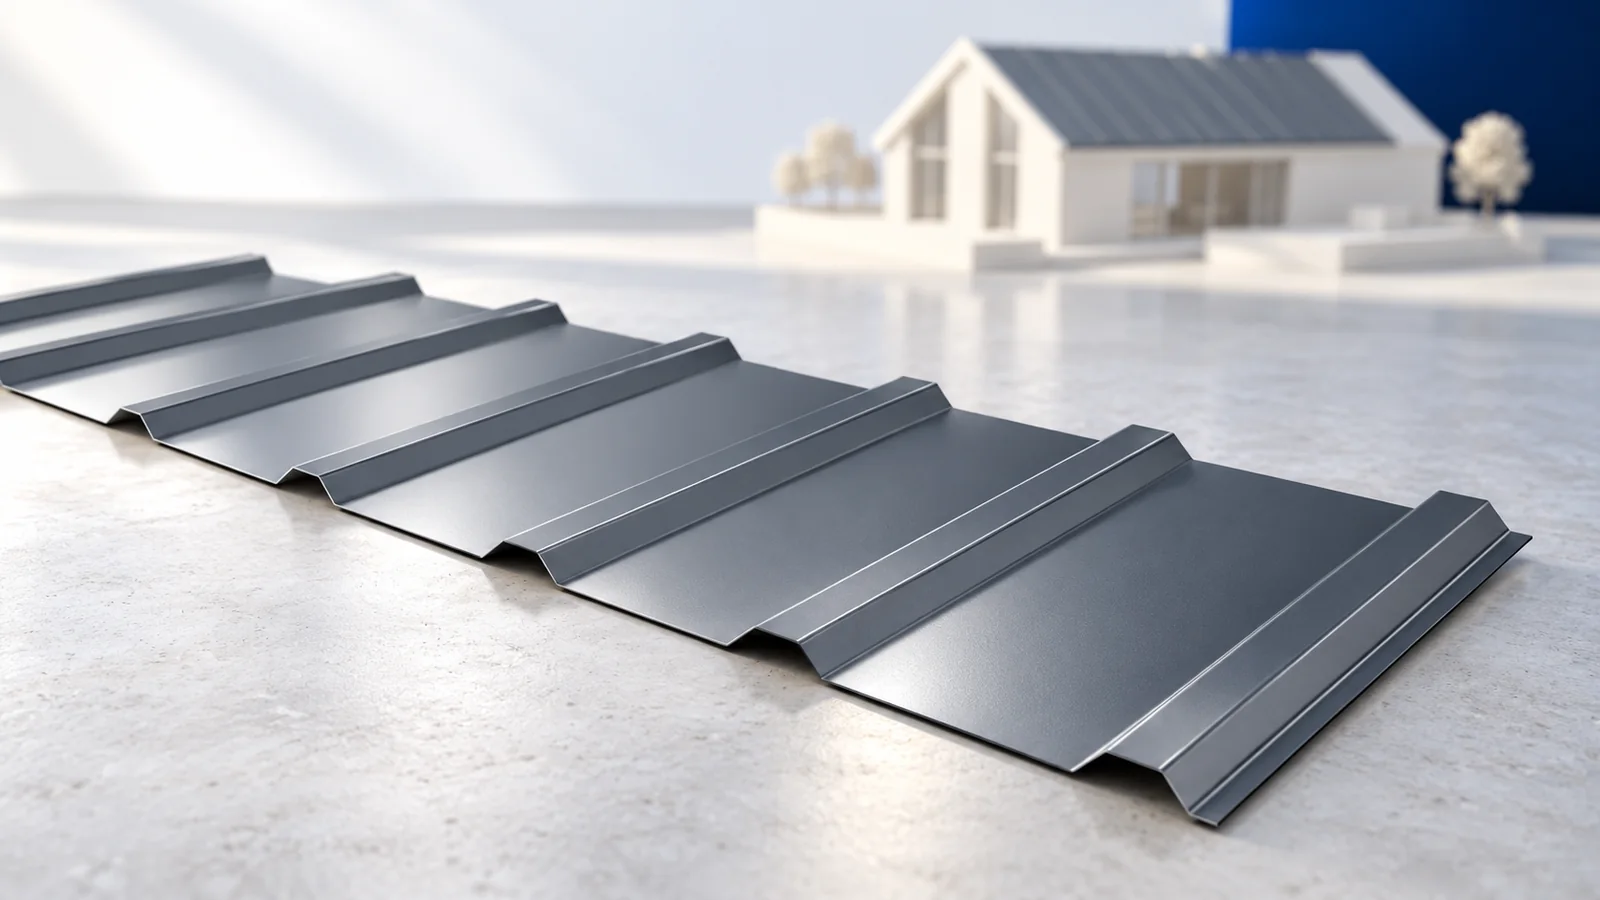
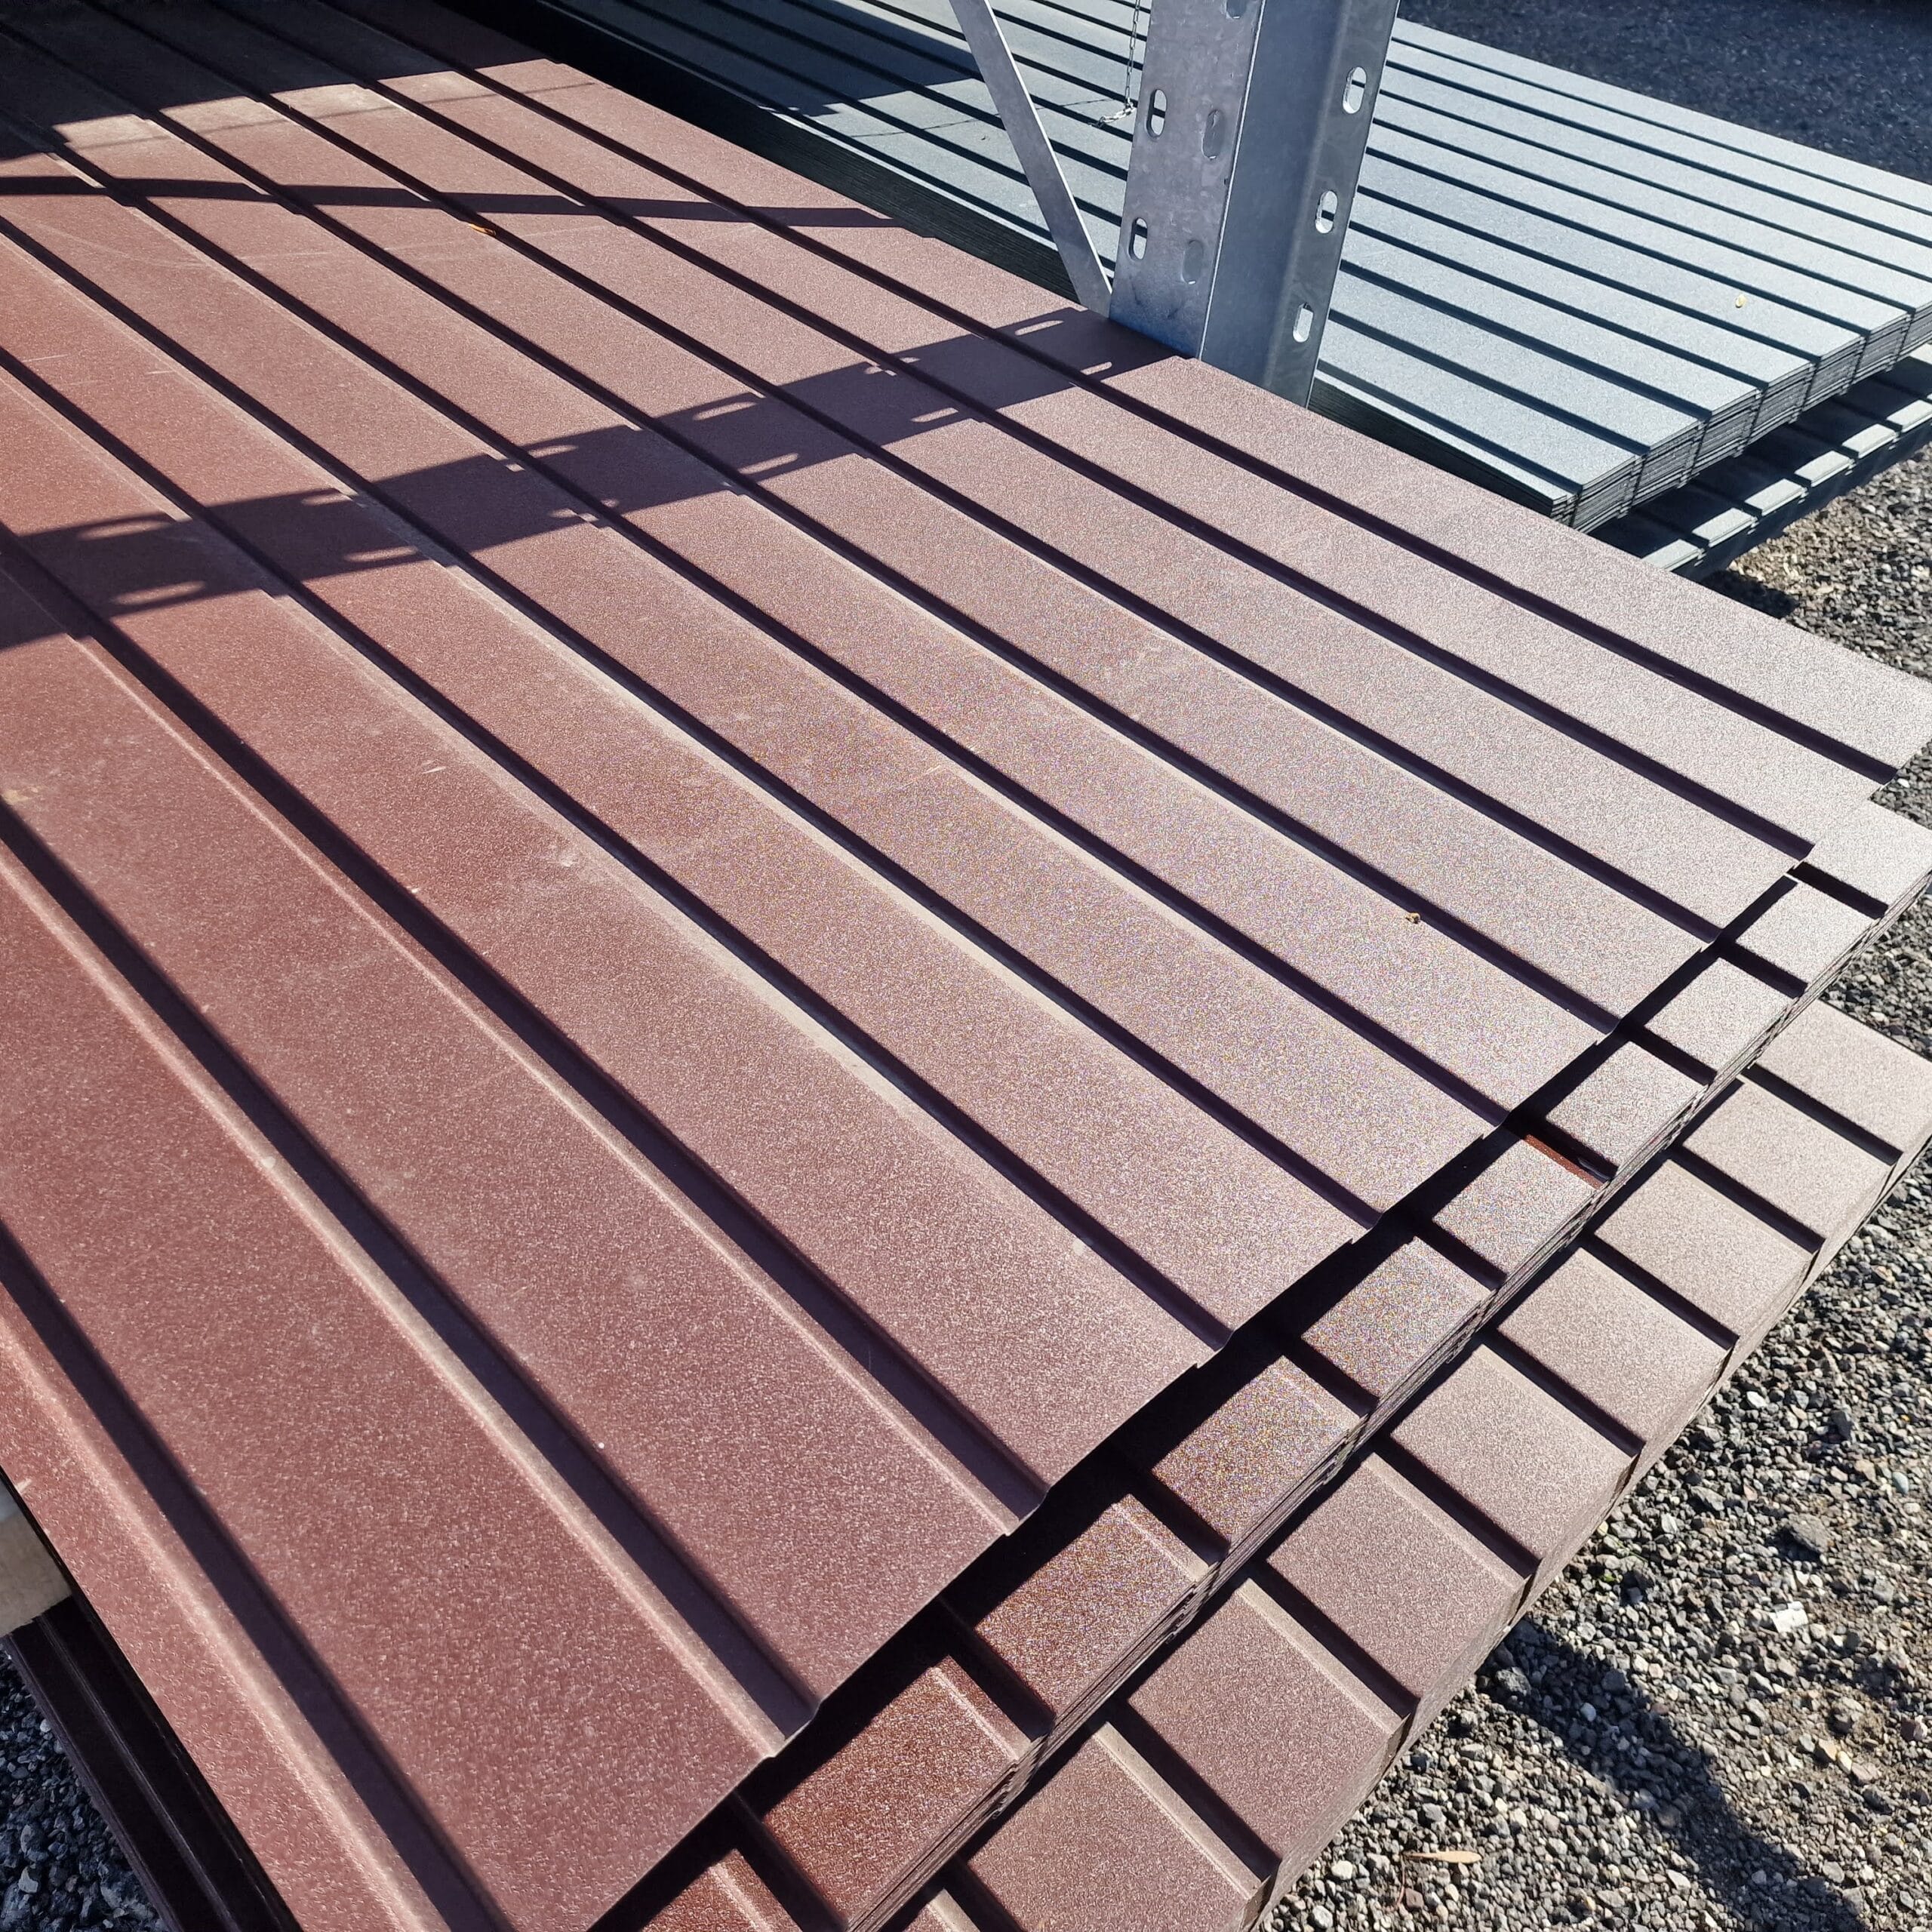
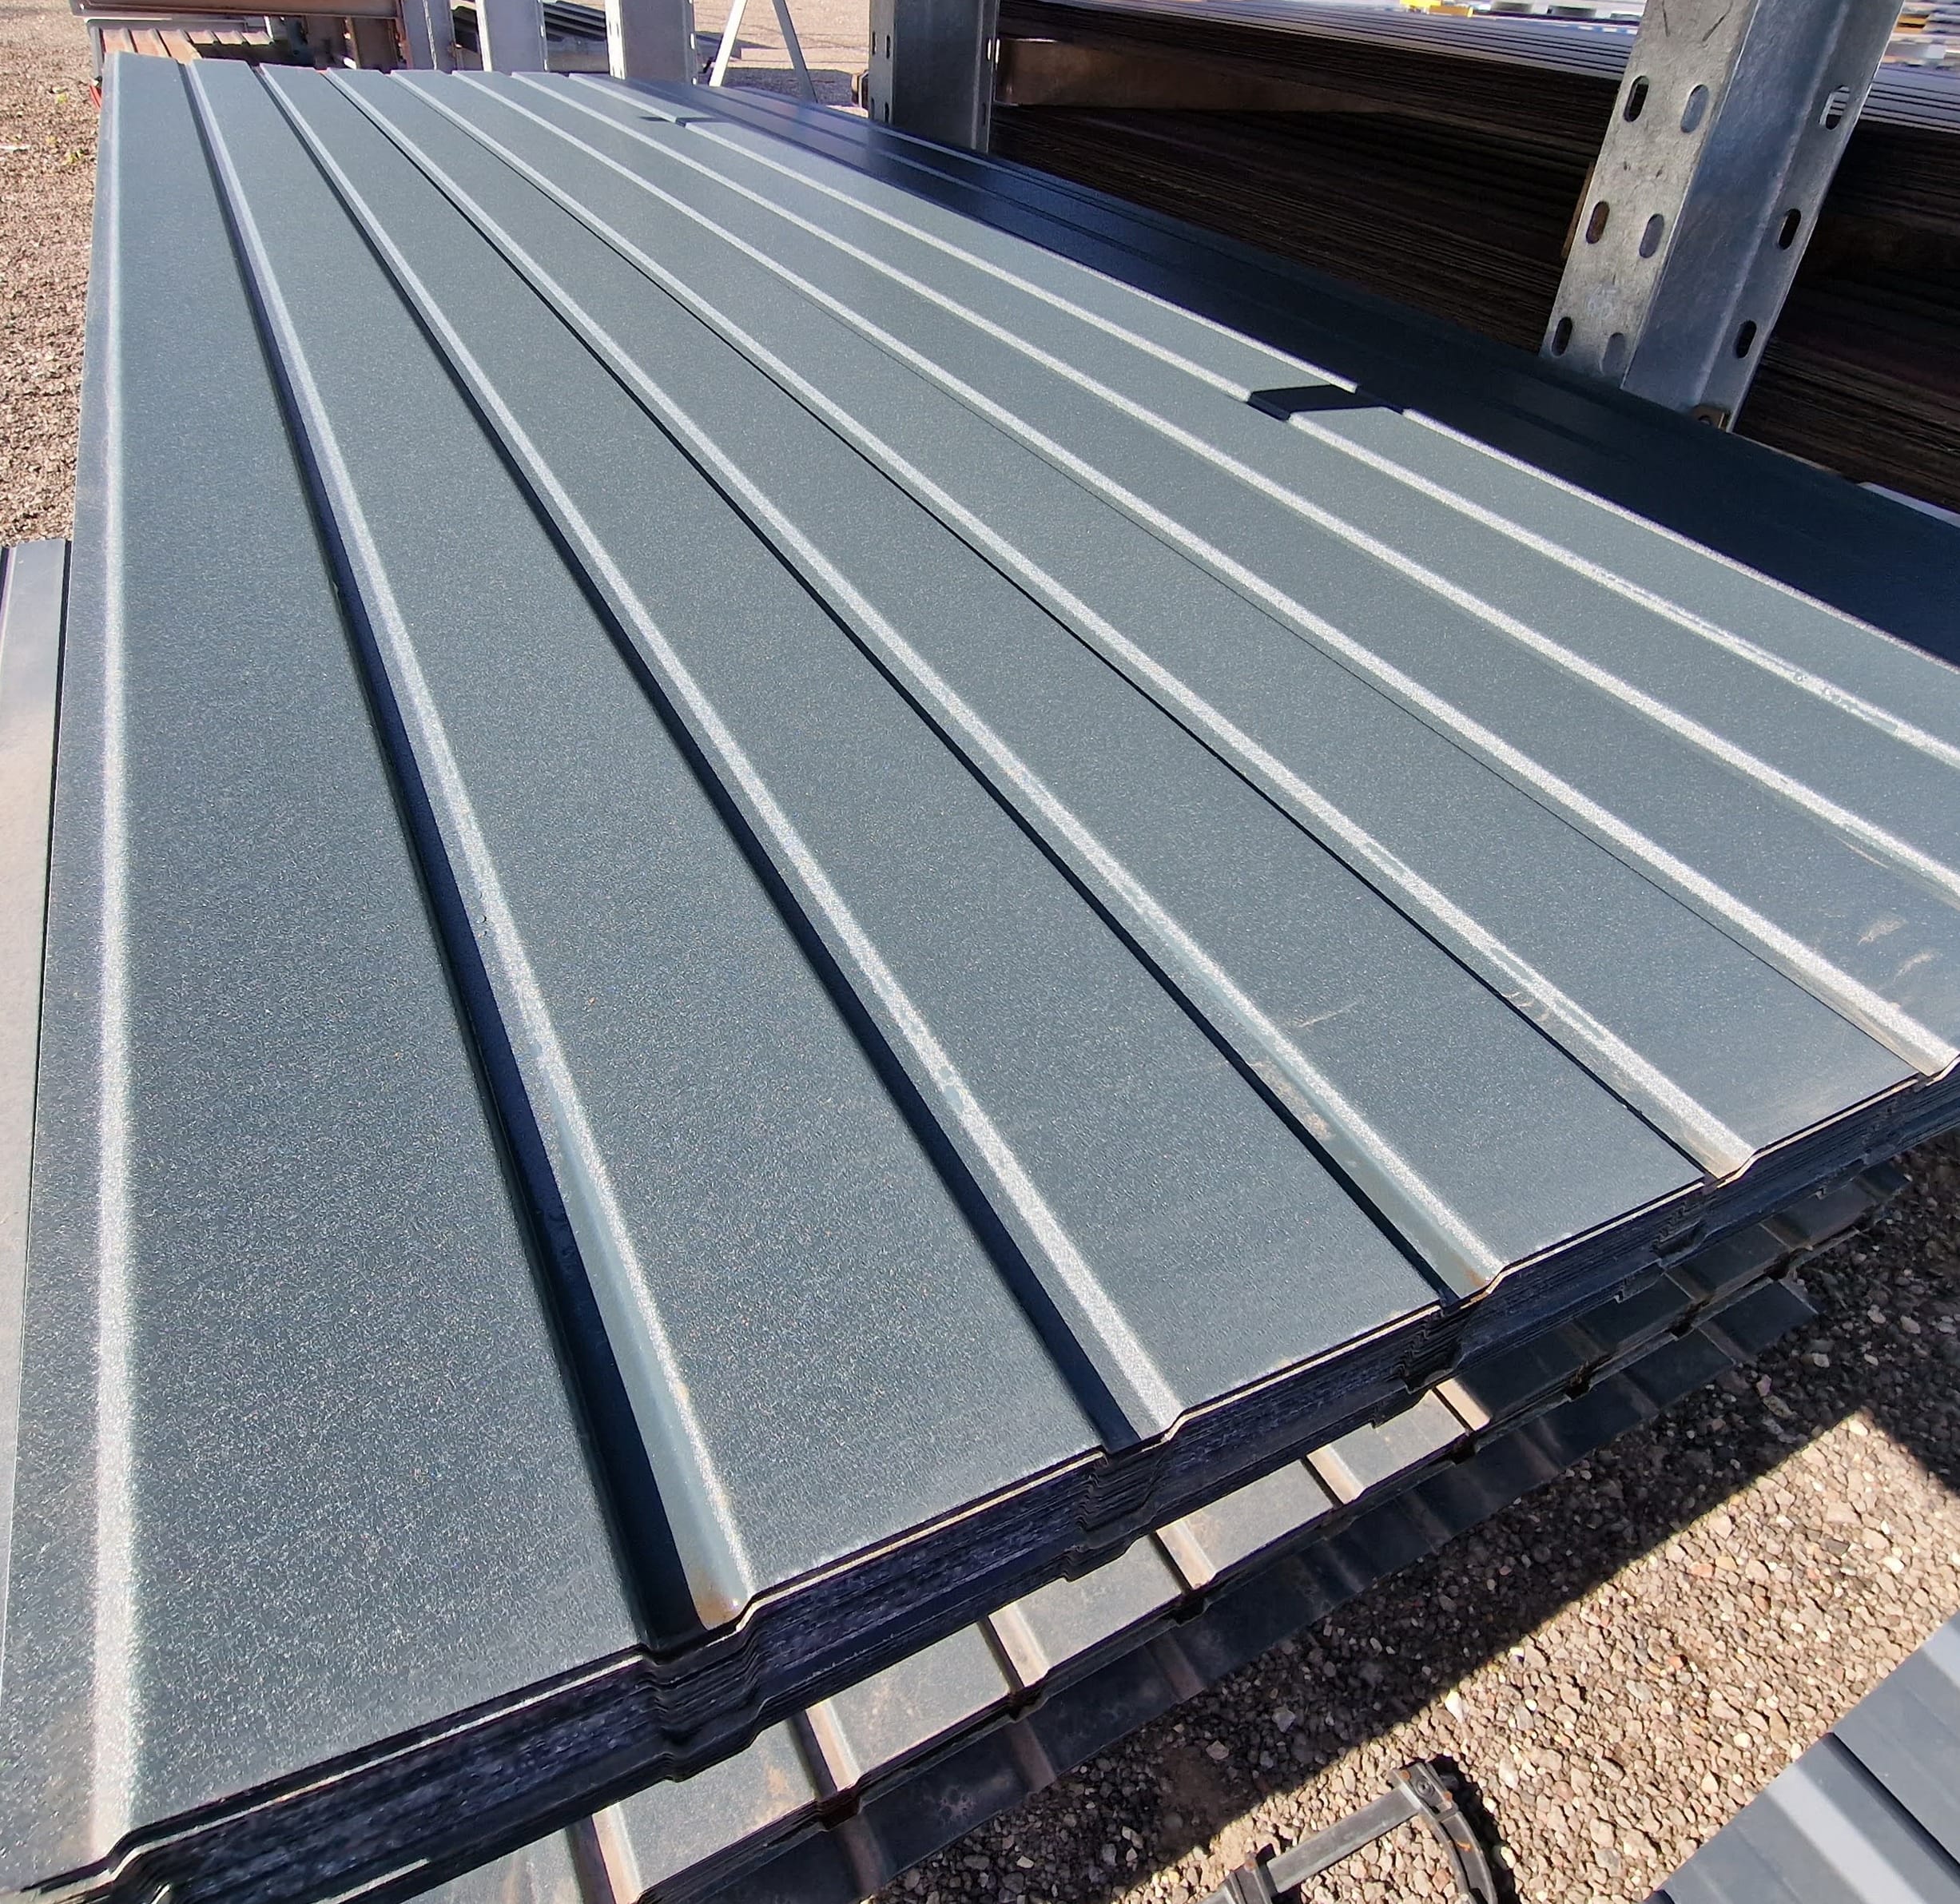
The regular profile helps with T18 and T35 trapezoidal-sheet installation, but efficient work starts before the sheets arrive. Accurate slope dimensions, prepared…

A matching screw head makes a neat finish, but colour tells you nothing about whether the fixing will hold. Start with the…

Sandwich panels can form an enclosure over a masonry wall, provided the substrate, connections and complete build-up are assessed for the project.…
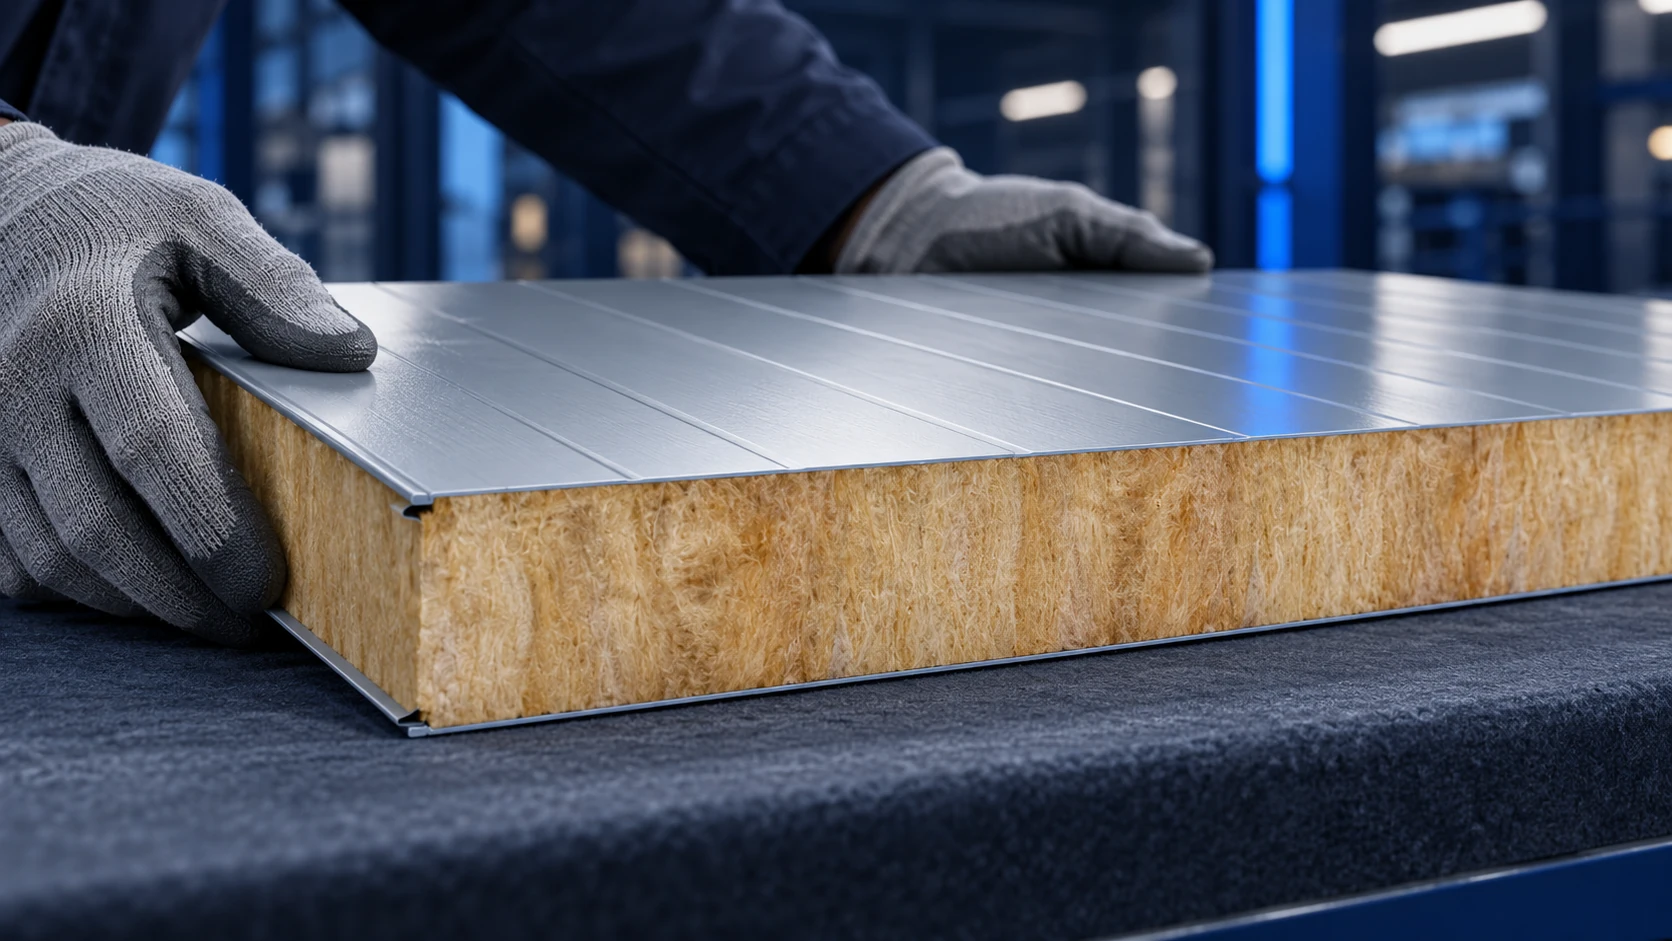
Avoiding sandwich-panel installation defects requires checks from delivery through to handover. Small deviations repeated across a wall or roof can cause serious…
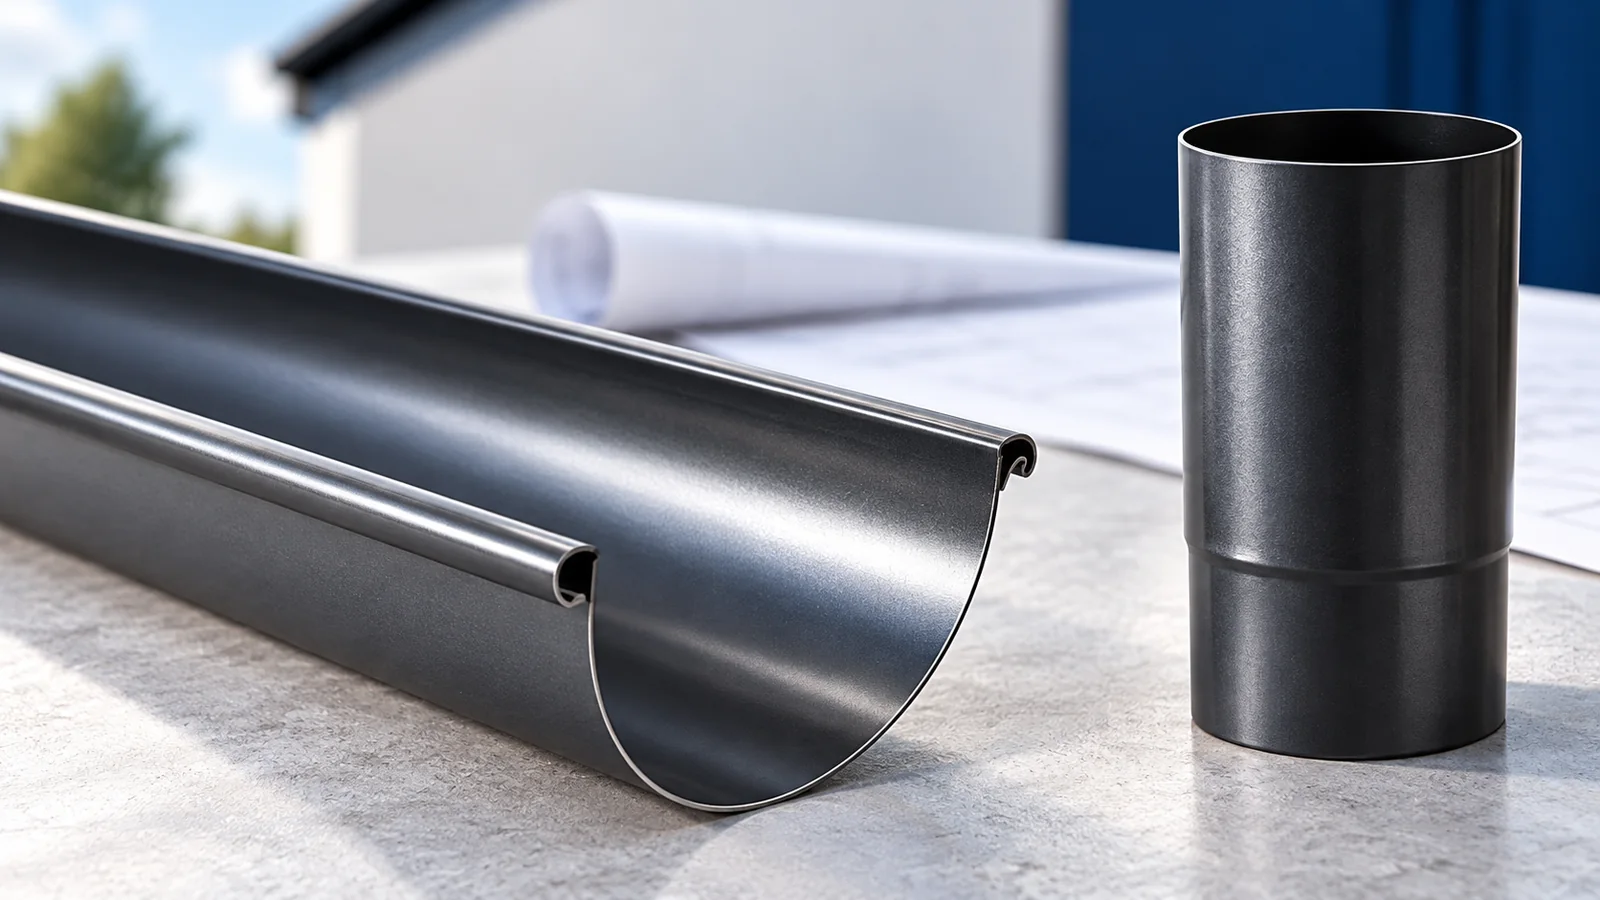
Gutters work effectively when their size, outlets and eaves position match both the roof and the downstream drainage. Before installation, establish the…
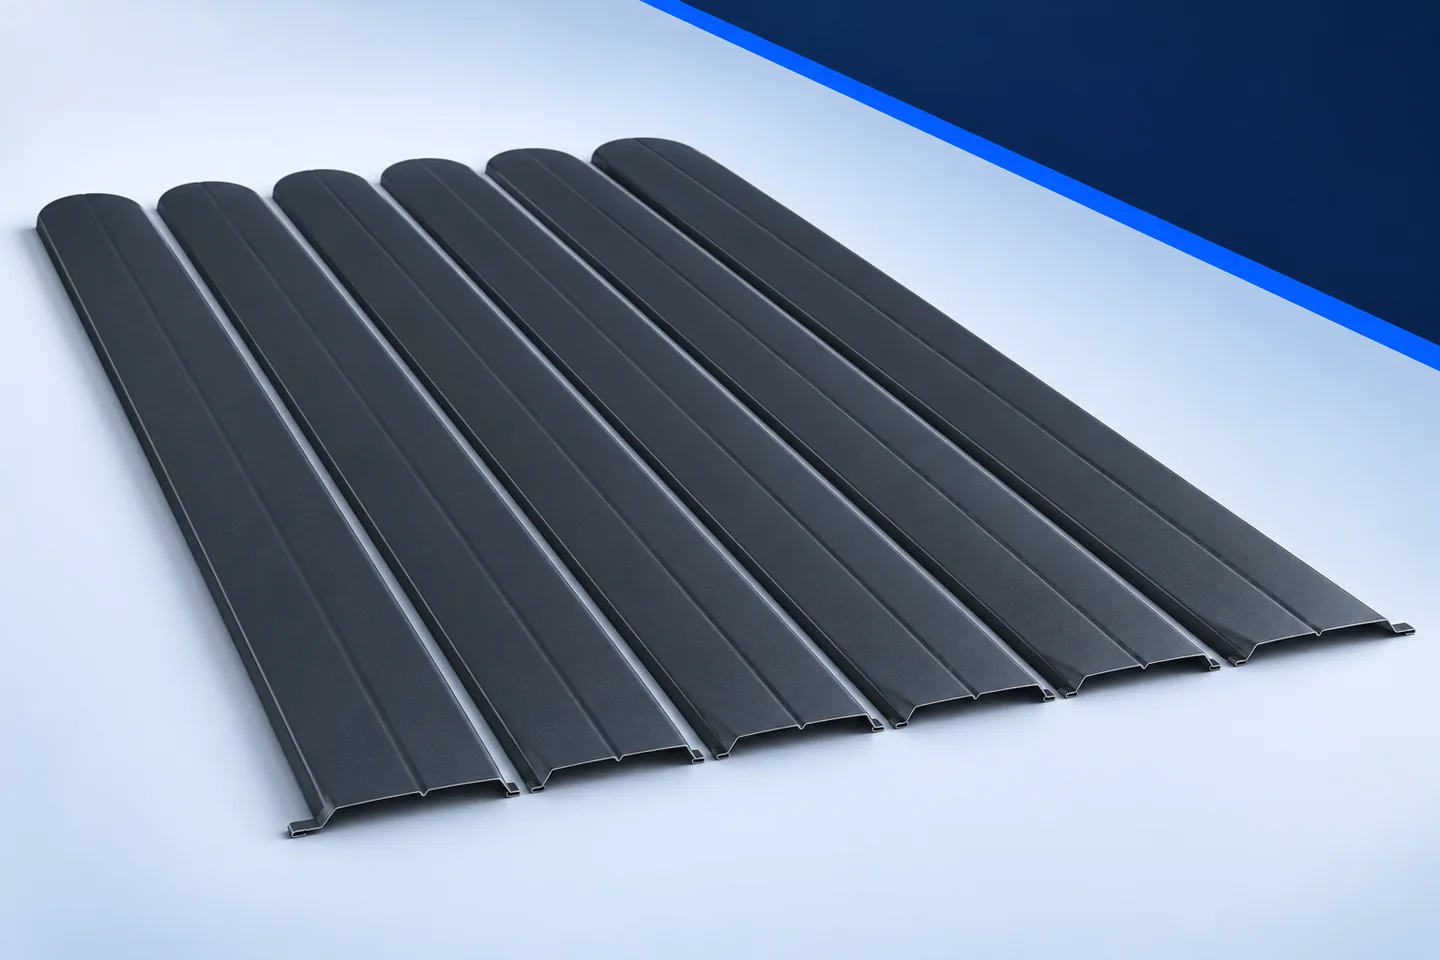
On a sound, correctly sized frame, start by checking the posts and rails: are they stable, straight, properly aligned and ready to…
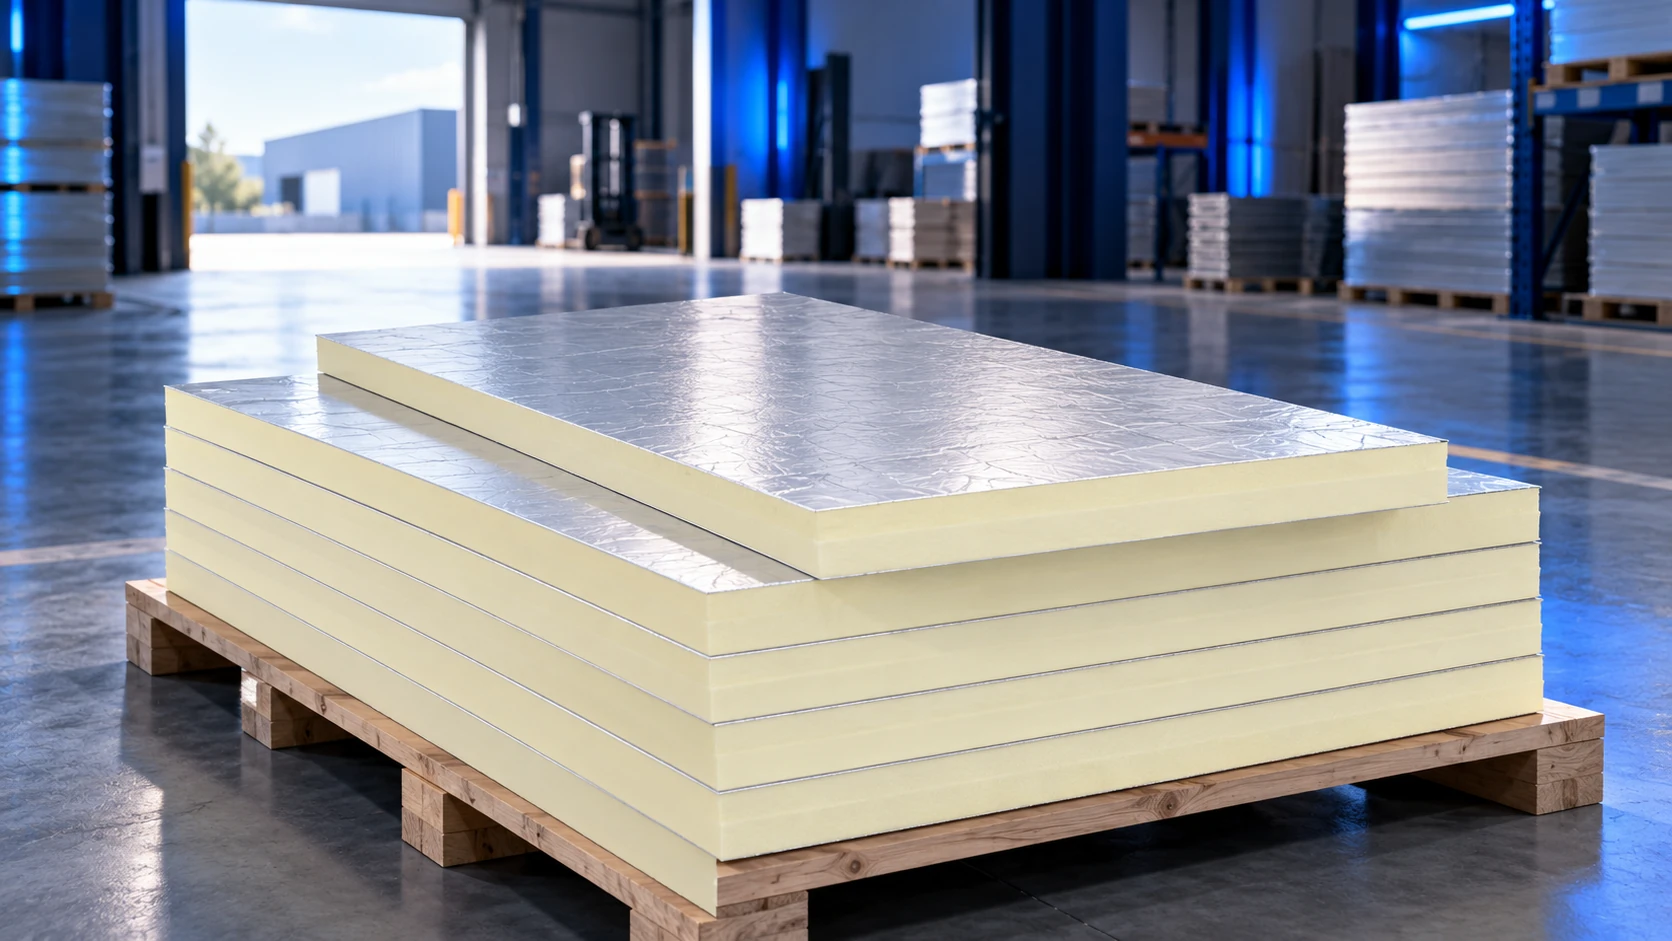
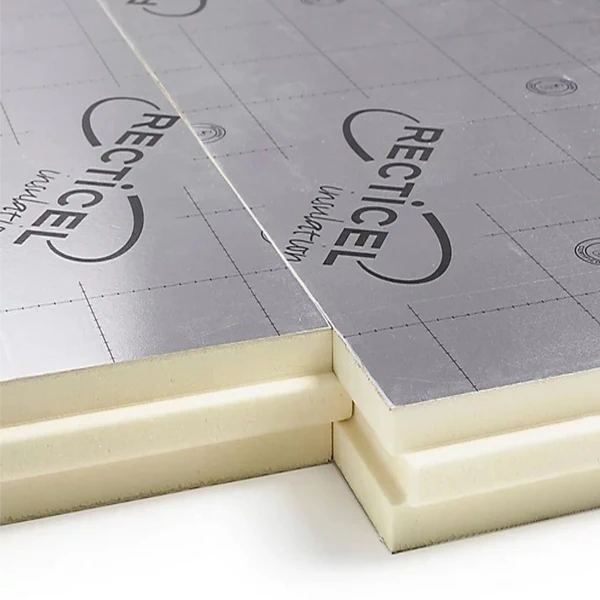
PIR insulation boards are often encountered in 120 × 60 cm and 120 × 240 cm formats, but neither size nor effective…