






Screws for metal fence pickets: what to check before fastening
Metal fence pickets and fencing
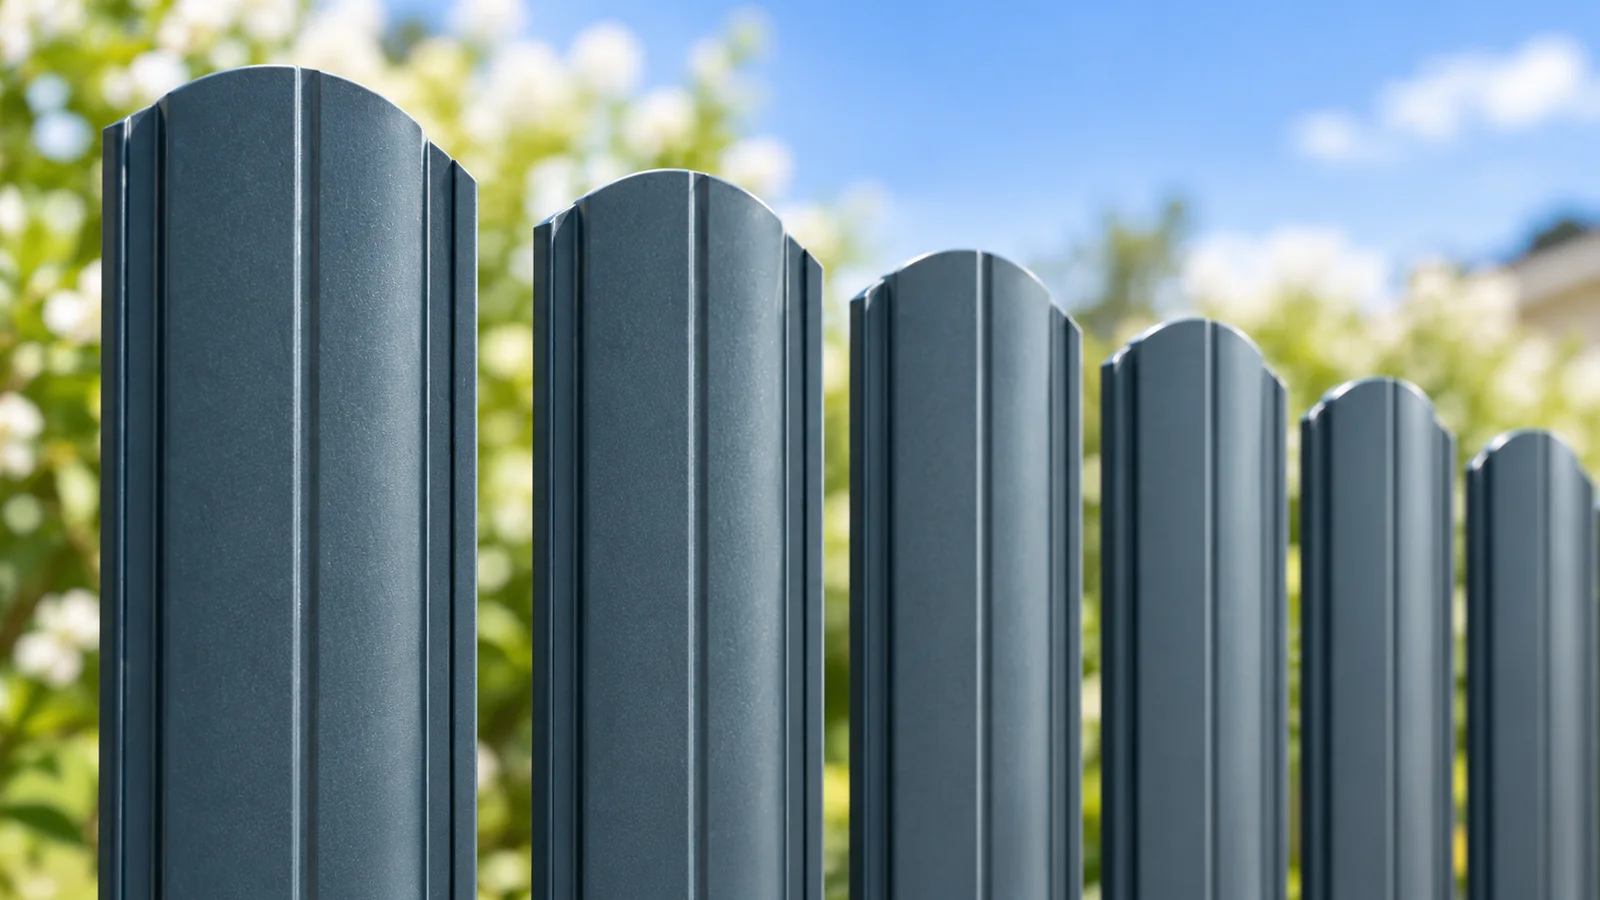
A matching screw head makes a neat finish, but colour tells you nothing about whether the fixing will hold. Start with the fixing specified for the picket. Check the rail material, its thickness and the loads on the connection. The shape of the folds determines where the head can bear evenly; another picket of the same width may need a different number or position of screws. Thin-walled pickets can distort under excessive pressure. Choosing the right fastener and driving it correctly are as important as the quality of the factory coating.

Start with the system documentation
Check the requirements for the supporting frame as well. A self-drilling screw has a specified drilling range and may not penetrate every steel rail properly. Match it to the actual thickness, rather than relying on its trade description.
Size the screw for the whole joint
Allow for every layer the fastener passes through and the required engagement in the support. The longest screw on the shelf is not necessarily safer: a projecting point may foul another picket or get in the way when the fence is in use.
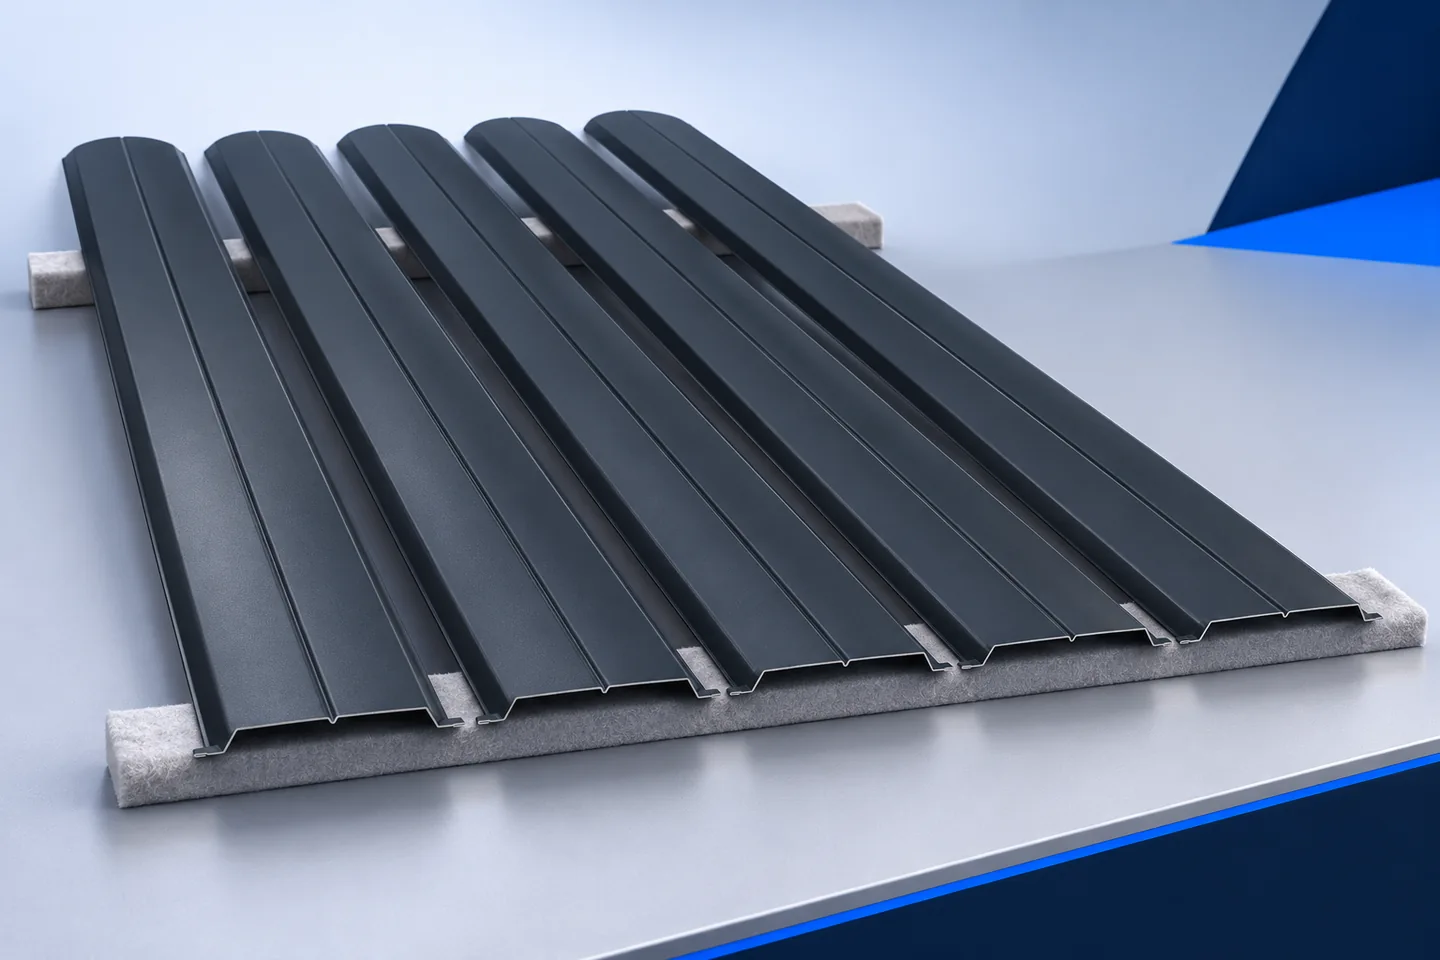
For two rows of pickets, plot the fixing points on both faces of the rail. Leave tool access and avoid collisions between screws. A well-finished front should not conceal a haphazard row of exposed points behind it.
Include fasteners in the corrosion protection plan
The fixing remains outdoors along with the fence. Its material and protection must suit the exposure and the parts it joins. Painting the head of an arbitrary screw does not protect its shank or ensure a durable joint.
Check compatibility where different metals meet. Stainless steel is not automatically the best choice for every combination. Use the system requirements and exposure conditions, and ask the accessory supplier to confirm uncertain combinations.
Locate the fixing on the correct part of the profile
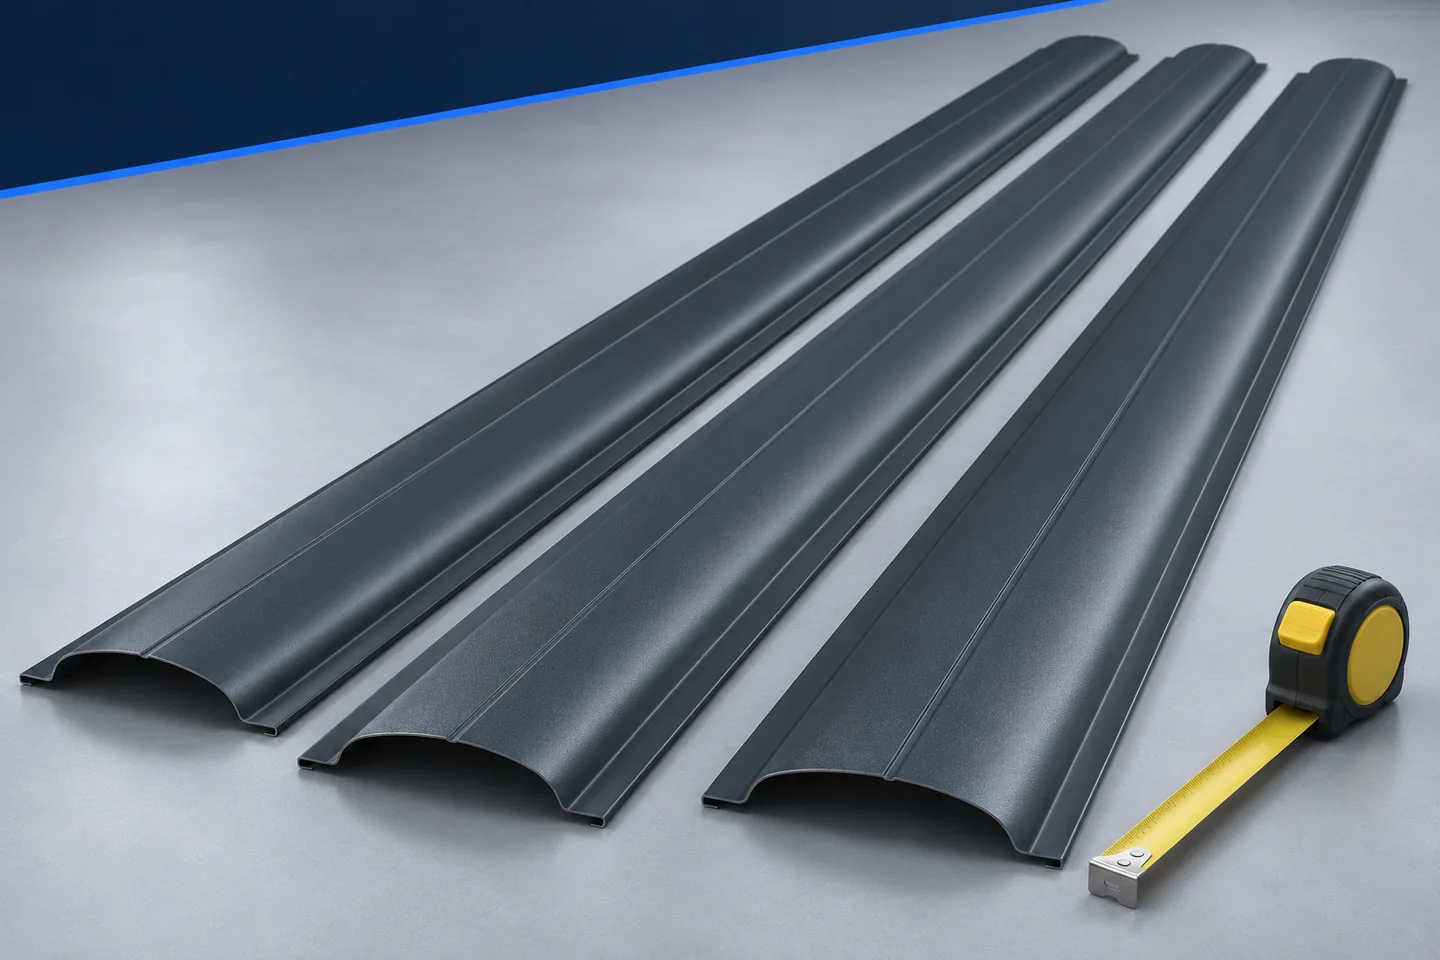
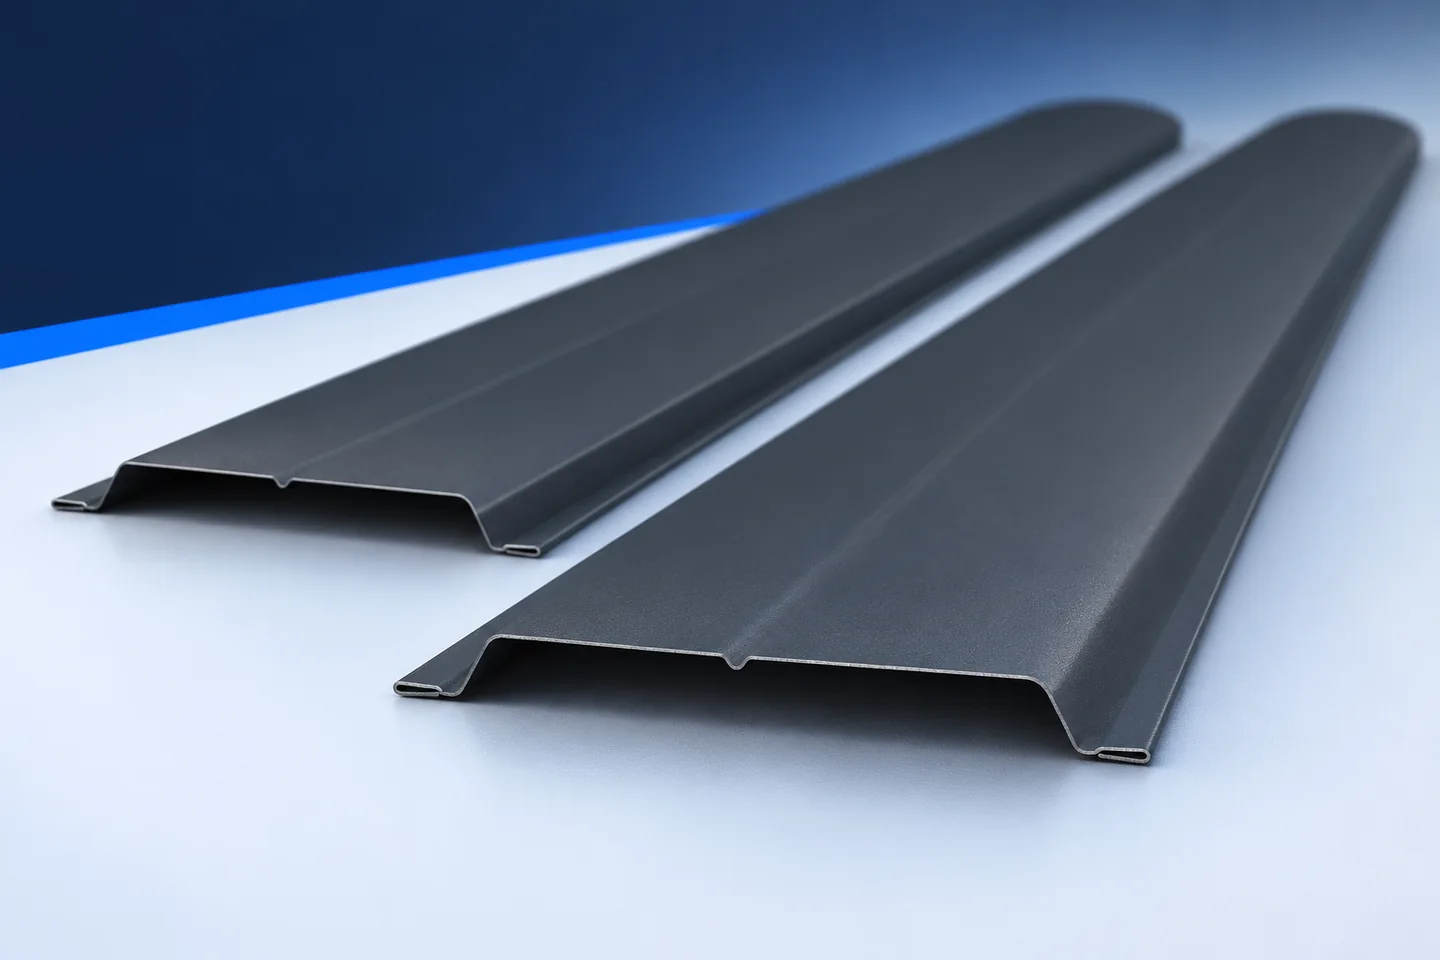
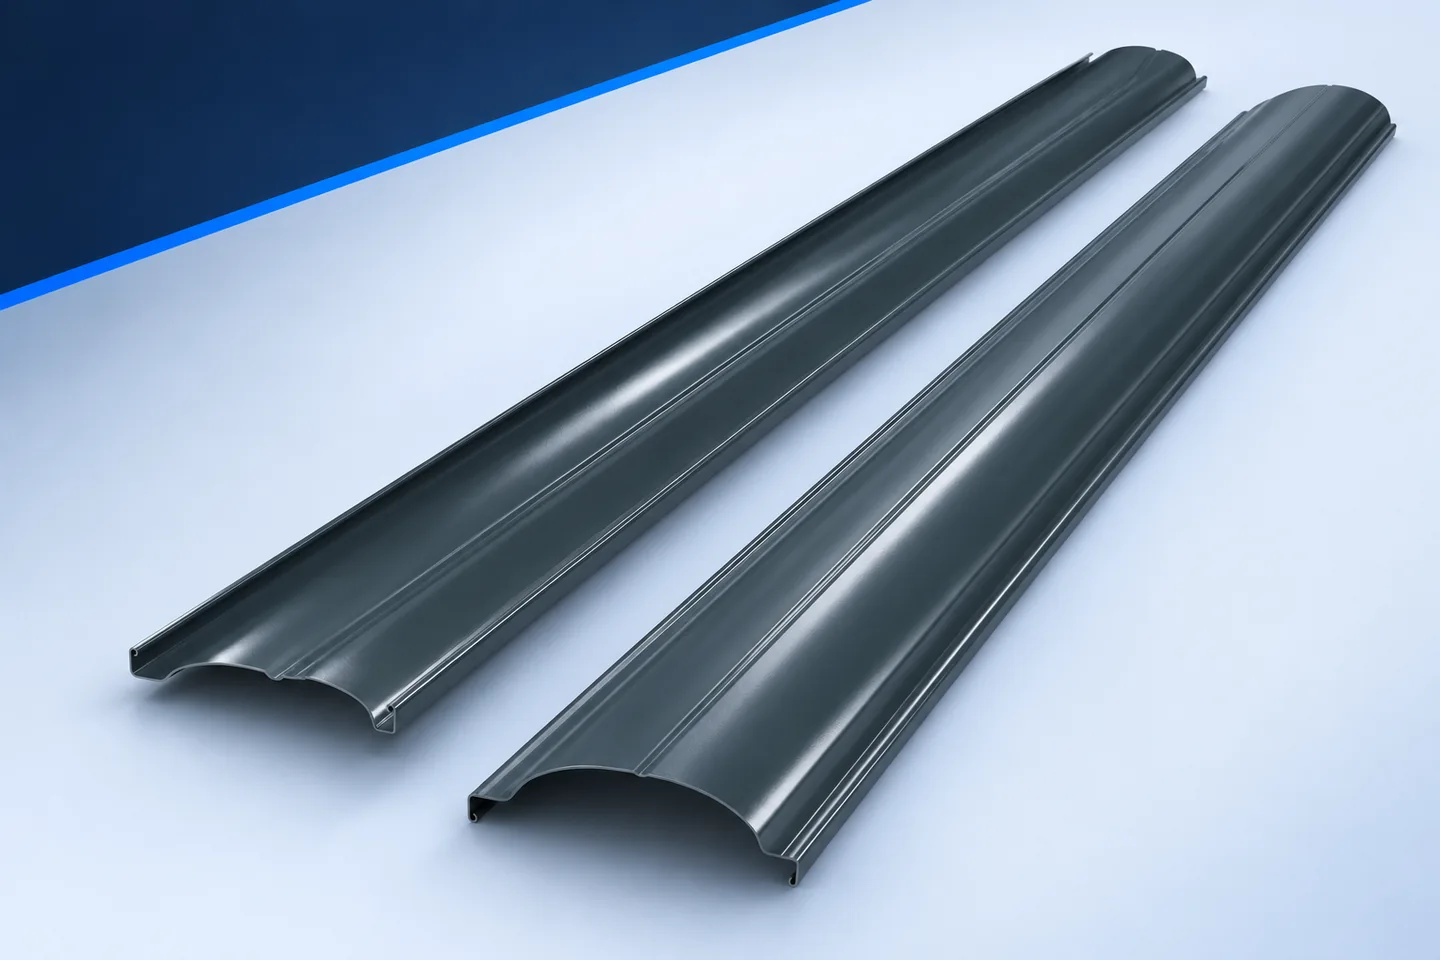
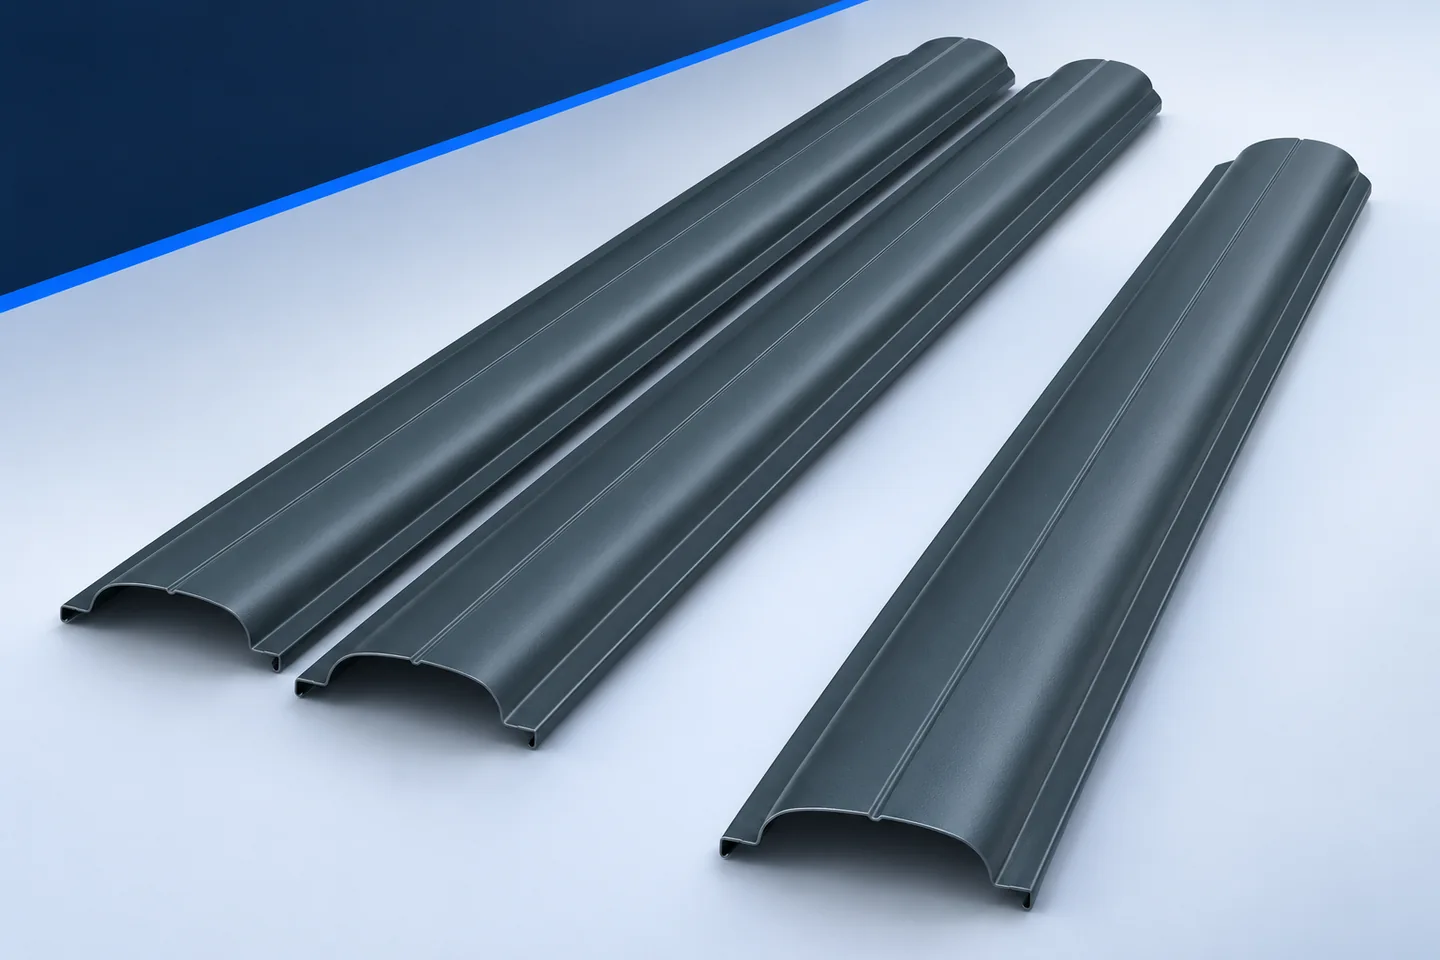
Formed pickets have flats, grooves and folds. Not all of them will take the same clamping pressure. A head bearing on an uneven surface can dent the metal. Follow the position shown in the instructions or agreed connection detail.
Use a sample to check tool access, alignment and appearance. Do not drill trial holes in a picket intended for the visible face of the fence: moving the screw will not remove the first hole.

Control the tightening operation
The joint should hold without crushing the thin picket. Excessive torque can strip the thread in the rail or distort the profile; insufficient pressure leaves play. Set up the tool and follow the installation requirements for that particular fastener.
Only use a sealing washer if the system calls for one. Where specified, follow the manufacturer’s instructions for its compression. Substituting parts of the fixing set may change the clamping force and service life.
Remove drilling swarf
Steel filings left on paint can rust and leave marks. Clean the picket and the work area without scratching the finish. Check the rail and the lower folds where particles collect. Rain is no substitute for removing them.
Clean as you work. Gloves and tools can transfer accumulated debris to the next picket. A clean station preserves the factory finish and helps distinguish installation marks from material defects.
Inspect the first connections before repeating them
Look at the profile from both sides. Check that it holds its intended position and has not been pulled against an uneven rail. If a screw spins without clamping, find the cause and use a suitable repair rather than adding another screw at random.
Use the first bay to refine the method before continuing along the fence. This matters particularly with unfamiliar tools or a different supporting material. A repeatable operation is useful only if the first result is sound.
Record the accessories used
Note the type and designation of the fasteners in the fence records. That makes it possible to order compatible replacements without identifying a screw by its head alone. Keep a small stock of matching accessories where they will not corrode.
Suitable fixings hold coated pickets in position and limit damage at the contact face. They are only part of the project cost, yet a poor choice affects the entire fence. Settle the specification before repetitive installation begins.
At handover inspect the side away from the street too. That is where a projecting screw tip or a pocket of swarf can escape notice. Assess each joint as a whole, regardless of the usual viewing direction.

Free quote
What to include in your enquiry
Tell us how you plan to use the material, the dimensions and the quantity you need. Include the thickness, grade or variant name, along with the delivery town or your preferred collection branch. For a specific product, add its name or a link to the product page. We will reply to the email address you provide to discuss availability and the terms of your order.
More from the building guide
Assess a metal picket fence as a complete arrangement of posts, rails and infill. The pickets determine colour, rhythm and screening, but…
Measure each bay, pedestrian gate and vehicle gate separately before ordering made-to-length metal pickets. The length of the site boundary tells you…
Plan a metal-picket fence around everyday use of the property: visibility at the gate, garden privacy and pedestrian access. Picket width, gaps…
To calculate how many vertical metal pickets fit in a single row, allow for the clear gaps and both end margins as…
Replacing the infill can change the appearance of a fence without rebuilding it from scratch, provided the existing supports are suitable. Metal…
Uneven gaps, rust-coloured spots and a loose picket can have quite different causes. Before tightening, grinding or straightening anything, examine the layout,…
Inspect a finished metal picket fence from both sides against the agreed specification. Start with the profile, lengths, end shapes, colour and…
Choose a metal picket fence panel as a combination of infill, rails, posts and fixings. Colour alone does not determine privacy or…