






Installing vertical metal fence pickets on a prepared frame
Metal fence pickets and fencing
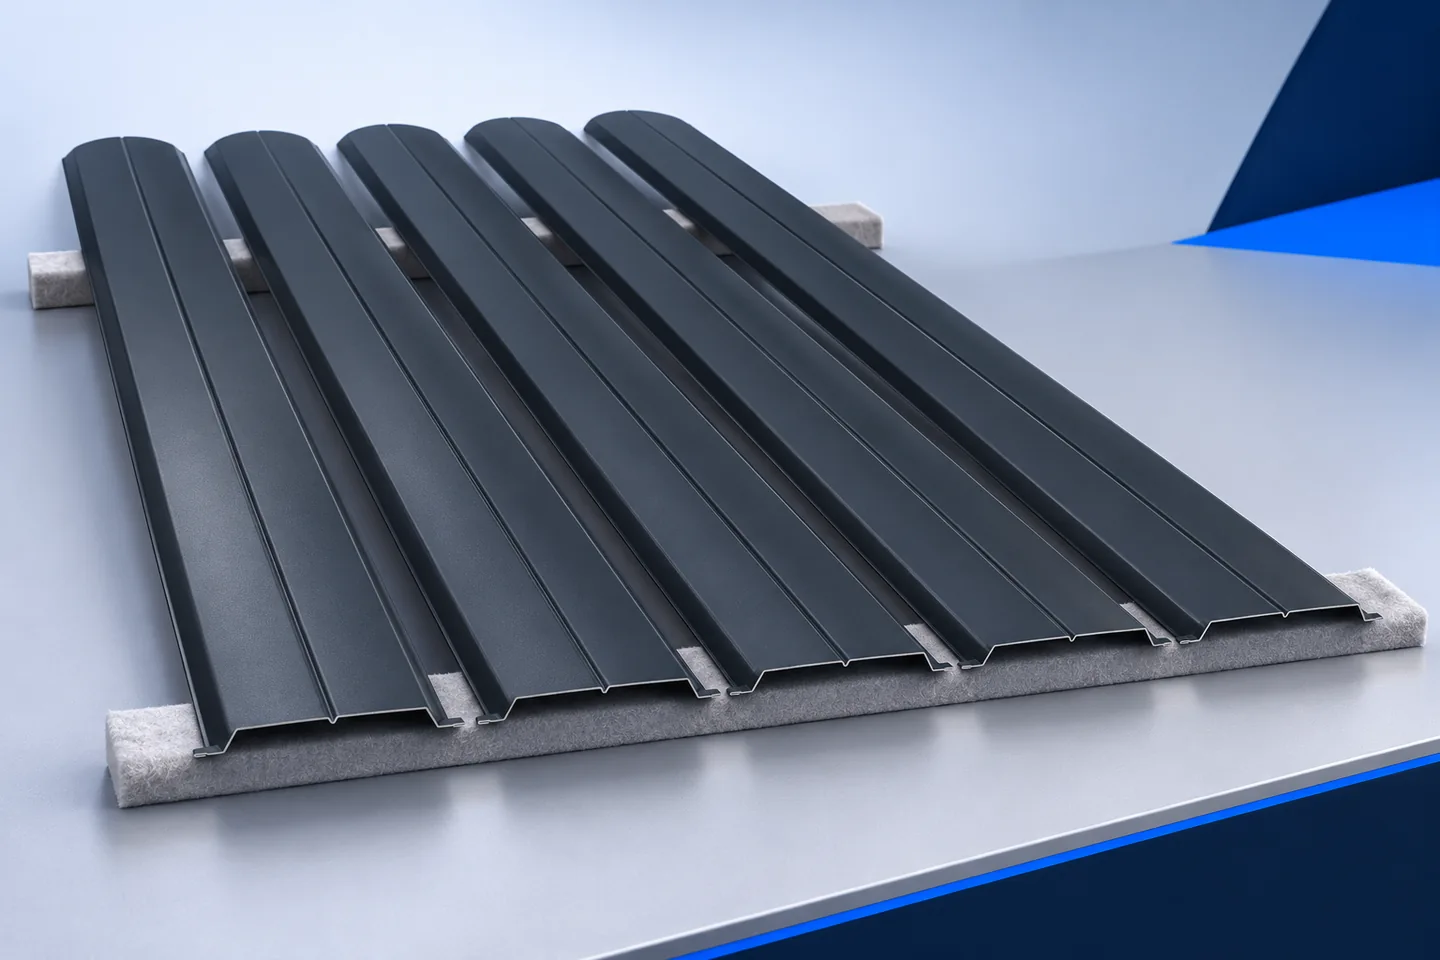
On a sound, correctly sized frame, start by checking the posts and rails: are they stable, straight, properly aligned and ready to receive the fixings? Finish repairs and surface protection before the infill restricts access. Sort the pickets by bay, set out the full pattern and use the first picket to check the fixing method. The following sequence covers installation on an existing frame, not the design of posts, foundations or rail spacings. Fixing details must always follow the instructions for the profile you bought.
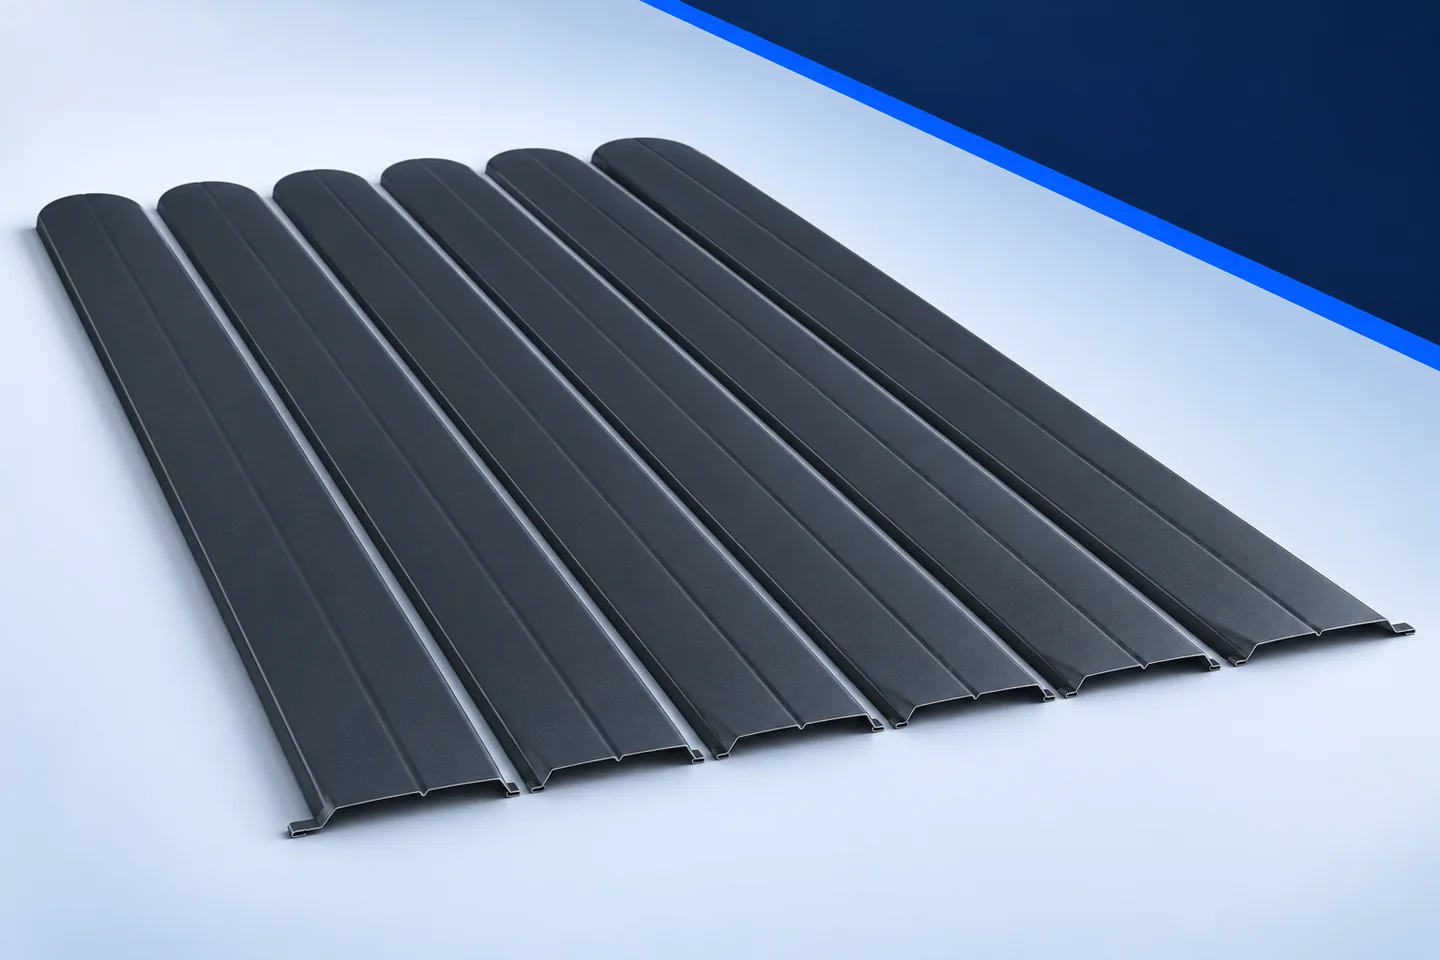
Check that the frame is ready
Compare the measured bays with the order schedule. Changes in post spacing or ground level must be reflected in the layout. Do not use the picket to pull a crooked frame straight: an uneven fixing surface can distort the profile and spoil the fence line.
Sort the delivery by bay
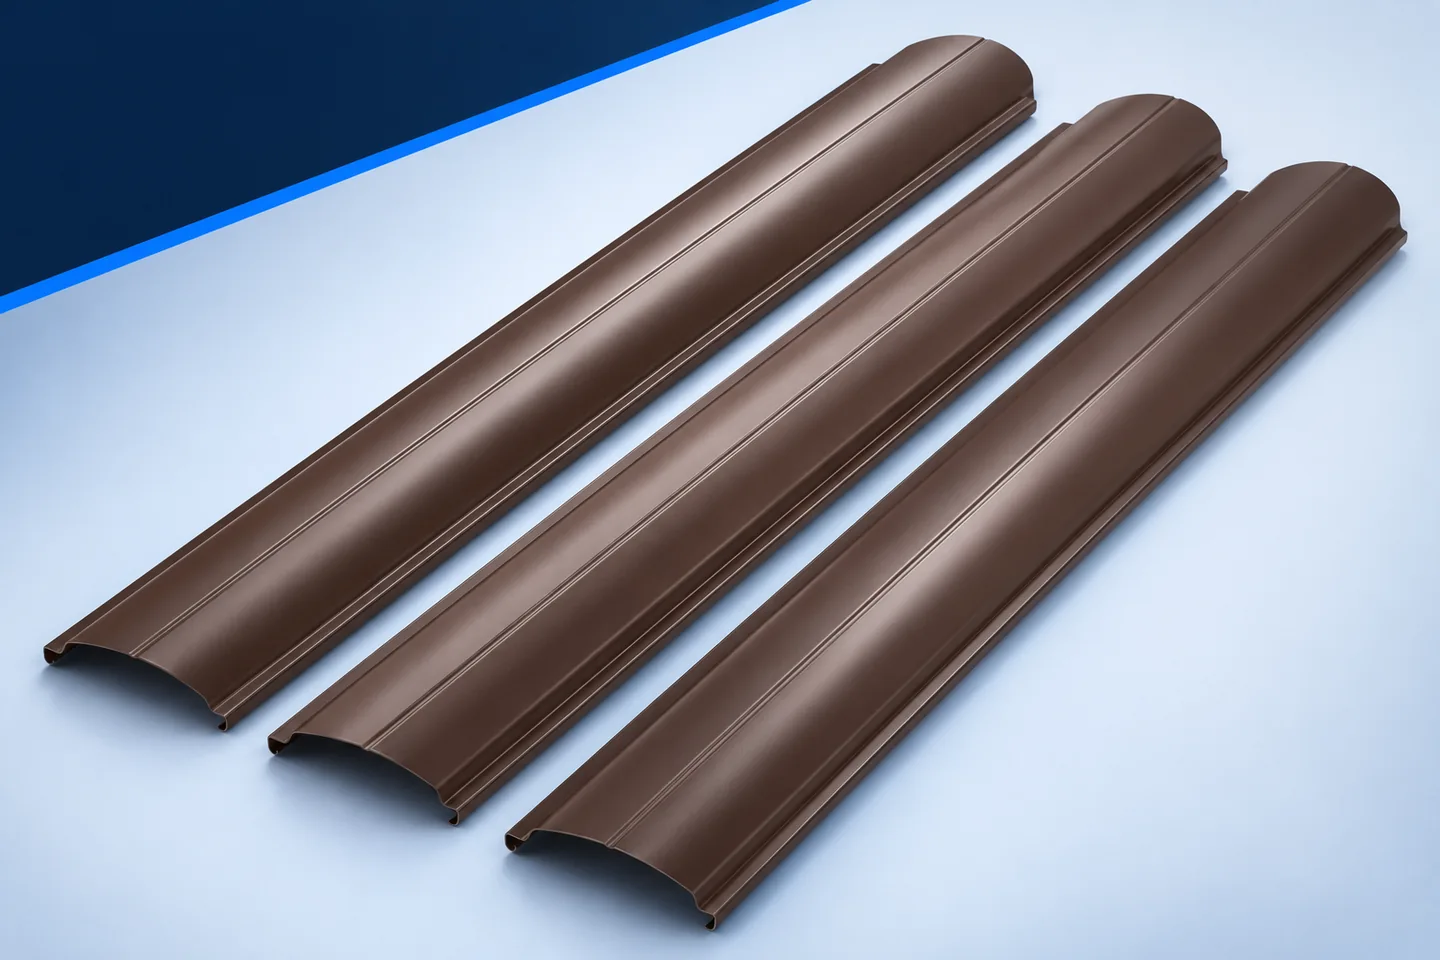
Lay out the correct lengths and check coating, end shape and colour. Set doubtful pieces aside so that a picket needing inspection is not installed simply because it is nearest to hand.
Open packs and remove film as directed by the supplier. Carry pickets without dragging them along the ground or rubbing them together. Clean supports near the current bay reduce handling and the risk of scratching the finish.
Mark the fence line and bay layout
Set the top line and clearance beneath the lower ends. Draw the picket count, gaps and post margins, allowing for brackets that might obstruct fasteners. Base all positions on the full clear width rather than an arbitrary starting point.
For a curved or stepped top, arrange the lengths in order and match the labels to the drawing. This avoids searching for the right piece halfway through a bay. The marked sequence should be clear before fastening starts.
Use the first picket to check alignment
Put the first picket in its final position and check plumb and the end margin. Fix it at the points specified for that profile. Alignment with a mark on one rail is not enough: check its position at every support.
After tightening, inspect the section and finish around each fixing. Excessive pressure should not have left dents. Adjust the technique now, before repeating it along the row.

Check progress as the row grows
A non-scratching spacer helps maintain the gaps. Every few pickets, compare the position with the original reference marks to catch cumulative error. Do not wait until only the last space remains.
Watch the picket while driving the screws; it should neither slide nor twist out of plumb. In a team, agree who aligns it and who fastens it, and use the same convention for reading the measurements.
Clean worked areas as you go
Remove swarf and offcuts after drilling before they spread to neighbouring pickets. Inspect the backs and grooves near the lower ends too: trapped steel particles can leave rust marks on the paint.
If a piece needs trimming, use a manufacturer-approved tool. Keep hot grinding particles off coated sheet. Check the cut edge and any protection required by the coating instructions, then return the clean piece to the installation station.
Inspect the finished bay from both sides
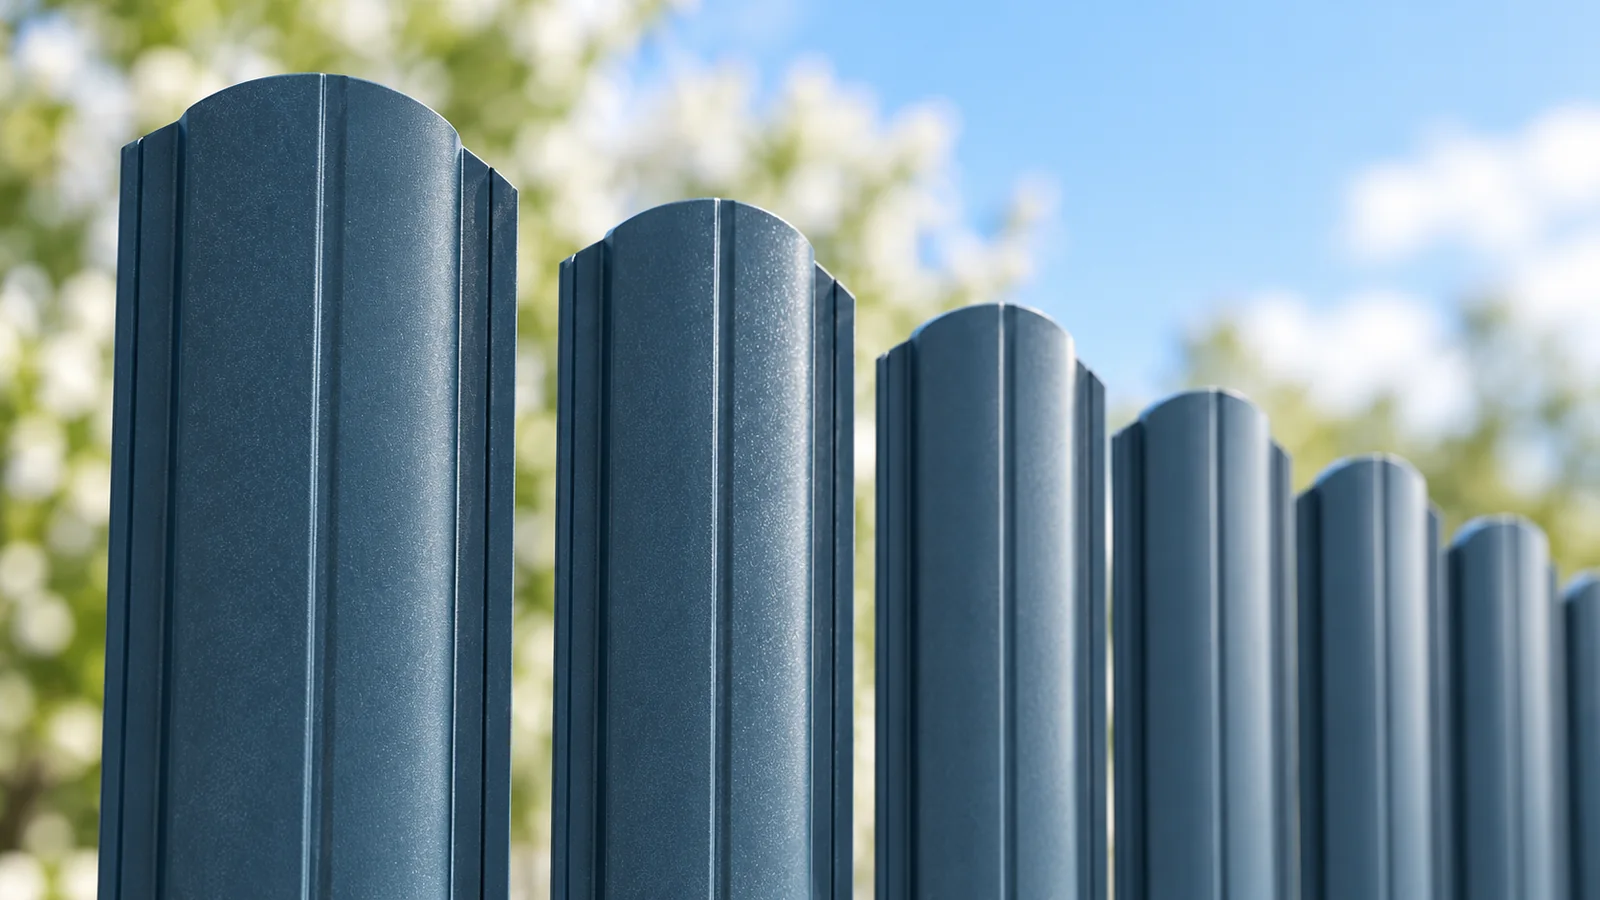
Check the top line, plumb and gaps, then inspect screw heads and accessible points at the back. Remove any remaining protective film and temporary aids. The garden face should also match the agreed arrangement.
Step back and inspect the whole run before moving to the next bay. Do not hide a clear discrepancy by moving the last picket. Find out whether the error lies in the survey, delivered dimensions or installation.
Hand over the fence with its records
Keep the as-built dimensions and fixing type. Give the owner the coating inspection and cleaning instructions, and mark any cuts or touch-ups. The record will help distinguish later wear from work done during installation.
Factory-coated pickets provide a finished surface as soon as they are fitted. With a sound frame, careful setting out and controlled fastening, the repeated shape creates a regular fence line rather than drawing attention to small errors.
If the next bay has a different height, check its drawing and lengths before copying marks. A change in ground or plinth level may alter the position of the lower ends. Repeat the method, but verify the conditions for each bay.

Free quote
What to include in your enquiry
Tell us how you plan to use the material, the dimensions and the quantity you need. Include the thickness, grade or variant name, along with the delivery town or your preferred collection branch. For a specific product, add its name or a link to the product page. We will reply to the email address you provide to discuss availability and the terms of your order.
More from the building guide
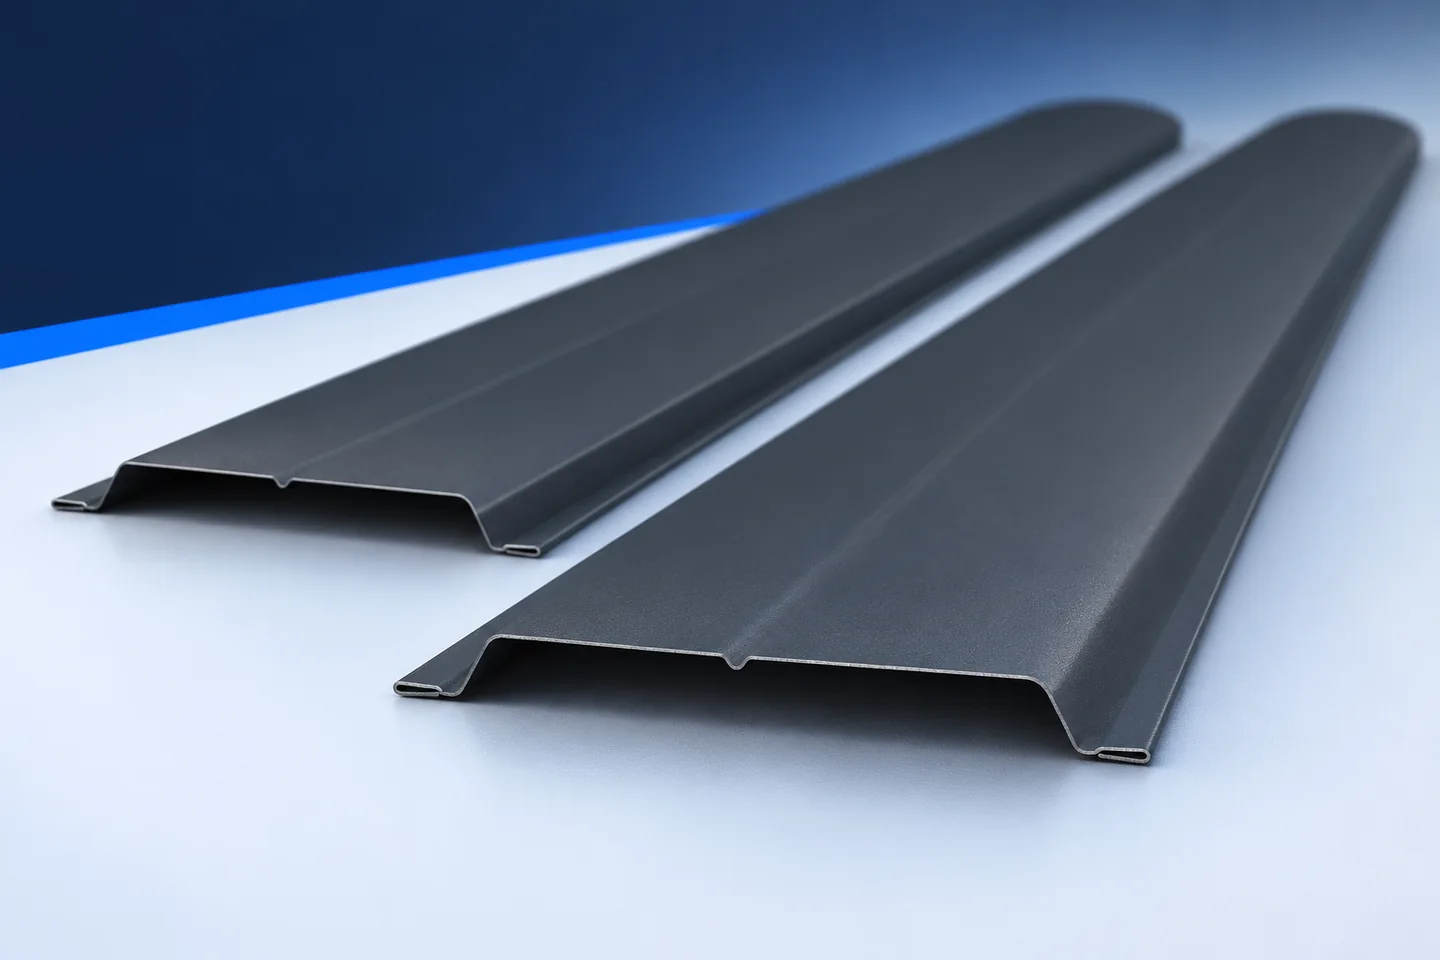
To calculate how many vertical metal pickets fit in a single row, allow for the clear gaps and both end margins as…
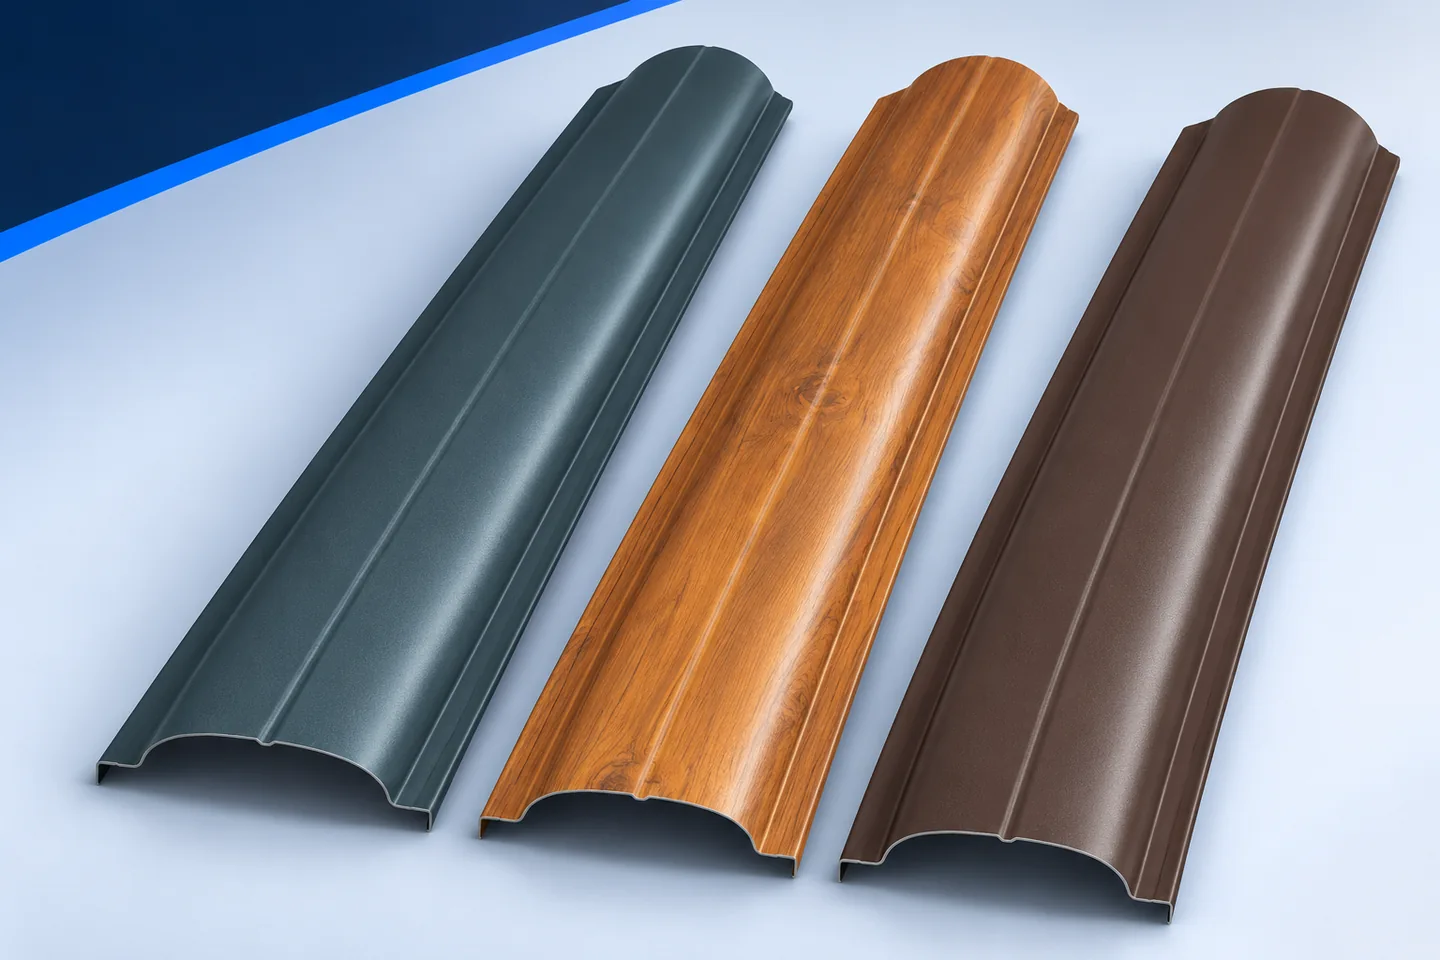
Before laying metal fence slats horizontally, check that the manufacturer permits that orientation. Turning a vertical picket on its side changes its…
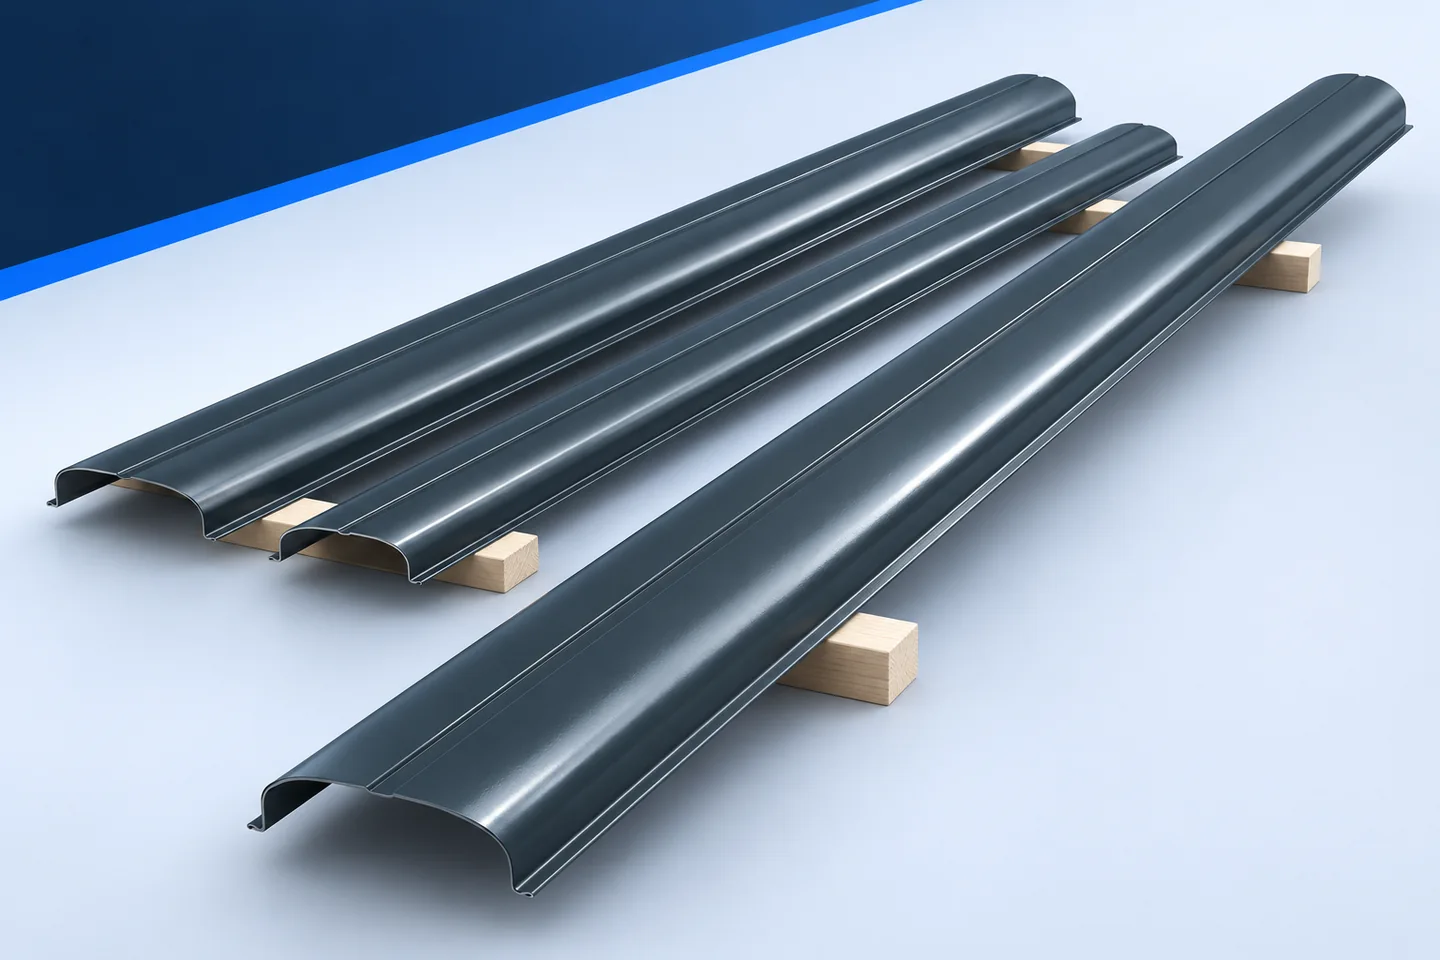
A fence on sloping ground needs more than a single height dimension. Draw its upper and lower edges before ordering: stepped bays…

Ordering pickets to their finished length avoids most site cuts. If a piece appears too long, compare it with the bay drawing…
Inspect a finished metal picket fence from both sides against the agreed specification. Start with the profile, lengths, end shapes, colour and…
Choose a metal picket fence panel as a combination of infill, rails, posts and fixings. Colour alone does not determine privacy or…
Vehicle and pedestrian gates can match the fence, but they do not behave like fixed bays. Each leaf opens and closes on…

The pickets give a fence its appearance, but the frame carries the loads. Force travels from each metal picket through its fasteners…