






Framing for metal fence pickets: posts, rails and fixings
Metal fence pickets and fencing
The pickets give a fence its appearance, but the frame carries the loads. Force travels from each metal picket through its fasteners into the rails, then through brackets and posts into the foundations. A strong post cannot compensate for an unsuitable connection or rail. Plan the supporting frame when choosing the picket profile: its cross-section, length and permitted fixing arrangement affect the layout. There is no single post or rail spacing that suits every fence.

Follow the load path
Fence height, bay span and the proportion of open space affect the loads, as does exposure. A long run across open ground can behave differently from a short, sheltered bay. Choose sections and foundations for the particular site rather than copying the usual installation detail.
Arrange supports for the picket orientation
Vertical pickets usually attach to rails at specified heights. Horizontal pickets need supports consistent with their approved installation method. Turning a layout through 90 degrees calls for a check of both span and connection geometry.
The maximum production length is not the permissible unsupported length. Long pickets may need intermediate supports. Consult the product documentation or system supplier; a stronger screw at the end does not increase the stiffness of the picket itself.
Choose the number of rails for the actual bay
Picket section, length, restraint and load determine how many rails a given height requires. A proprietary fence system may specify combinations. For a bespoke layout, have the components sized for the proposed arrangement.
Draw the rails before ordering. Their position must allow the fixings to be installed properly and affects the view from the garden. Trying to hide a rail behind an unsuitable part of the picket can put the fixing in the wrong place.
Give posts adequate foundations
Even a stiff post needs adequate support at its base. The setting detail depends on the fence and ground; do not copy footing dimensions from a photograph or another property. Soil conditions, fence height and loading may all differ.
On an existing fence, inspect the ground-line area and the stability of the entire anchorage as well as the visible post. Denser infill may expose weaknesses that were previously unnoticed. Resolve doubts before replacing the pickets.

Match brackets to their substrate
Steel posts and masonry piers may need different details. On masonry, assess the fixing location and select suitable anchorage. A bracket that fits the available space does not establish the resistance of the joint; the complete assembly and substrate condition matter.
For steel posts, check the wall thickness and the rail attachment. A photograph does not tell you which screw to choose. Drilling capacity, fastener material and corrosion protection must suit all joints, including those hidden behind the pickets.
Protect the entire frame
The pickets’ colour coating does not protect the posts and rails. Specify protection for each component and treat worked areas as required. Finish operations that produce sparks or dirt on site before fitting the decorative infill.
Keep weld spatter and grinding debris away from coated pickets. Prepare contact faces as detailed and clear away offcuts and filings before closing the joint. Cleaning at this stage is part of assembly.
Keep a record of the arrangement
Show support positions, profile dimensions and fixing details on a bay drawing. Include coatings and accessories. A simple drawing is enough if it lets the installer and owner check what was agreed at handover.
This record helps when replacing a damaged picket or altering a bay later. A regular sheet-metal infill lasts when the structure behind it suits the job. Hidden connections deserve the same attention as the visible finish.
Assess additional loads before attaching anything
Planters, signs or screens can add weight and change how air passes through the fence. Do not assume spare capacity. If these uses are planned, allow for them when selecting posts and fixings to avoid improvised reinforcement and damage to thin pickets later.
At corners, draw the ends of the rails approaching from both directions. A straight-run detail may not fit. Set aside space for brackets, fasteners and the final picket on each side so they do not clash.

Free quote
What to include in your enquiry
Tell us how you plan to use the material, the dimensions and the quantity you need. Include the thickness, grade or variant name, along with the delivery town or your preferred collection branch. For a specific product, add its name or a link to the product page. We will reply to the email address you provide to discuss availability and the terms of your order.
More from the building guide
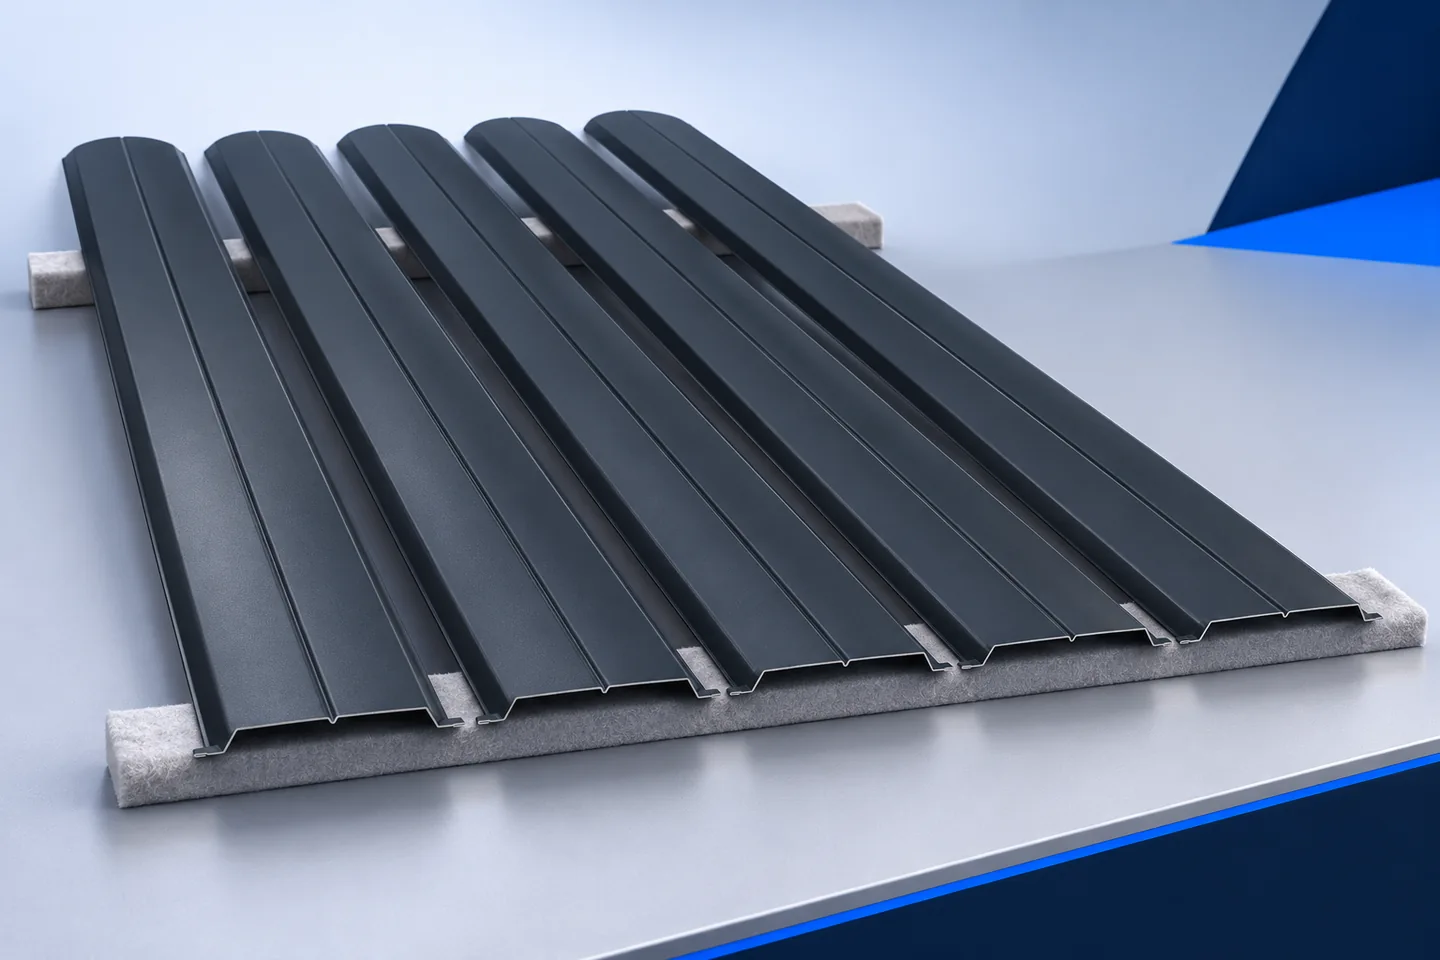
Inspect a finished metal picket fence from both sides against the agreed specification. Start with the profile, lengths, end shapes, colour and…
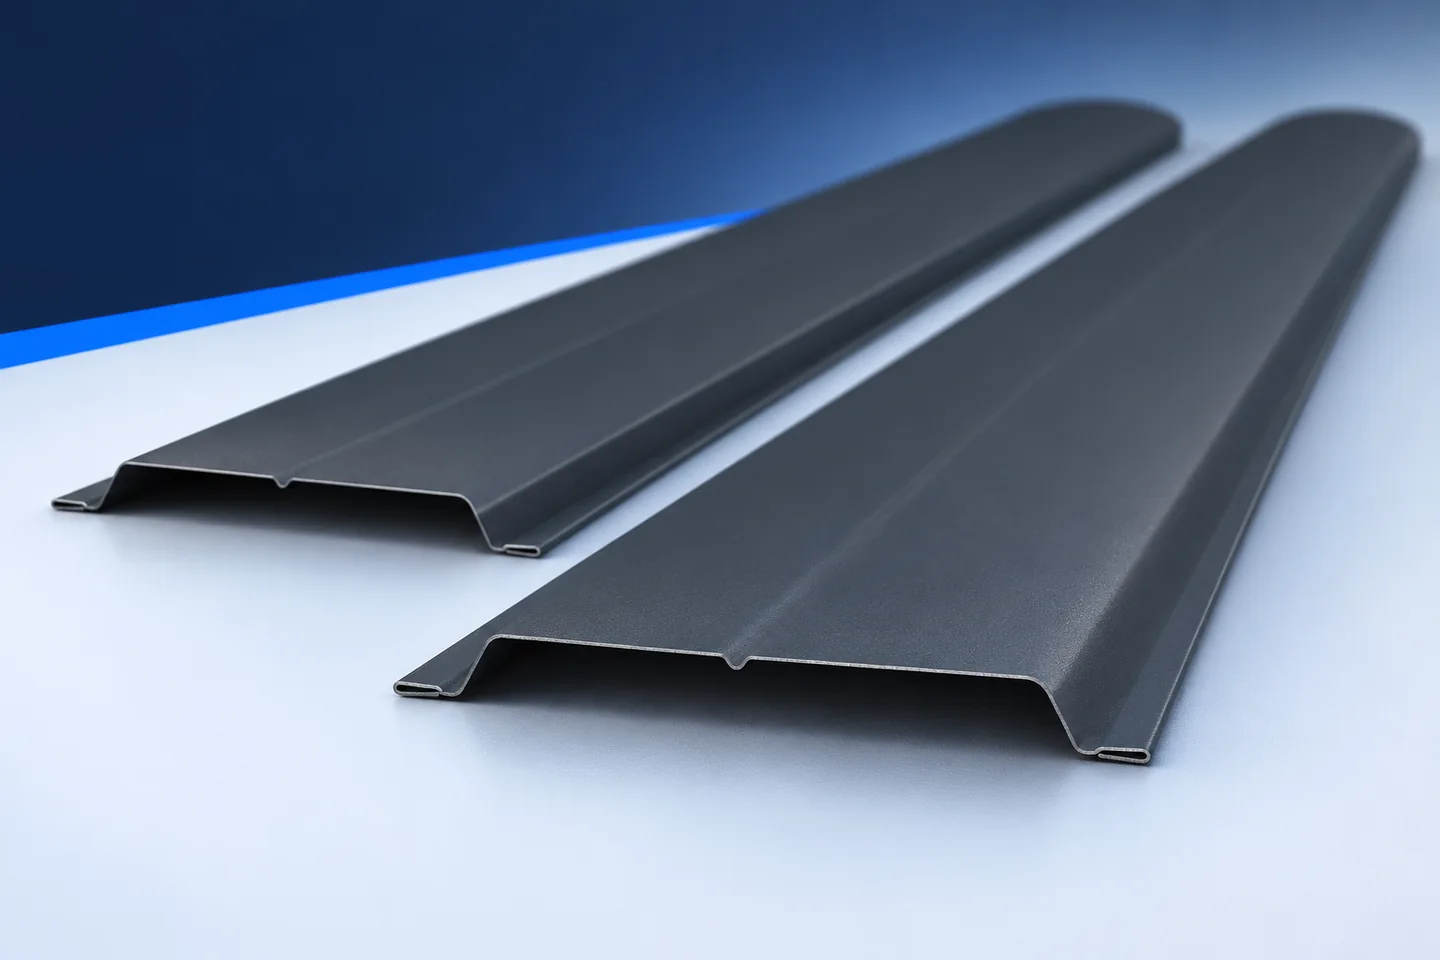
To calculate how many vertical metal pickets fit in a single row, allow for the clear gaps and both end margins as…
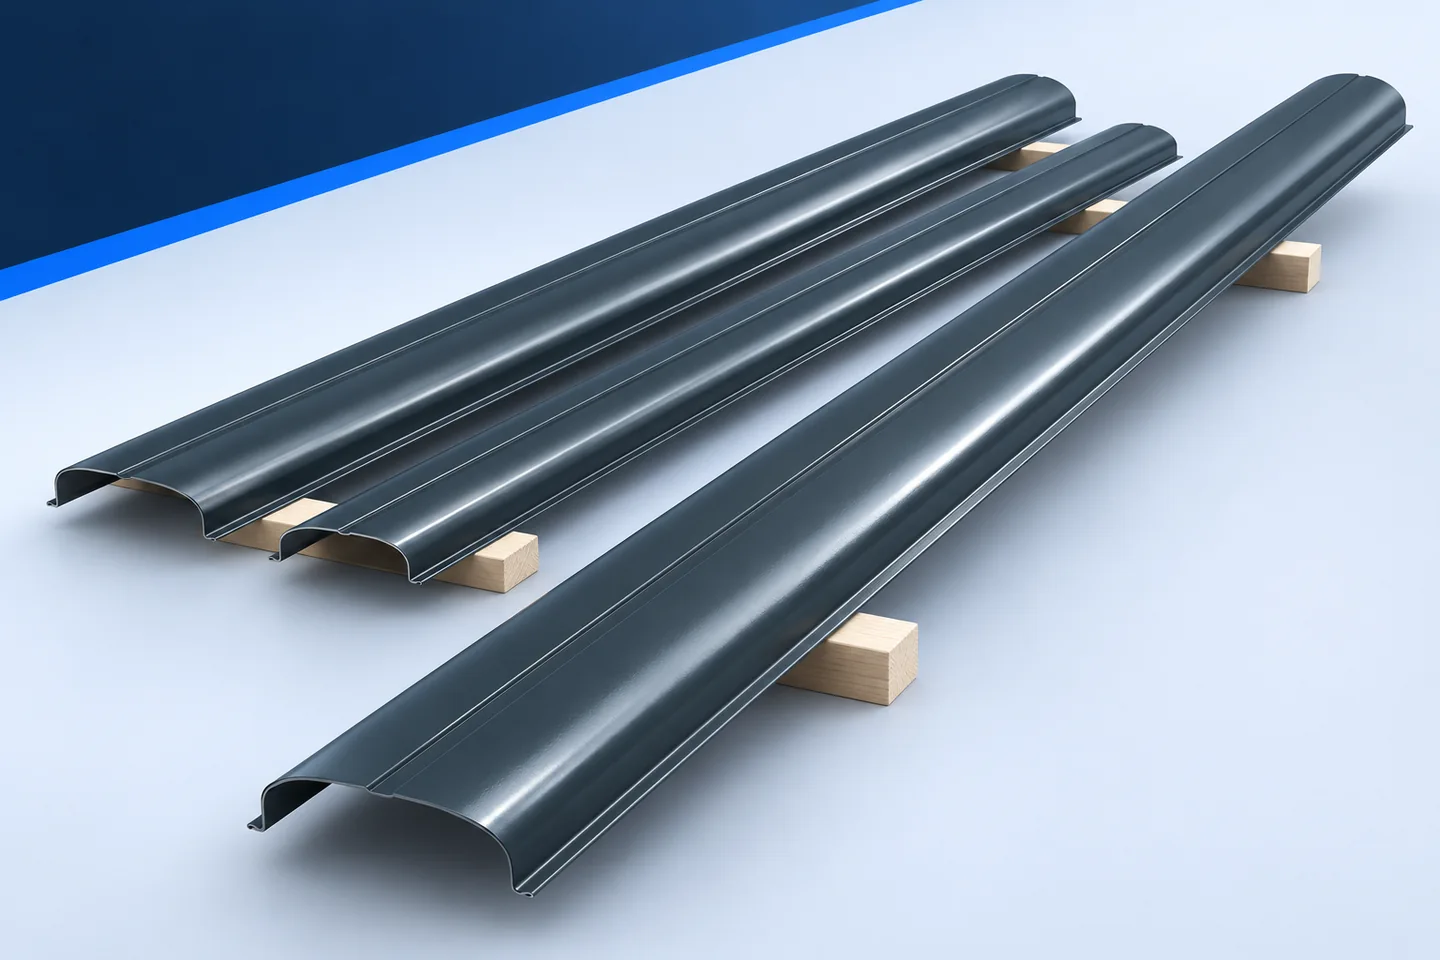
A fence on sloping ground needs more than a single height dimension. Draw its upper and lower edges before ordering: stepped bays…
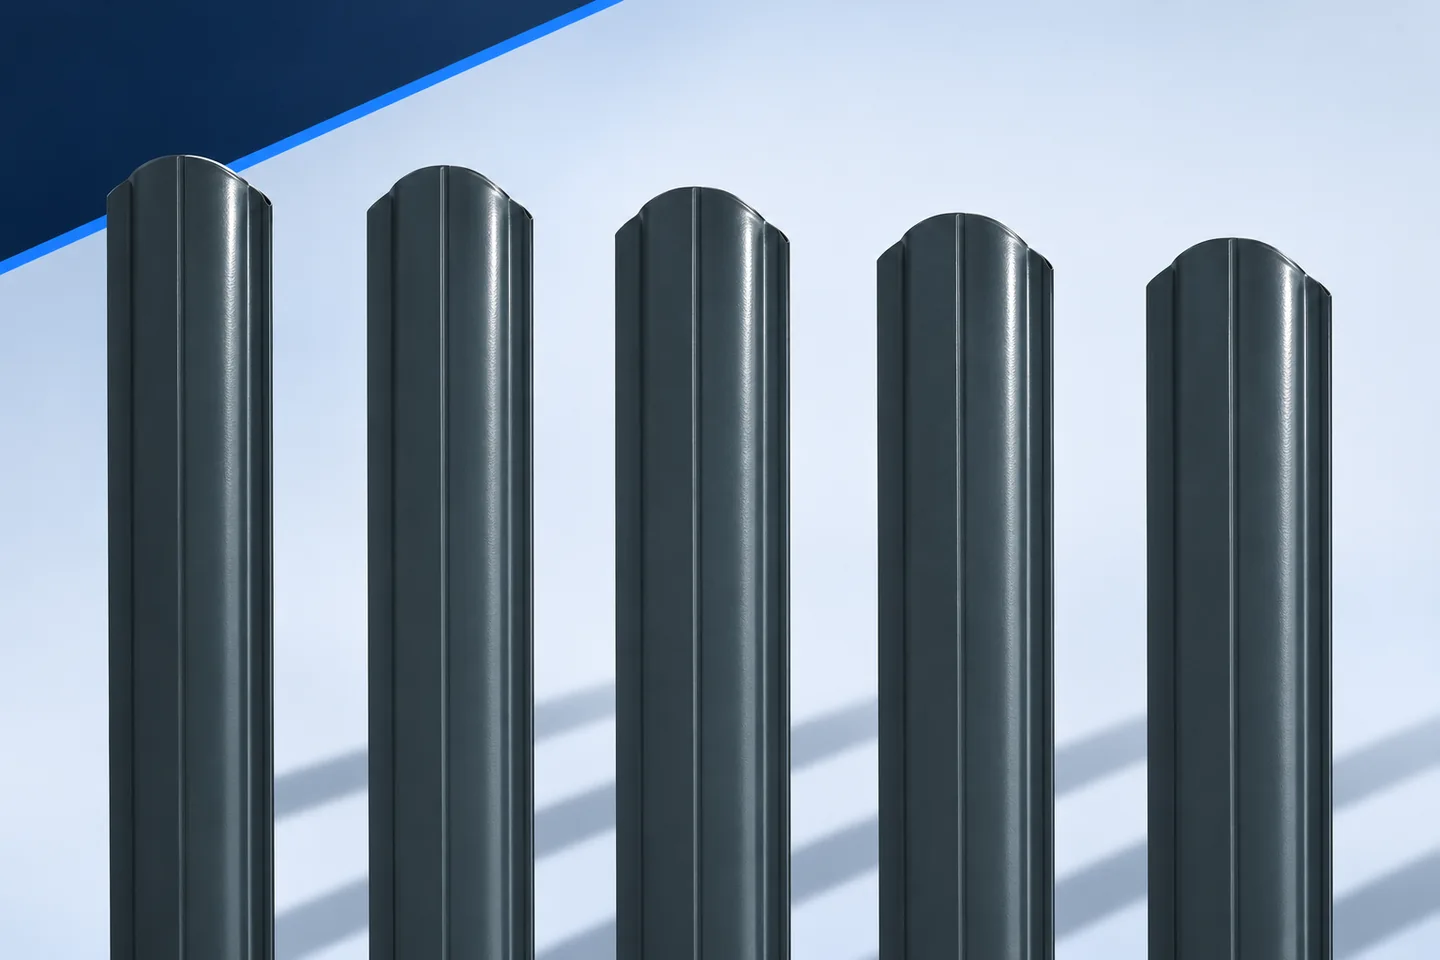
Ordering pickets to their finished length avoids most site cuts. If a piece appears too long, compare it with the bay drawing…
Vehicle and pedestrian gates can match the fence, but they do not behave like fixed bays. Each leaf opens and closes on…
A staggered fence has pickets on both faces of the frame, with the second row offset to cover gaps in the first.…
Replacing the infill can change the appearance of a fence without rebuilding it from scratch, provided the existing supports are suitable. Metal…
Uneven gaps, rust-coloured spots and a loose picket can have quite different causes. Before tightening, grinding or straightening anything, examine the layout,…