






Cutting coated steel fence pickets and protecting the cut edges
Metal fence pickets and fencing
Ordering pickets to their finished length avoids most site cuts. If a piece appears too long, compare it with the bay drawing and actual frame before shortening it: the support position may be at fault. Check both ends, ground clearance and the intended top line. When cutting is necessary, follow the instructions for the specific coated product. Heat and flying particles can damage the surface well beyond the cut, so a tool suitable for bare steel may be unsuitable for a finished picket. Inspect and clean the piece before installing it.

Check whether trimming is really necessary
Do not shorten an entire batch after trying one piece. Bays may differ. Mark groups requiring different cuts separately and update the schedule showing where each made-to-measure picket belongs.
Avoid tools that heat the coating
Instructions for coated pickets often prohibit angle grinders. An abrasive disc heats the cut and scatters hot particles that can damage both the paint and the metallic layer. Visible discolouration at the edge is not the only possible effect.
Cutting speed is not the deciding factor. Keep grinding and similar work away from stacked pickets too: sparks can damage adjacent pieces that are not being cut.
Choose shears that suit the profile
Manufacturers may specify hand shears or powered shears. Match the tool to the sheet thickness and folds so it can cut without crushing the profile. Many pickets do not offer clear access from both sides across their entire width.
If the route through a formed rib is unclear, ask the supplier for the permitted method. A cut on a designated scrap piece helps assess the tool but does not establish that the manufacturer approves that process.
Prepare a clean and stable work surface
Support the picket so the finish is protected and the section does not bend unexpectedly. Rough concrete or a dirty rest can scratch the paint as the piece moves. Remove metal particles from the place where the finished picket will be laid down.
Mark the line with a method compatible with the coating rather than scoring the decorative face with a sharp point. Measure again from the same datum. For a sloping end, specify which side the stated length refers to.

Inspect the cut edge
Check for distortion, coating damage near the edge and sharp burrs. Deburr using a method suitable for the material. Grinding away a broad strip of paint is not a remedy for a poorly executed cut.
Any edge treatment depends on the product instructions and exposure. Neither painting every edge with any available paint nor leaving all cuts unchecked is appropriate. In severe conditions confirm the protective detail with the coating supplier.
Remove offcuts and particles from all surfaces
After cutting, inspect the grooves, reverse face and surrounding pieces as well as the edge. A particle of bare steel left on a decorative coating can rust and leave a spot. Cleaning is part of finishing the cut.
Lift particles away without rubbing them into the paint. Use clean gloves and rests when moving the picket to the fence. A good cut can still be followed by a scratch in handling.
Preserve the specified end detail
Cutting off a rounded tip at the wrong end changes the fence line. Do not trim the sides if that removes stiffening folds. Changing the width alters the section and its fixing arrangement; it is not equivalent to shortening the picket.
Agree special end shapes before production where possible. If the system uses a cap, choose one that fits the profile. Not every picket requires a cap, and a universal fitting is not necessarily suitable.
Record significant changes
If several lengths change during installation, update the cut list to the as-built dimensions. Record the cutting method and any touch-up product as well. Those details help with replacements and later assessment of the edges.
An accurate length is only part of a satisfactory cut. The shape and protective finish must also survive. Keep site alterations to a minimum and use the tool and method specified for the factory-coated sheet.
Collect offcuts in a container so they are not carried back on shoes or gloves. Inspect neighbouring pickets once more before leaving the work area. Protect the finish until the cleaned piece is safely laid down.

Free quote
What to include in your enquiry
Tell us how you plan to use the material, the dimensions and the quantity you need. Include the thickness, grade or variant name, along with the delivery town or your preferred collection branch. For a specific product, add its name or a link to the product page. We will reply to the email address you provide to discuss availability and the terms of your order.
More from the building guide

The pickets give a fence its appearance, but the frame carries the loads. Force travels from each metal picket through its fasteners…
Inspect a finished metal picket fence from both sides against the agreed specification. Start with the profile, lengths, end shapes, colour and…
A staggered fence has pickets on both faces of the frame, with the second row offset to cover gaps in the first.…
Measure each bay, pedestrian gate and vehicle gate separately before ordering made-to-length metal pickets. The length of the site boundary tells you…
Before laying metal fence slats horizontally, check that the manufacturer permits that orientation. Turning a vertical picket on its side changes its…
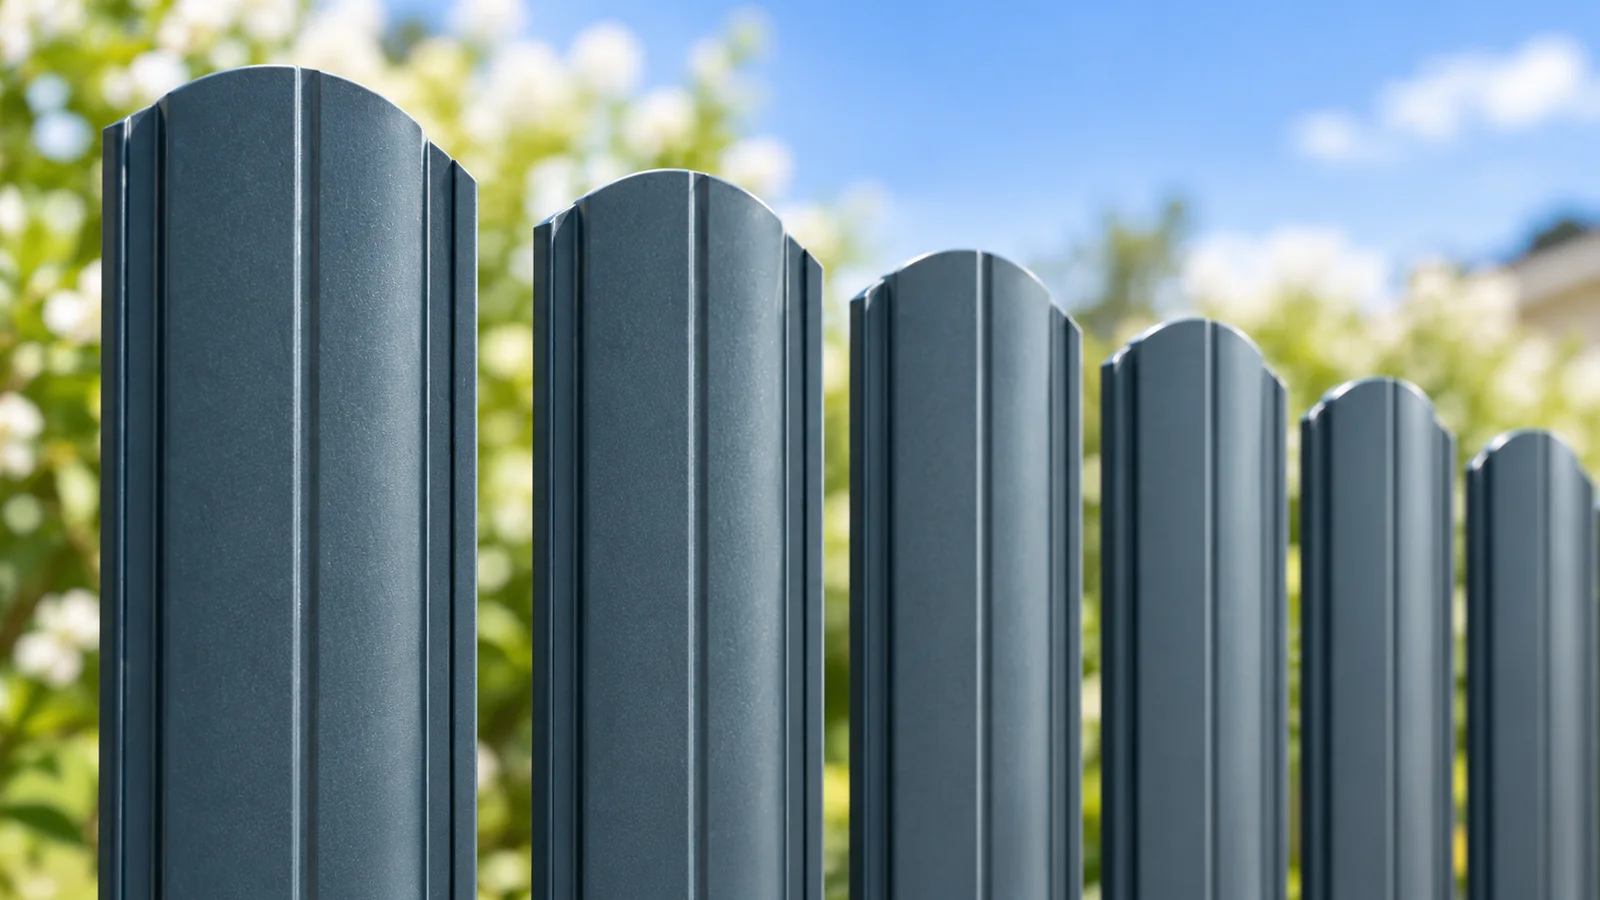
Assess a metal picket fence as a complete arrangement of posts, rails and infill. The pickets determine colour, rhythm and screening, but…

Square-cut and rounded tops create different fence lines, but the end detail involves more than choosing a shape. Inspect the side folds,…
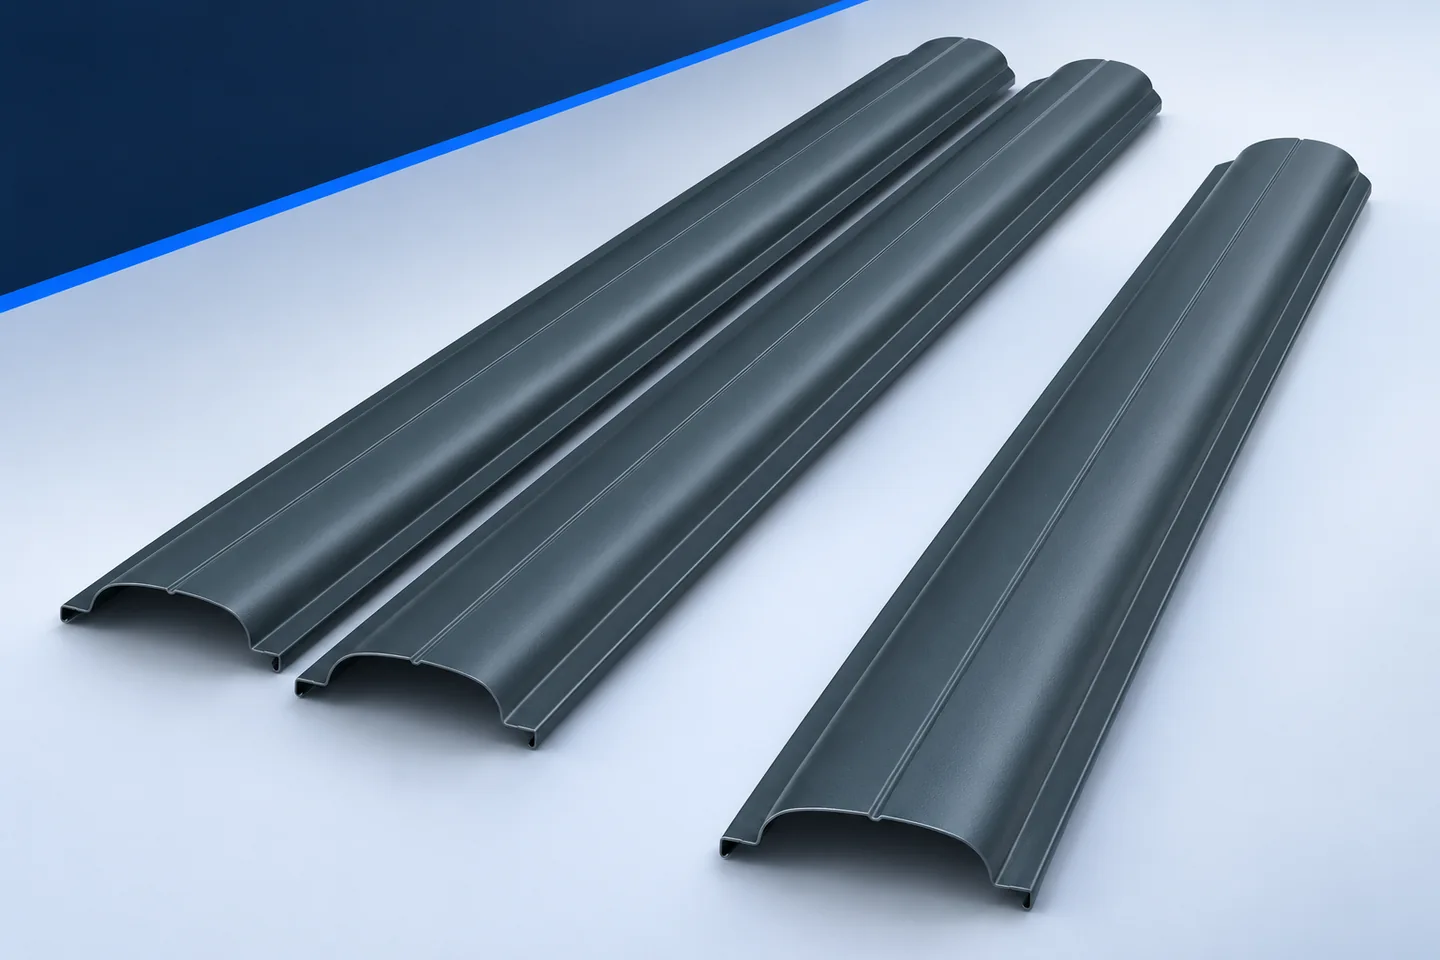
Uneven gaps, rust-coloured spots and a loose picket can have quite different causes. Before tightening, grinding or straightening anything, examine the layout,…