






Insulating a pitched roof with PIR boards: decisions for the homeowner
PIR insulation
PIR boards above the rafters insulate a pitched roof without using up more loft space. Before work begins, agree on the finished roof level, drainage and details at roof windows and eaves. An over-rafter layer covers the timbers and reduces their contribution to heat flow. A board fitted between rafters follows a different path, even if both quotes say “PIR”. Ask the roofer to mark the insulation on a section of the house. This shows which timbers it covers, where it meets wall insulation and how the change will affect the roof edges.
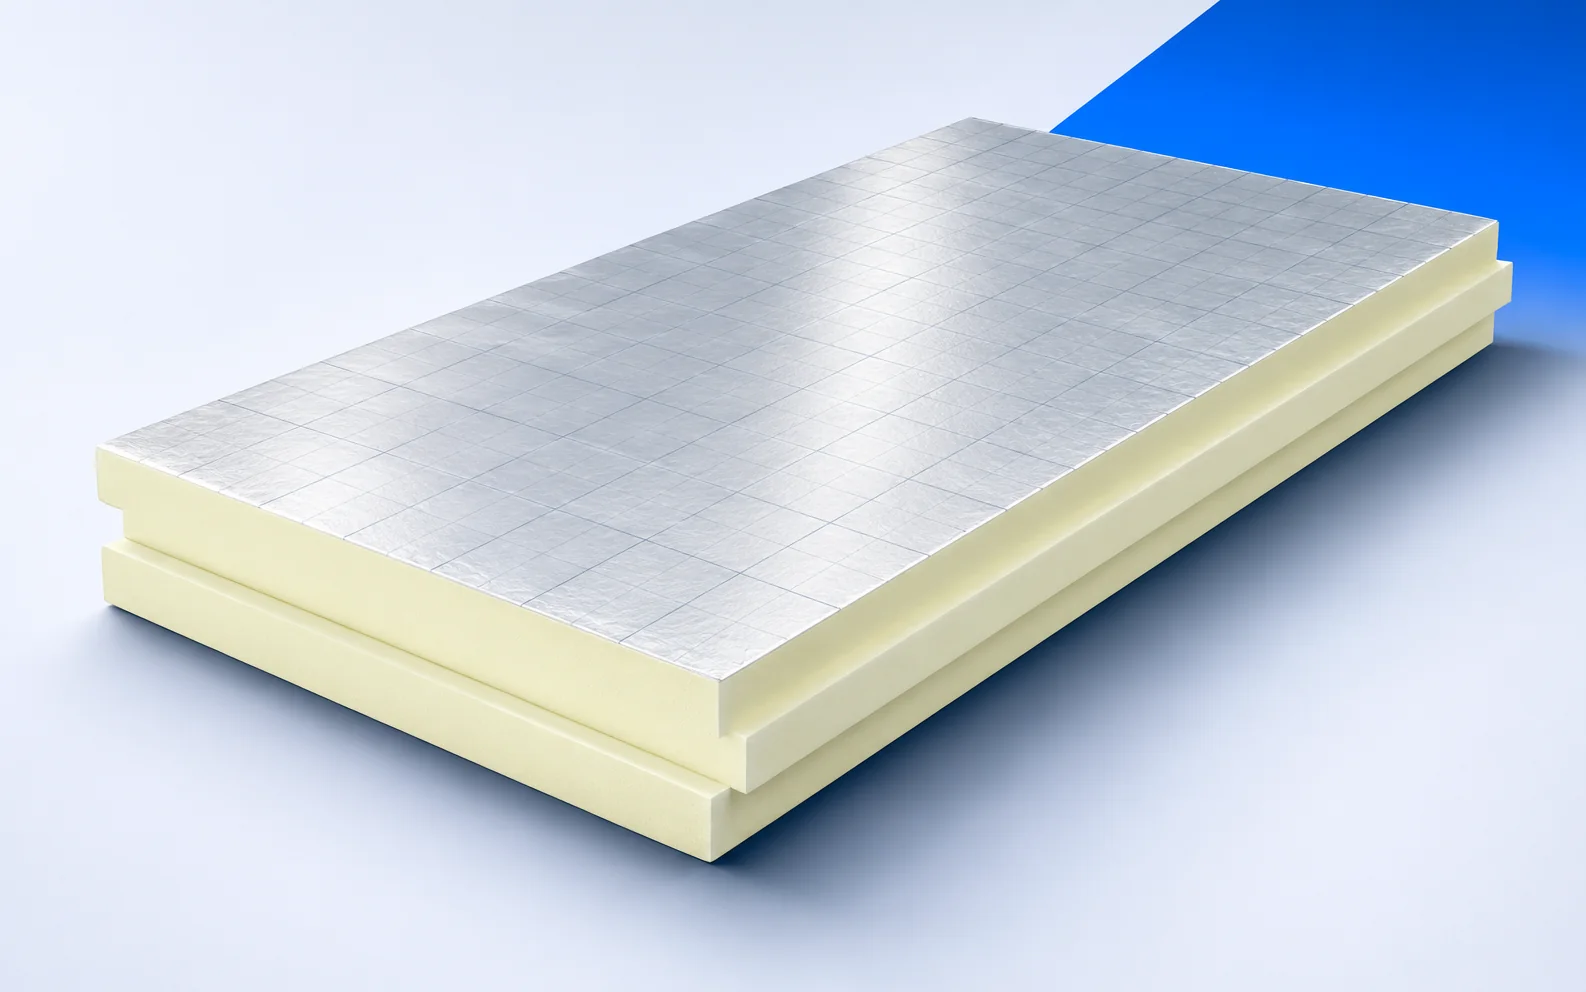
A continuous layer above the rafters
Over-rafter insulation covers the timber; infill between rafters does not. The difference changes the thermal assessment and the necessary junctions. Establish which option is quoted, especially if you want to keep visible beams or a finished loft lining.
Finished roof height and clearance
Mark the existing and proposed top of the covering at the eaves. The difference reflects the whole build-up, not just PIR thickness. Include the specified decking, membranes, counterbattens and battens. Compare the finished roof levels in the two quotes.
Adapt the gutter and flashings to the new levels. The gutter may need moving and the verge flashing may need changing. Check whether this work is priced. A junction with a lower roof needs its own detail before materials are purchased. That is where the benefit of a thinner board can be measured.
Rainwater, water vapour and airtightness
Trace a raindrop that gets beneath a tile: where does it meet the underlay, and how does it drain? Then trace the airtight and vapour control layers from the room side. For a board with a factory-fitted membrane, identify which function is included in the supply.
Define laps and penetrations in the quote. If a membrane is supplied on the board, agree how its edges will be secured. The factory detail covers the field of the roof; windows and abutments need their own connections. Confirm tapes and collars are included so missing accessories do not stop work.
Transferring loads to the structure
Ask for the detail fixing the counterbatten through the insulation into the rafter. The drawing or schedule should show fixing orientation, spacing, length and embedment. Loads from the covering must reach sound structural timber through the battens. Length alone is not a fixing specification.
Match the fixing to the building and counterbatten layout. Since loads transfer into timber, check the condition at the anchor point on older roofs. Tightening harder cannot correct a short or unsuitable fixing. Record the fixing used for future inspection or re-roofing.
Eaves, roof windows and penetrations
Before cutting boards, compare two junctions. At the wall, roof insulation must meet the façade insulation; at a roof window it must pass around the frame. Do not fill the entire clearance with insulation: the seals, flashing and drainage path need space too.
Agree the dimensions with the window installer in advance. Inspect the continuity of insulation and drainage layers around the frame while they are visible. If counterbattens will obstruct a flashing, inspect it first. A neat internal opening proves little about weather protection outside.
Work sequence and temporary protection
Before stripping the covering, agree where dry packs of PIR will be kept and how the interior will be protected if work stops. The board arrives with its core already made; cutting it to fit and closing the exposed roof remain site operations.
Limit each day’s strip to an area the crew can safely close or protect. Plan for a quick stop as well as the forecast. Agree storage for removed roofing and new boards to avoid unnecessary handling. On an occupied house this organisation is part of the installation.
Reading the rafter geometry
Draw one repeating roof section, 70 cm between rafter centres. A 7 cm rafter occupies one tenth of that width. This does not mean one tenth of the heat is lost. A U-value calculation needs the layer resistances along both the timber and the infill paths and the actual junctions. An over-rafter board adds resistance on the timber path too. List the boards for that roof system separately from accessories such as an approved joint foam. The boards are cut on site; sealing foam does a different job.

Free quote
What to include in your enquiry
Tell us how you plan to use the material, the dimensions and the quantity you need. Include the thickness, grade or variant name, along with the delivery town or your preferred collection branch. For a specific product, add its name or a link to the product page. We will reply to the email address you provide to discuss availability and the terms of your order.


More from the building guide
A PIR calculator helps compare insulation options, but its result is only as reliable as the data entered. Use the actual masonry,…
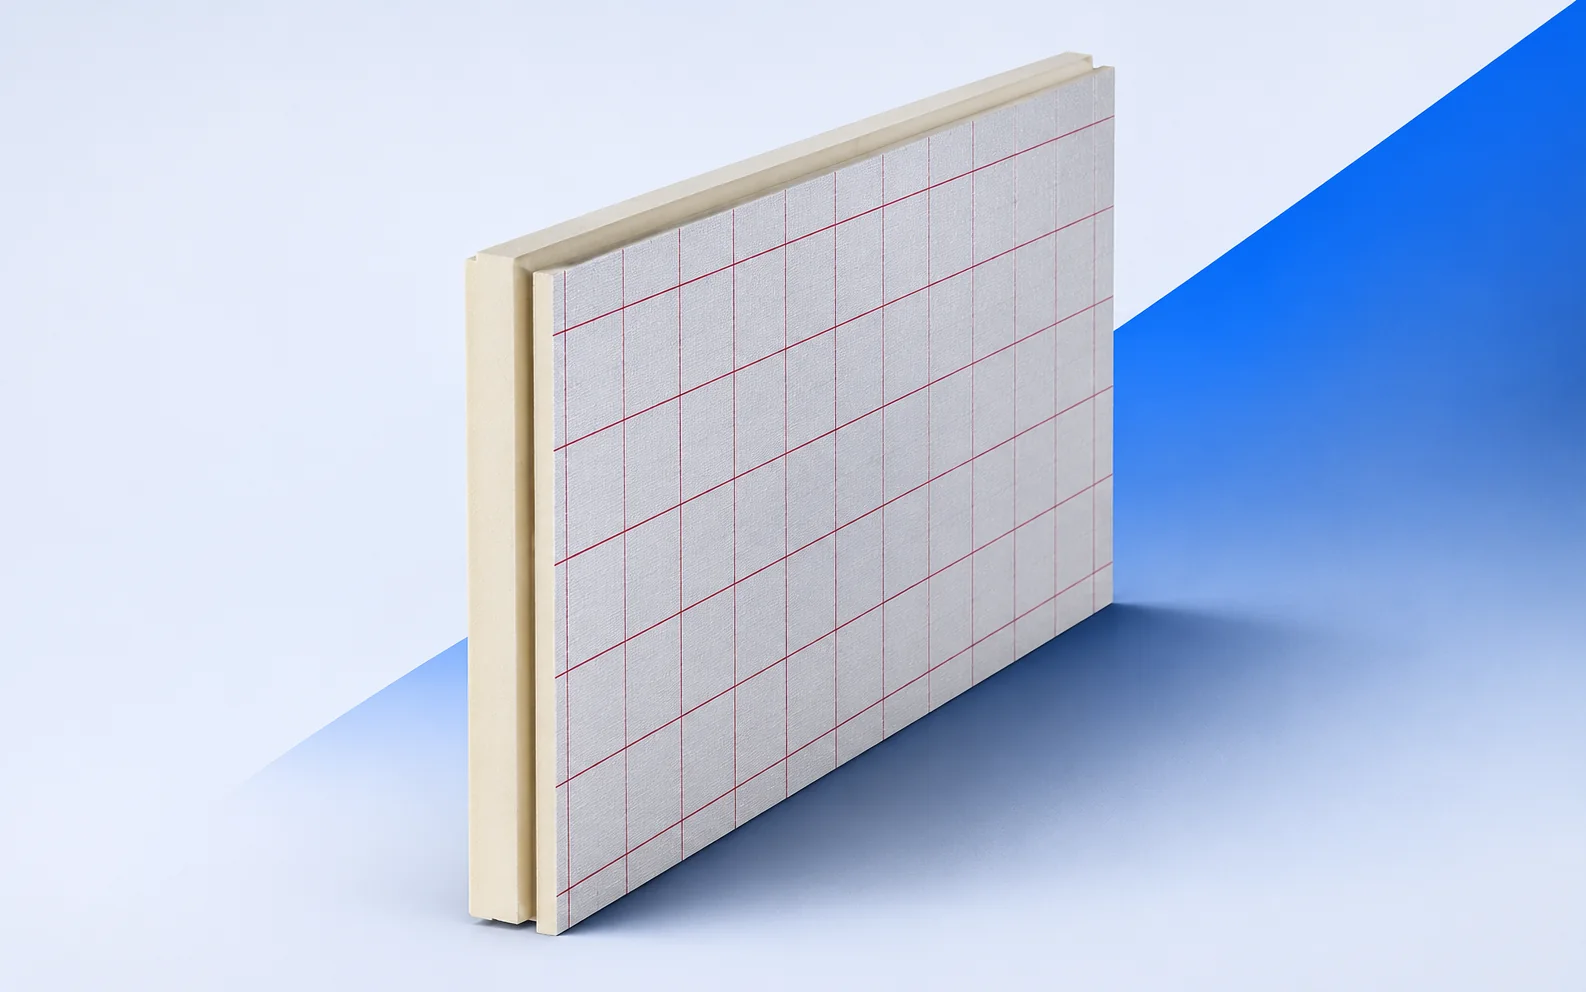
On IKO enertherm ALU TG boards, the tongue of one board fits into the groove of the next. Along a straight run…
Before ordering Eurofloor, measure from the base to finished floor level at the lowest threshold. Insulation, heating pipes, screed and finish must…
Conductivity (lambda), thermal resistance (R) and thermal transmittance (U) answer different questions. The declared conductivity, usually marked λD, describes a particular product.…
Start with the place you intend to insulate. Two boards with the same core colour may need different adhesives, suit different substrates…
Schedule IKO enertherm ALU TAP from the outlet towards the high edge of each drainage area. Two tapers can have the same…
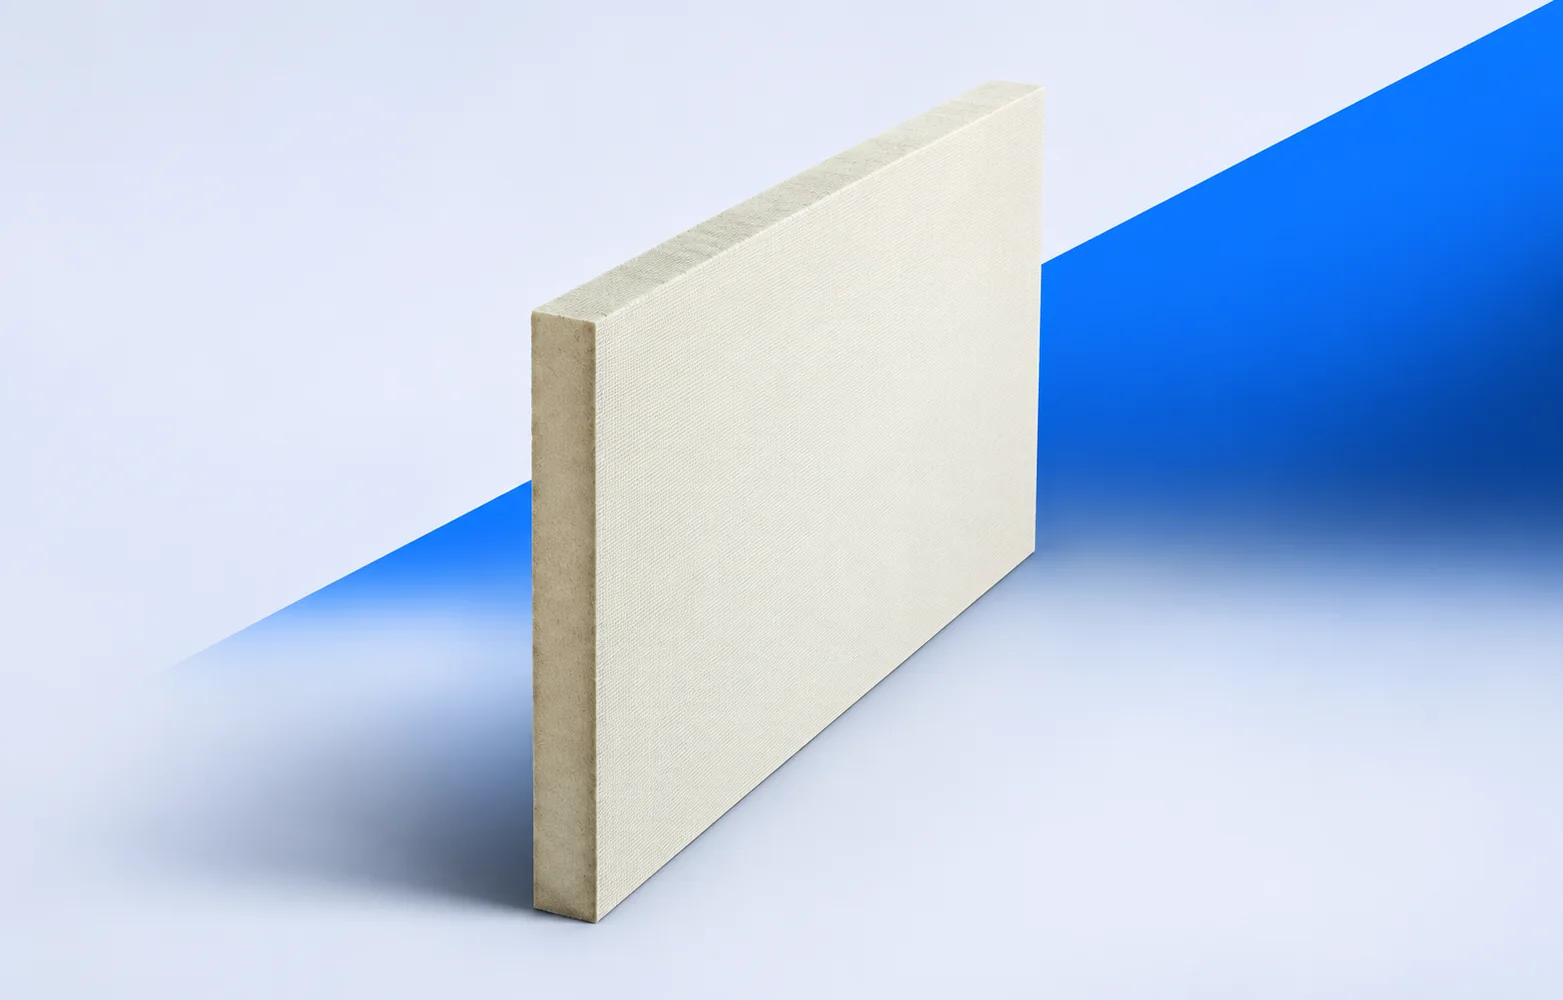
If a roof quote replaces foil-faced PIR with IKO enertherm MG, ask for a revised section and membrane fixing instructions. MG has…
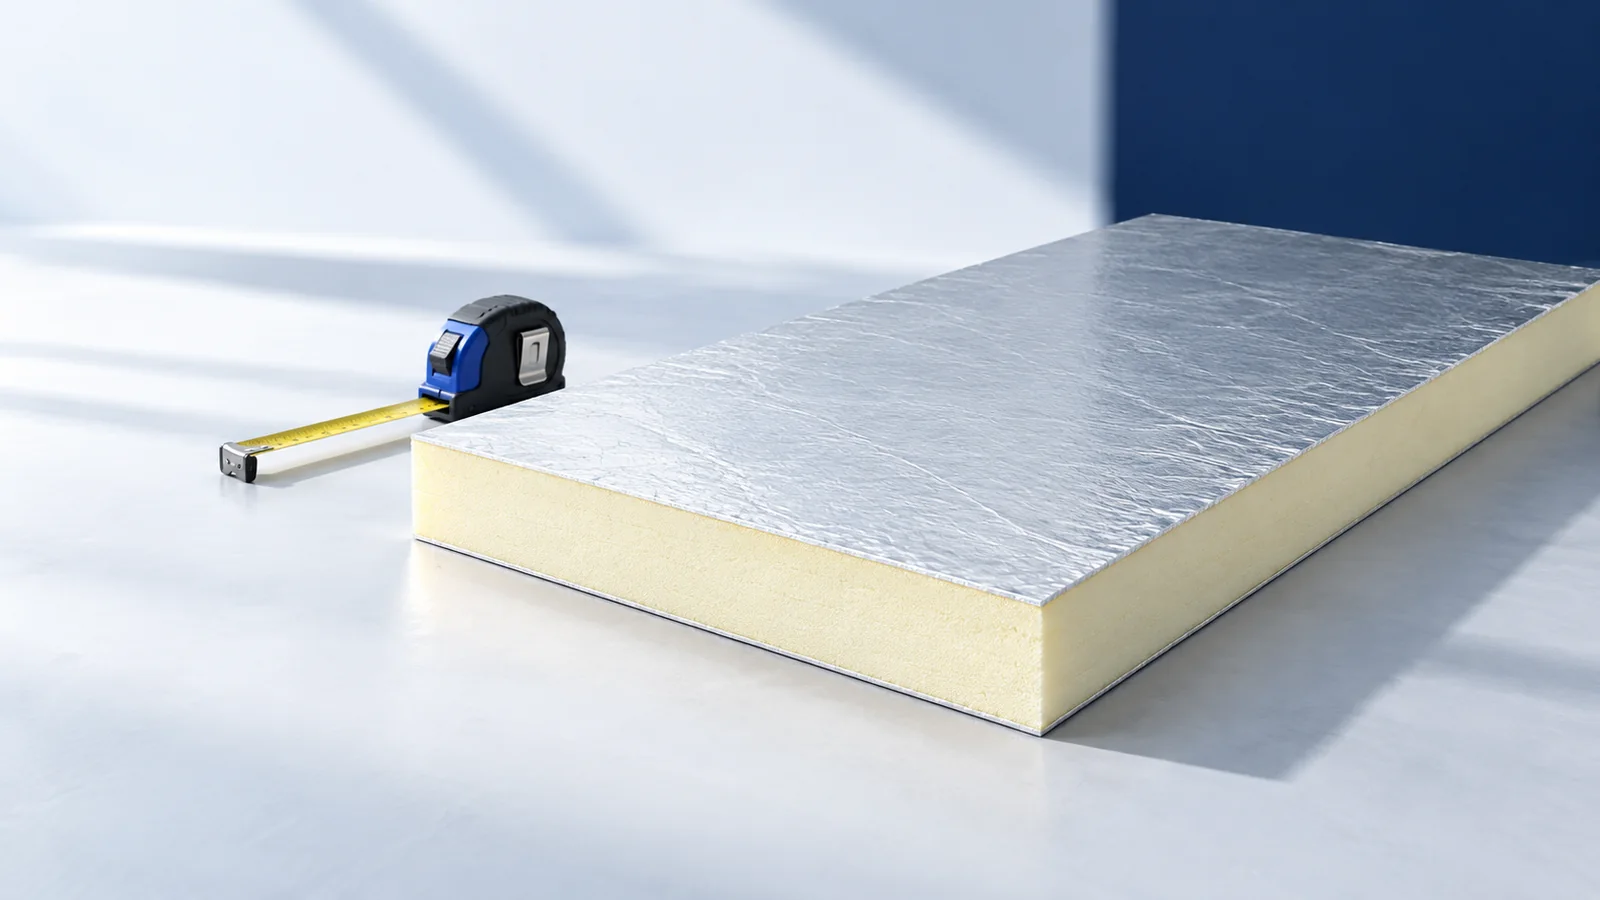
Mark the insulation position on the roof section before choosing PIR, EPS, XPS or mineral wool. Irregular rafter bays need insulation that…