






PIR beneath a floor: thickness, loads and screed
PIR insulation
Start a floor renovation by measuring the available height at the doors and the first stair riser. Show the complete section, including adhesive and finish: even thin layers matter under a low threshold. PIR can reduce heat loss to a colder substrate while leaving room for the screed, but the right board depends on how the room will be used. Agree on permanent loads, the route of services, moisture protection and any impact sound layer before ordering. A high compressive stress value on the pack is not a load rating for a finished floor.
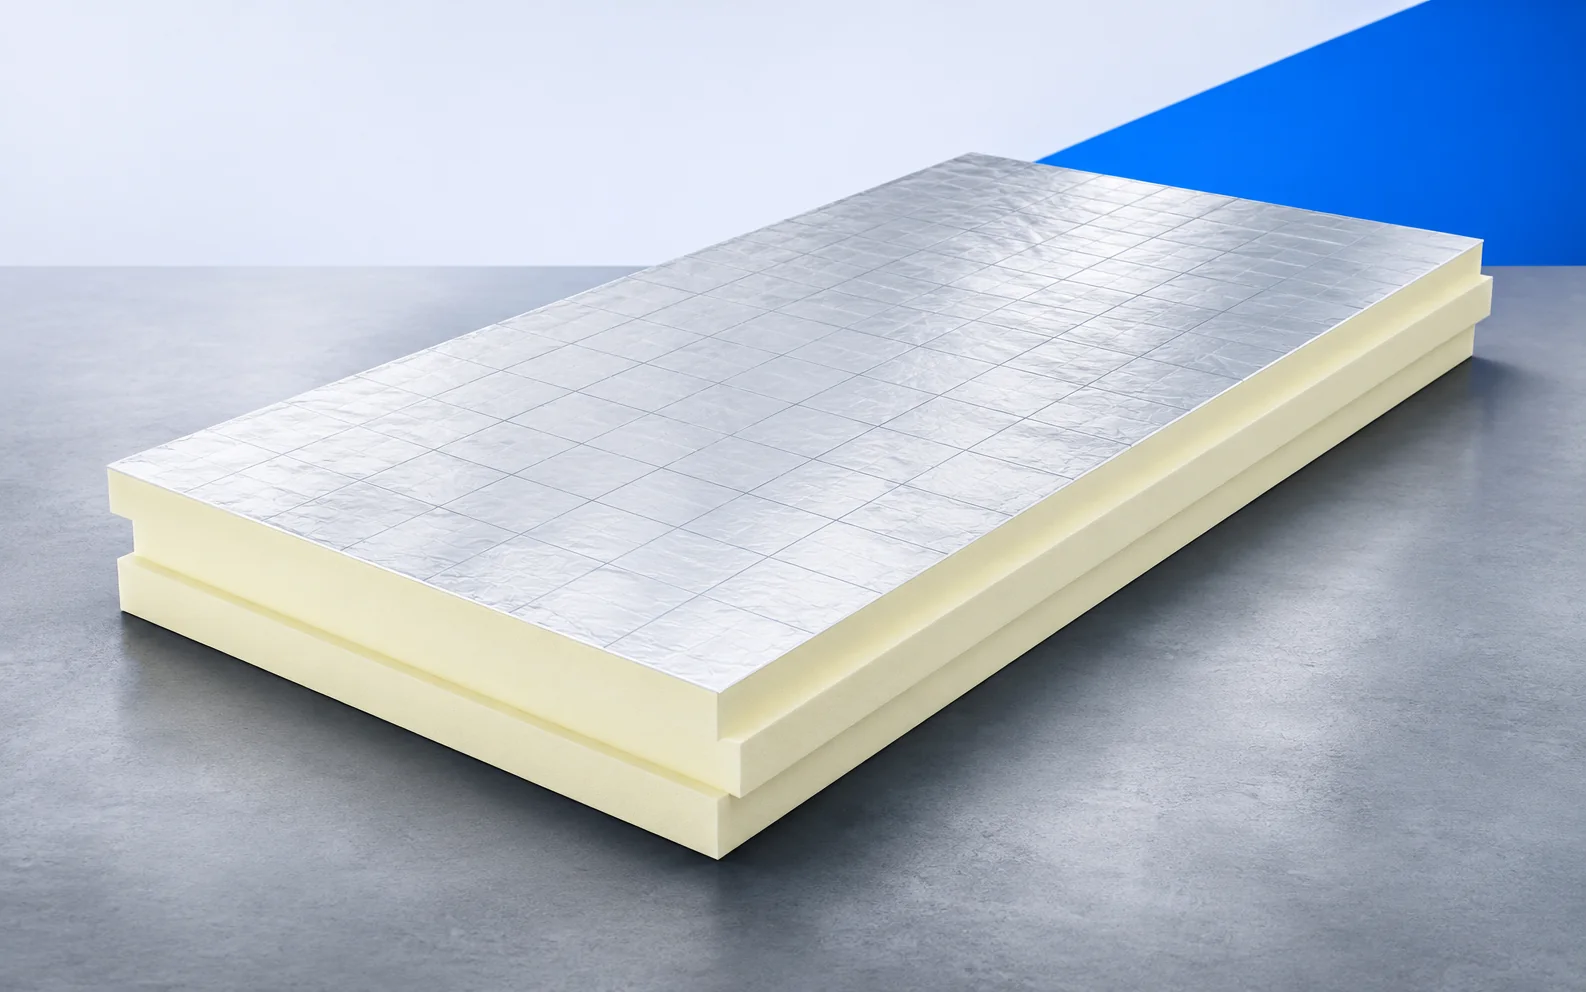
Space below finished floor level
Check the finished riser heights as well as the threshold. Add up all layers before choosing PIR thickness. Lower conductivity is useful when it solves a measured constraint rather than making up for an omitted dimension.
Reading the CS designation
CS(10) identifies a compressive test value at a specified change in specimen thickness. It does not permit that settlement beneath a finished screed. Permanent equipment loads need a separate assessment of pressure and duration.
Identify heavy furniture, partitions and equipment for the designer. A permanent local load differs from foot traffic. Do not treat a figure in kPa as a weight limit per square metre of room: the floor build-up, load distribution and duration all matter.
Bearing and pressure distribution
Inspect pipe crossings and high spots before laying boards. A board resting on a pipe or rocking over a hump lacks continuous support. Resolve service routes and levelling in the section before screeding.
Inspect the routes with the installer while corrections are still possible. Levelling the substrate helps keep adjacent boards at the same height, with well-fitting joints, rather than bridging voids between isolated supports.
Coordinating underfloor heating and insulation
Draw the pipes, fixings, screed and movement joints on a common floor and heating section. PIR beneath them limits downward heat flow. Its thickness alone does not set heating output or flow temperature.
Different finishes affect heat release differently. Agree who designs the pipework and who installs the screed, using the same finished levels and layer schedule for both trades.
Moisture and impact sound
A bathroom, a ground floor and a floor above a flat raise different questions. Mark waterproofing and the path of footfall noise separately. Low board water absorption does not replace waterproofing, and conductivity is not an impact sound rating.
In a floating floor, resilient material and perimeter isolation have functions a rigid board cannot automatically replace. Check the edges before finishing; acoustic bridges at the walls are difficult to correct later.
Specify the room use
Send a plan showing each room’s use and heavy equipment, rather than just floor area. Living rooms, stores and plant rooms have different loading assumptions. Select the board for its load case before counting packs.
Keep the board records with the floor specification so later equipment changes can be assessed. Photograph hidden service runs before covering them to reduce the risk of drilling into a pipe.
Worked example: pressure and deformation
Divide 1.25 kN by a foot area of 0.015 m²: the average is about 83.33 kPa. Spread over 0.15 m² it is about 8.33 kPa. This ignores load spread through the screed and does not determine floor capacity. Likewise, 10% compression of a 70 mm specimen is 7 mm. Specify the board’s mechanical properties and the designed load-distributing layer; the rigid core is not a finished floor.

Free quote
What to include in your enquiry
Tell us how you plan to use the material, the dimensions and the quantity you need. Include the thickness, grade or variant name, along with the delivery town or your preferred collection branch. For a specific product, add its name or a link to the product page. We will reply to the email address you provide to discuss availability and the terms of your order.

More from the building guide
Before ordering Thermano Deck, establish how the roof will drain, which deck supports it and how the waterproofing will be fixed. The…
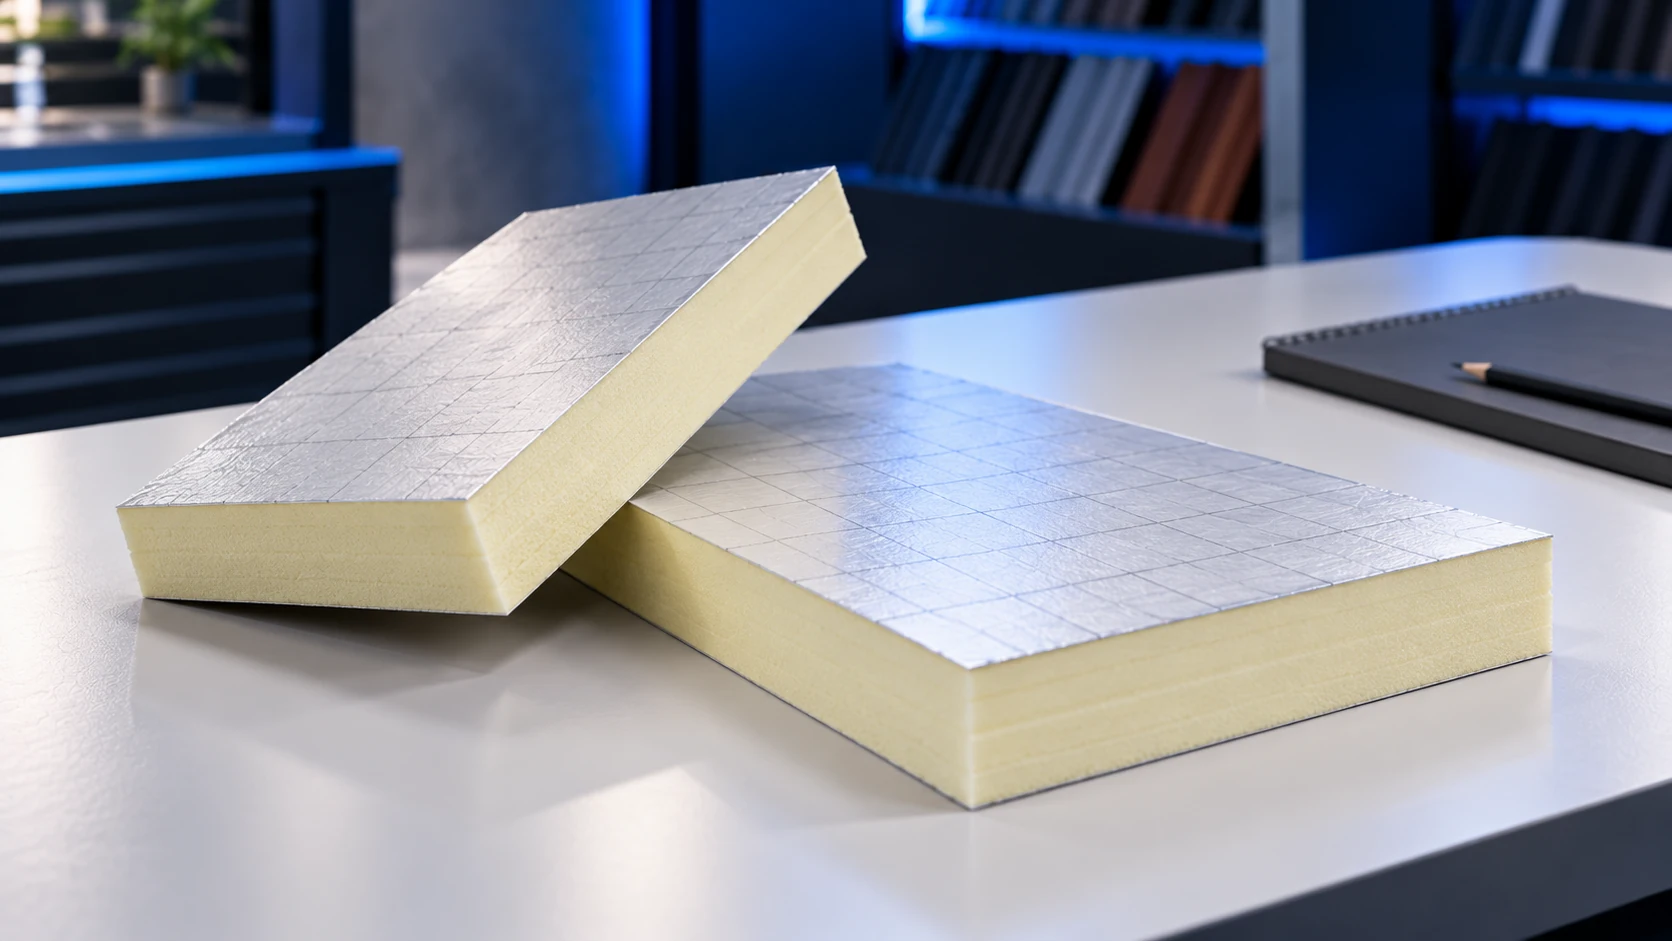
PIR insulation is not invariably half as thick as EPS. The equivalent thickness depends on the thermal conductivity of both chosen products.…
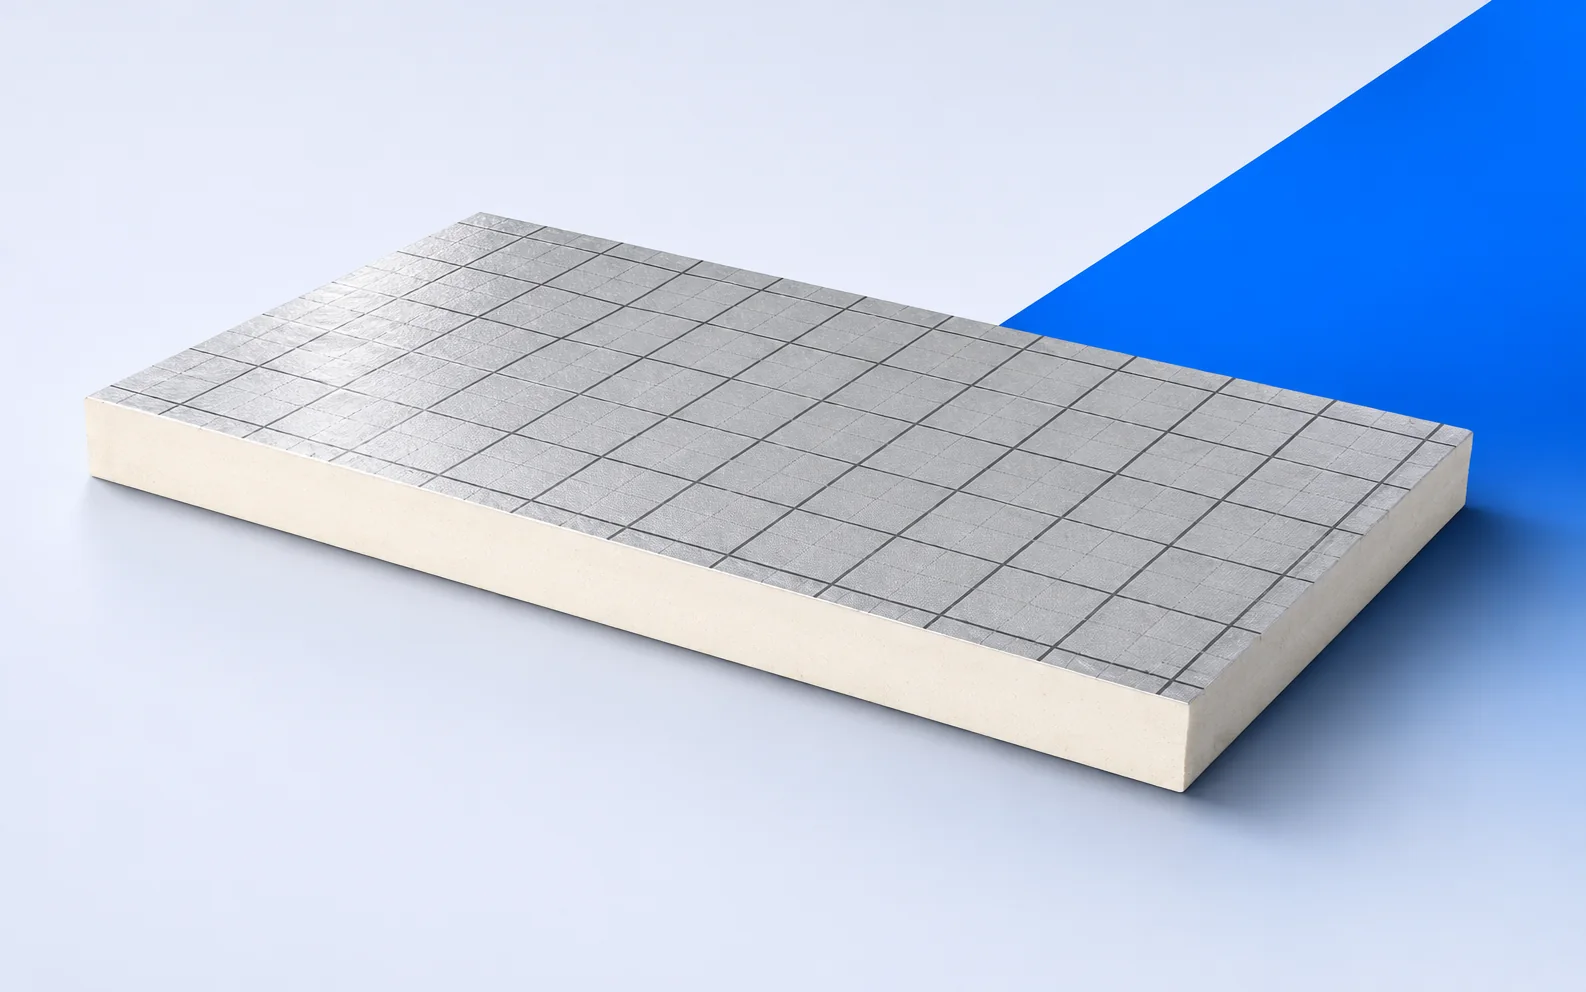
When specifying IDELCO α-therm ROOF, identify what secures the insulation to the deck and what holds the waterproofing in place. These two…
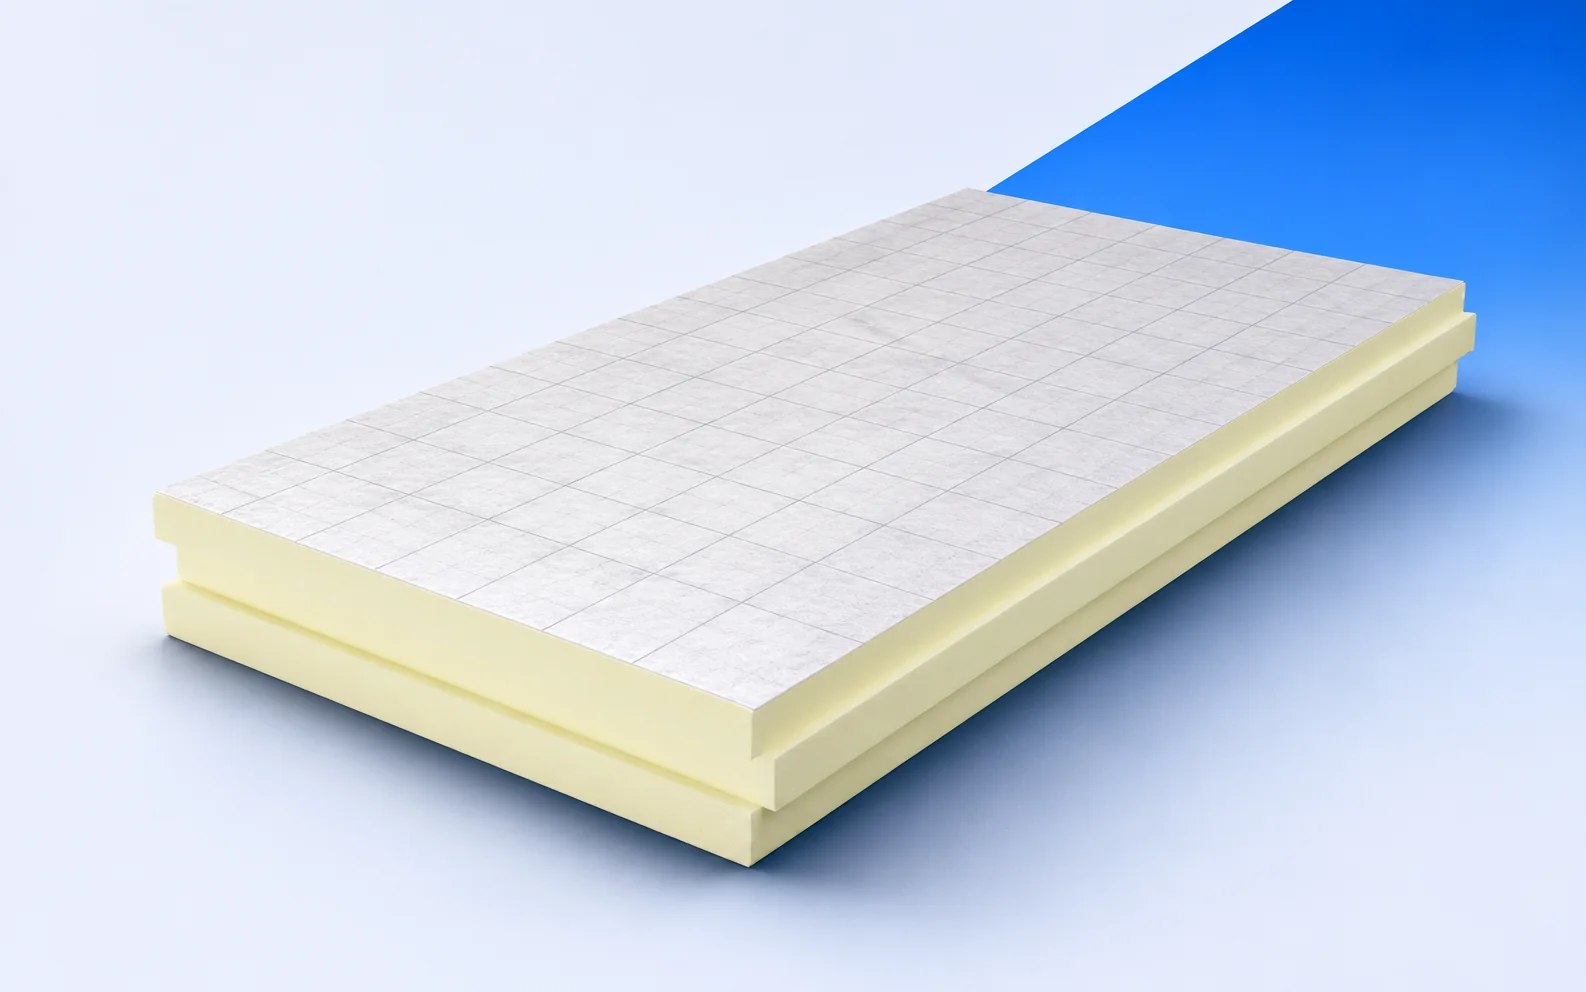
A low threshold or an existing eaves flashing can limit insulation depth. termPIR MAX 19 AL combines a rigid PIR core with…
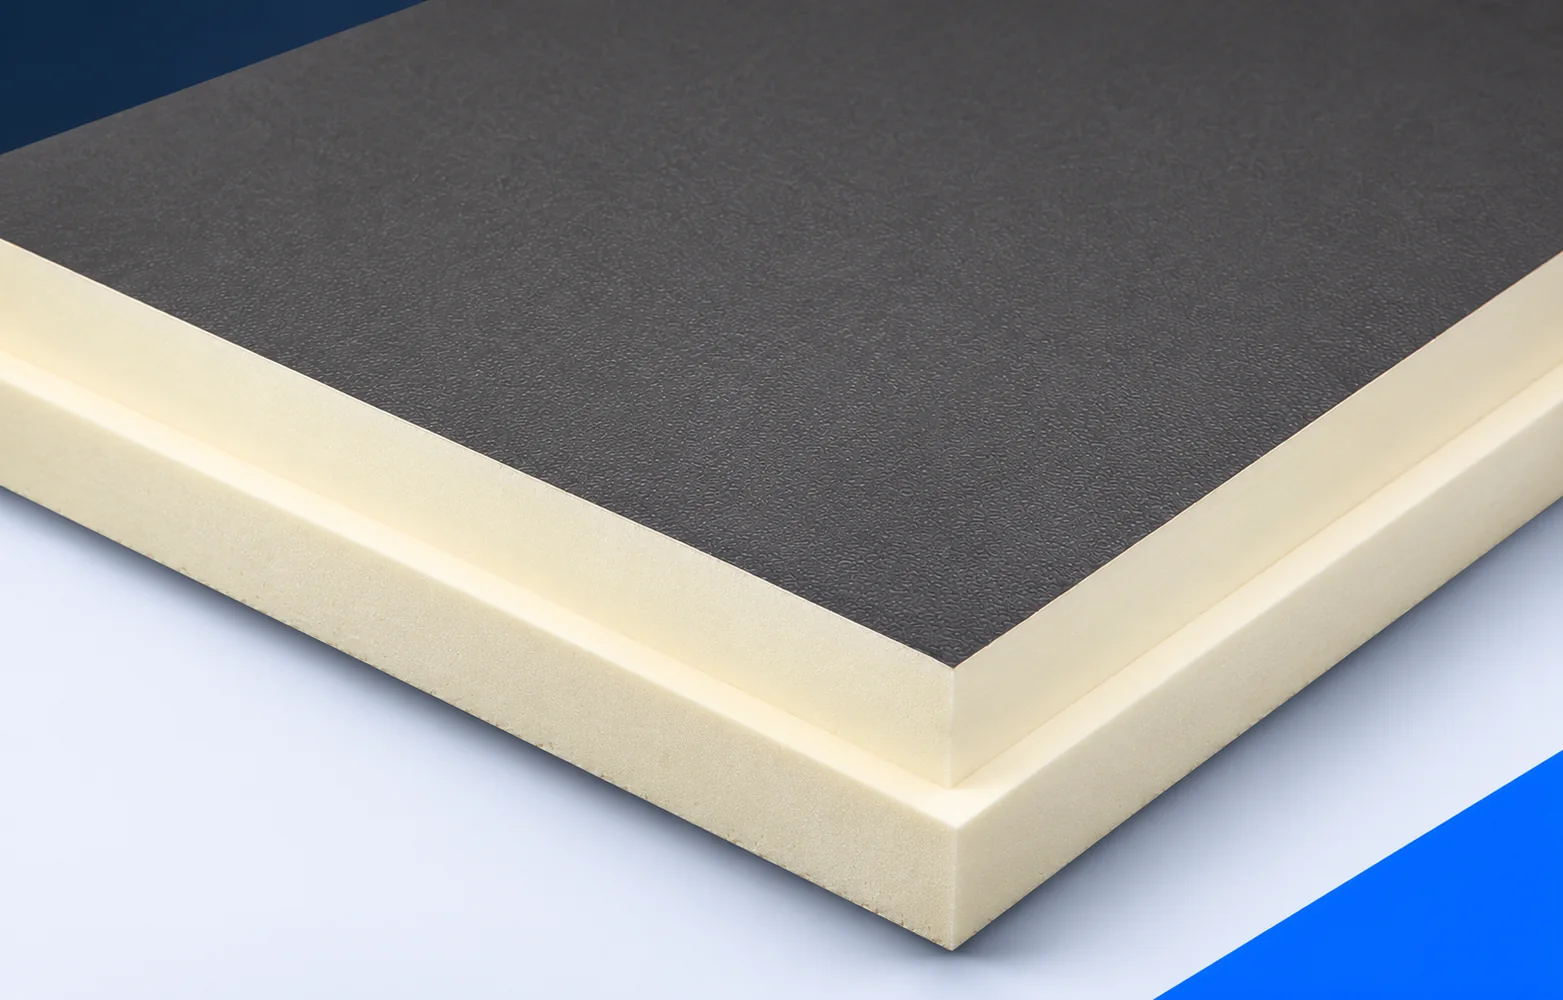
A large BauderPIR FA board has two relevant dimensions. Transport and storage use the overall 2400 × 1200 mm size. Set out…
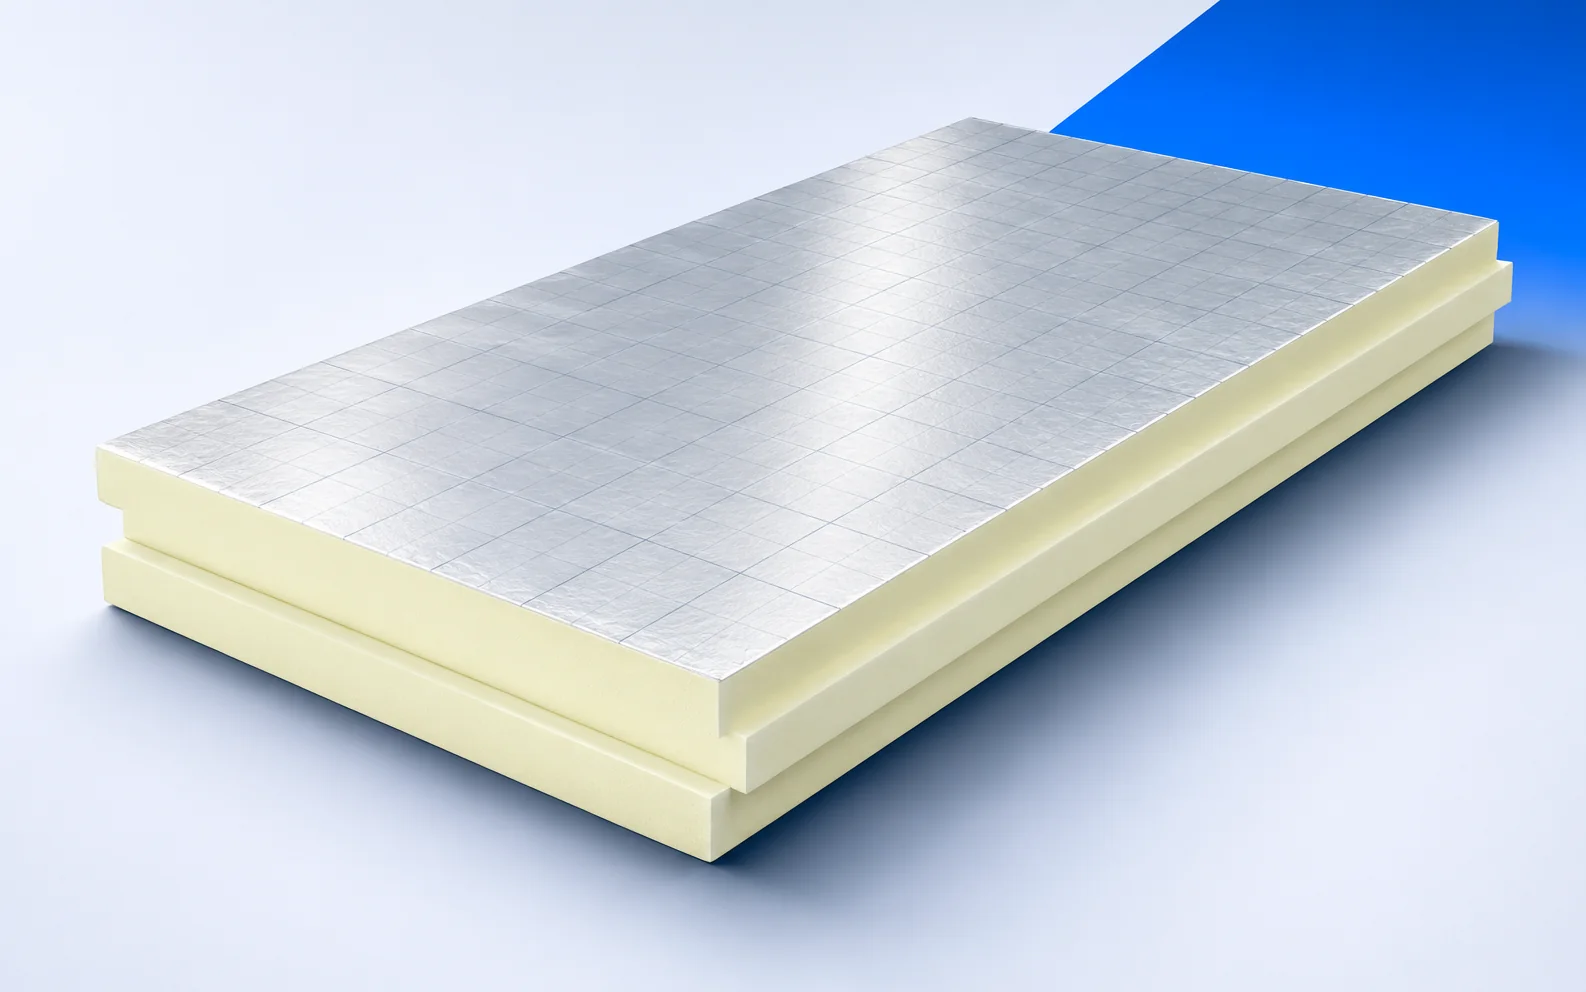
PIR boards above the rafters insulate a pitched roof without using up more loft space. Before work begins, agree on the finished…
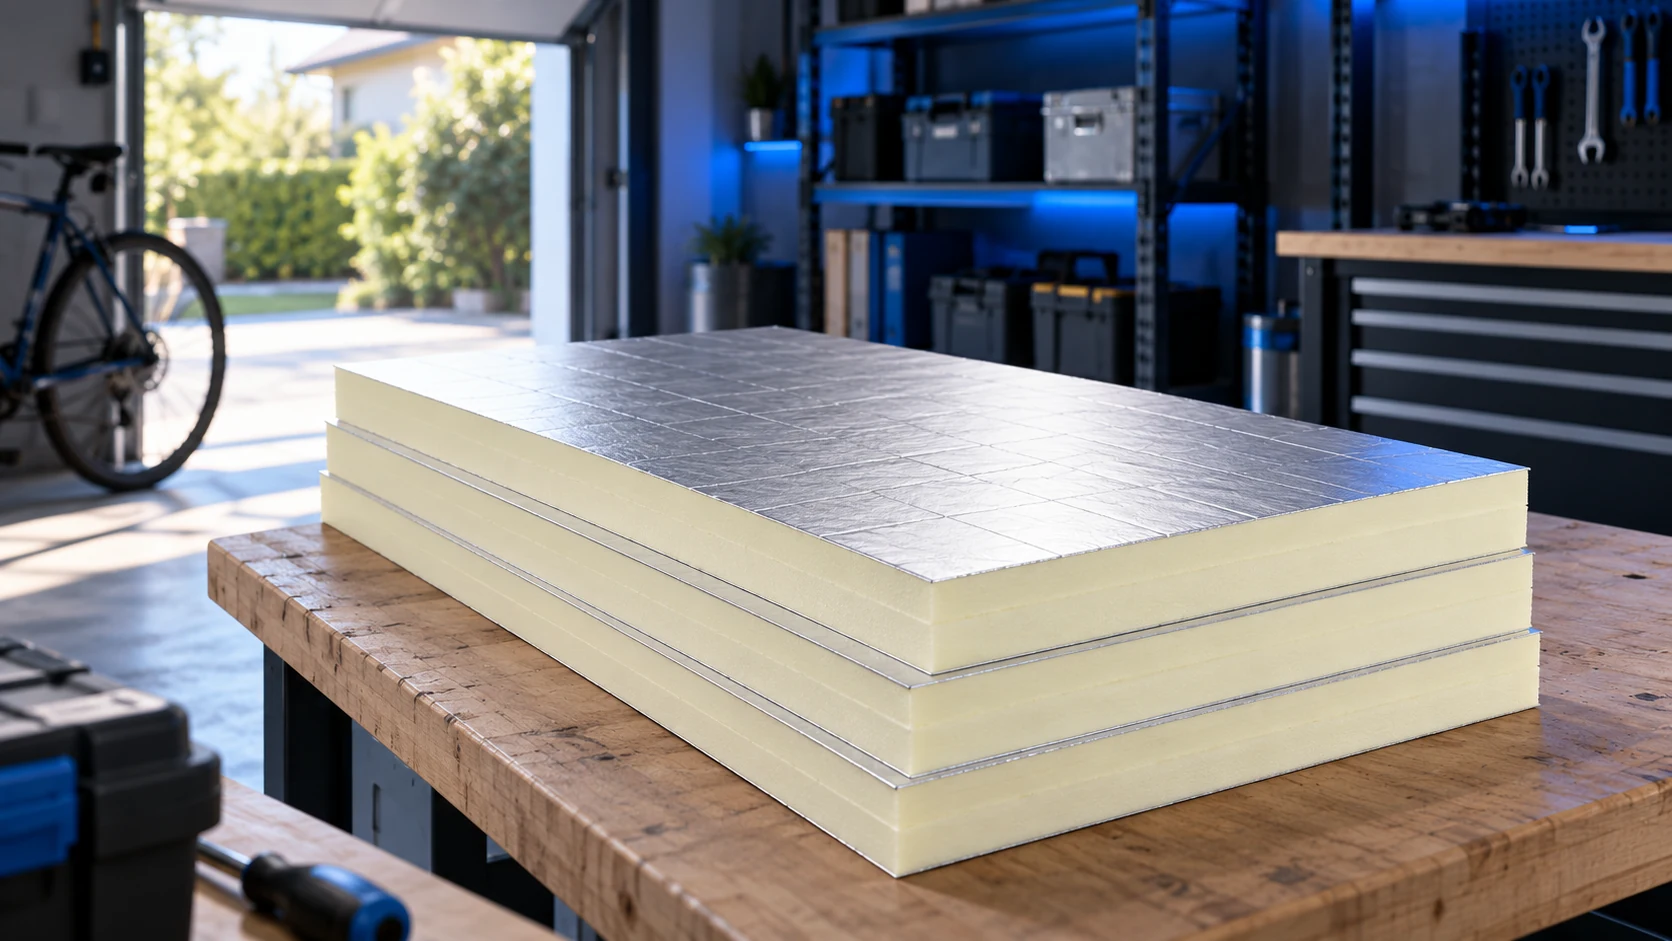
Cost-effective insulation suits the way a building is used. An unheated garage has different needs from a workshop or a holiday cabin…
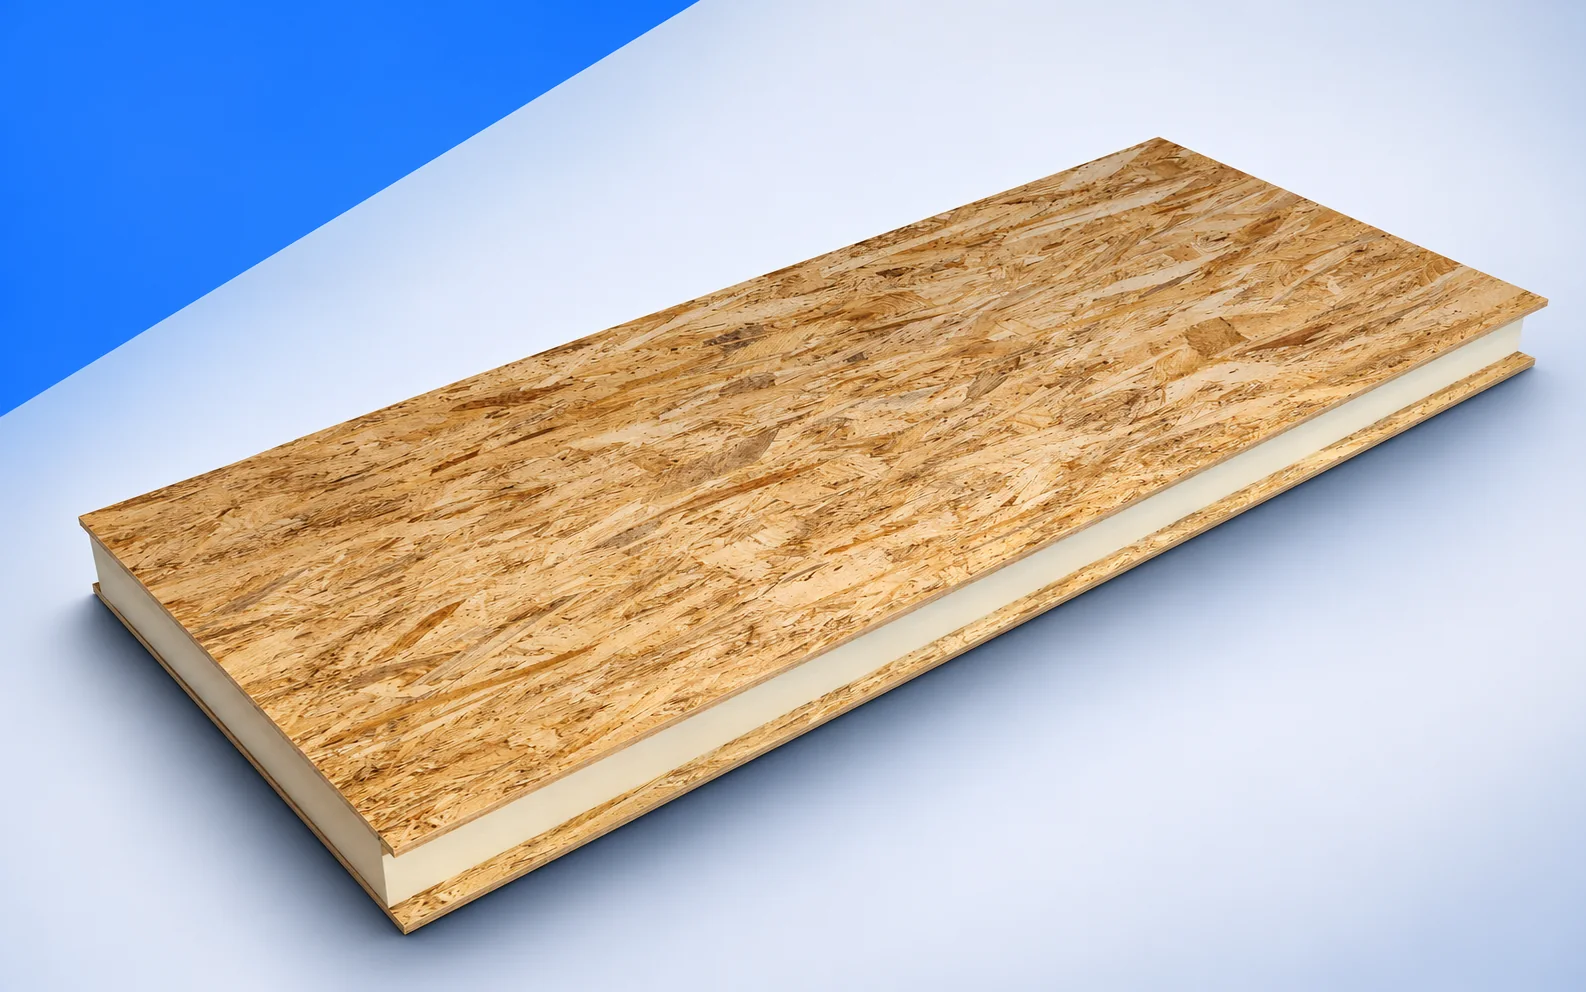
For a wall built from IDELCO α-therm SIP panels, fix window and door positions on the fabrication drawings. Loads are carried by…