






A flat roof with swissporPIR Alu: checks before the covering goes on
PIR insulation
Before installing swissporPIR Alu on a flat roof, establish the deck, falls and fixing method. The manufacturer requires mechanical fixings even where adhesive is used. Draw the first row at the parapet and the last row at the outlet in detail: the regular runs end here and several layers meet. Identify what supports the board, where water will drain and how the waterproofing joins the outlet flange. These details show whether the quotation covers a complete roof.
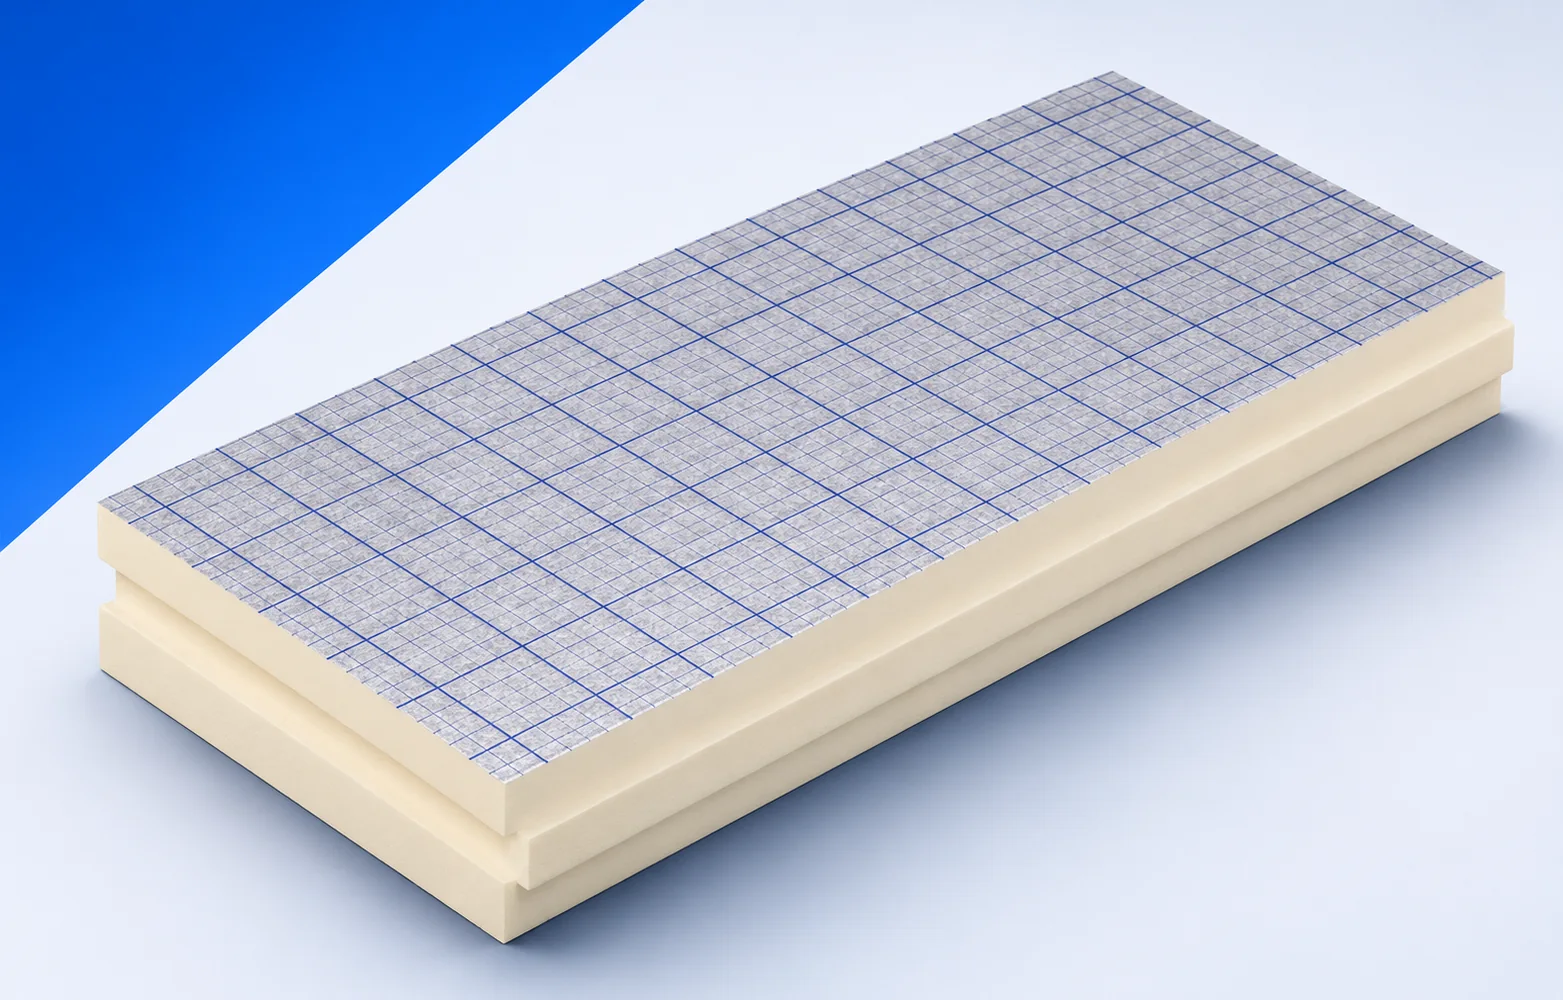
Identify the supporting deck
Expose a section of deck on a refurbishment. A concrete fixing and a profiled-steel-deck fixing are not interchangeable simply because they pass through the same insulation.
Allow for the falls
The declared conductivity is 0.022 W/(m·K). Uniform swissporPIR Alu on a level deck will not create a fall towards an outlet.
Compare the build-up at the threshold and at the roof high point. Changing insulation thickness changes the height available for the membrane upstand.
Lay out boards over profiled steel
Mark the top flanges and the board direction on the deck drawing. Check the instructions for the specified build-up to establish the bearing required at a joint.
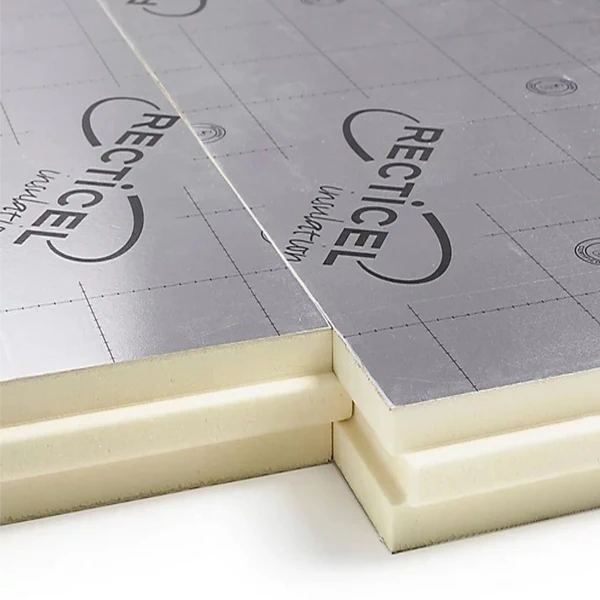
Stagger the upper and lower joints in a two-layer build-up. For a single layer the manufacturer recommends rebated or tongue-and-groove edges; identify the profile on the board schedule.
Mechanical restraint with adhesive
Do not specify adhesive alone for swissporPIR Alu. The fixing plan should show the substrate into which the fasteners will anchor.
Have the designer assess the corner, perimeter and field zones. A fixing pattern copied from a neighbouring roof is not a calculation for this one.
Keep damp boards out of the build-up
Inspect both faces before closing the roof. Do not conceal a wet or damaged board beneath the membrane even if replacement stock will arrive the following day.
Agree how much roof the crew can protect by the end of the shift. After rain, inspect the exposed board edges at the work boundary again.
Separate roof area from drainage details
Price the field by area, parapets by length and outlets by number and type. Separate units make missing details easier to spot.
Check the allowance for deck preparation, fasteners, any adhesive, waterproofing and the outlet connection. A pack price covers only the insulation.
A check at the first outlet
At the first outlet, compare the drawing with the installed flange level. If water would have to climb a step, resolve the discrepancy before repeating the detail elsewhere.

Free quote
What to include in your enquiry
Tell us how you plan to use the material, the dimensions and the quantity you need. Include the thickness, grade or variant name, along with the delivery town or your preferred collection branch. For a specific product, add its name or a link to the product page. We will reply to the email address you provide to discuss availability and the terms of your order.
More from the building guide
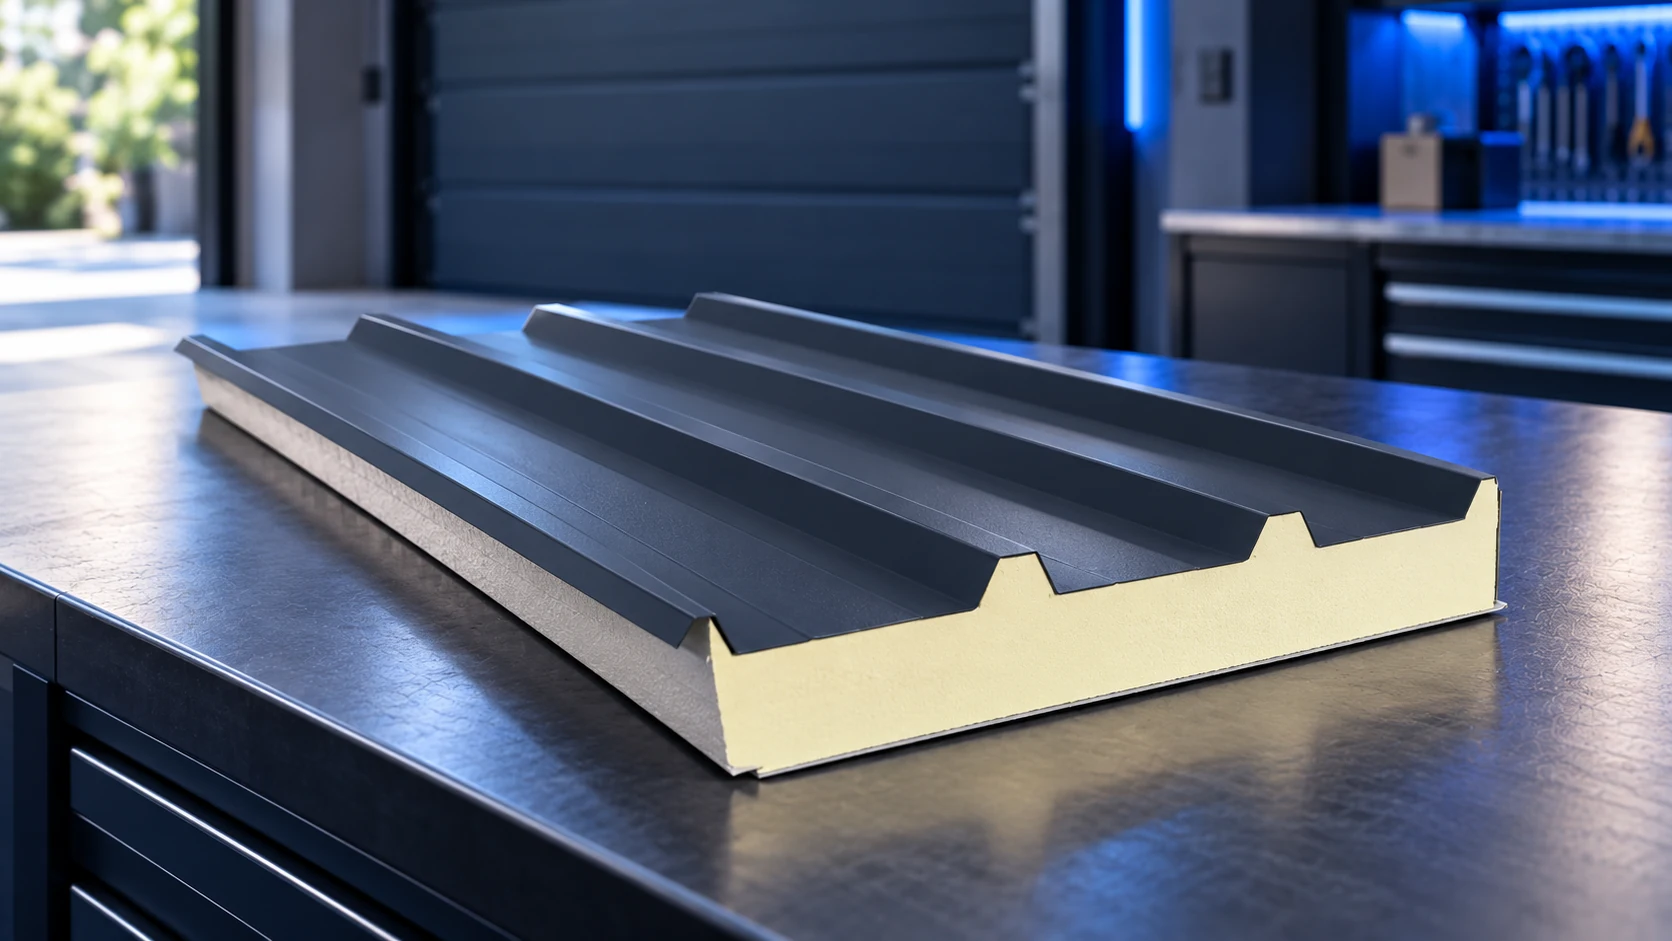
The right PIR sandwich-panel thickness for a garage roof depends first on whether the garage will be heated. Thermal requirements, support spacing…
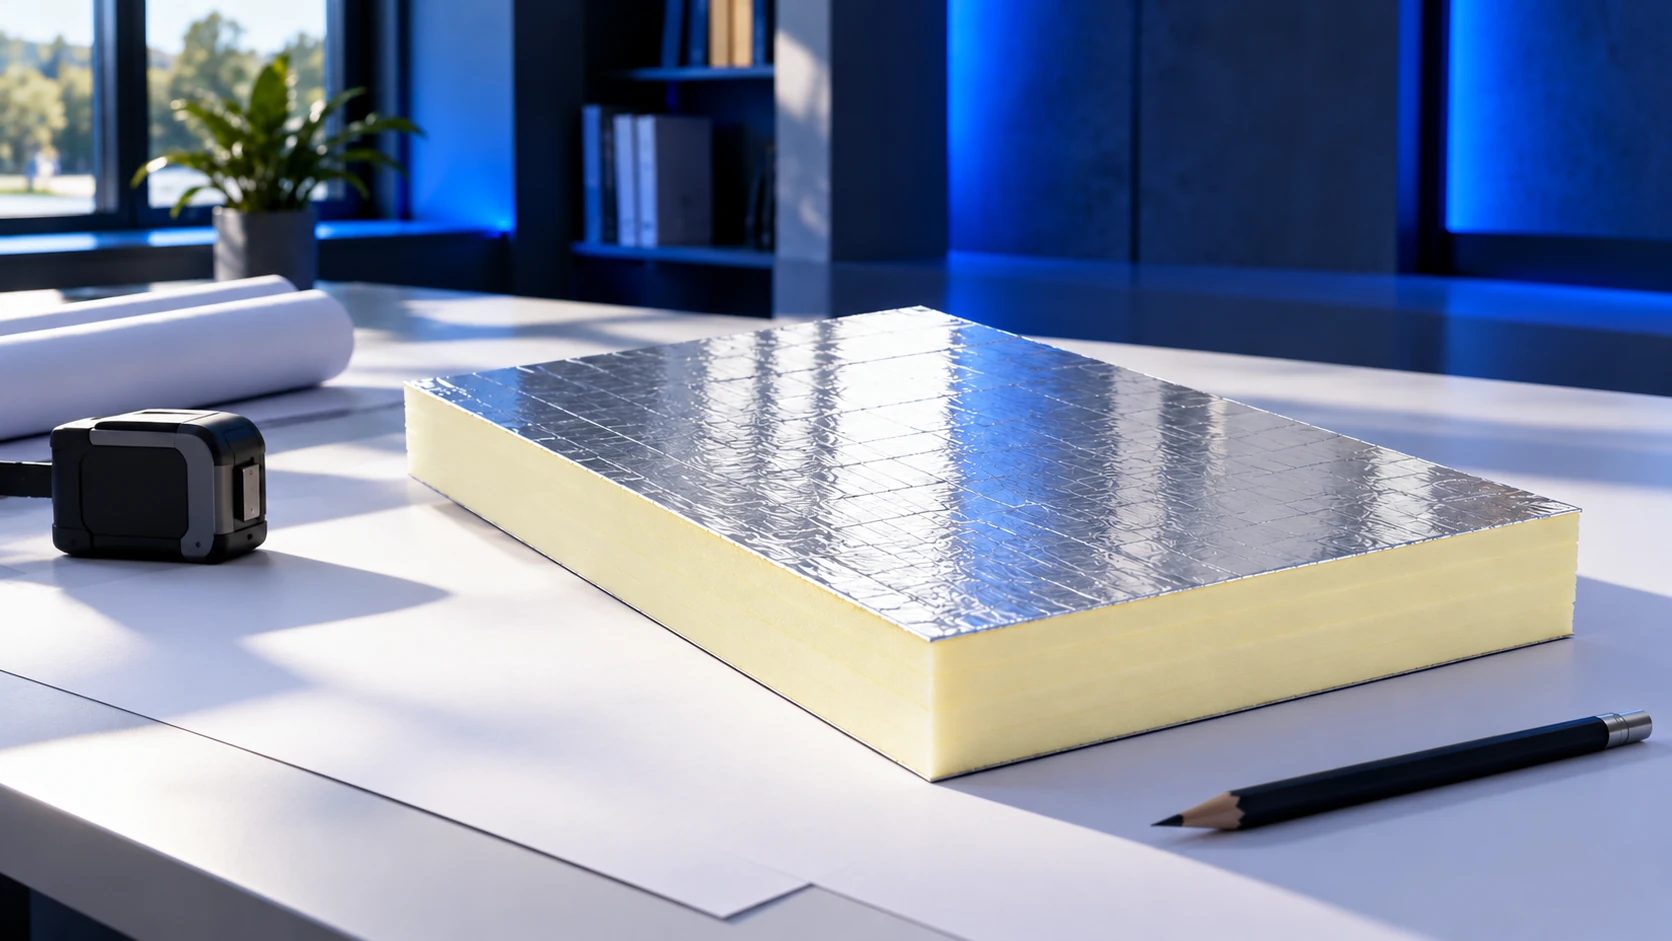
A calculator can quickly produce a wall's U-value, but it cannot inspect the masonry, check airtight junctions or identify every moisture risk…
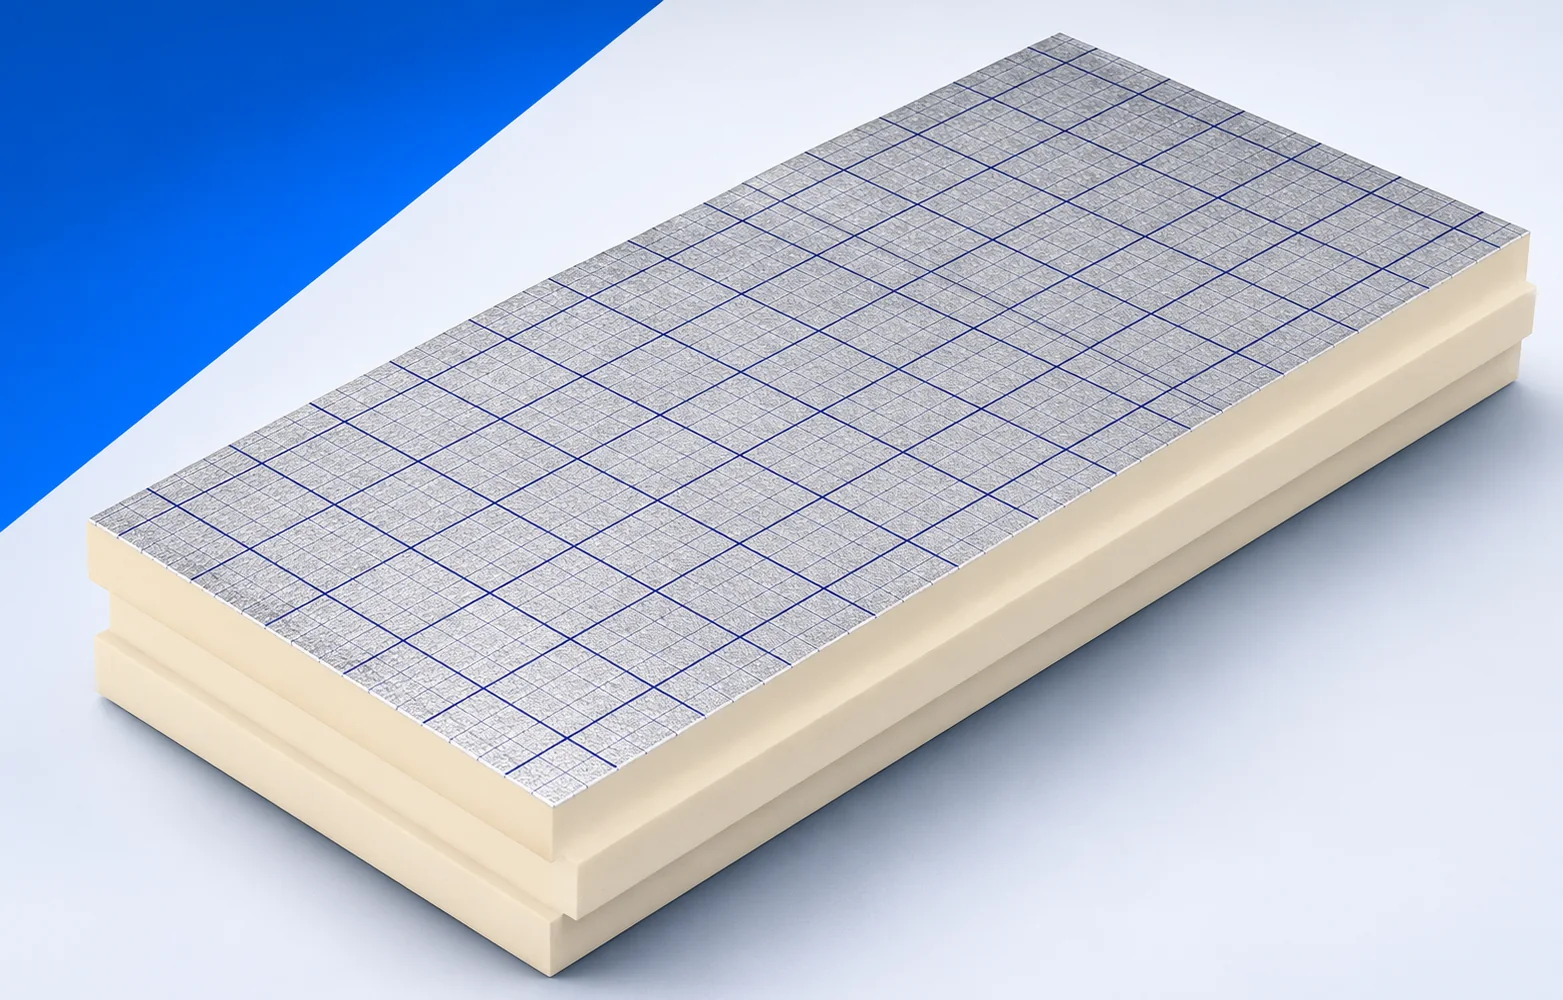
swissporPIR Alu is a PIR insulation board with a laminated facing. Its silver surface does not make it a self-supporting roof panel…
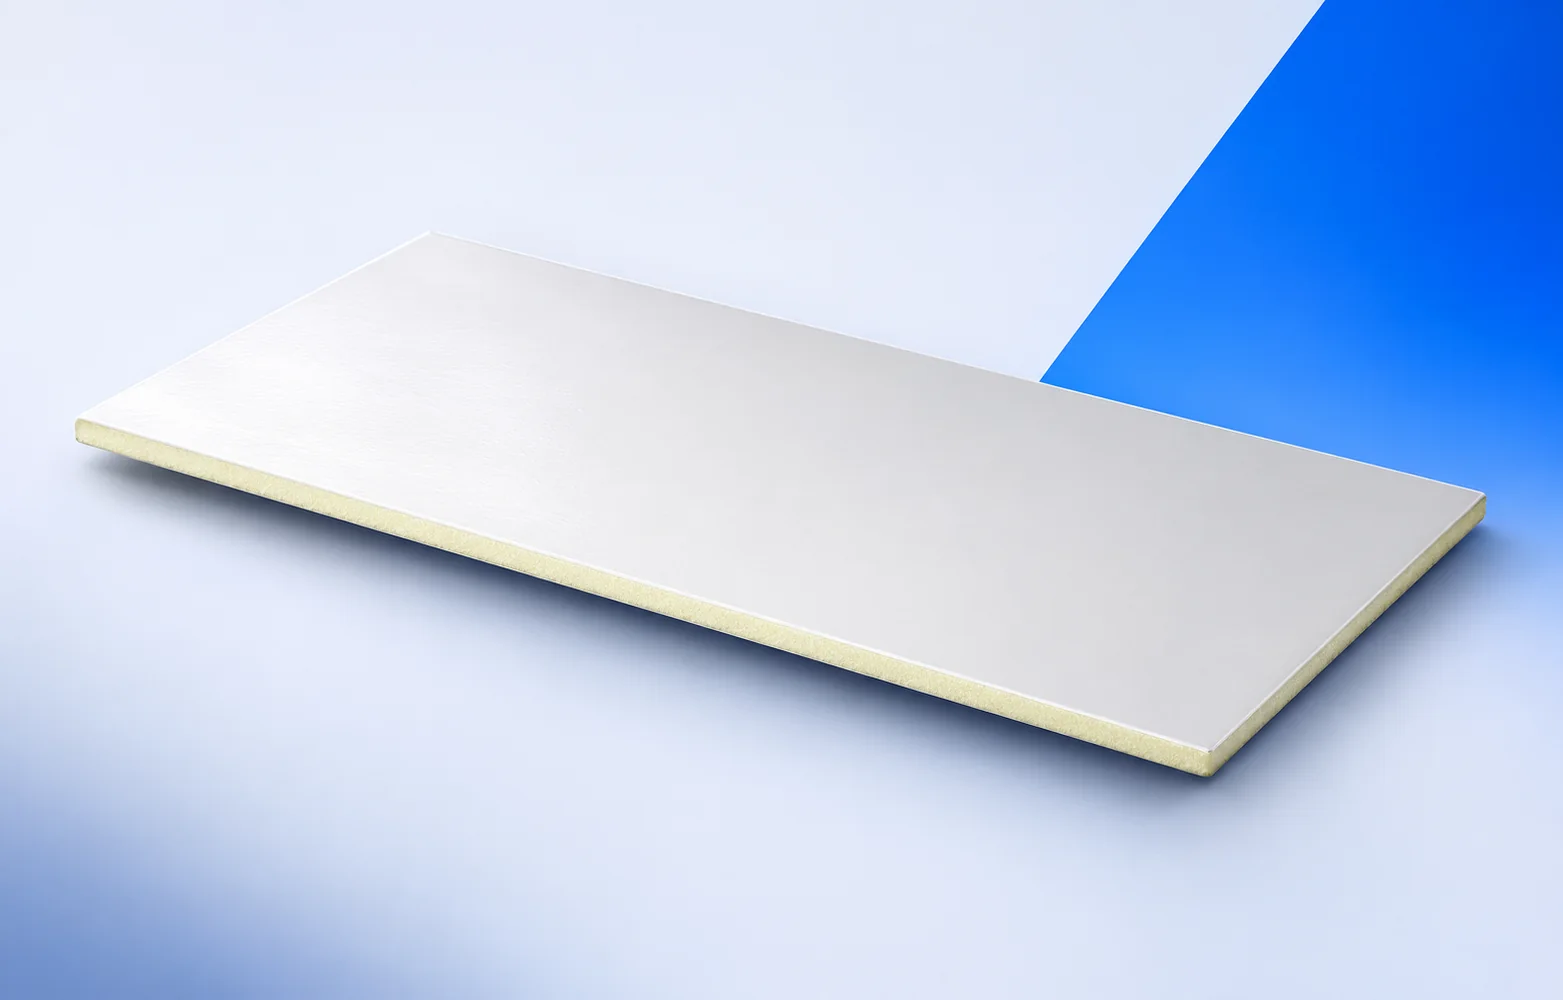
Start an IDELCO AGRO+ order by measuring the route the longest board must take from the lorry to the ceiling. A made-to-length…
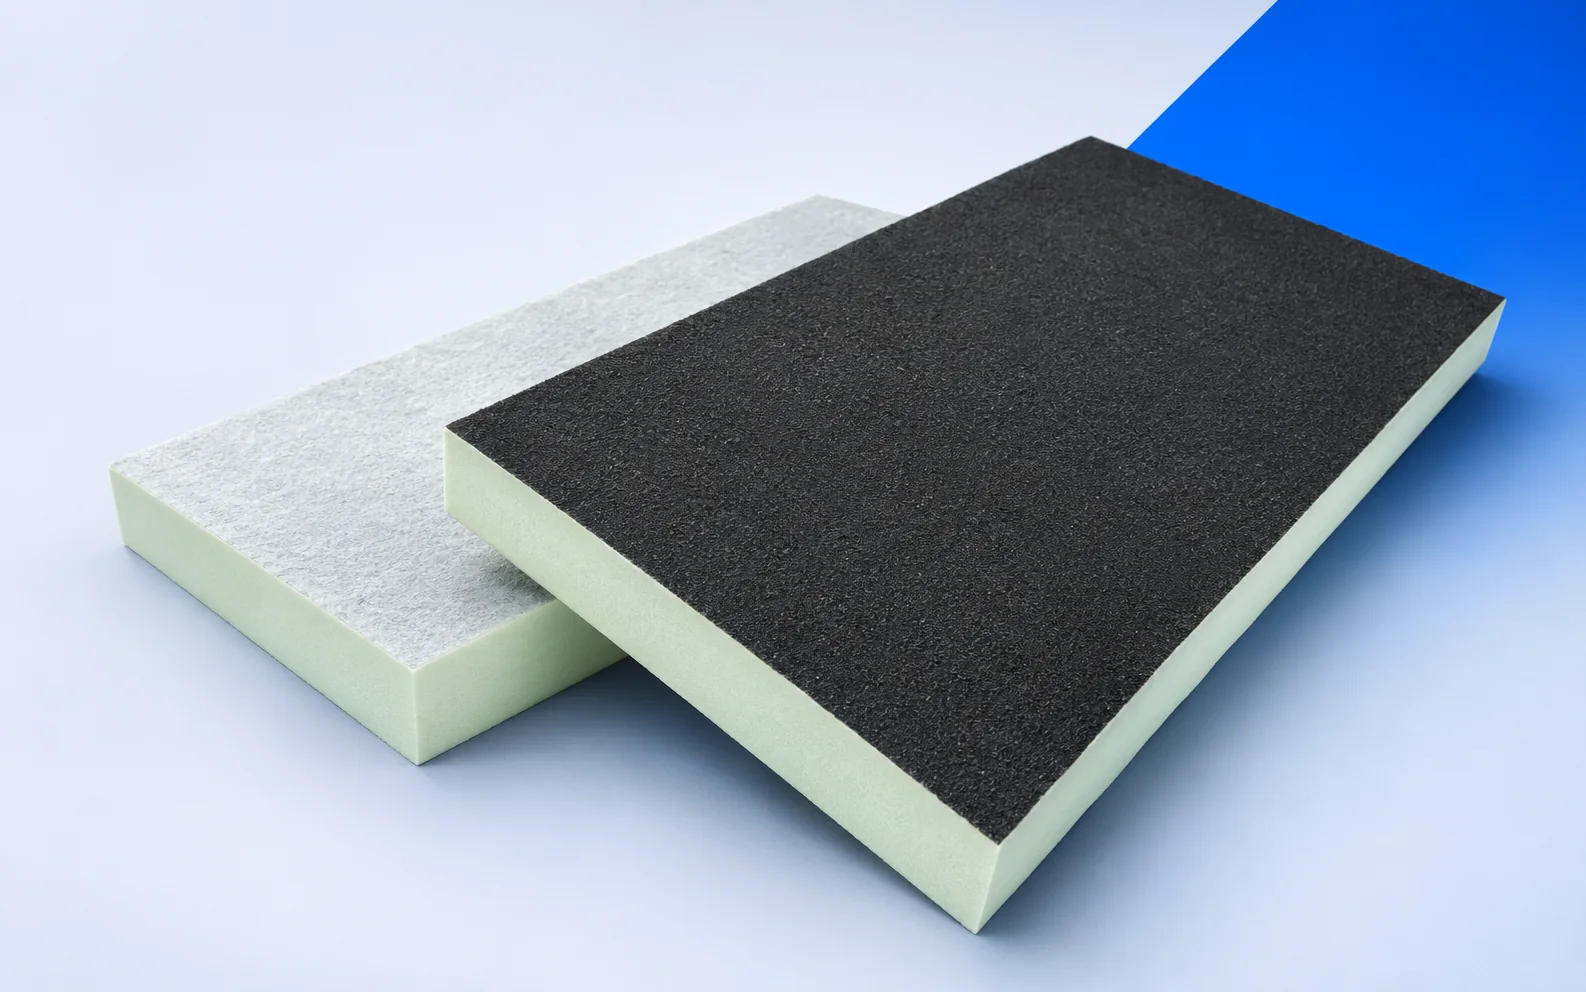
Utherm Roof BM has two different surfaces: bituminised glass fleece on one side and mineralised glass fleece on the other. When ordering…
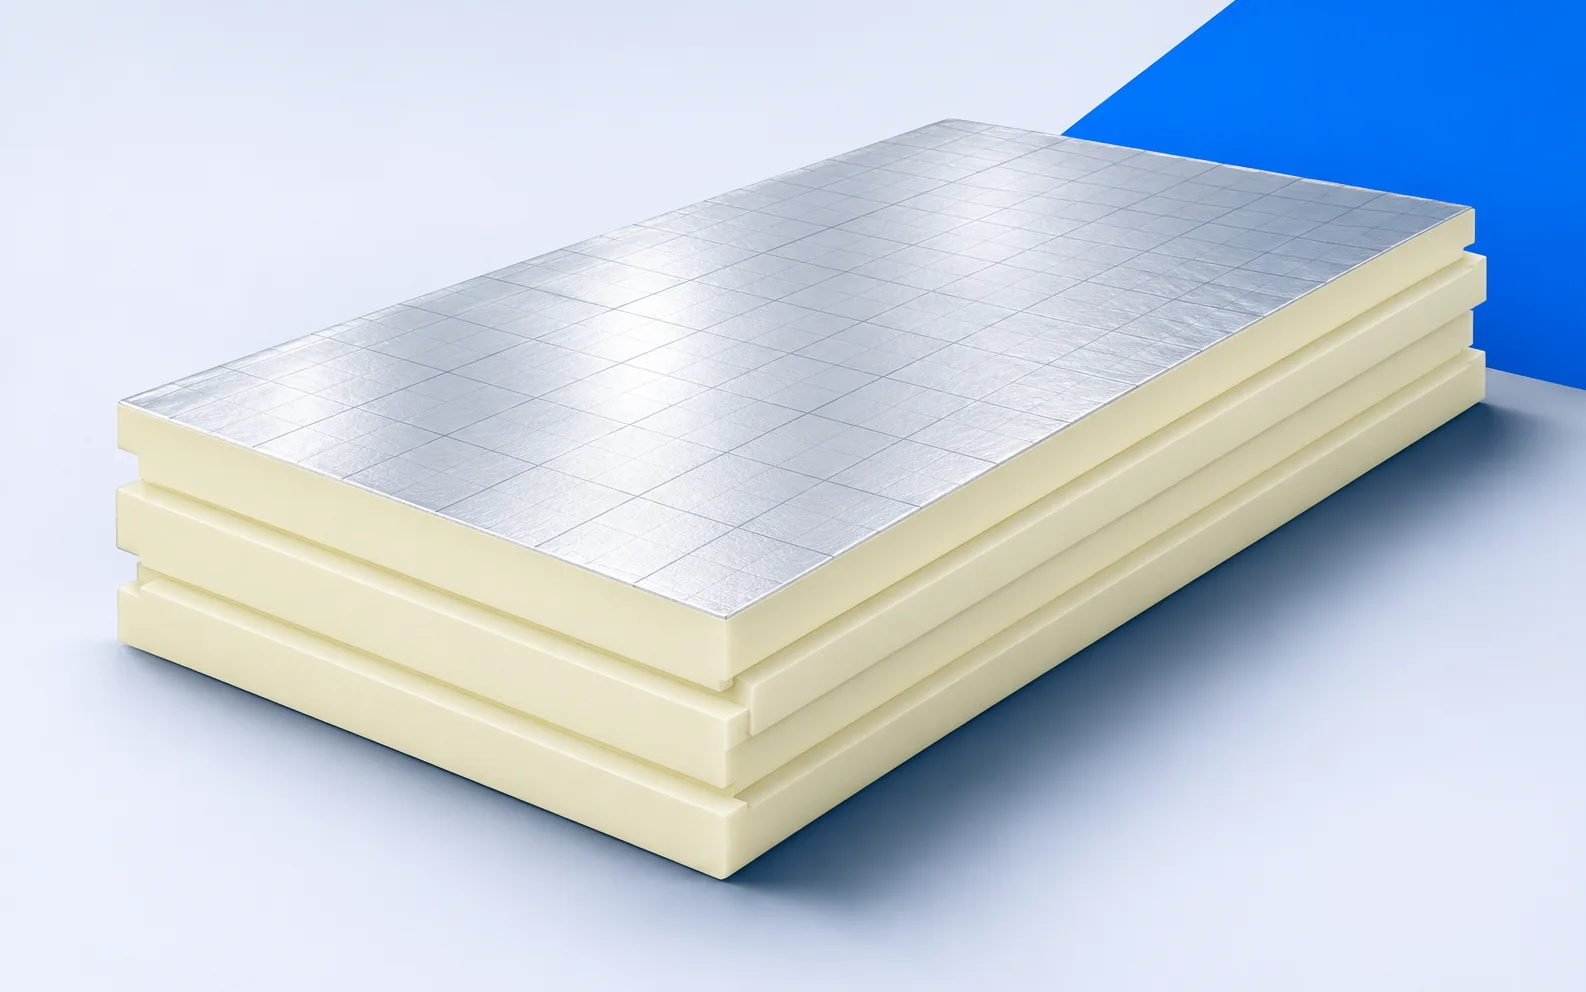
Ask what will be finished when the crew leaves. A square metre of PIR does not include substrate preparation, fixings or sealed…
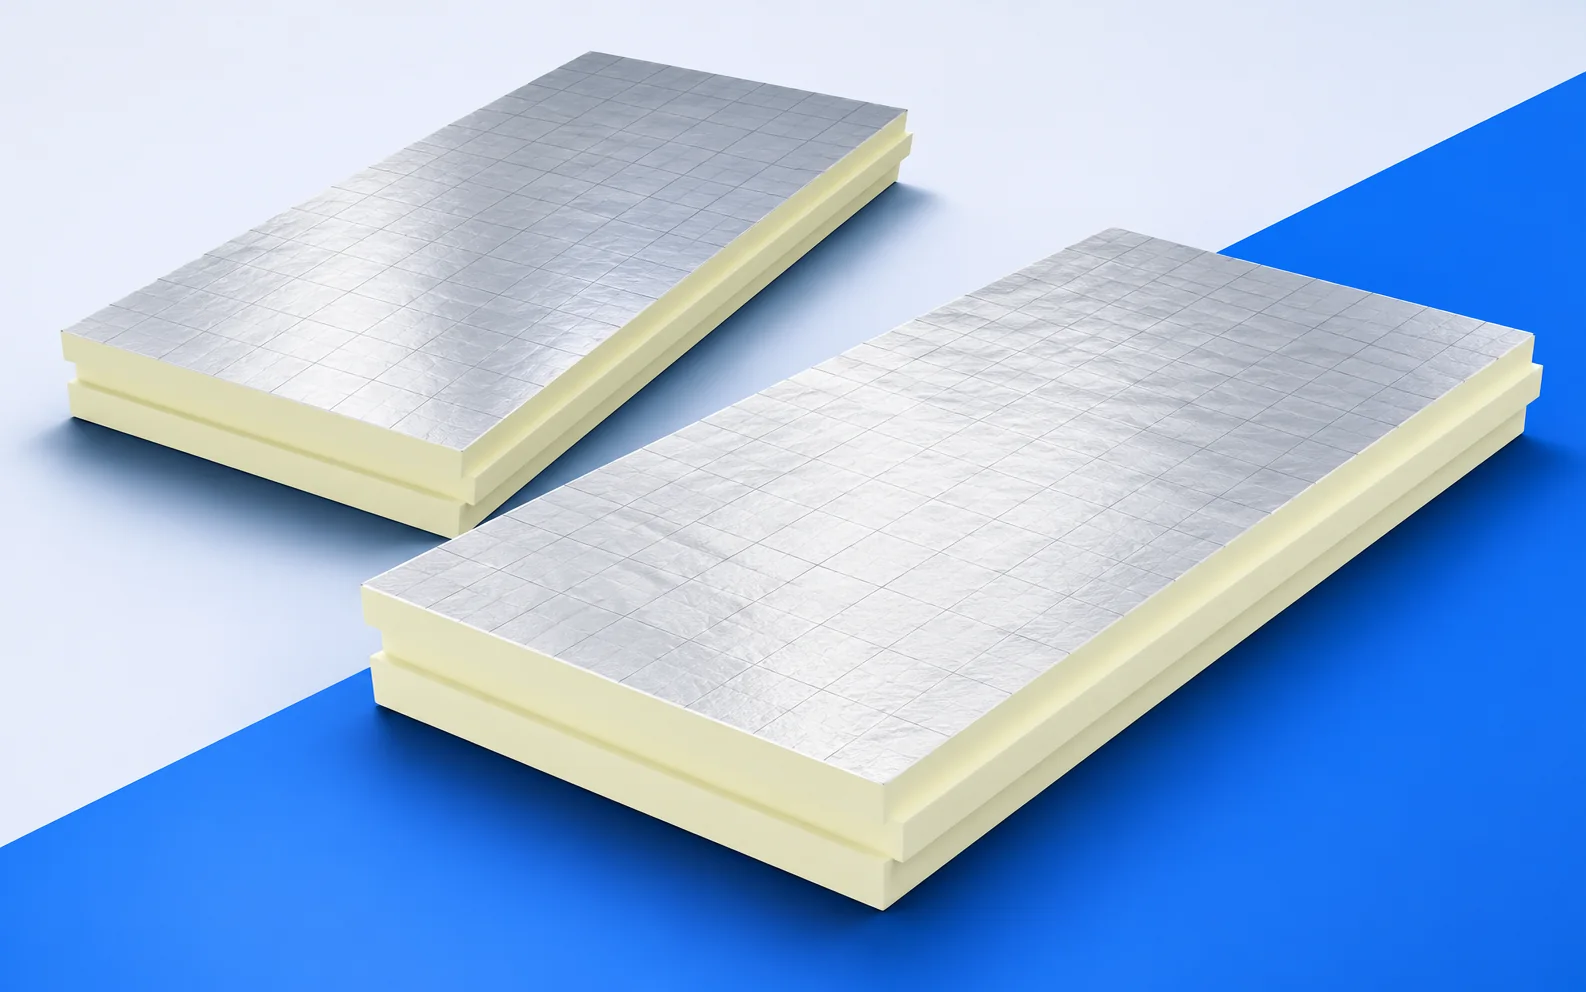
Conductivity (lambda), thermal resistance (R) and thermal transmittance (U) answer different questions. The declared conductivity, usually marked λD, describes a particular product.…
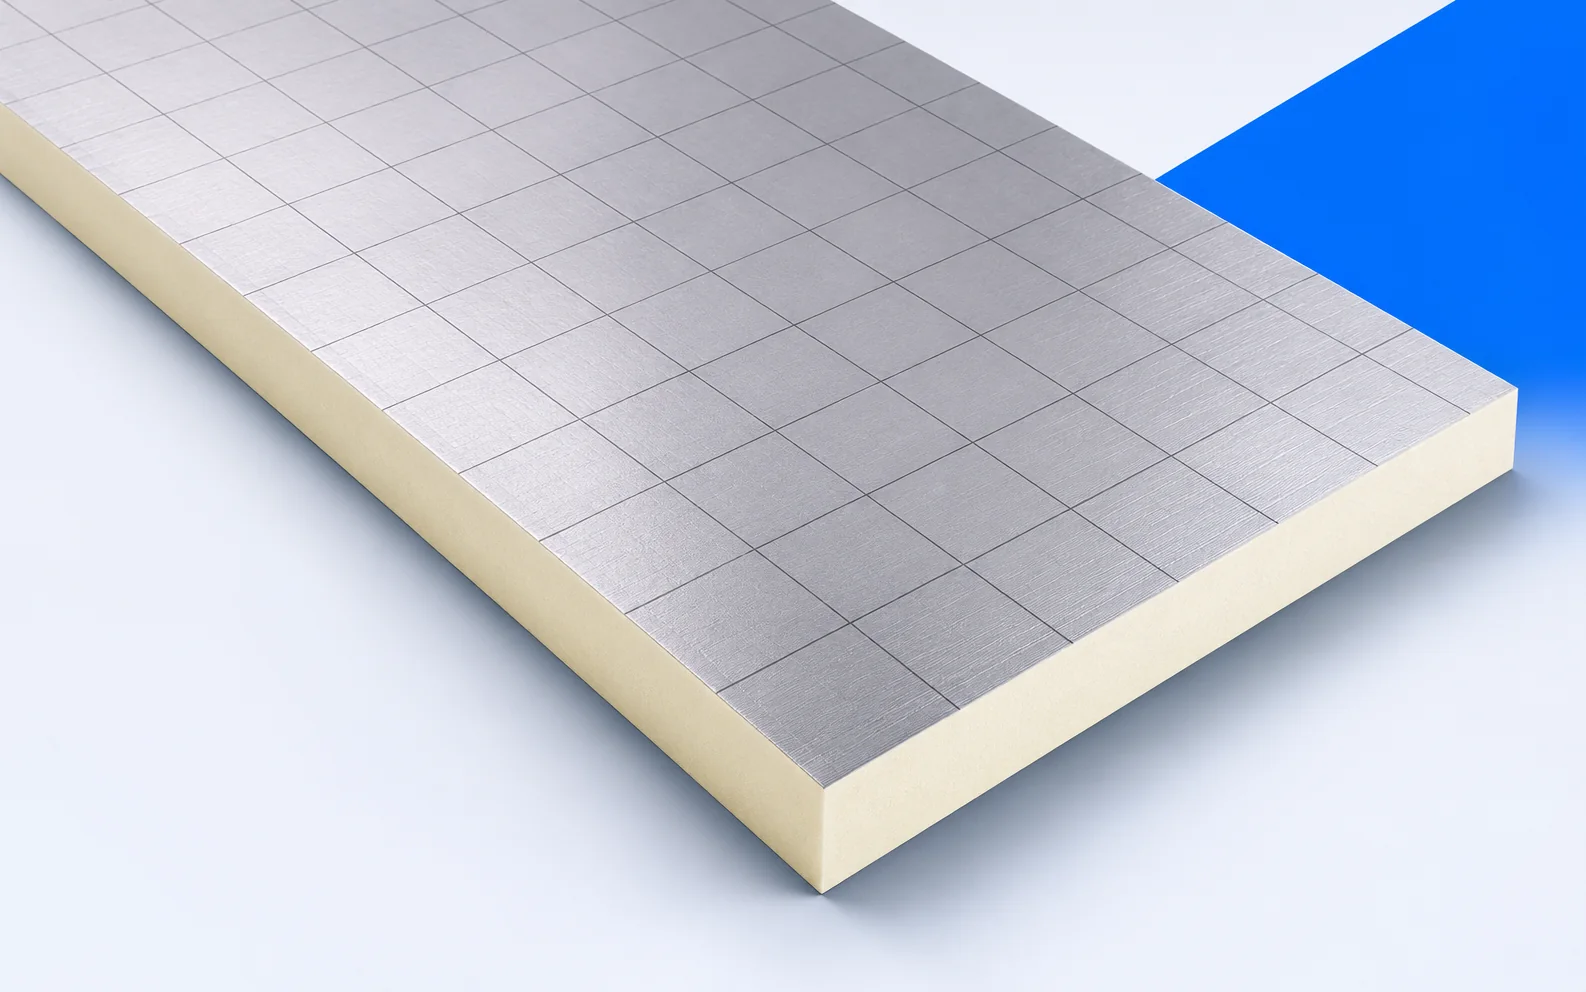
Changing Eurothane Silver thickness can change more than the insulation value. The 20 mm version has different format options and compressive performance…