Laying modular metal roof tiles on a pitched roof
Roof coverings
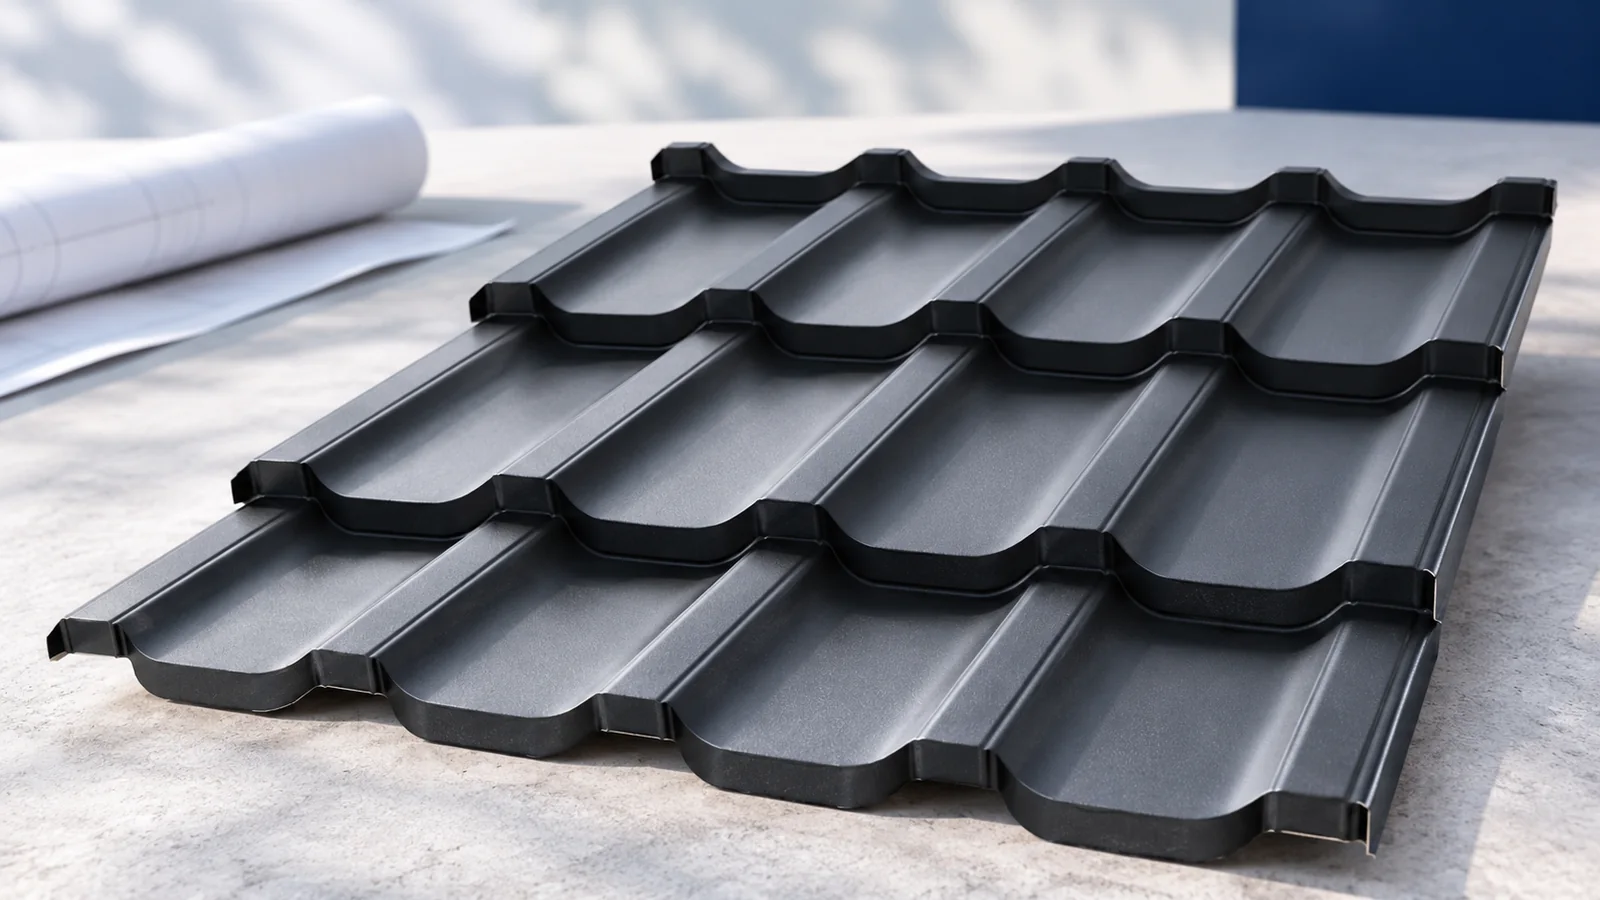
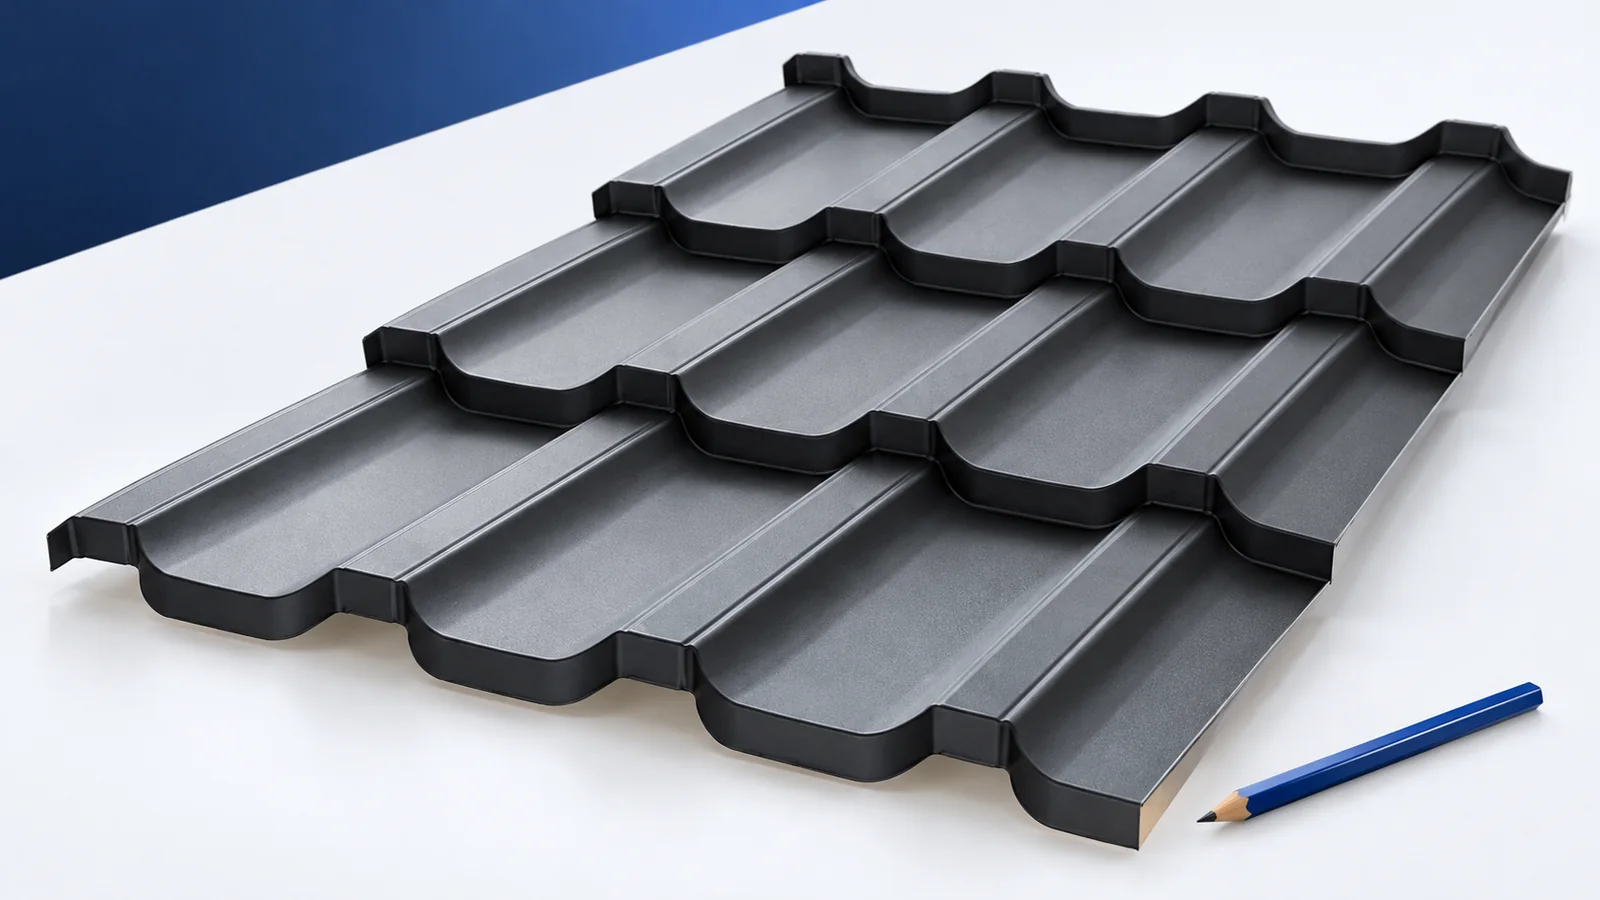
Before laying modular metal roof tiles, set out the eaves line and check the batten gauge against the drawing for the specific model. Have the roofer check the first course with several sheets joined. This reveals whether side laps sit correctly, the steps line up and the lower edge will discharge water into the gutter. A small setting-out error repeated in every course is difficult to correct once the roof is covered. Plan cuts at valleys, chimney flashings and supports for roof equipment before fixing the sheets. Photographs taken before the next modules go on are useful at handover.
What information should you take from the manual?
Identify the model from the pack label and find its data sheet. For example, Budmat lists effective sheet dimensions of 1140 × 700 mm and a module length of 350 mm for Murano. Use those figures when setting out that profile. Check its minimum pitch and substrate requirements separately.
Mark the starting side, sheet sequence and screw positions on the installation drawing. Keep the two-course joint detail available near dormers too, where cutting can make the lap direction harder to identify.
How should the roof plane and eaves be prepared?
Check the first batten’s position relative to the eaves edge, then measure several successive batten spaces. Use the measurement datum shown in the manufacturer’s detail. Checking diagonals and the batten plane reveals deviations before the first pack reaches the roof.
At the lower edge, trace water on the covering and on the underlay separately. Inspect the eaves flashing and the planned ventilation inlet beneath the sheets. These areas become harder to reach once the first course is fixed.
How do you align the first modules?
Position the lower edge against the reference line and set the specified eaves overhang. Join the neighbouring module in the manufacturer’s laying direction. If the steps do not meet when the sheets rest freely, check the sheet alignment and supports.
Sight along the first joined courses from the verge and from the eaves. A small offset at each joint can move the whole line by the time it reaches the far side of the roof. Correct the starting alignment before final fixing over a larger area.
How are screw positions and seating checked?
On the drawing, distinguish sheet-to-batten fasteners from those joining adjacent modules. Their type, length and position depend on the profile and substrate. Keep the references of the screws delivered with the sheets for the handover inspection.
Check that sealing washers seat all the way around and that the sheet retains its shape at each screw. At eaves, verges and corners, compare the fixing pattern with the schedule for that particular roof zone.
How should sheets be cut at valleys and chimneys?
Before cutting, mark the valley edge and the last permitted fixing point on the module. A small cut piece needs its designated support. Coordinate the cut edge at a chimney with its flashing and maintain the designed drainage width in a valley.
Use a manufacturer-approved cold-cutting tool. Collect swarf from the profile steps and gutters as well. Lift modules without sliding them across finished sheets, where a single metal particle trapped underneath can leave a long scratch.
When should flashings and roof accessories go in?
Group flashings by installation sequence. Identify parts that must go under a sheet and those that cover a finished edge. At the ridge, check both protection from rain and the ventilation outlet designed for that roof slope.
Mark supports for roof steps, access platforms and snow guards on the roof plan. Photograph them against a fixed reference before covering, so the roofer can find them again. Each fixing must transfer its load to the member specified in the design.
What should the handover inspection cover?
From ground level, look at the courses and eaves line. The roofer should inspect joints, roof windows, flashings and coating at close range and confirm that protective film was removed on time. Record clearance of installation debris from valleys and gutters.
Inspection at height requires a trained crew, fall protection and an access route that accounts for sheet support. At handover, file the covering model, maintenance instructions and photographs of details concealed beneath the modules.

Free quote
What to include in your enquiry
Tell us how you plan to use the material, the dimensions and the quantity you need. Include the thickness, grade or variant name, along with the delivery town or your preferred collection branch. For a specific product, add its name or a link to the product page. We will reply to the email address you provide to discuss availability and the terms of your order.


More from the building guide
A mansard roof comprises connected slope sections with different inclinations. Success depends on more than the covering: rainwater, ventilation and insulation must…
Choose a house roof covering in two stages. First rule out materials incompatible with the structure, pitch and layer arrangement; then compare…
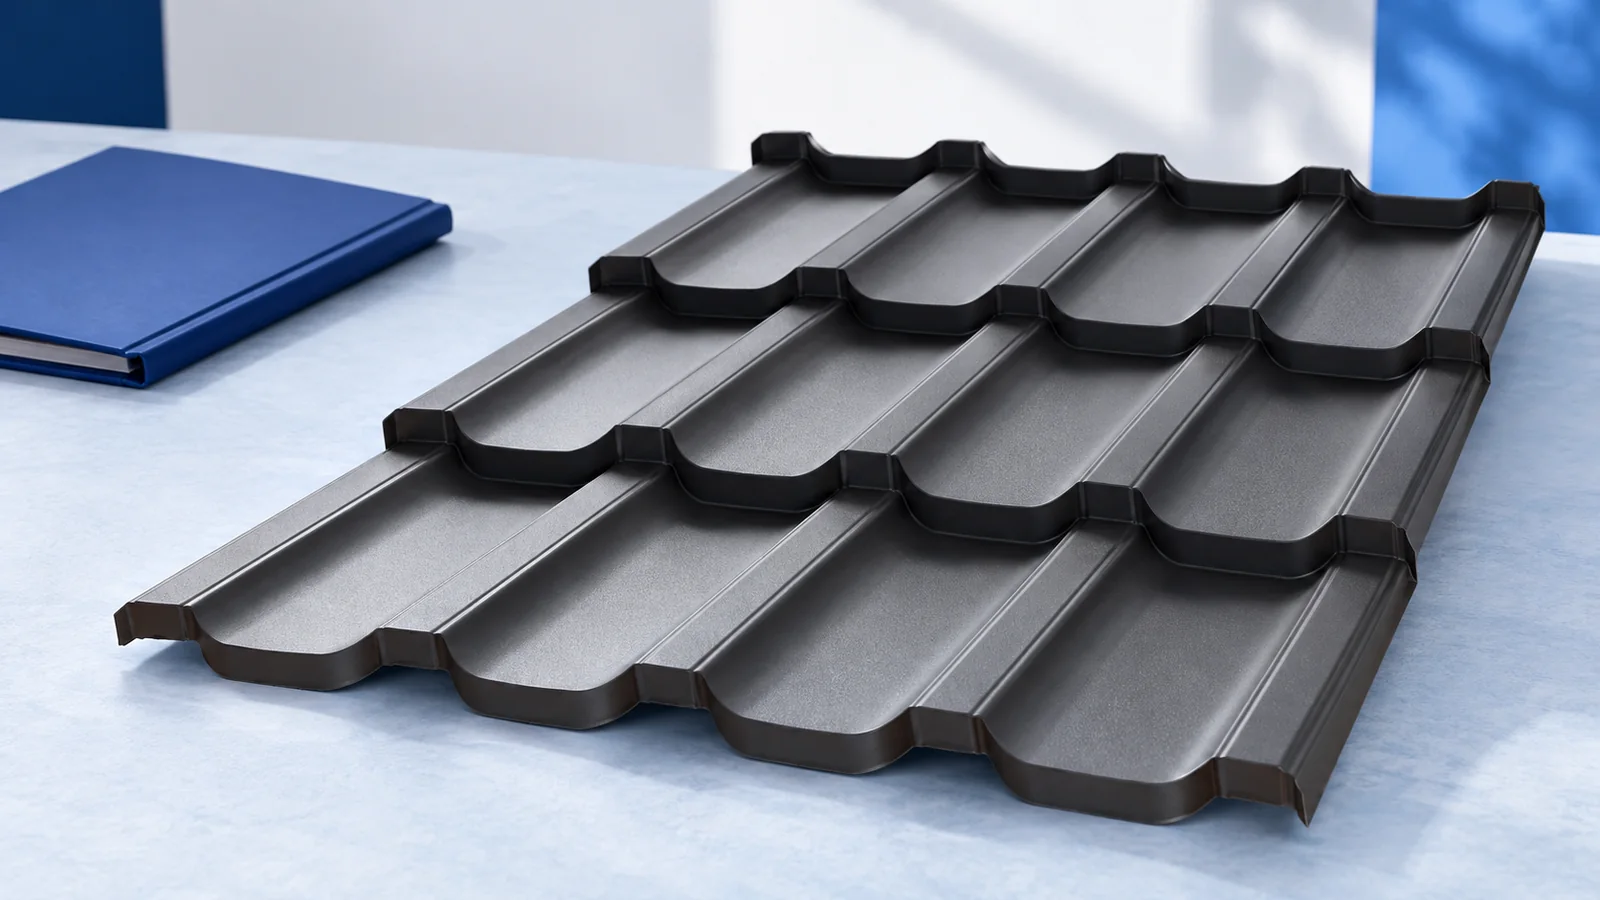
Single-module steel roof tiles organise delivery and installation around short, repeatable sheets. One module means one row of pressed steps along the…
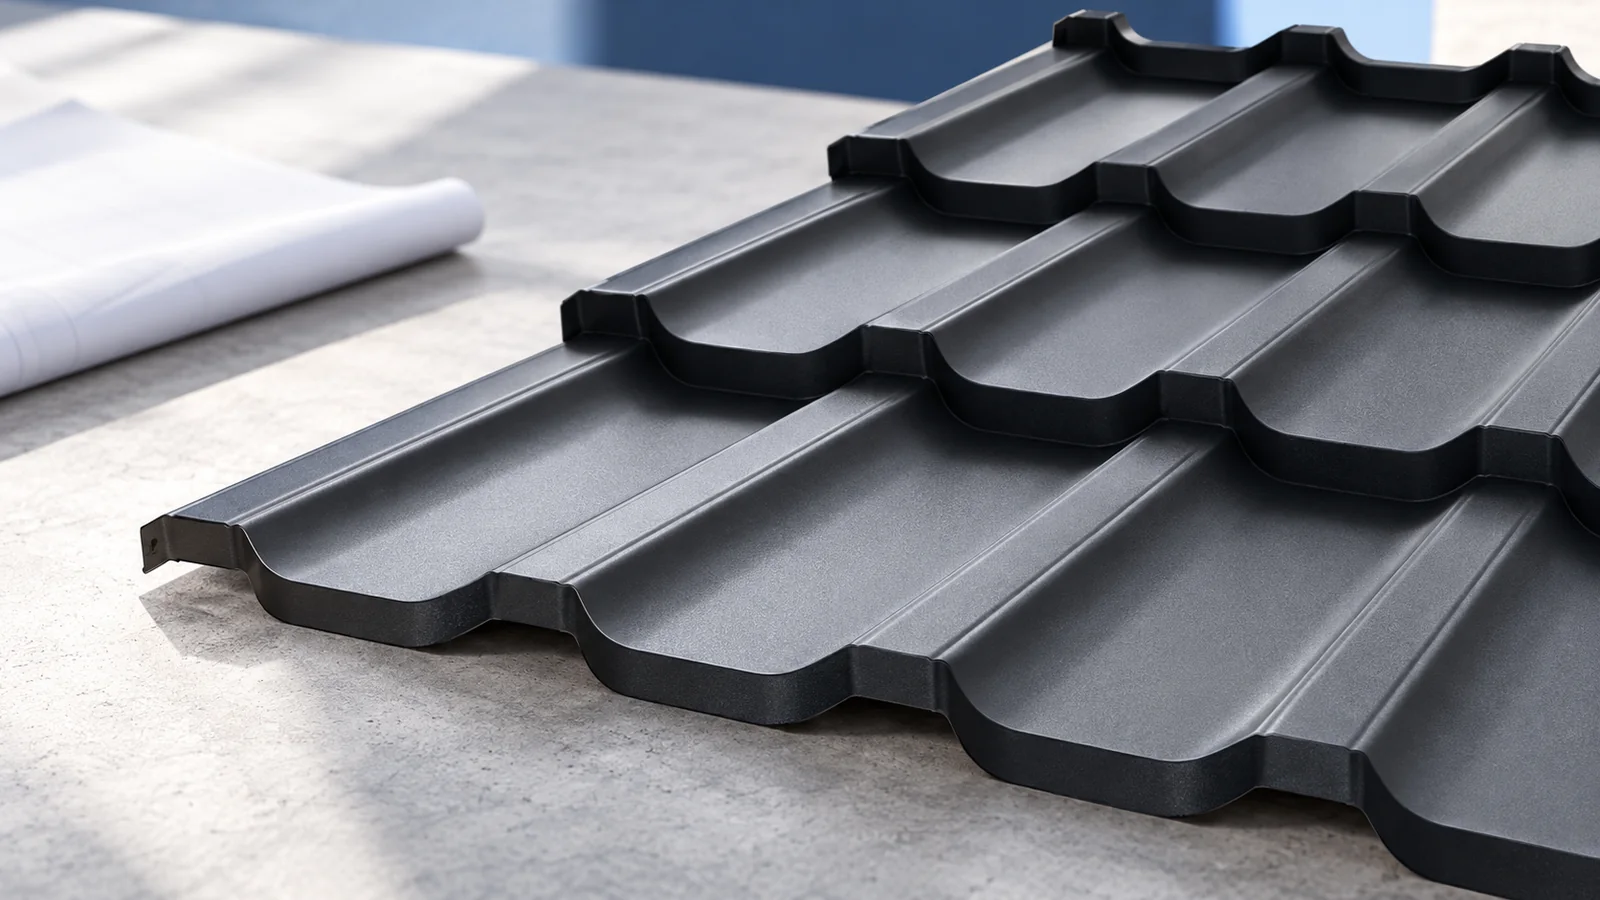
Modular metal roof tiles use repeating sheet formats assembled into successive courses. Smaller pieces can simplify handling and fitting on a complex…
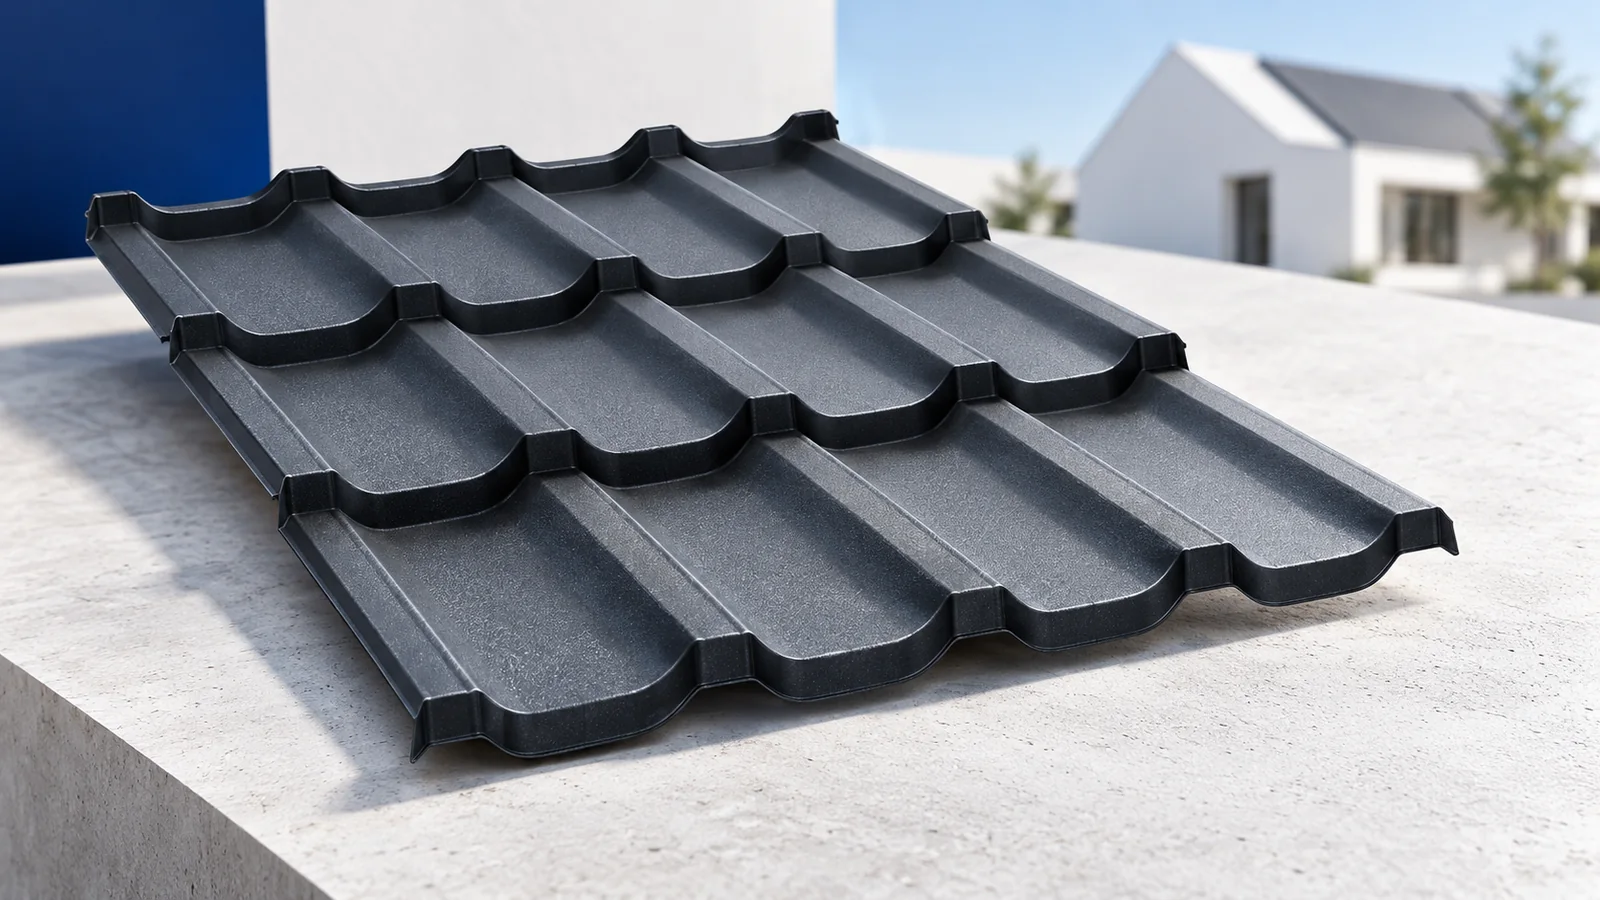
A modular metal roof-tile coating affects appearance and surface protection, but assessment should go beyond matt or gloss. Identify the steel core,…
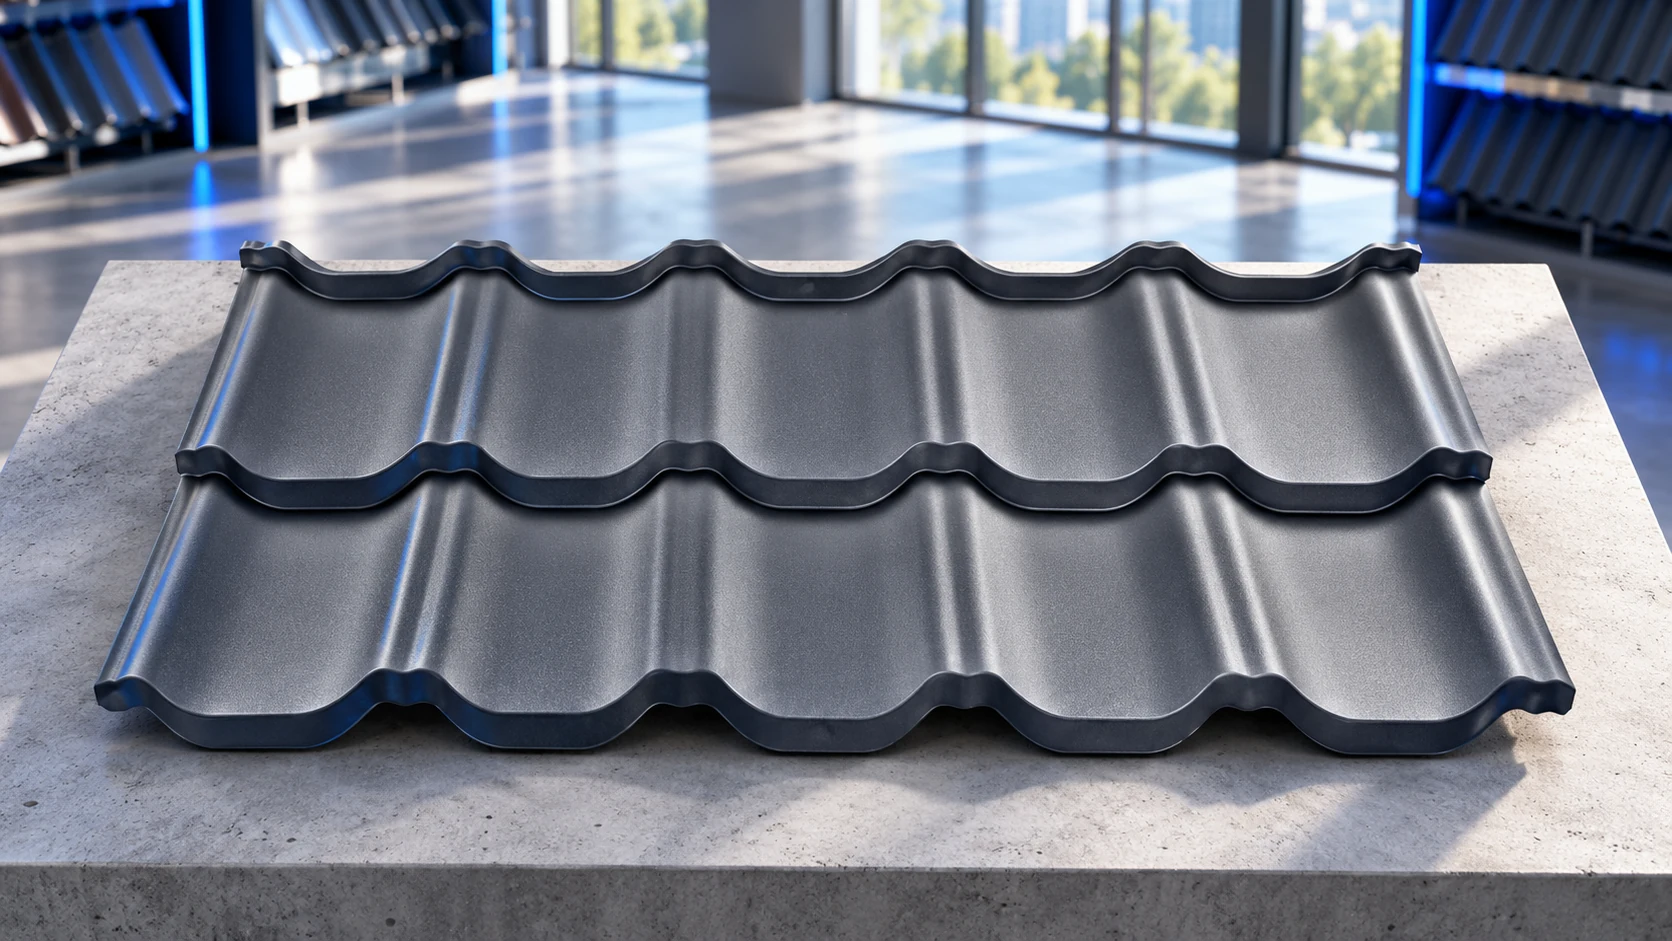
Made-to-length sheets can use material efficiently on a simple roof, while short modular panels are easier to handle and may help around…
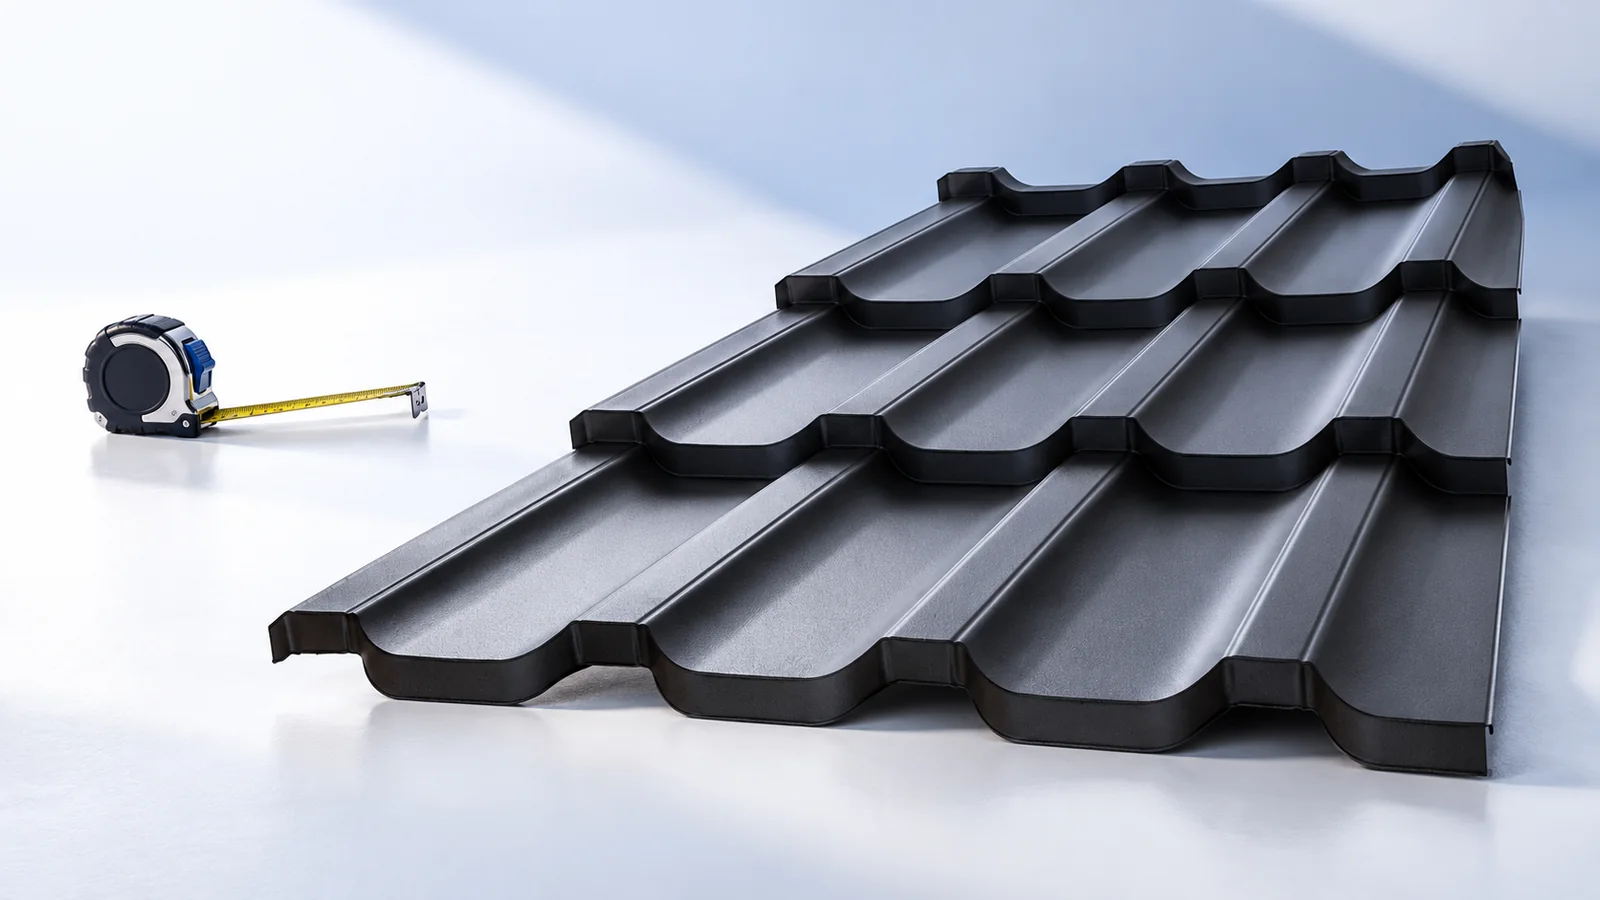
A steel-tile roof's appearance combines profile proportions, colour, texture and installation accuracy. Choosing cut-to-length sheets or modules is only one decision. Long…
Compare single- and double-module steel roof tiles by coverage, cuts and the number of installation operations. Both can produce a similar pattern,…