






How to insulate a loft from eaves to ridge
Insulation and lofts
Decide how to insulate the loft on a section through the house. Mark the heated rooms and draw the insulation line around them. Under a cold loft the line can follow the ceiling. Above a bedroom with sloping ceilings it usually follows the roof. Pay particular attention where it changes direction or meets a window or pipe. These junctions need continuous insulation and an airtight connection. Before ordering mineral wool or PIR boards, check the roof timbers, available depth and intended roof ventilation. These checks determine which layers can safely be closed behind the lining.
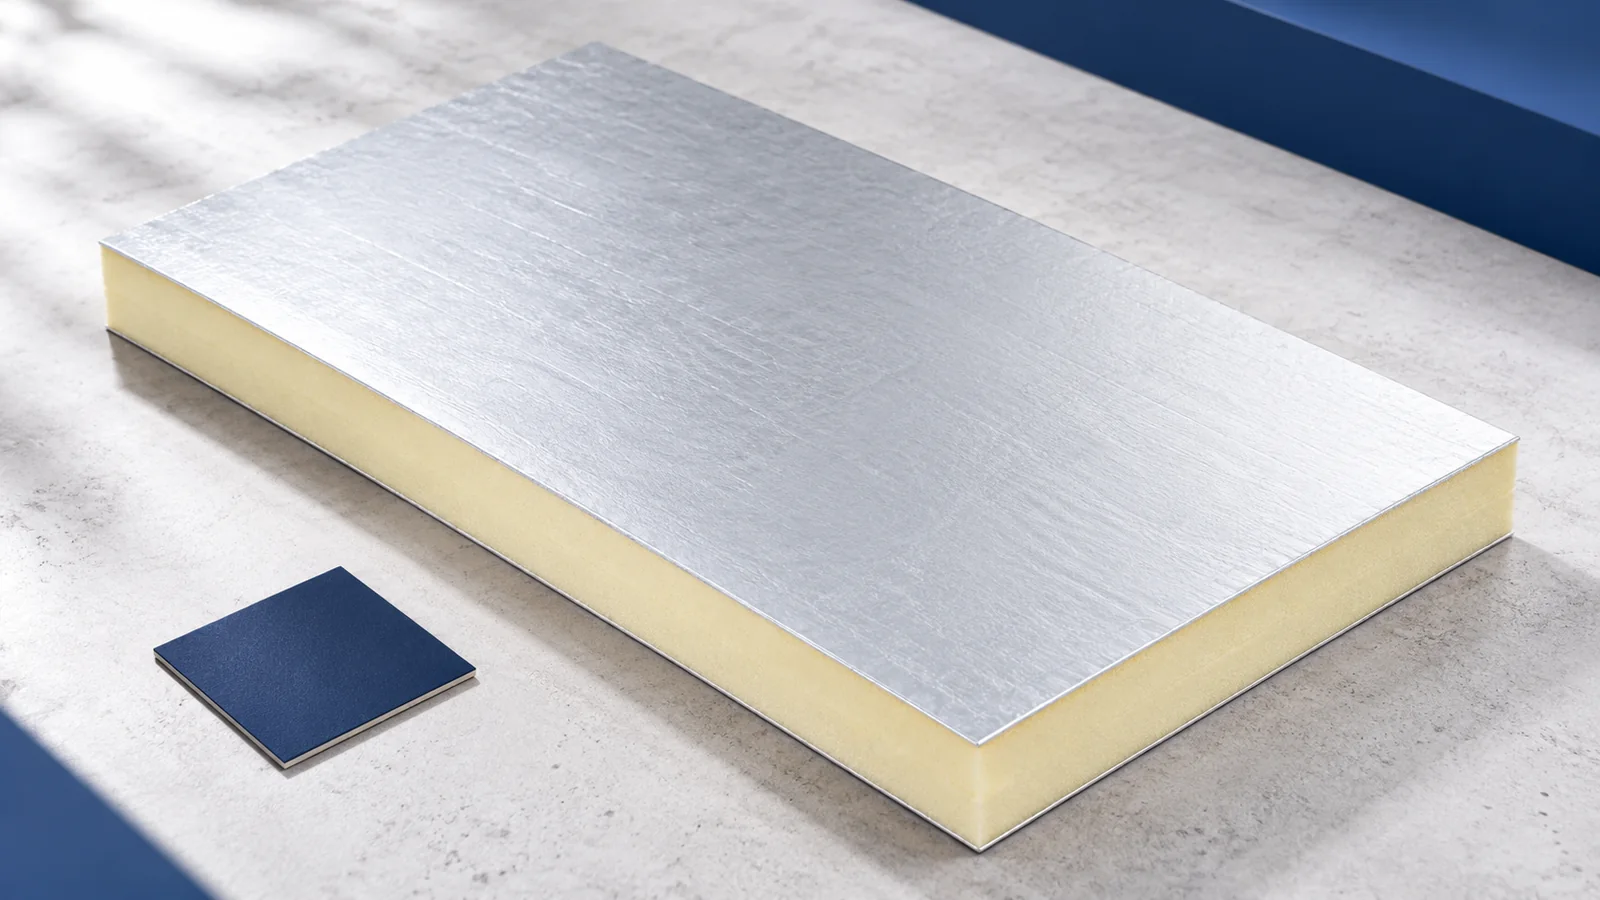
Where does the heated space end?
Show the external wall, ceiling and slope insulation on one drawing. If a cold triangular void remains above the rooms near the ridge, the junction between slope and ceiling deserves the same attention as the roof-to-wall junction.
A space behind a dwarf wall may become a cupboard or a cold void. Decide before routing pipes and cables. The installer then knows which side of the insulation the services occupy and where to form a sealed penetration.
What should be inspected before enclosing old rafters?
During inspection, mark staining, examine timber joints and identify the source of moisture. After repair, confirm that the timbers are sound and dry. Where a ventilation cavity is specified, trace it from inlet to outlet.
Measure several rafter bays and record the shallowest one. Show heavy equipment and cupboards on the lining plan. Allow for their supports and for the weight of the new lining while the structure is still accessible.
Which insulation fits the available space?
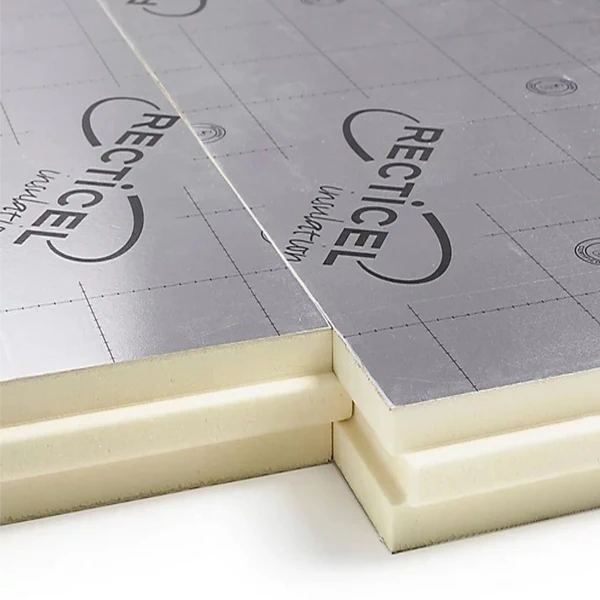
Mineral wool between rafters needs cutting and supporting as specified for the product. Where headroom is limited, also compare an assembly with continuous rigid PIR boards above or below the rafters. Include the framing and finish in the total build-up depth.
Compare quotes for the same thermal performance of the complete slope and the same fire requirements. Include work at reveals and junctions. If EPS or XPS is suggested as a substitute, check whether the design allows that product in the proposed position.
Where do thermal bridges and gaps occur?
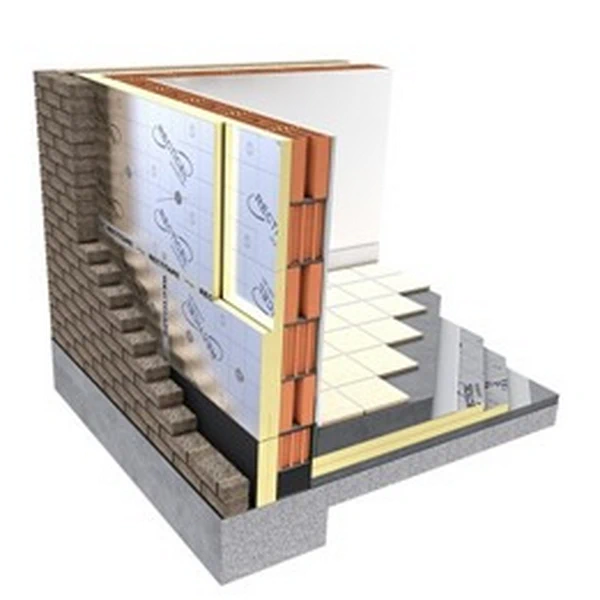
Timber rafters form a parallel heat path. A continuous additional layer can reduce losses at those points. Check its termination at the gable, wall plate and ridge and its connection to wall insulation on the sections.
Fit wool so it retains its designed thickness once secured. With rigid boards, inspect cut edges and contact at each joint. Choose the treatment for a gap according to its size and the system’s jointing instructions.
How is the airtight layer joined on the room side?
Identify the airtight layer and check how the design controls water vapour. Window frames, walls and pipes may require different tapes, adhesives or collars. Prepare each substrate according to the sealing product instructions.
Where the PIR facing forms part of the airtight layer, the board joints and perimeter must perform that function too. A service void on the room side reduces penetrations when sockets and lights are fitted later.
How should roof windows, flues and linings be detailed?
At a roof window check insulation on every side of the frame and its connection with the slope. Materials and clearances at a flue depend on the chimney system documentation and design. Leave access to inspect the detail before closing it.
The framing, lining boards, fixings and insulation form an assembly with specific fire and acoustic properties. Check board layers and framing centres on the installation drawing. Changing one component calls for a review of the assembly.
What should be signed off before the lining goes on?
Walk the room with the junction drawings and photograph reveals, pipe penetrations and wall junctions. Schedule any agreed airtightness test while the tapes and collars are still accessible for repair.
Once occupied, look for damp marks, especially at corners and windows. Check ventilation in rooms below the slopes. The insulation limits heat flow while air exchange removes moisture produced by the occupants.

Free quote
What to include in your enquiry
Tell us how you plan to use the material, the dimensions and the quantity you need. Include the thickness, grade or variant name, along with the delivery town or your preferred collection branch. For a specific product, add its name or a link to the product page. We will reply to the email address you provide to discuss availability and the terms of your order.

More from the building guide
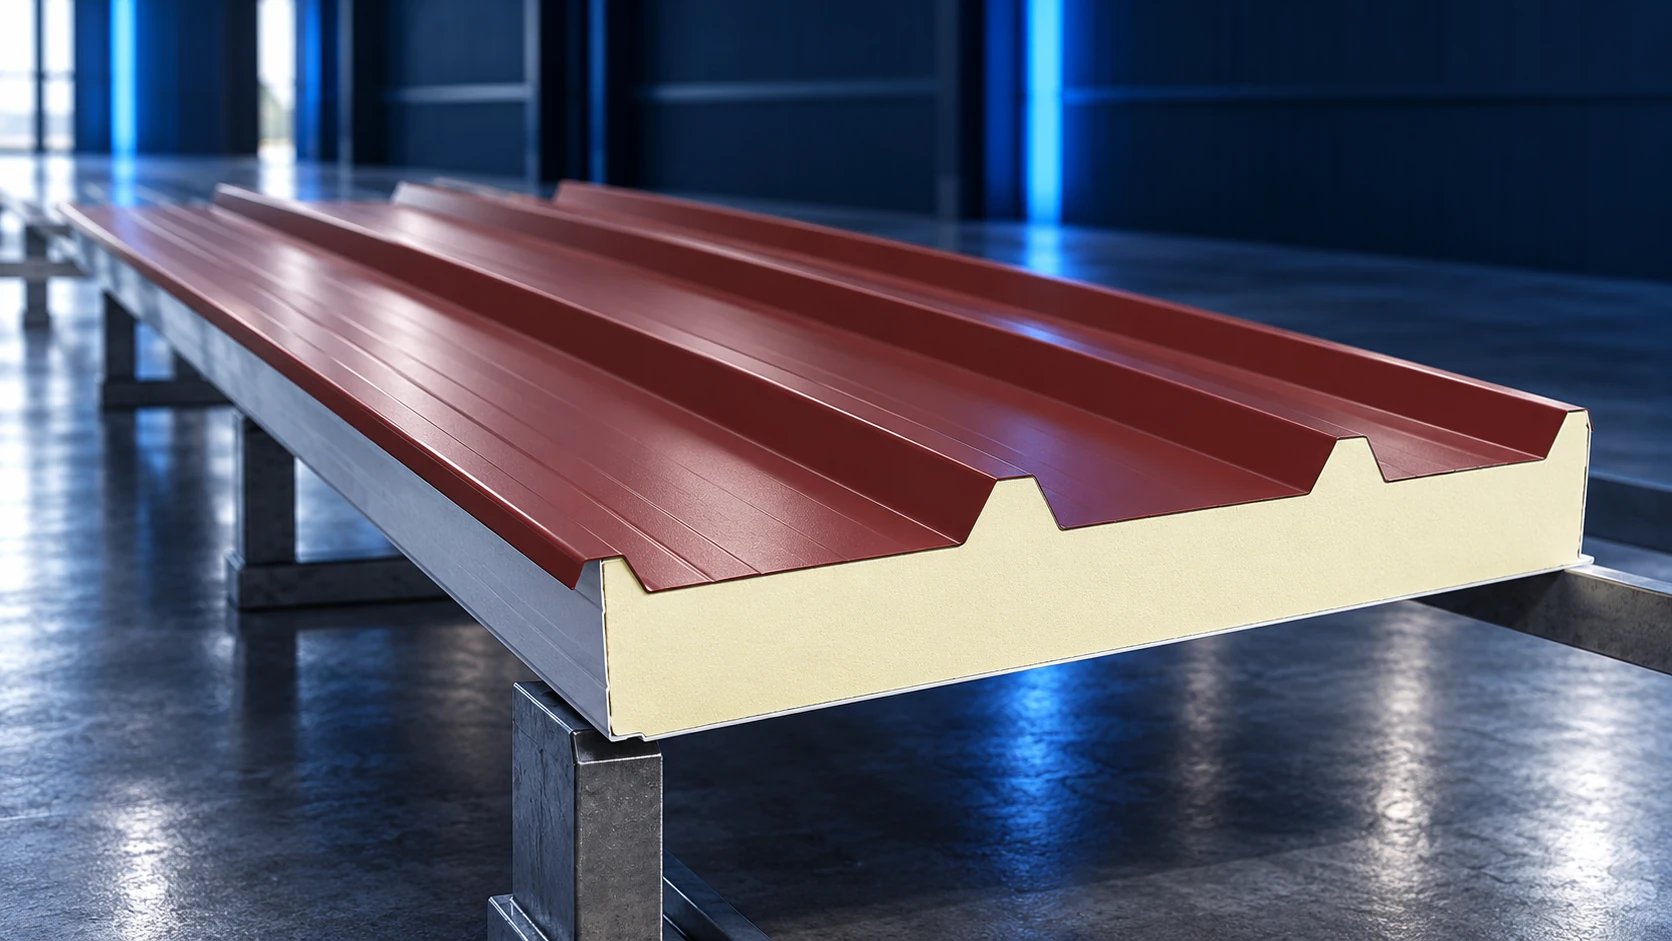
A 13.5 m PIR roof sandwich panel can reduce the number of end laps, but its length also makes delivery, lifting and…
Before choosing a UNILIN wall board, mark its position on the section. Utherm Wall LE insulates a cavity wall. Wall K Gyp…
A PIR calculator helps compare insulation options, but its result is only as reliable as the data entered. Use the actual masonry,…
When specifying IDELCO α-therm ROOF, identify what secures the insulation to the deck and what holds the waterproofing in place. These two…
Before installing swissporPIR Alu on a flat roof, establish the deck, falls and fixing method. The manufacturer requires mechanical fixings even where…
When damp repeatedly appears at home, gather organised observations before choosing a repair. A mark beside a window, a wet corner and…
To assess BauderPIR FA-TE for a terrace above a heated room, draw a section from the door threshold to the outlet. Allow…
An energy retrofit carried out in stages requires the junctions between works performed at different times to be designed. A roof renovated…