






Preparing the base for SIP walls: checks before installation
SIP panels and insulation
Check the base before the first structural insulated panel (SIP) arrives. Its position and level determine how the remaining walls, openings and corners line up. A polyurethane core and accurate factory dimensions are useful only if the panels fit the structure actually built. Complete the survey and agree any corrections before the delivery and installation crew arrive. A SIP building may stand on several types of foundation or a designed floor structure. The choice depends on the design and ground conditions. Lightweight walls still require checks on settlement, soil bearing capacity and the forces transferred to the base.
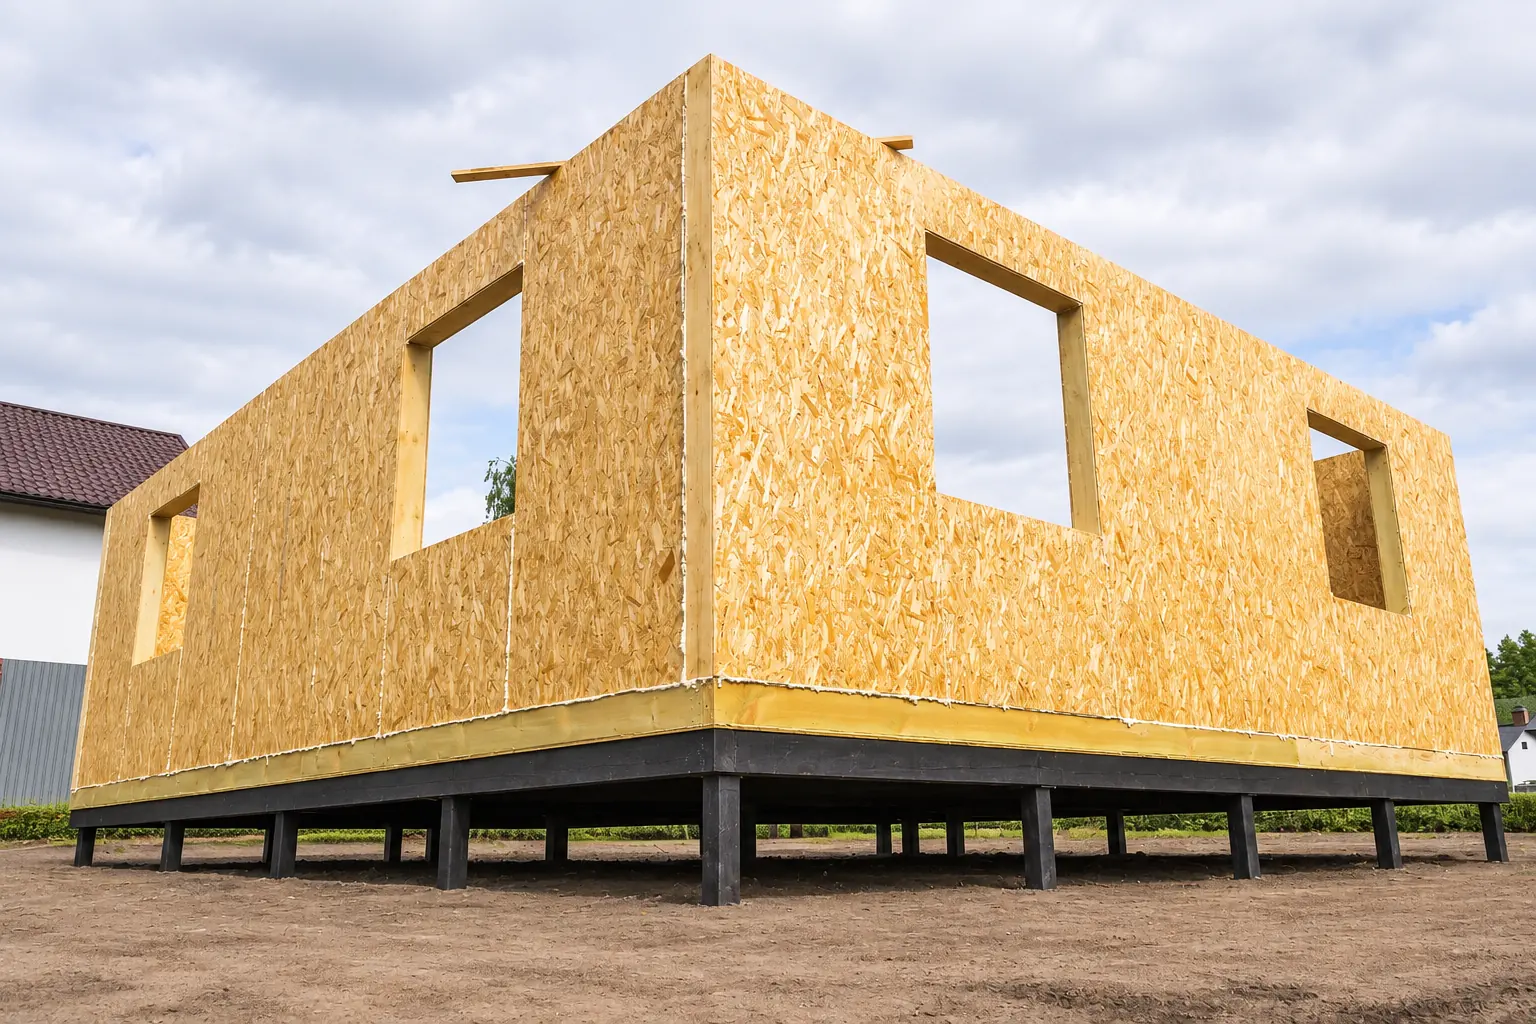
Which bases are suitable for SIPs?
At handover compare the base type and construction with the design for this particular house. A wall marked SIP on a drawing does not tell you whether the house needs a foundation slab or another designed support.
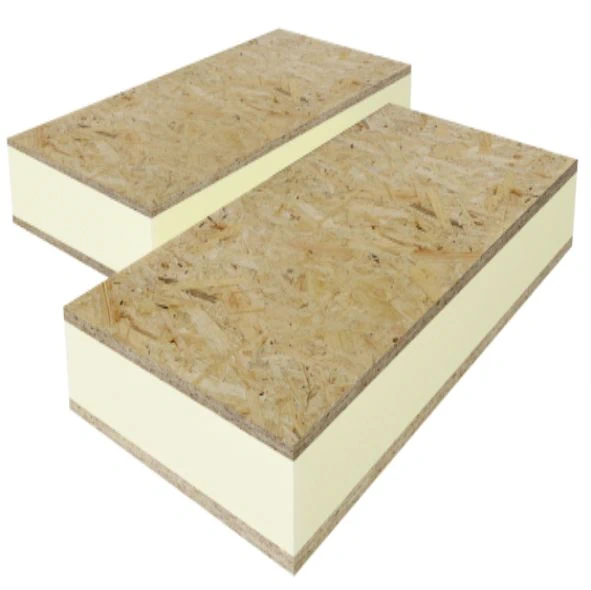
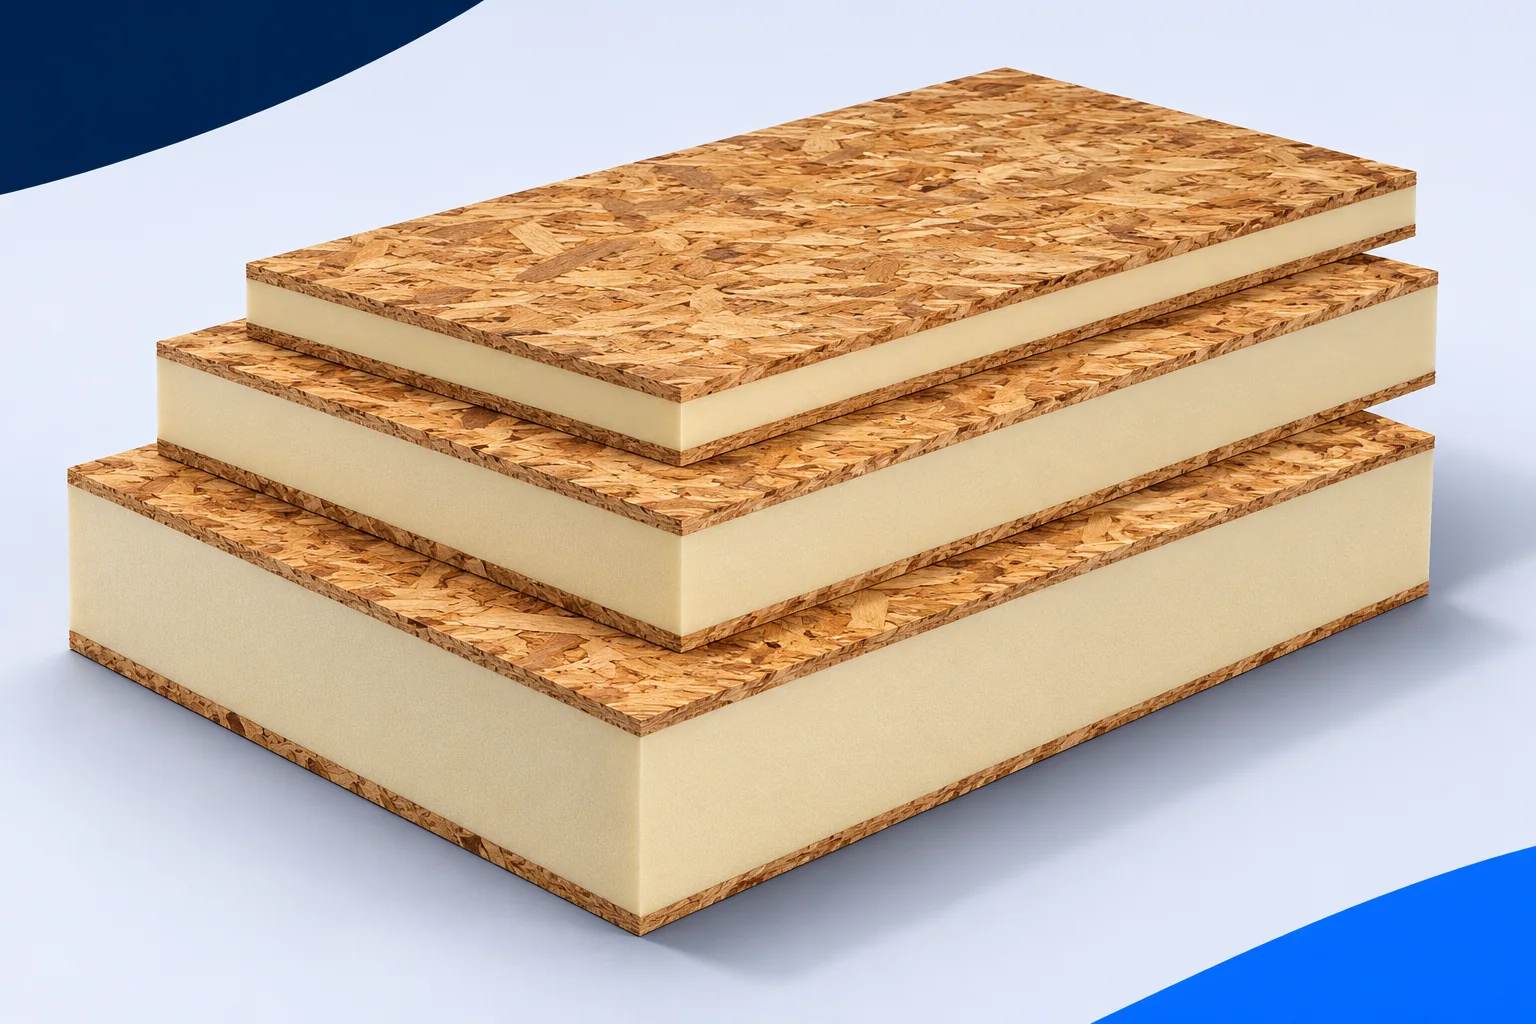
SIP stands for structural insulated panel. It describes the panel, not the foundation system. For OSB facings bonded to a PUR or PIR core, establish the load path down to the base, including the specified fasteners and intermediate members.
Check dimensions against the correct drawing
Check grid lines, side lengths and diagonals against the approved fabrication drawings. A sound foundation can appear wrong if it is checked against a superseded drawing. Establish whether each dimension refers to the edge of the base, the wall centreline or the outside face of the panel.
Small discrepancies are easy to miss when trades use different datums. Mark common reference points and record the survey. On a long wall, an error may not show until the last panel. Checking now leaves time to agree a correction before fixing and sealing.
A level bearing surface matters
A factory-made panel has a fixed shape; do not force it to follow an uneven base. Check level and bearing at the positions specified in the design. The levelling method must suit the structure and the installation materials. Loose shims or a thick bed of foam cannot be assumed to carry the loads.
Record the location and size of any deviation so the designer or system specialist can specify a remedy. Measured values are more useful than an impression that the base looks flat. They allow installation to start without improvising beneath the first wall.
Keep timber clear of persistent moisture
The wall base has to carry loads and resist moisture. Follow the designed detail for waterproofing and any sole plate. OSB facings and timber members must not stay wet. Moisture can rise from the base or reach the wall through rain and splashback.
The foam core does not protect the wall base on its own. Agree the plinth height, drainage and tie-in to the facade. Allow for final ground and terrace levels: raising either after installation can expose the lower edge of the wall to more moisture.
Anchors are part of the structure
Walls carry vertical loads, but the building also resists wind. The base connection must match the structural design. Anchor type, spacing and edge distances depend on the substrate and forces. A similar panel in another house may need different fixings.
At handover, check access to anchoring positions and compare the as-built details with the drawings, especially where they will be concealed. Sealing and fixing have different jobs within the same joint. Sealant cannot replace an anchor, and an anchor does not make a joint airtight.
Plan the first corner and erection sequence
The first walls need equipment access, a planned sequence and temporary stability. Give the crew an erection plan and a preparation area. Lift and brace panels as specified. A wall standing upright does not mean its connections are complete or that props can be removed.
Locate services coming through the base before work starts. A pipe in the path of a sole plate or anchor can halt installation. Overlay the services plan on the wall layout to agree penetrations before the panels arrive. That is how prefabrication helps organise the site as well as speed up erection.
What completes the base inspection?
Keep measurements, photographs of critical locations and an agreed remedy for deviations. Give the crew the current drawing with levelling and water protection details. Name the person who will check the junction between floor and wall insulation; thermal continuity depends on it.
A correctly prepared base lets panels fit without unnecessary trimming or forcing. It helps keep joints tight and openings correctly positioned. The polyurethane core works as intended when the structure is accurate, the insulation is continuous and the enclosure is protected from water, starting at its lowest edge.

Free quote
What to include in your enquiry
Tell us how you plan to use the material, the dimensions and the quantity you need. Include the thickness, grade or variant name, along with the delivery town or your preferred collection branch. For a specific product, add its name or a link to the product page. We will reply to the email address you provide to discuss availability and the terms of your order.
More from the building guide
Replacing the covering on a house with a finished loft gives access to the rafters from outside. An over-rafter layer of swissporPIR…
Mark the insulation position on the roof section before choosing PIR, EPS, XPS or mineral wool. Irregular rafter bays need insulation that…
A 13.5 m PIR roof sandwich panel can reduce the number of end laps, but its length also makes delivery, lifting and…
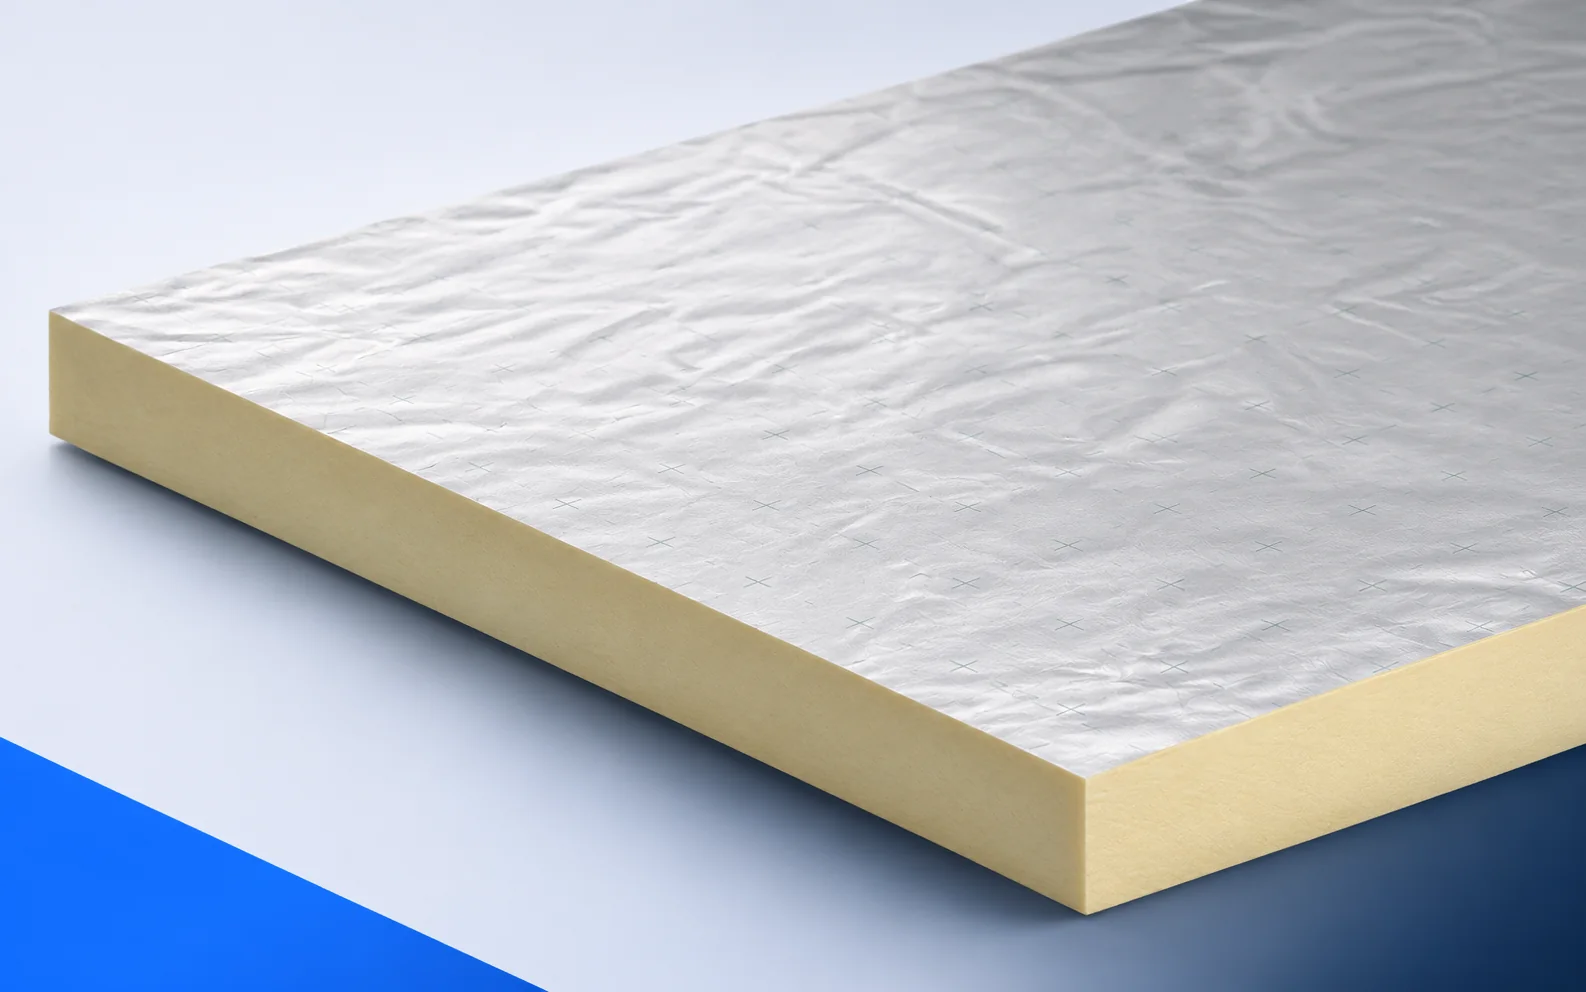
To specify Kingspan Therma TT46 tapered boards, trace the water from the high point of the roof to its outlet. Mark the…
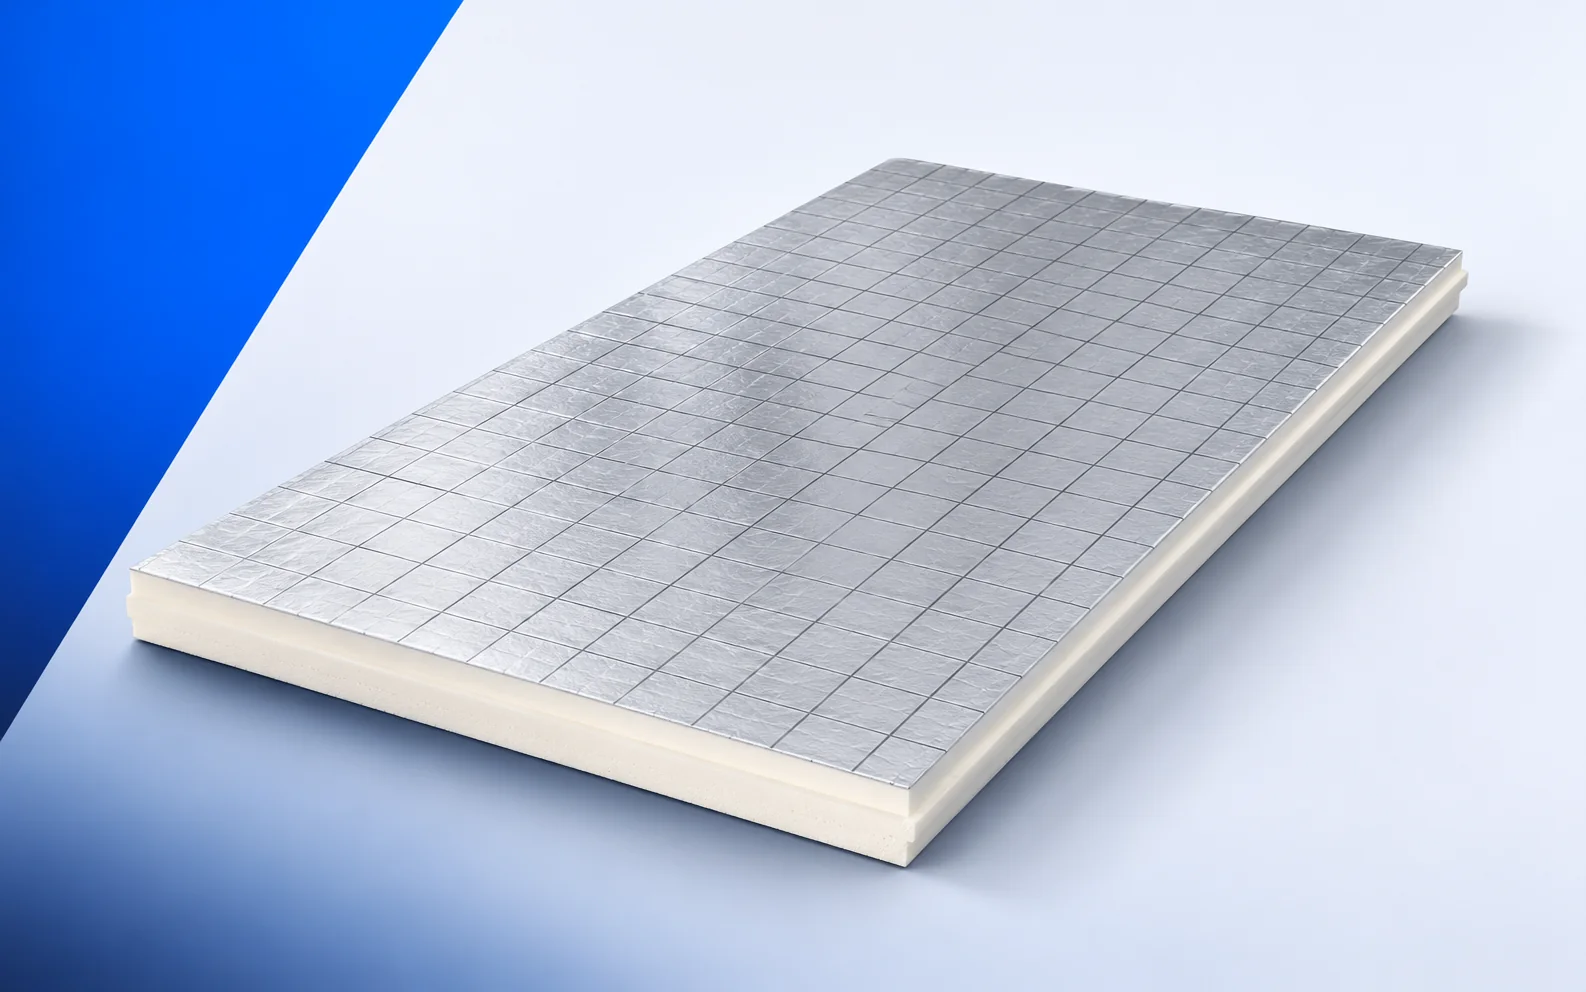
Before adding IDELCO α-therm SARKING above rafters, draw the eaves with the existing gutter. Raising the covering changes where water leaves the…
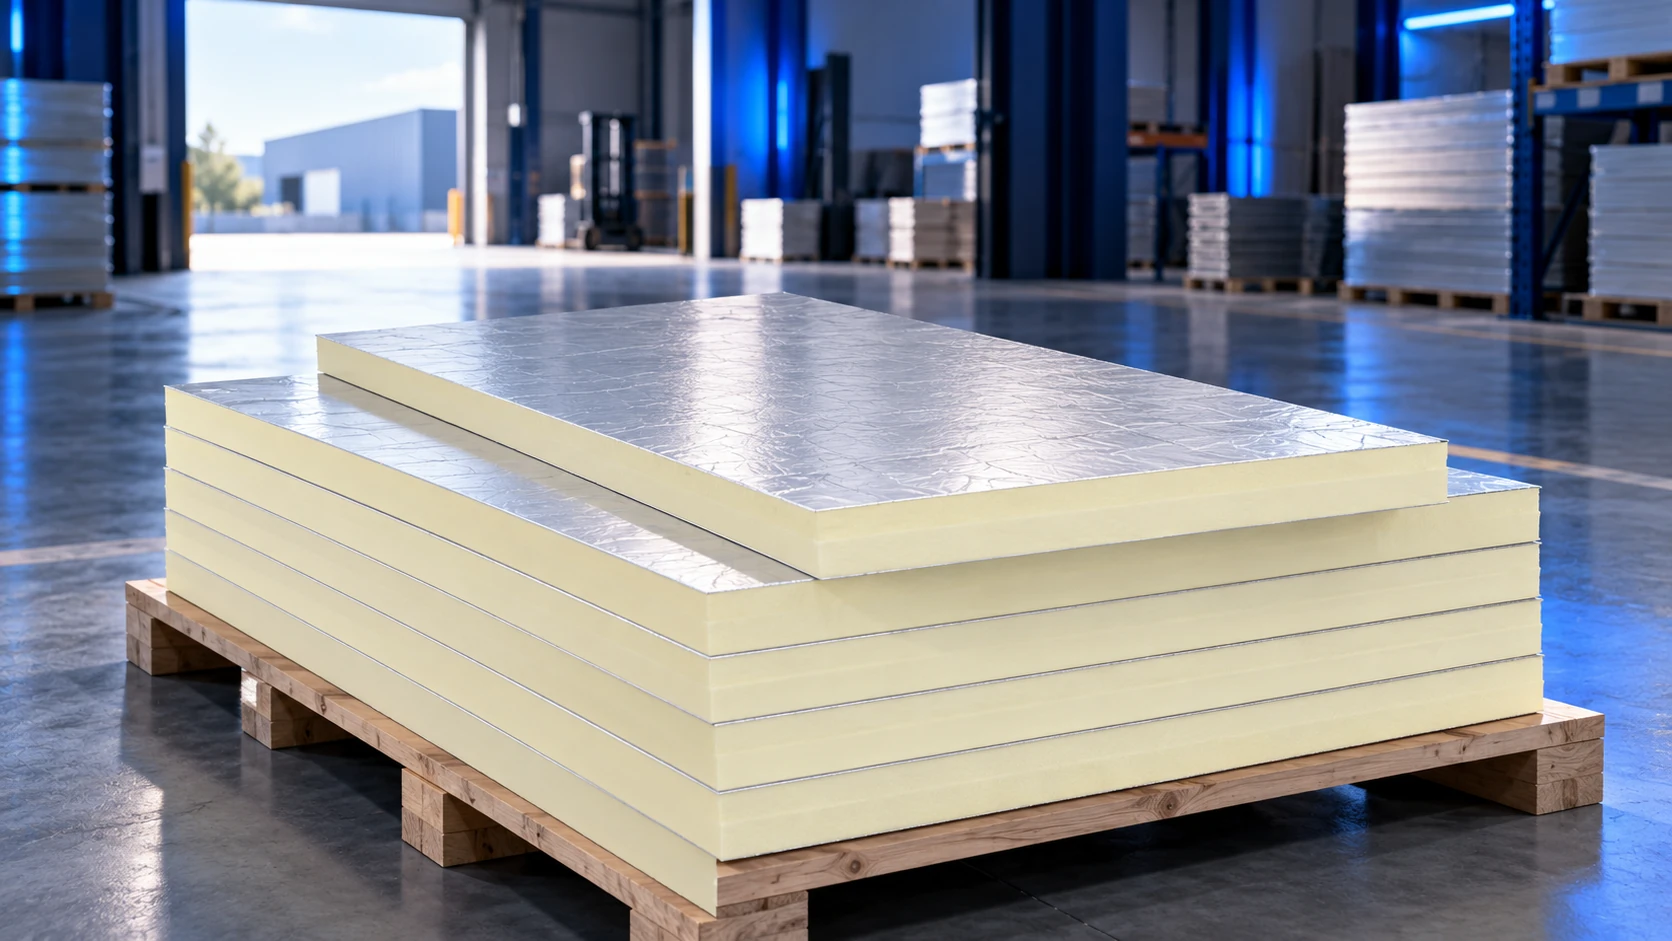
PIR insulation boards are often encountered in 120 × 60 cm and 120 × 240 cm formats, but neither size nor effective…
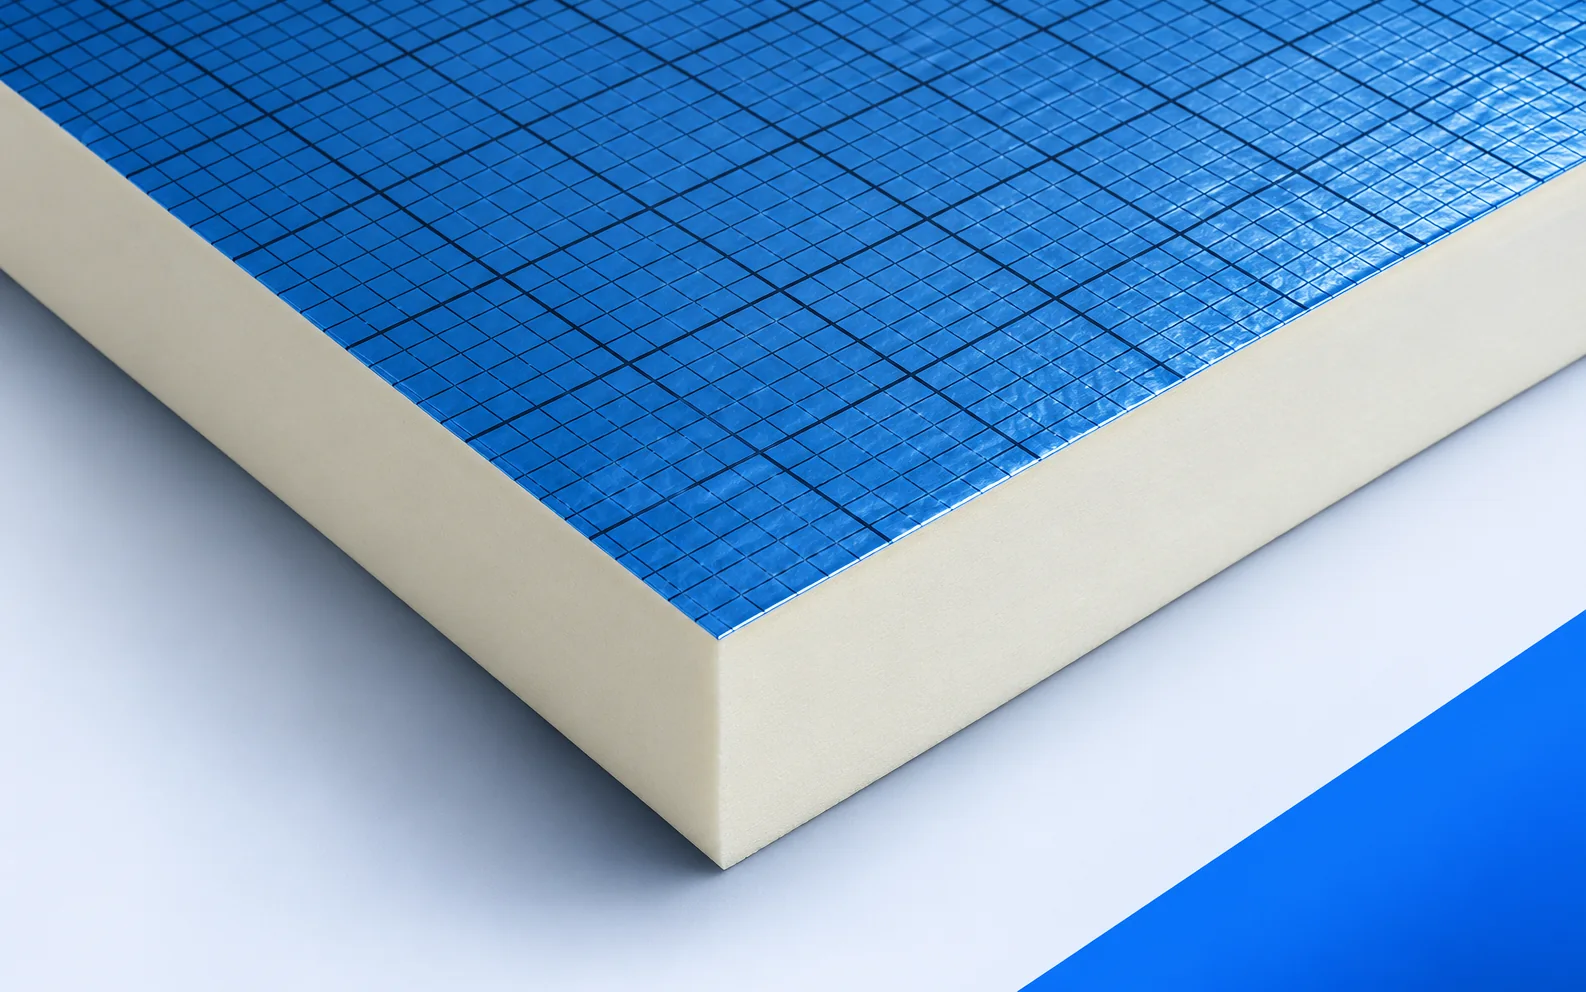
On a flat roof using SOPREMA EFYOS BLUE A, start at the tightest detail: what height remains at the parapet once insulation…
Schedule delivery of structural insulated panels (SIPs) for a time when the site is ready. Panels need suitable unloading equipment, level supports…