






Horizontal metal fence slats: planning supports and end details
Metal fence pickets and fencing
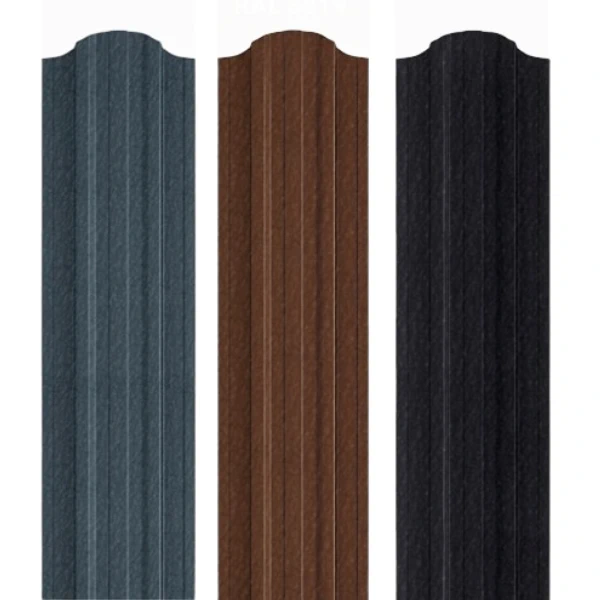
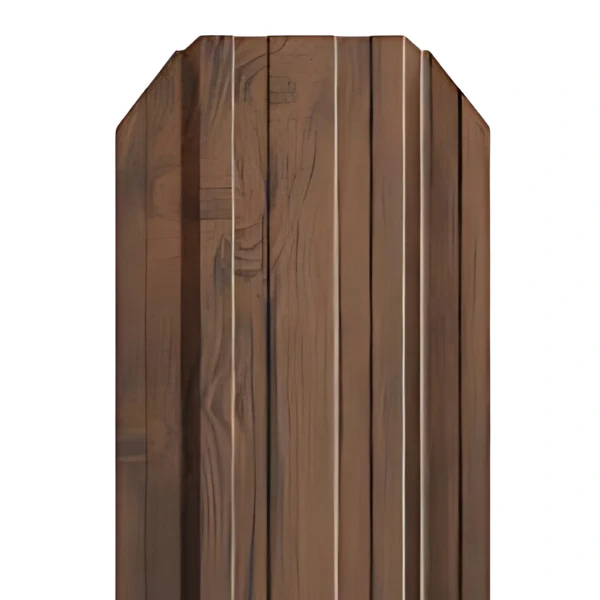
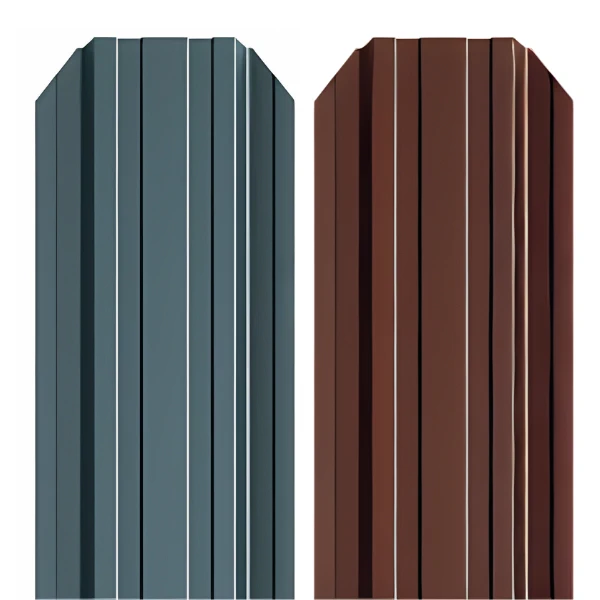
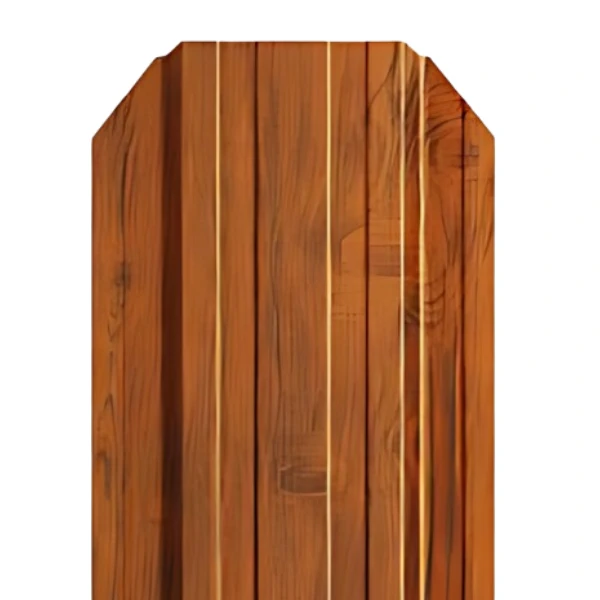
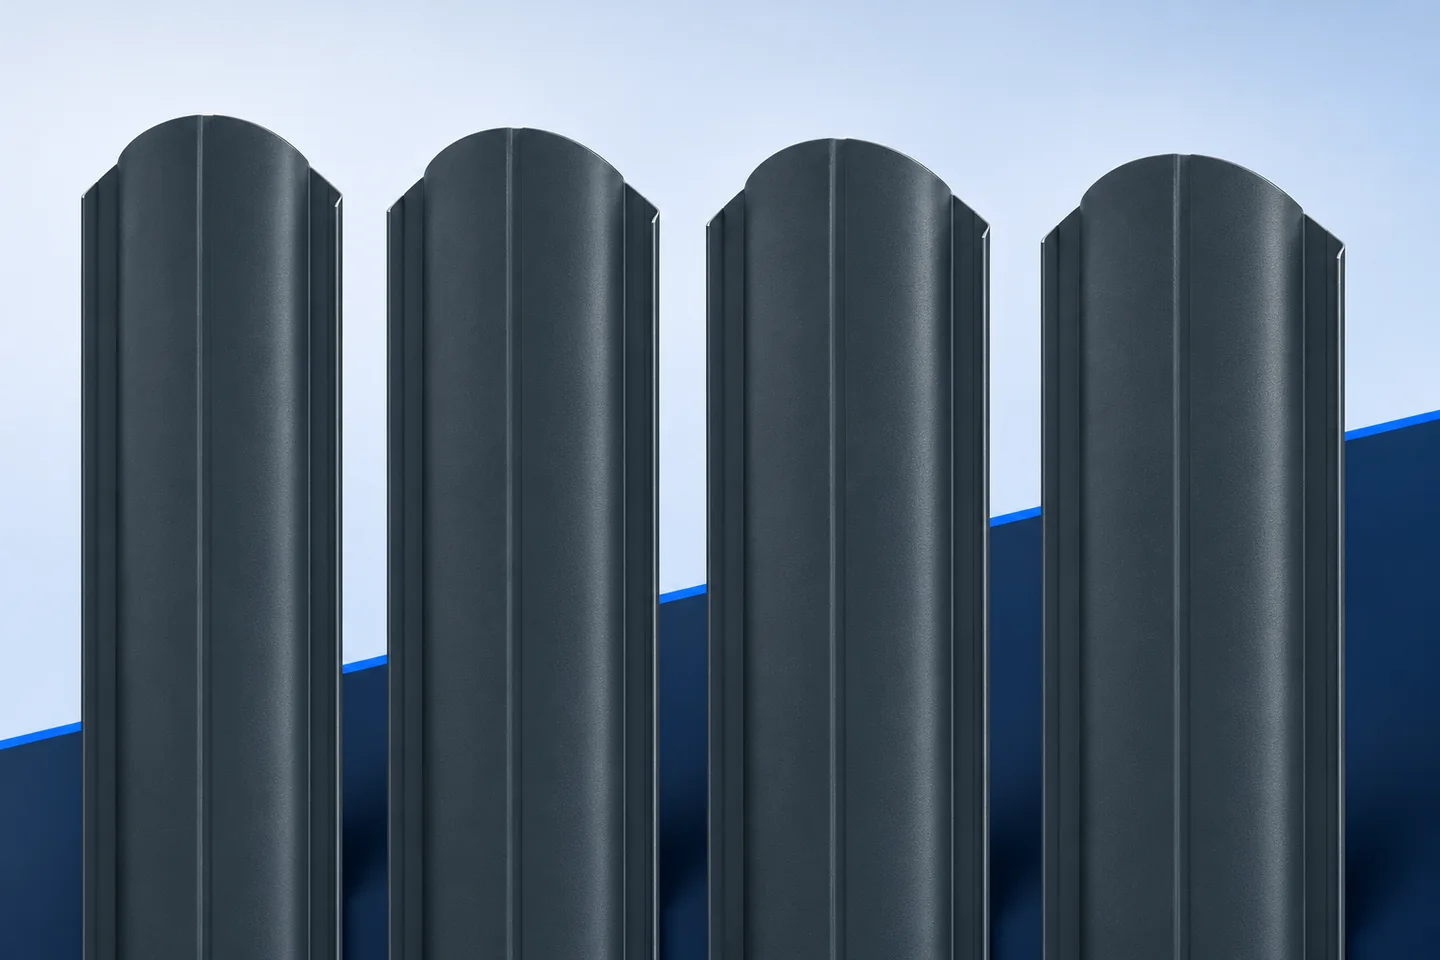
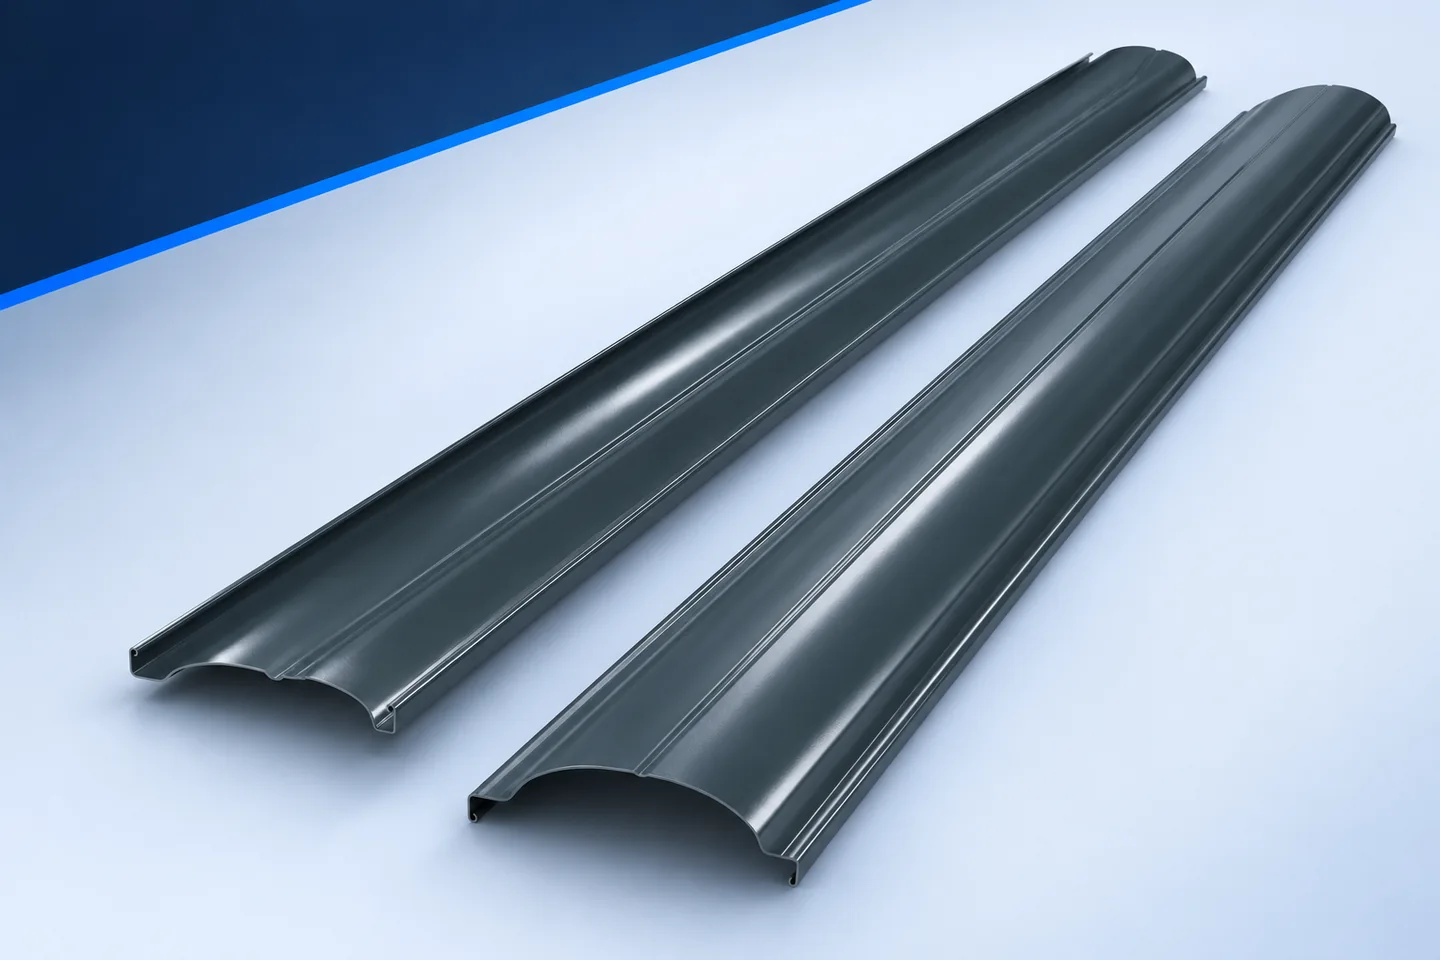
Before laying metal fence slats horizontally, check that the manufacturer permits that orientation. Turning a vertical picket on its side changes its unsupported span and the way its ends meet the posts. Use the product data to plan the supports and fixings rather than judging the shape from a visualisation. Check the ends too: a rounded picket top may look out of place on a horizontal row. A square-cut end may solve the visual issue, but cutting a piece square says nothing about its load capacity.
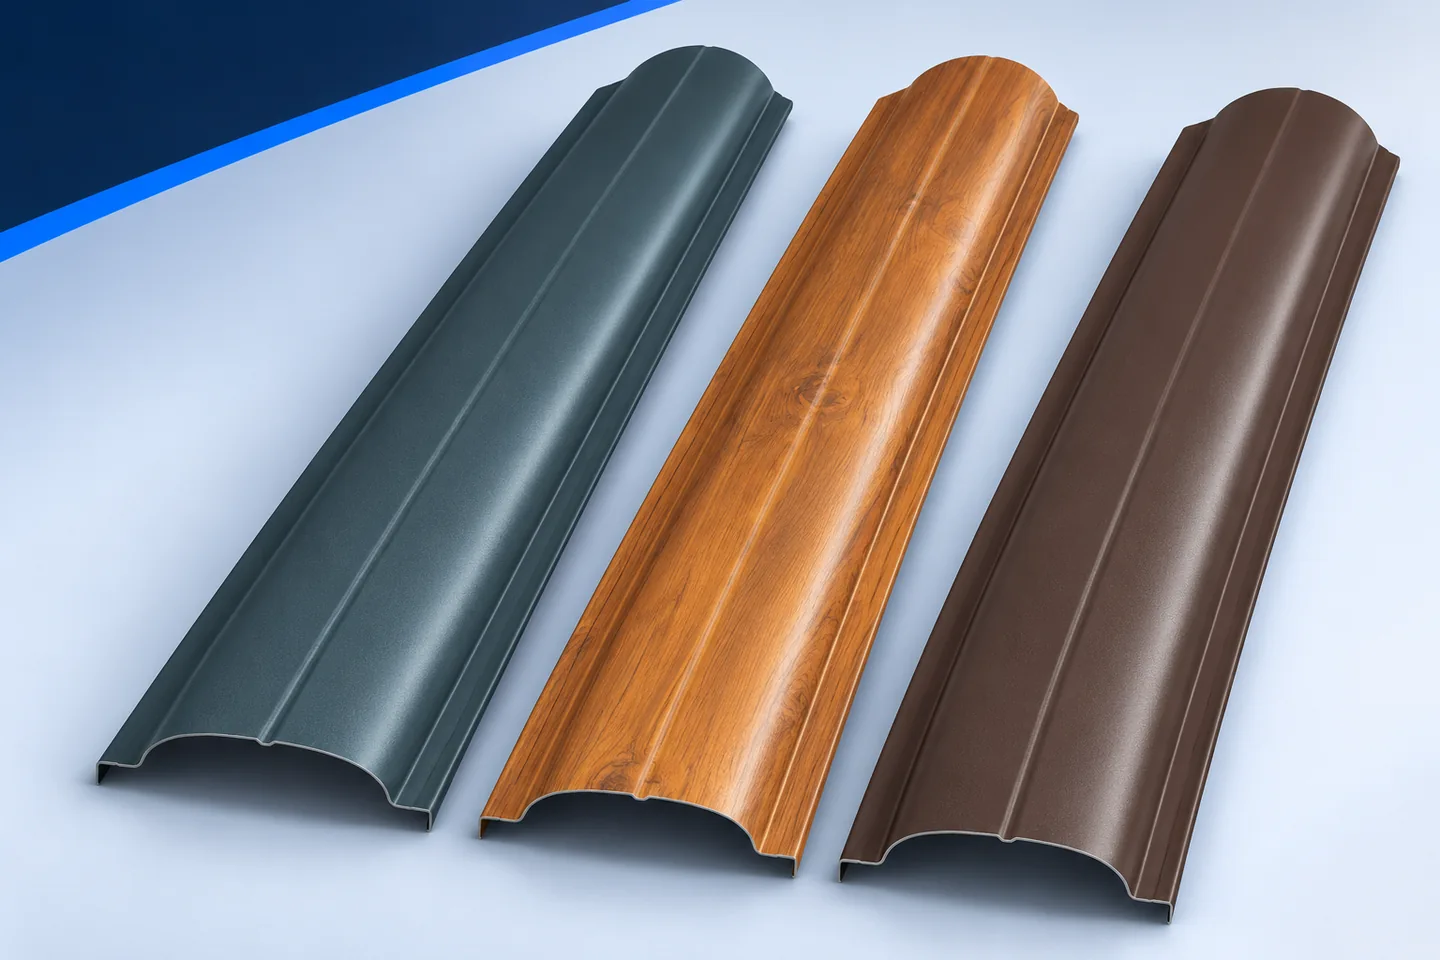
Confirm the permitted installation direction
Read the product sheet and installation details. A vertical-only instruction is a technical limitation, not a styling suggestion. Confirm any change of use instead of assuming that a similar-looking section is interchangeable.
Distinguish overall length from clear span
A long slat is not necessarily designed to span between end supports alone. The model, material and loads determine whether intermediate supports are required. Locate these before ordering slats for a wide bay.
A short sample may feel very stiff in the hand while a full-length piece behaves differently. Use system data or a technical assessment to select the span, particularly on exposed sites or where gaps are narrow.
Draw the visible ends at the posts
The slat ends line up along a vertical support, making length differences easy to see. Decide whether ends remain exposed or fit into a specified edge channel. Follow the detail for that fencing system.
Avoid adding an arbitrary cover strip to hide uneven cuts. It could trap water or obstruct the fixings. Establish the lengths and end detail first. If the profile changes, recheck the trim fit, bearing position and access to the fasteners.
Carry level lines across the full run
Horizontal lines highlight differences between adjacent bays. On level ground establish shared reference heights. On sloping ground decide on stepping or another designed arrangement. Ad hoc adjustments at successive posts will stand out.
Include the bottom and top gaps when dividing the bay height. The number of slats alone does not determine the result. Check for a narrow slit at the plinth or an excessive upper margin before fastening the first piece.

Fix without twisting the slat
Place fasteners where the section and supports are designed to receive them. Check that the bearing points lie in one plane: pulling a long slat against an uneven frame with a screw can distort it along its length.
Follow the system instructions for clearances or special hole details. No one allowance suits every horizontal fence. Length, material and fixing design determine the detail; settle it before drilling.
Allow access for inspection and cleaning
Examine a cross-section in its final orientation to see where dirt may collect. Keep these surfaces accessible for washing and inspection. Do not fill gaps with foam or sealant unless the system allows it.
Follow the care instructions for the coating. In dense horizontal infill some areas are less accessible than in a single vertical row. Consider cleaning access when choosing the layout, before the first season reveals the problem.
Try a full-size module
Several short samples do not show how a complete bay will look or assemble. A trial section with the intended lengths and supports lets you inspect lines, ends and tool access. It checks workmanship and appearance but does not replace structural calculations.
View the back as well. Supports and reverse finishes may be much more visible than a front photograph suggests. Near a terrace, choose both faces with the normal viewing directions in mind.
Keep the complete system compatible
Horizontal metal slats make effective infill when section, span and fixing work together. A clearly documented system helps with frame preparation, later repairs and maintaining the same appearance across multiple bays.
When the pedestrian gate opens, the horizontal lines break and slat ends or the back of the frame become more visible. Review this everyday view during design and include it in the sample assessment.

Free quote
What to include in your enquiry
Tell us how you plan to use the material, the dimensions and the quantity you need. Include the thickness, grade or variant name, along with the delivery town or your preferred collection branch. For a specific product, add its name or a link to the product page. We will reply to the email address you provide to discuss availability and the terms of your order.

More from the building guide
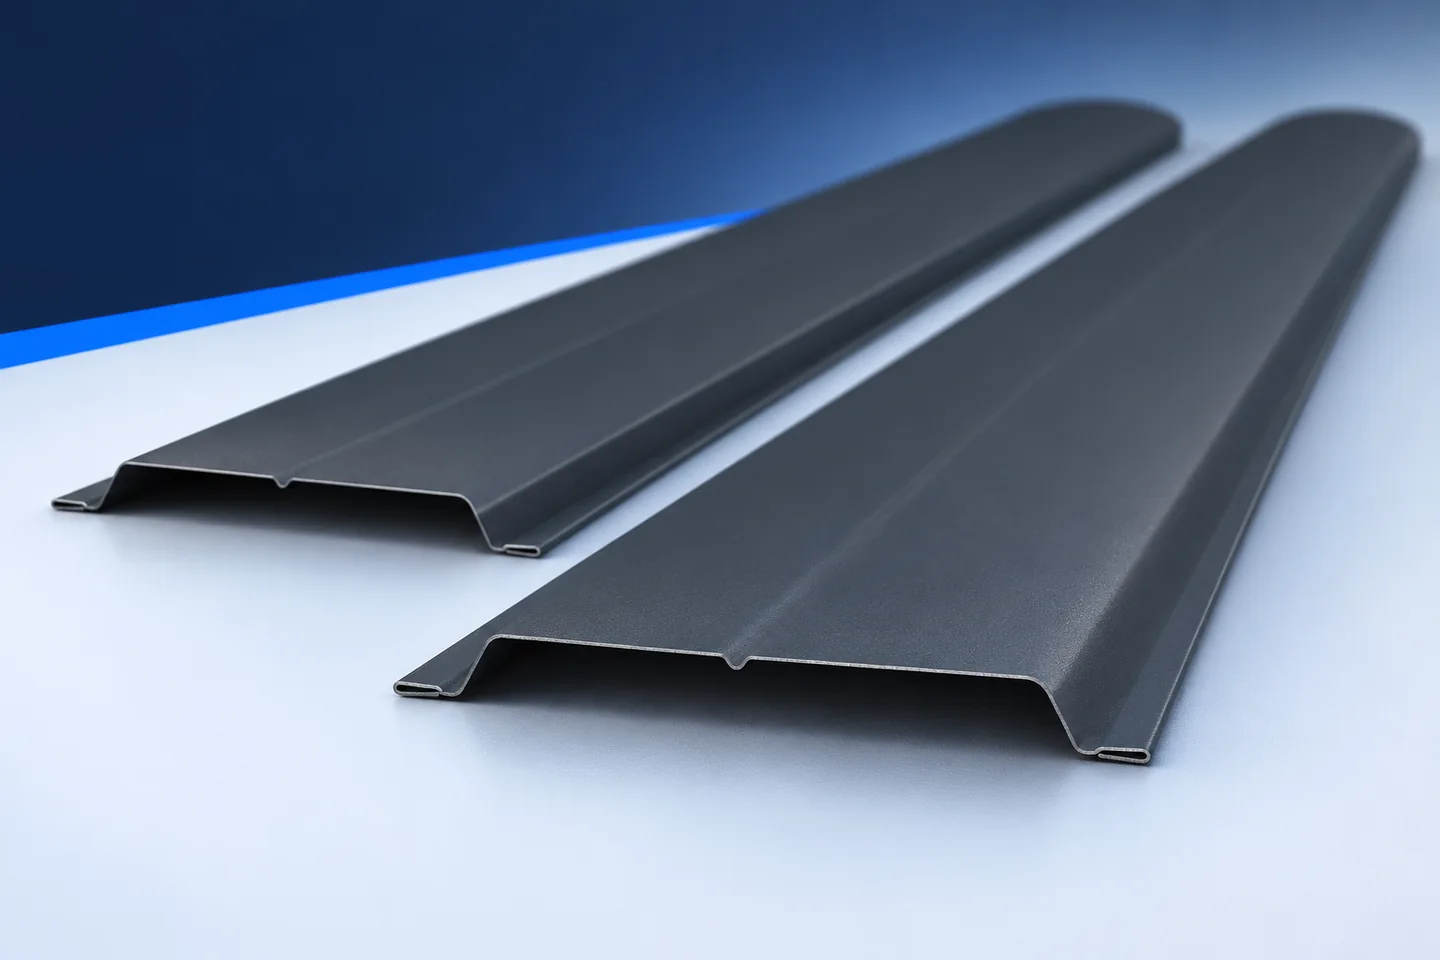
To calculate how many vertical metal pickets fit in a single row, allow for the clear gaps and both end margins as…

A matching screw head makes a neat finish, but colour tells you nothing about whether the fixing will hold. Start with the…
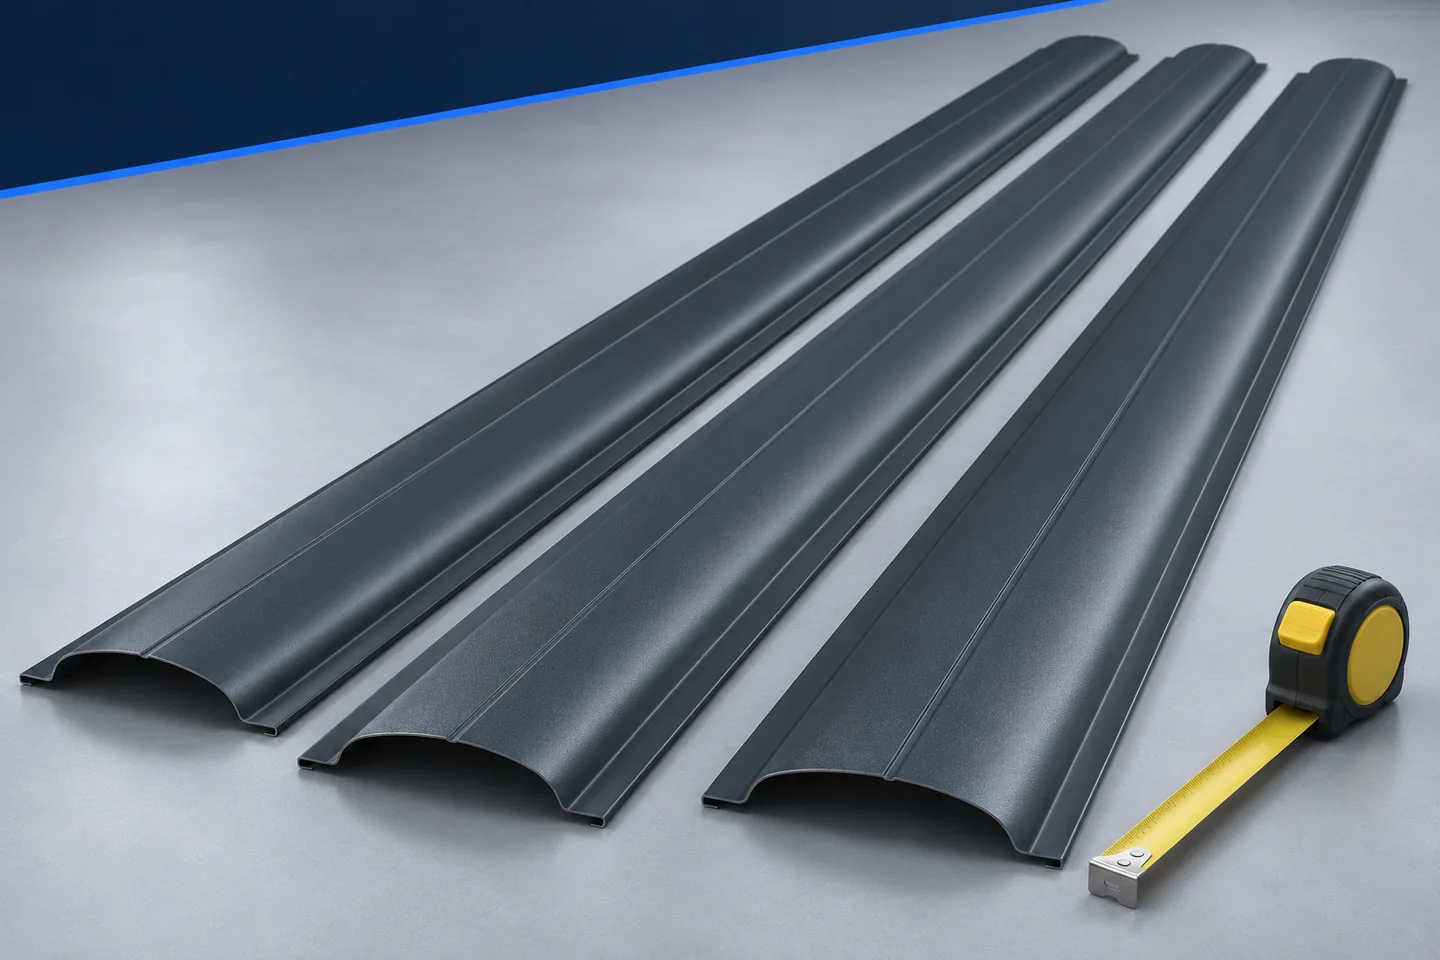
Measure each bay, pedestrian gate and vehicle gate separately before ordering made-to-length metal pickets. The length of the site boundary tells you…
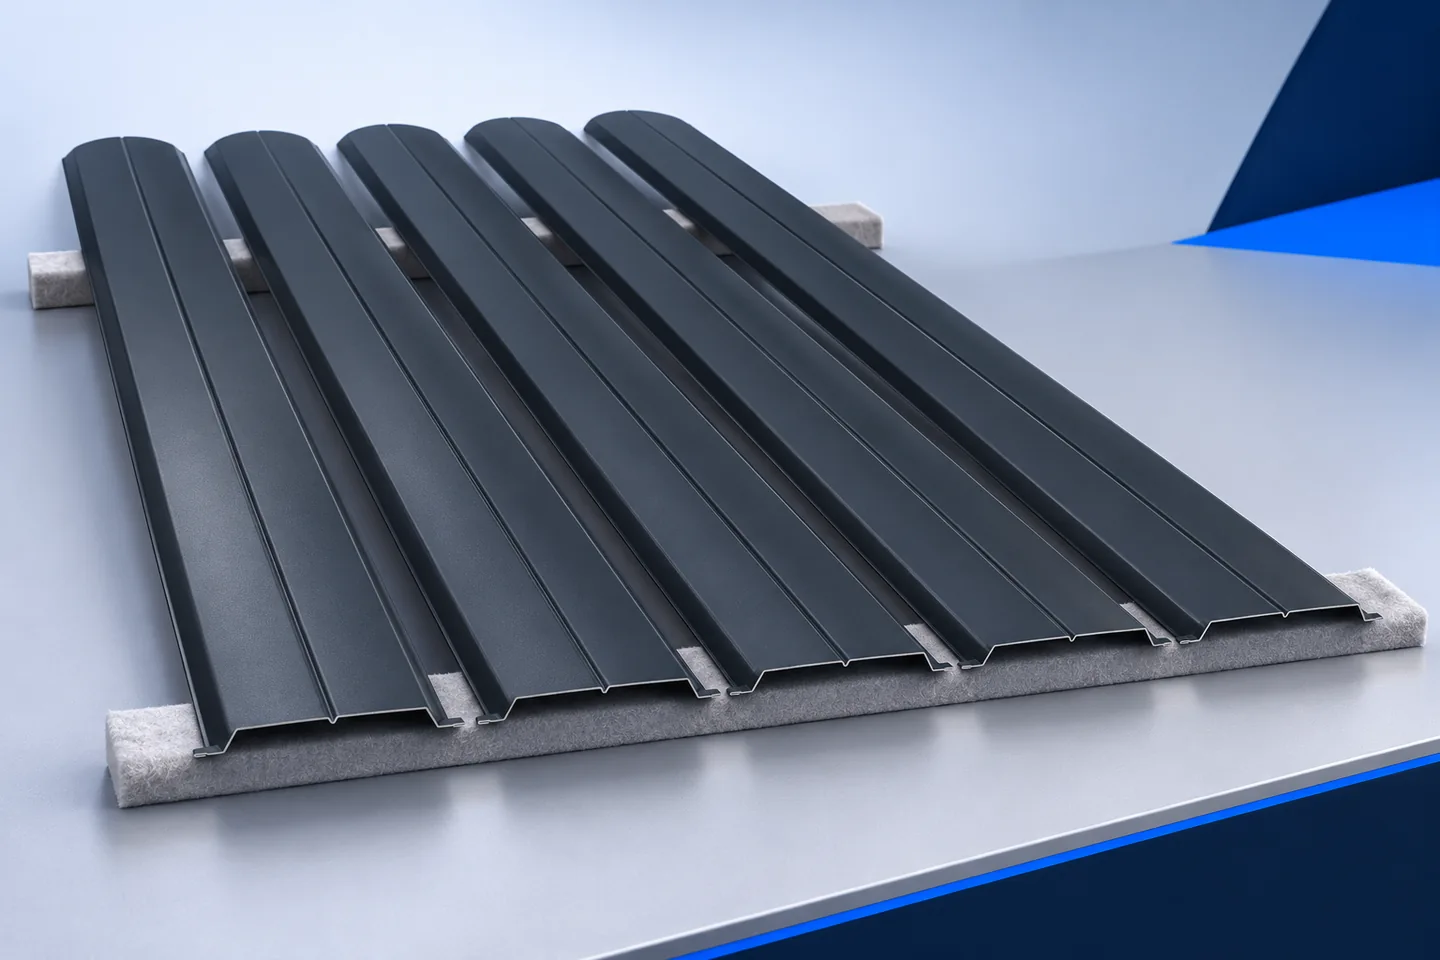
Inspect a finished metal picket fence from both sides against the agreed specification. Start with the profile, lengths, end shapes, colour and…
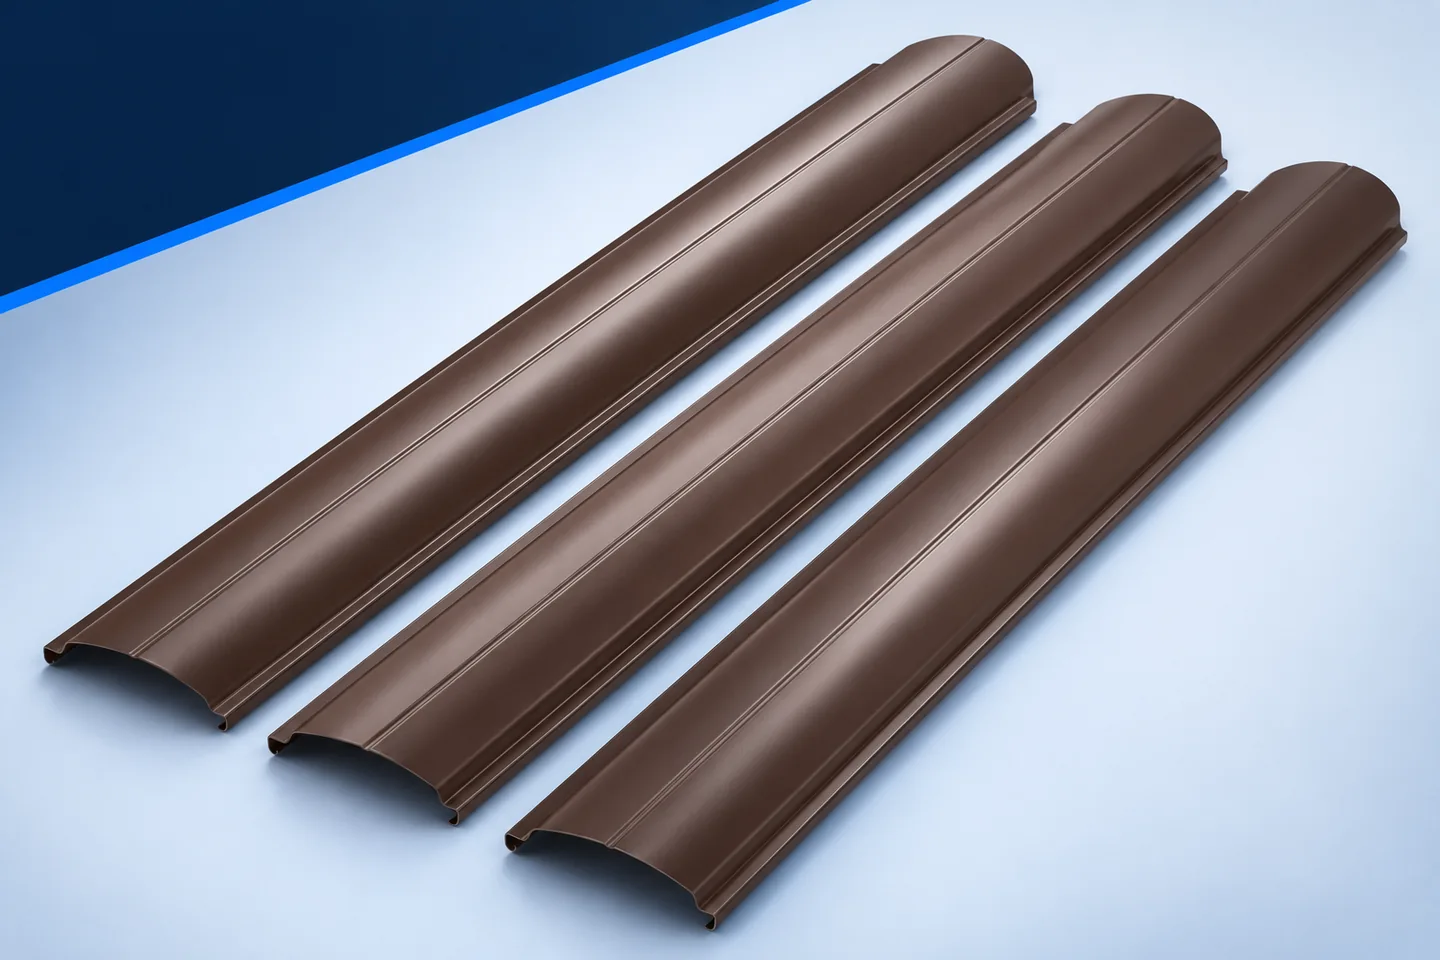
Vehicle and pedestrian gates can match the fence, but they do not behave like fixed bays. Each leaf opens and closes on…
Set out the entire bay before fastening the first metal picket. Measure the clear infill width, choose the margins at both posts…

The pickets give a fence its appearance, but the frame carries the loads. Force travels from each metal picket through its fasteners…
Replacing the infill can change the appearance of a fence without rebuilding it from scratch, provided the existing supports are suitable. Metal…