






IDELCO α-therm WALL in a cavity wall: detailing the window sill
PIR insulation
A single window reveals much about how IDELCO α-therm WALL fits into a cavity wall. A section below the sill shows where the insulation ends, how much space remains behind the outer leaf and where rain entering through façade joints will drain. The reveal also needs cuts and allowances for wall ties. Ask the crew to show you this junction before building further courses of facing masonry. At that stage you can still see board contact, tongue-and-groove joints and whether the designed cavity is clear.
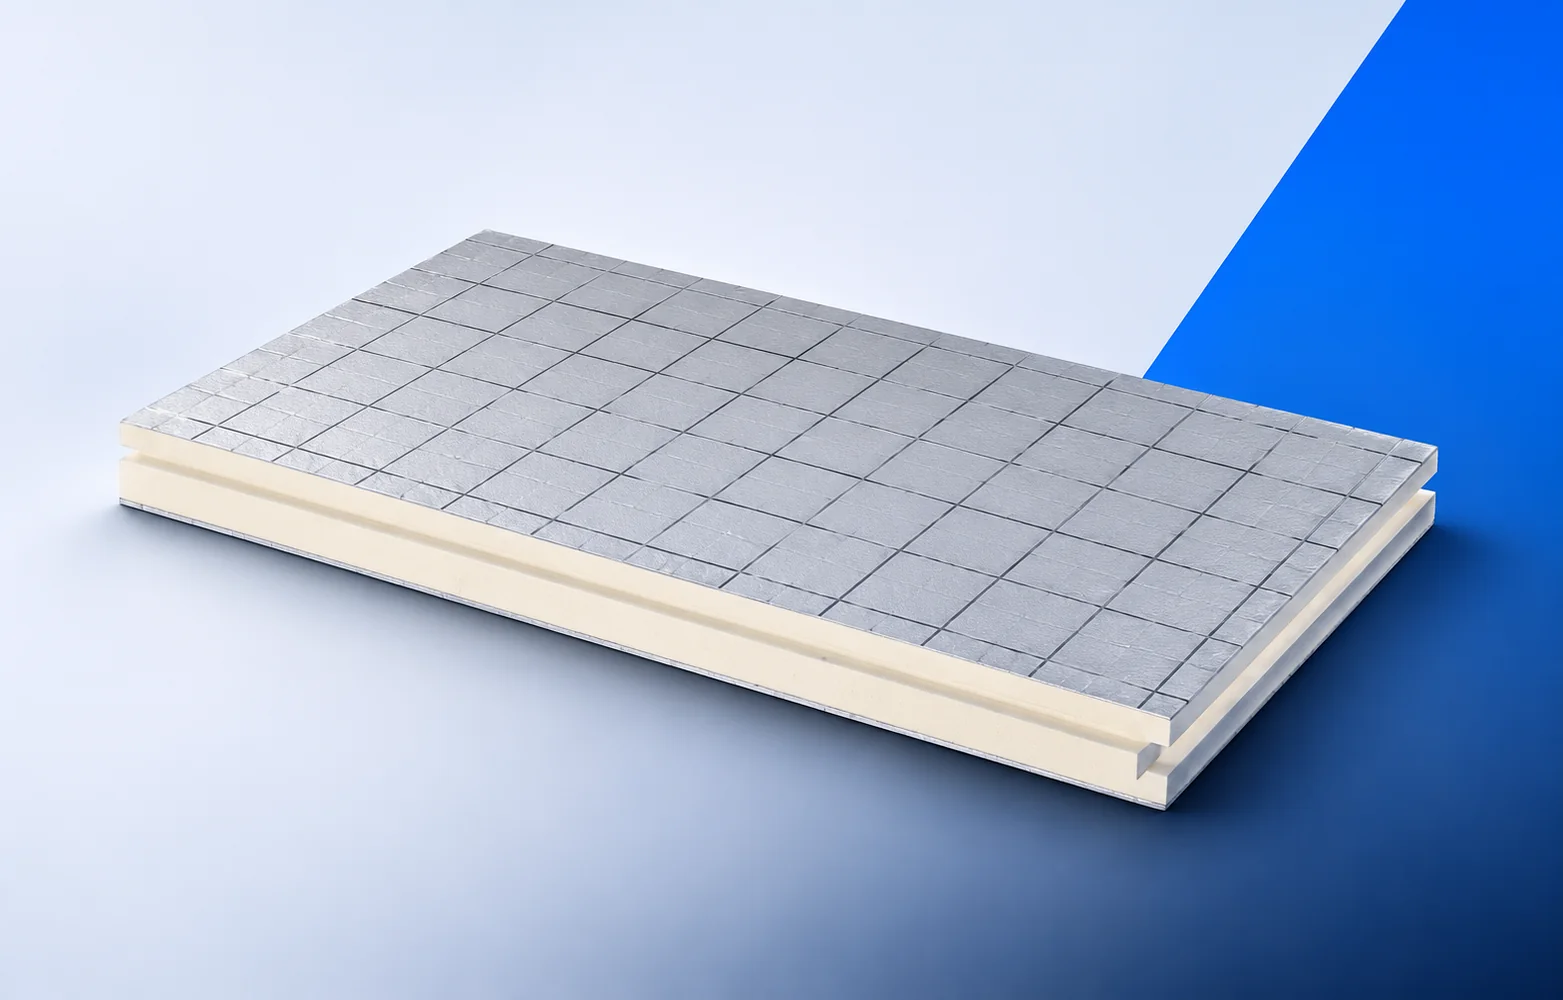
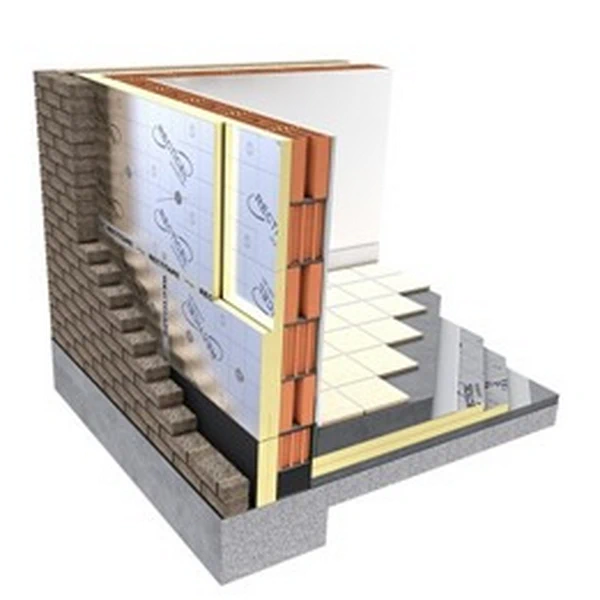
Position of α-therm WALL in masonry
Label the structural leaf, insulation and outer masonry leaf. Show where wall ties are anchored and how they pass through the insulation.
Conductivity and junction geometry
For 100 mm α-therm WALL the sheet gives RD 4.50 m²K/W and λD 0.022 W/(m·K). Record both beside the thickness on the schedule.
A separate sill detail is needed because heat also passes through the frame and masonry there. Board resistance alone cannot give the internal corner temperature.
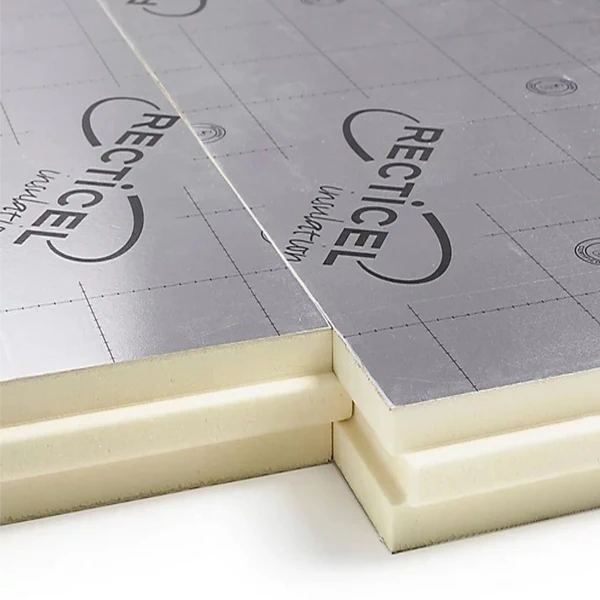
Tongue-and-groove joints
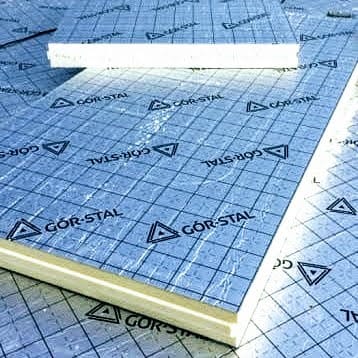
Lay out the 1200 × 600 mm boards from the reveal into the wall field. Mark which edge of the first cut piece retains its factory profile.
Trial-fitting two boards exposes a damaged tongue before concealment. Finish the cut edge at the frame to the specified reveal detail.
Drainage below the sill
Check where the sill flashing ends and discharges. Water behind the outer leaf needs an outward drainage path at the lower window corners as well.
Clear mortar droppings and insulation scraps from the drainage path. Inspect the cavity base while it is still accessible from above.
Properties of the wall board
WALL is declared at least 120 kPa at 10% deformation and reaction to fire class F. Use the sheet naming this wall variant for handover.
Wall tie capacity and wall fire resistance each need evidence for the relevant system. Neither follows from a board compression test.
Quantities and inspection before concealment
Subtract openings from wall area and measure insulated reveals separately. For repeated windows, plan cuts around one opening before multiplying quantities.
Agree an inspection stage, such as completion of the course below the windows. A photograph with a scale records cavity width and the edge board position.
Checking the sill projection
If a window change leaves the sill shorter, revisit the section. Check projection beyond the finished façade and drip position before ordering all the flashings.

Free quote
What to include in your enquiry
Tell us how you plan to use the material, the dimensions and the quantity you need. Include the thickness, grade or variant name, along with the delivery town or your preferred collection branch. For a specific product, add its name or a link to the product page. We will reply to the email address you provide to discuss availability and the terms of your order.

More from the building guide
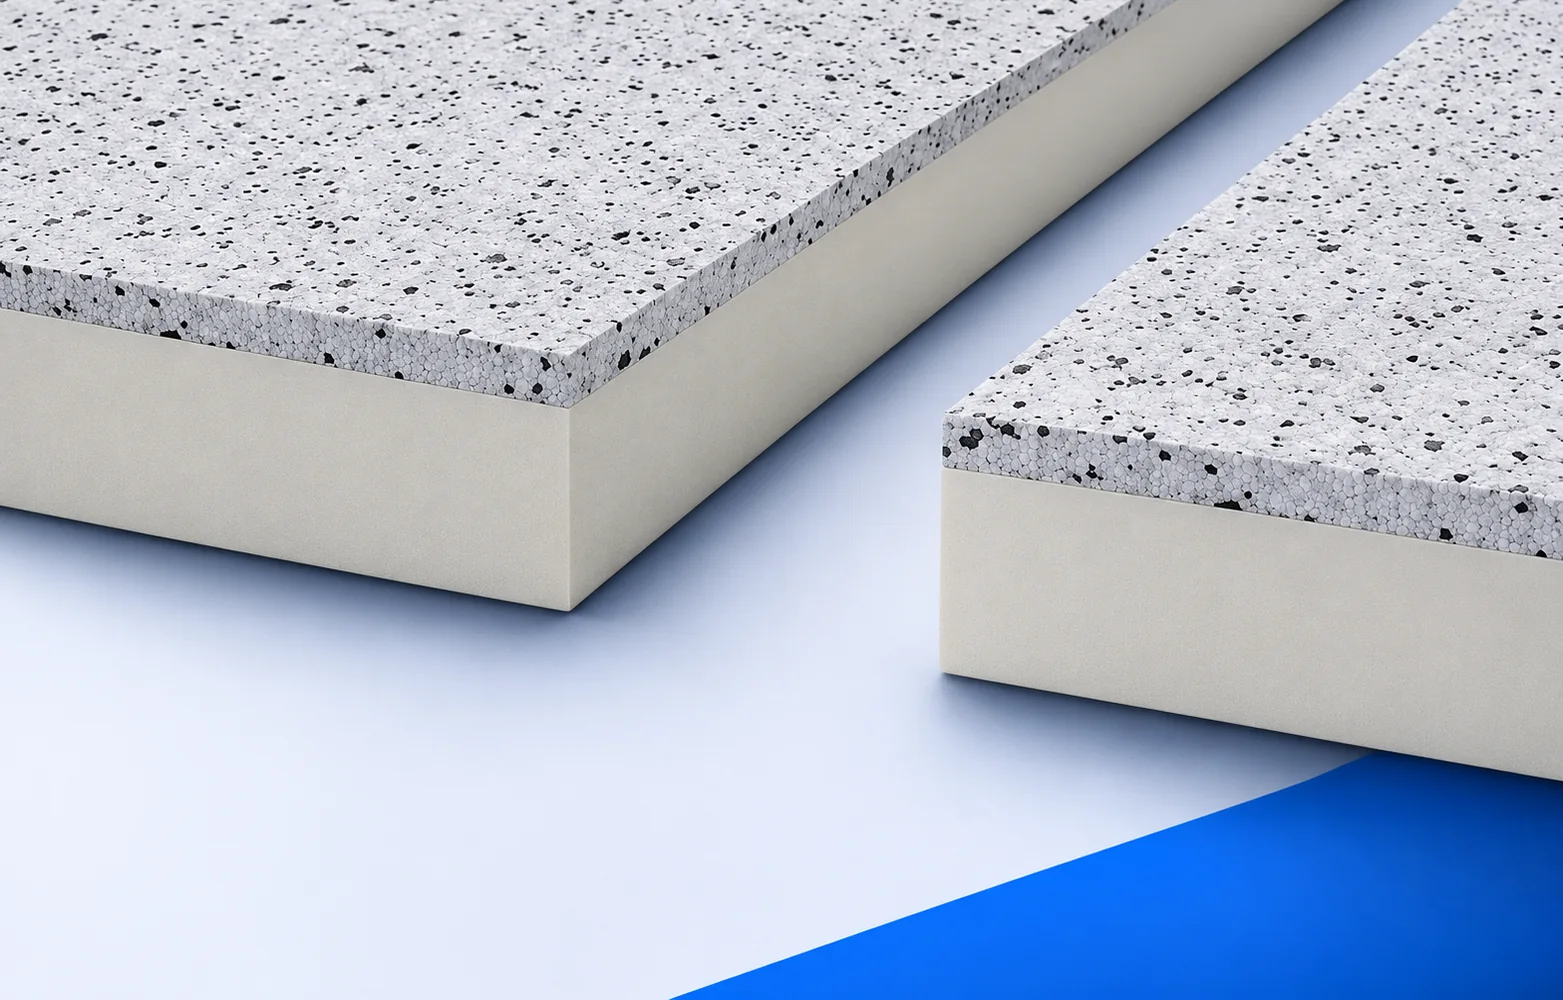
Thermano ETICS combines foil-faced PIR with 20 mm of external façade-grade EPS. The following system layers meet the EPS, not the foil…
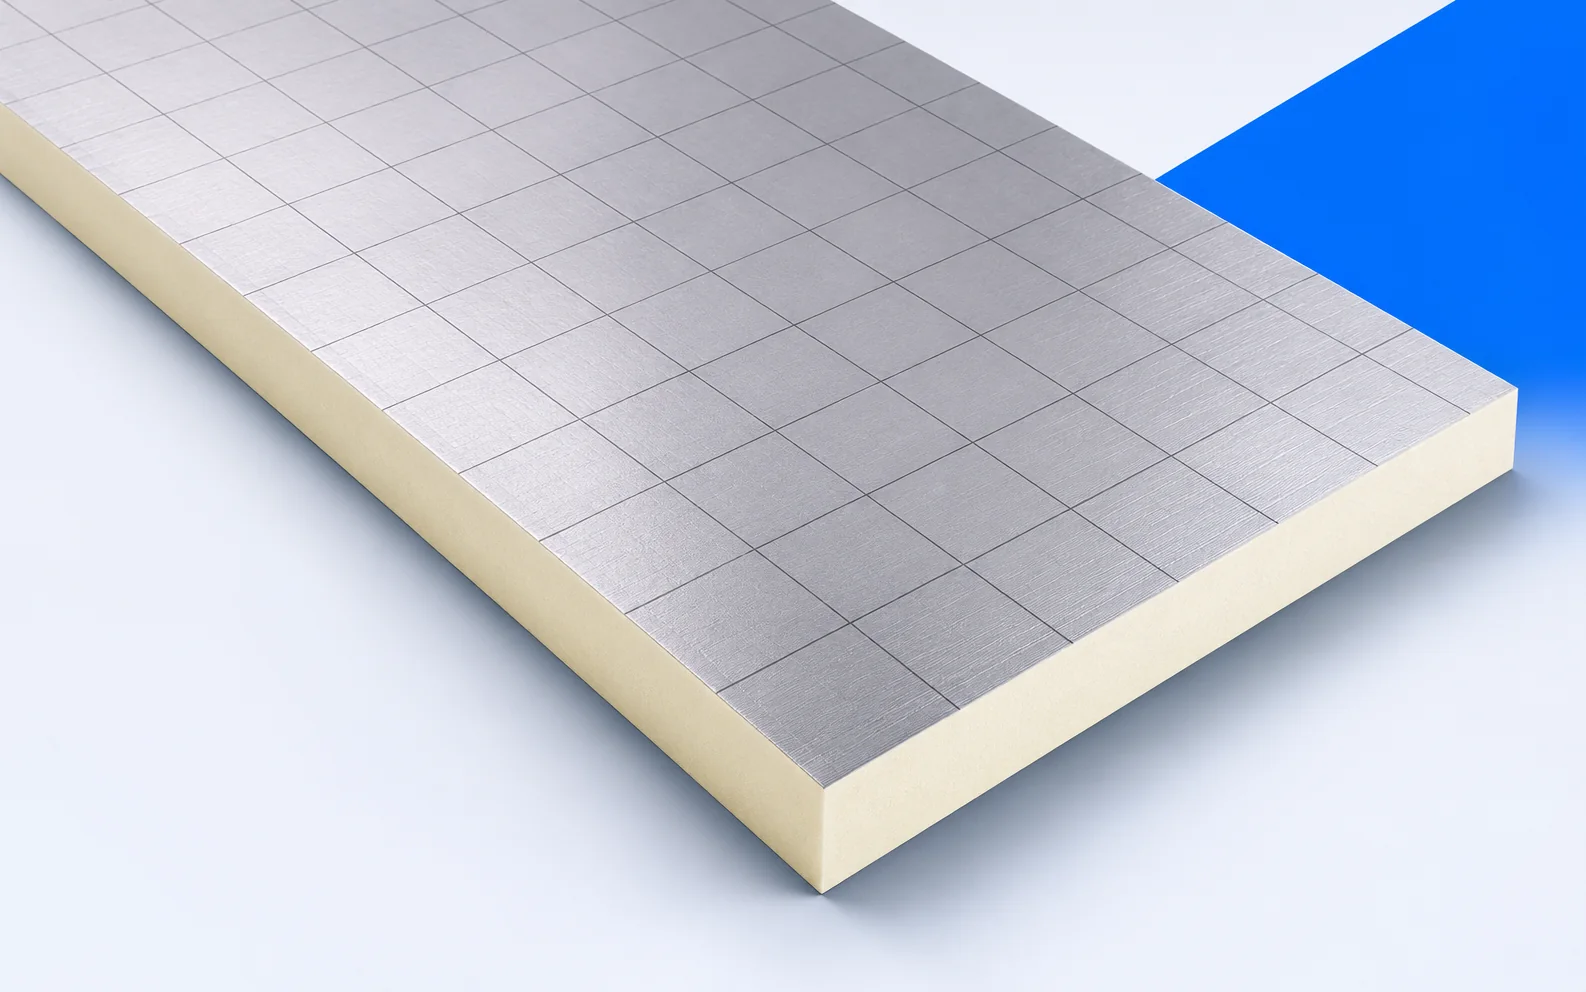
Changing Eurothane Silver thickness can change more than the insulation value. The 20 mm version has different format options and compressive performance…
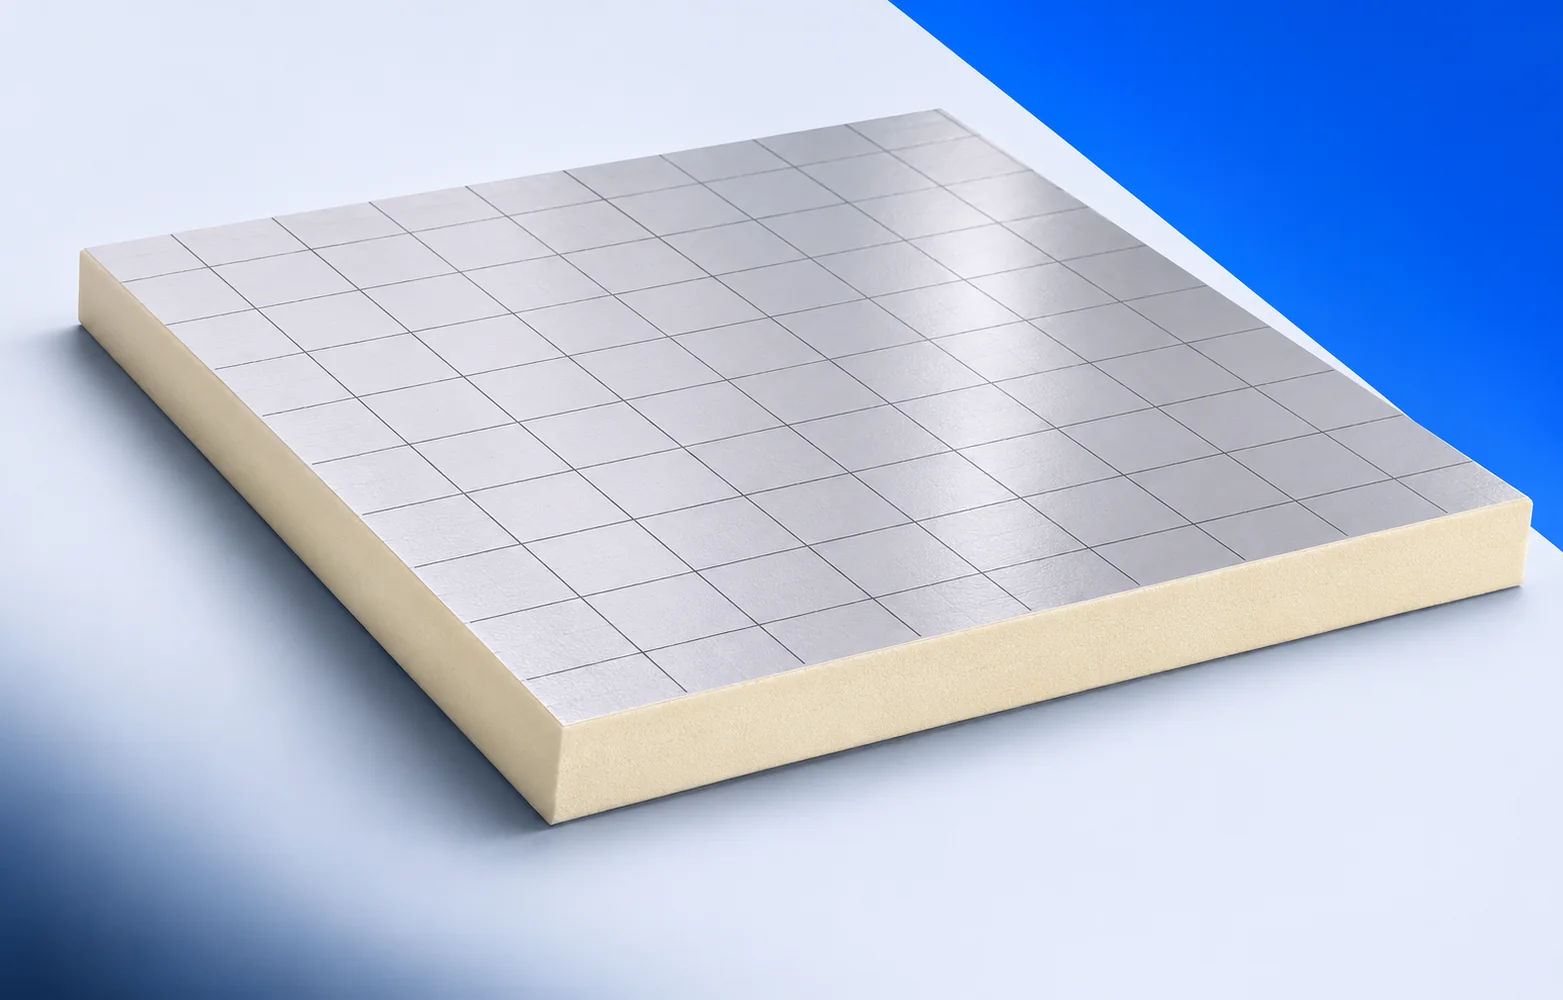
Before ordering Eurofloor, measure from the base to finished floor level at the lowest threshold. Insulation, heating pipes, screed and finish must…
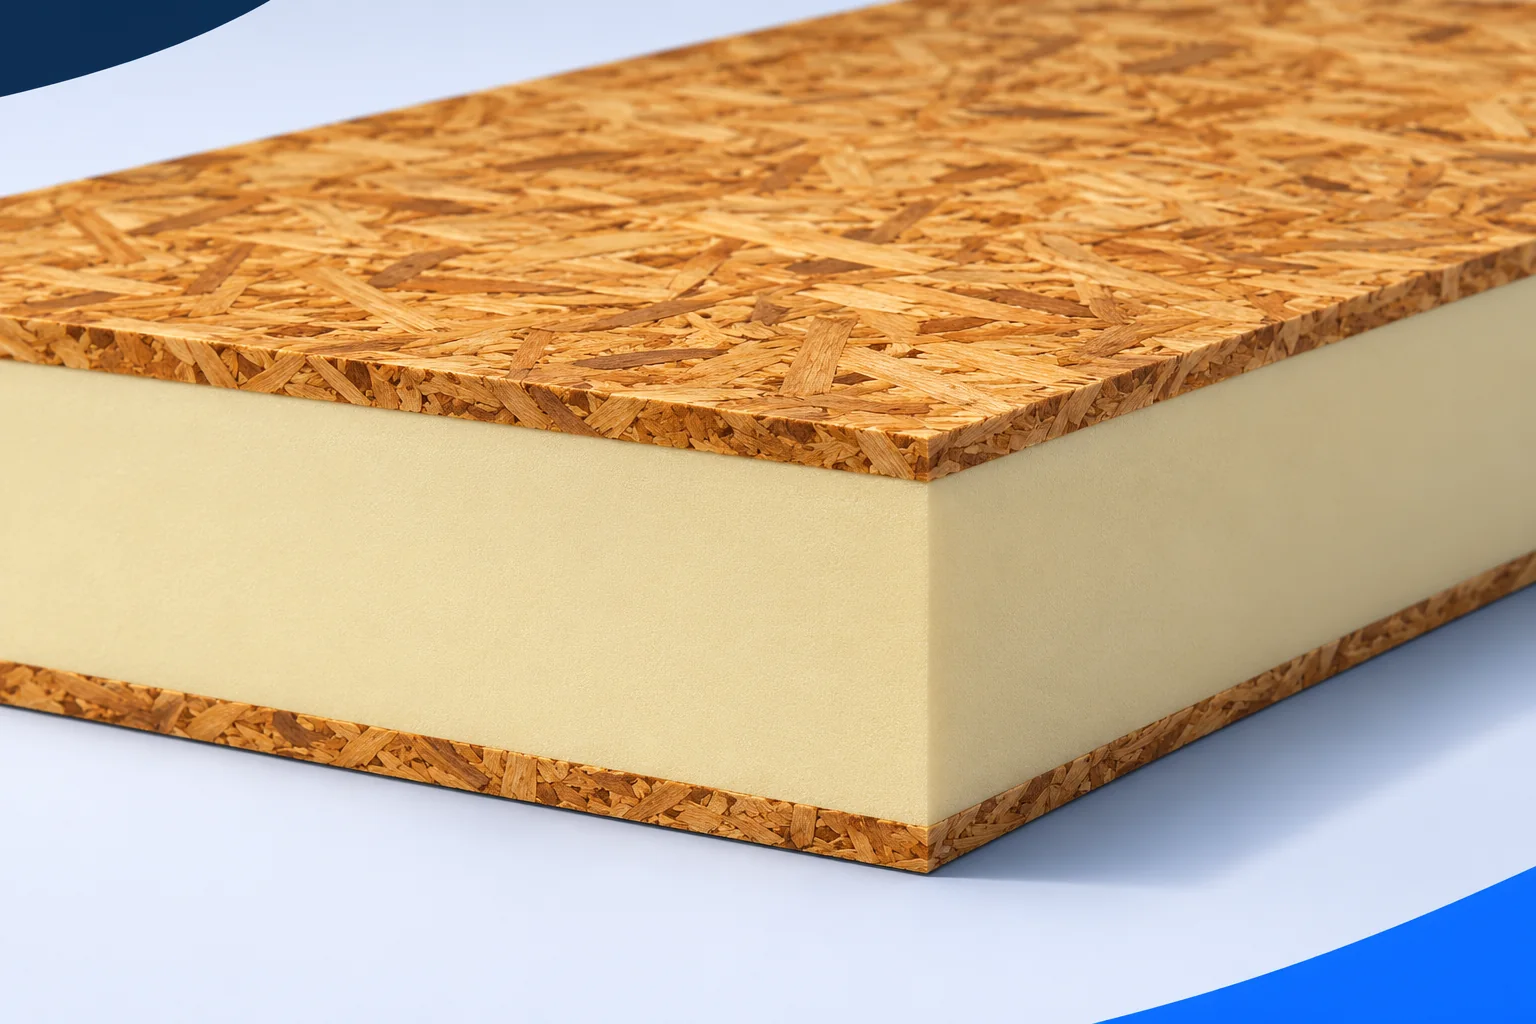
In a SIP house the structural wall and part of the insulation arrive together. This makes erection convenient but changes how services…
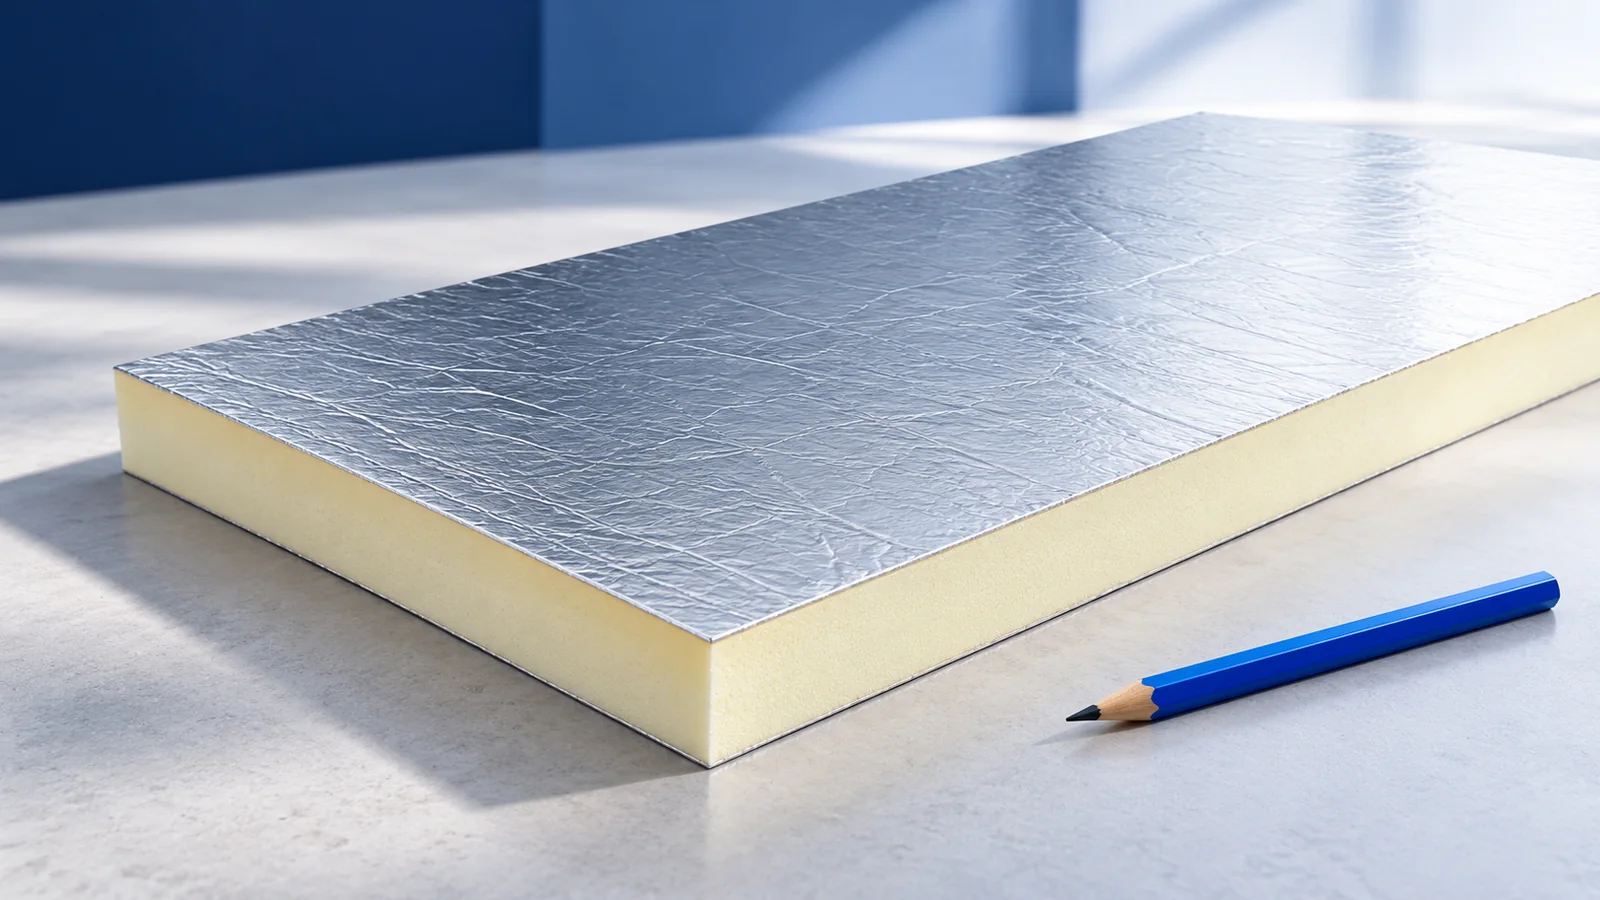
Attic insulation works when it forms a continuous layer and the entire roof manages moisture and air leakage. A thicker board cannot…
Schedule delivery of structural insulated panels (SIPs) for a time when the site is ready. Panels need suitable unloading equipment, level supports…
A factory-cut window opening saves site work only if the window size and position are agreed in time. Cutting an opening changes…
Mark the insulation position on the roof section before choosing PIR, EPS, XPS or mineral wool. Irregular rafter bays need insulation that…