






Measuring a fence for metal pickets: what to record before ordering
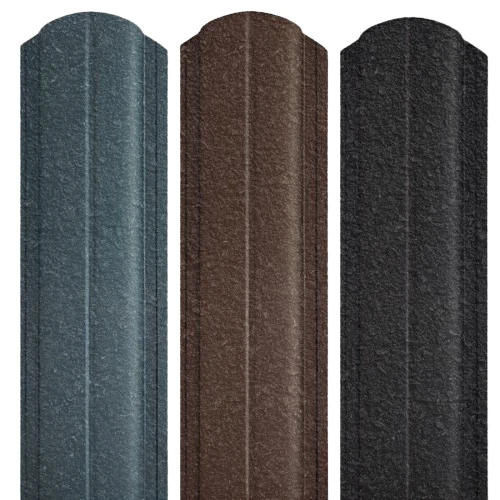
Metal fence pickets and fencing
Measure each bay, pedestrian gate and vehicle gate separately before ordering made-to-length metal pickets. The length of the site boundary tells you little about how much space is available for infill. Record the clear opening between the supports, rather than the distance between post centres, and allow for brackets, end trims and changes in ground level. A dimensioned sketch helps you select a profile that fits the fixing layout, reduces cutting on site and makes it easier to spot missing pieces before the order is placed.
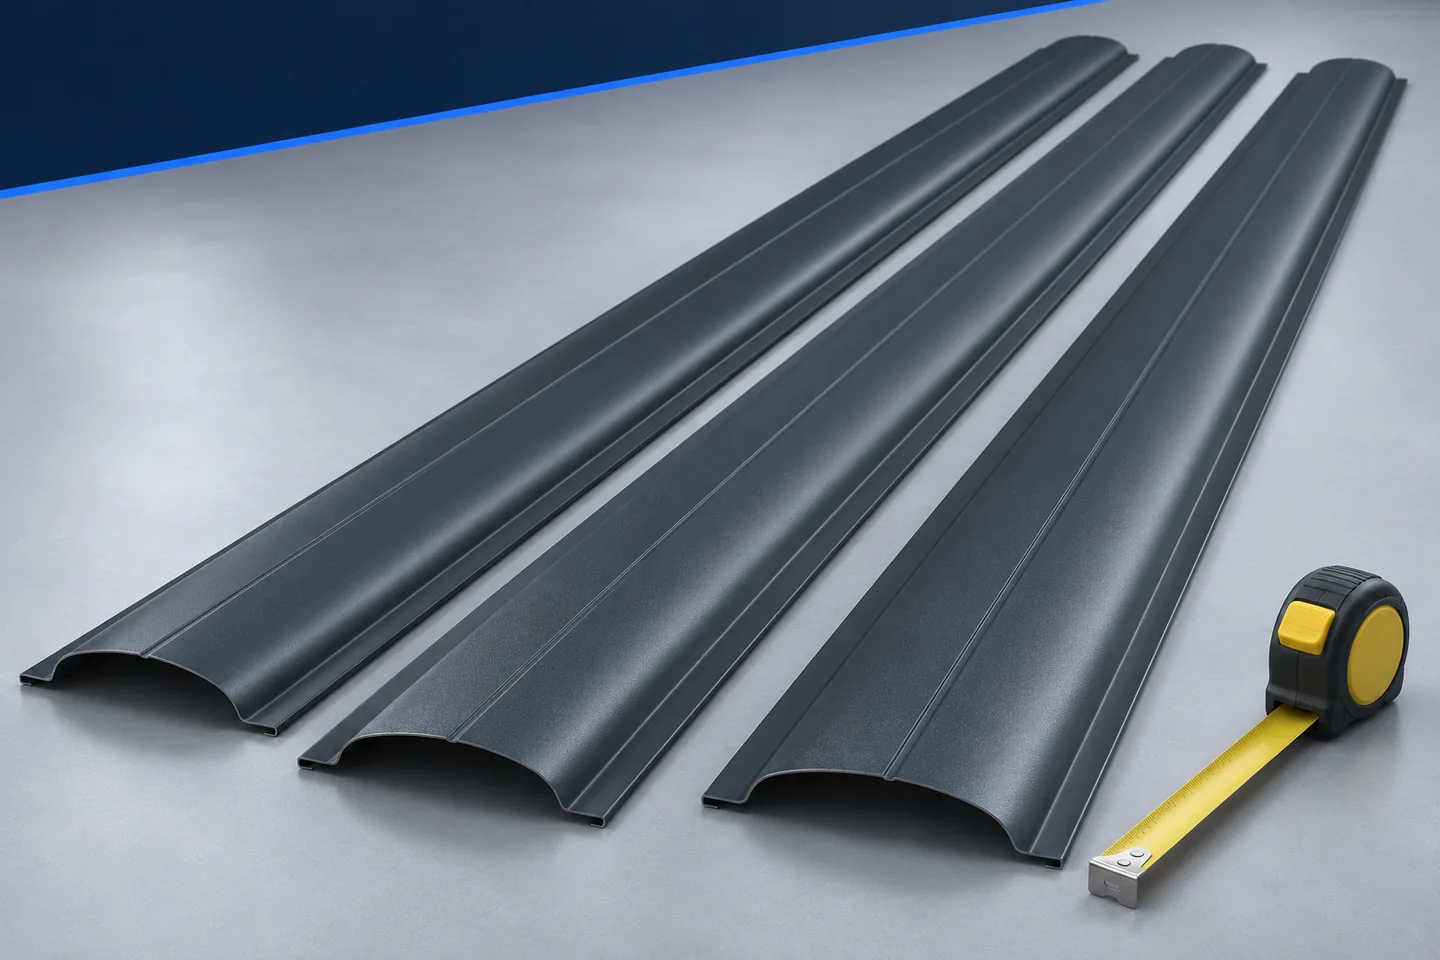
Measure the clear width of each bay
Measure at the top and bottom. A difference can mean the posts are not parallel. Before adjusting the gaps progressively, check whether the supporting frame needs straightening. A regular row of pickets makes leaning posts especially conspicuous.
Give every height a reference level
Identify the level from which the fence height is measured: finished paving, the top of the plinth or another defined point. Bare ground before driveway construction may not match the finished level. Coordinate early orders with the planned build-up.
Picket length and overall fence height are different quantities. Consider the position of each end relative to the plinth and top of the frame. Allow the ground clearance required by the fixing detail rather than leaving sheet-metal ends in permanent contact with soil.
Record the rail positions
Measure the height and spacing of the rails and note the material and thickness into which the fasteners will bite. Knowing that a rail is metal does not identify a suitable screw: the substrate and the way the connection is loaded both matter.
On existing fences, inspect the rail surfaces and check that the rails run straight. If their levels change from bay to bay, the hole positions may also have to vary. Find this out before drilling a whole batch to one pattern.
List the pedestrian and vehicle gates separately
A moving leaf has its own frame and fittings. Measure its infill area, hinge positions and any obstructions rather than treating it as another metre of fence. Decide how the pickets should finish at the edges of the leaf.
Before replacing existing infill, check that the new arrangement is suitable. Metal pickets can change the leaf weight and the area exposed to wind. Assess the frame, hinges and any operator for the complete leaf.

On slopes, take more than one level
A horizontal plan length differs from a length measured along the slope. Decide how the upper and lower edges will run. A stepped fence and one following the ground can require different picket lengths and fixing positions.
Record the level at every post. On uneven ground, add a reading at the middle of the bay to check clearance. Do this before the entire row is fixed rather than trimming the lower ends by eye afterwards.
Separate measurements from design choices
Enter the actual dimensions on the sketch. Record the proposed number of pickets, gaps and end treatment separately. You can then adjust the layout without losing the survey of the existing frame.
Use the width of the finished, formed picket in the layout. The sheet blank width is a production figure, not the width the picket occupies in the bay. Check the product drawing or measure a sample.
Prepare an order schedule
Number the bays and list width, picket lengths and quantities for each. Add coating, colour, decorative face and end shape. For an unusual pattern, attach a sketch showing the sequence for the factory and installers.
Date the survey and describe the stage of work. Recheck it if the plinth or posts change. A labelled schedule lets the crew sort the delivery by bay and install to a checked layout.
Independently recheck a key dimension
Measure the critical bays a second time and cross-check the number of sections and total length. A short return beside a gate is easy to omit, and two slightly different widths can be mistaken for the same one. Use the same side and reference points to catch recording errors.
Keep the numbering direction consistent on sketches and photos. A left-hand bay becomes a right-hand bay when viewed from the other side. A bay number and a marked reference post remain unambiguous for supplier and installer.

Free quote
What to include in your enquiry
Tell us how you plan to use the material, the dimensions and the quantity you need. Include the thickness, grade or variant name, along with the delivery town or your preferred collection branch. For a specific product, add its name or a link to the product page. We will reply to the email address you provide to discuss availability and the terms of your order.
More from the building guide

Thermano ETICS combines foil-faced PIR with 20 mm of external façade-grade EPS. The following system layers meet the EPS, not the foil…
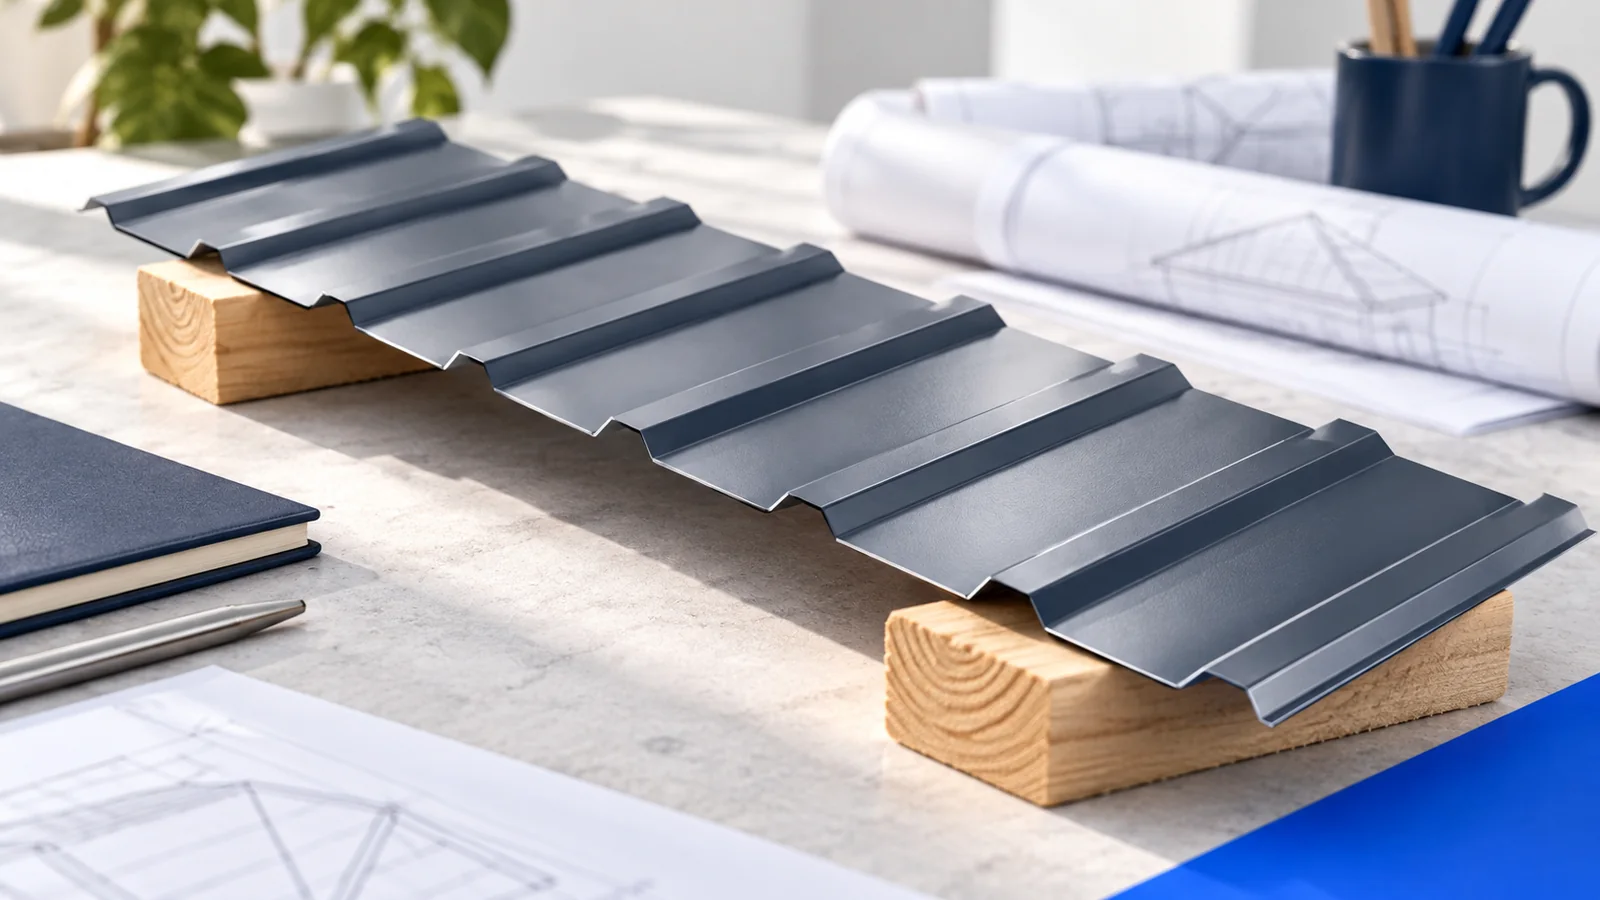
A hipped roof over a rectangular house usually has two trapezoidal and two triangular slopes joined by a ridge and hips. The…
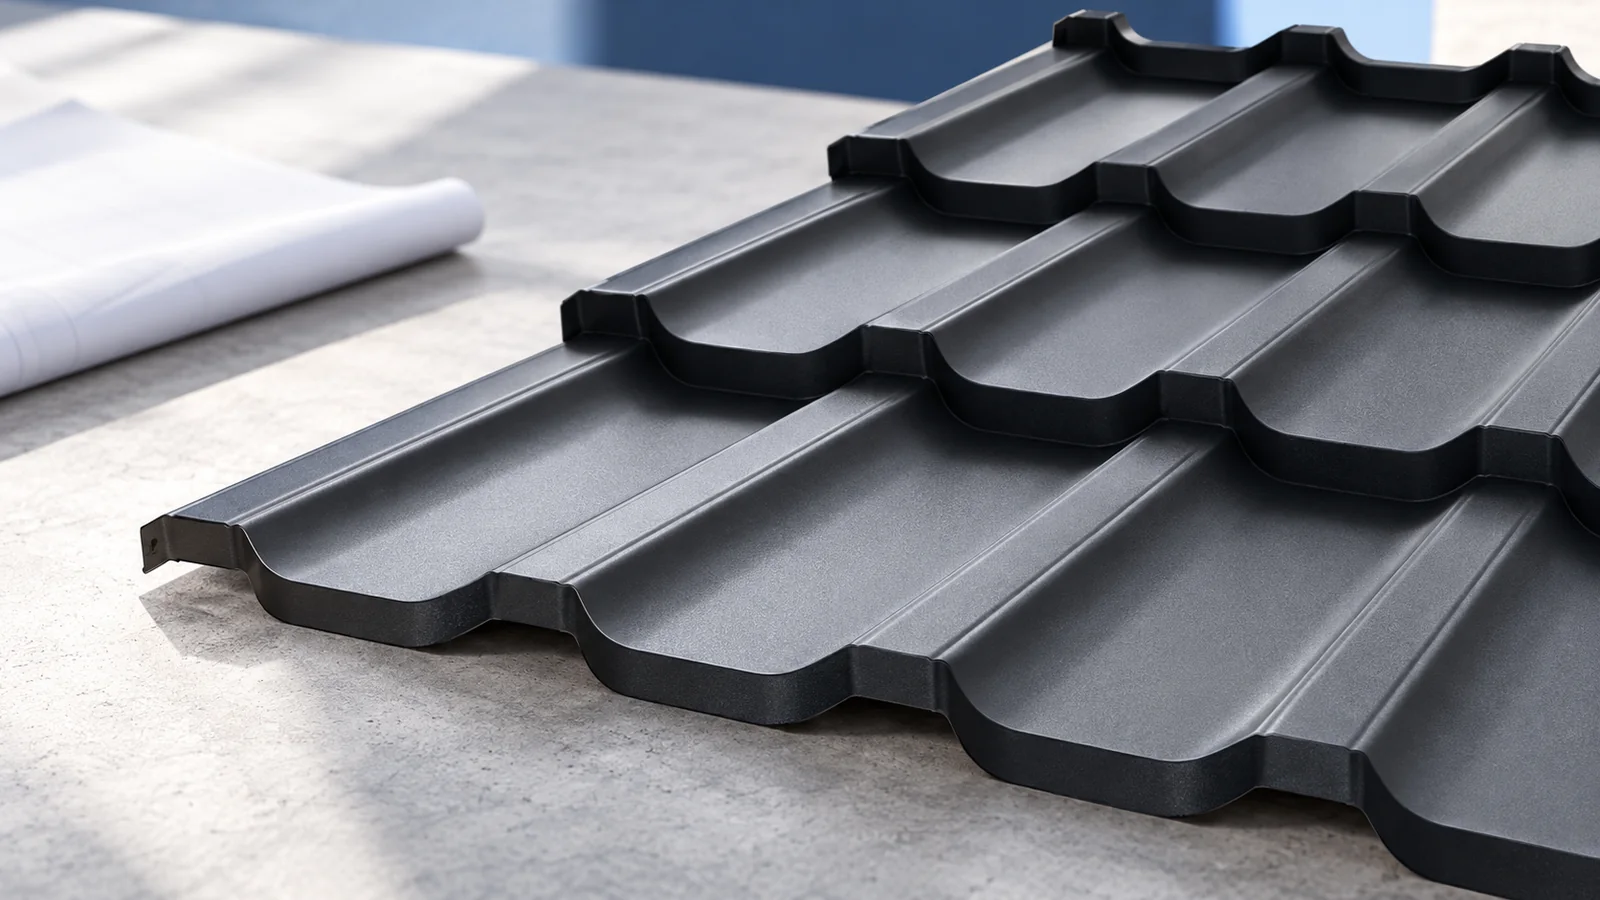
Modular metal roof tiles use repeating sheet formats assembled into successive courses. Smaller pieces can simplify handling and fitting on a complex…
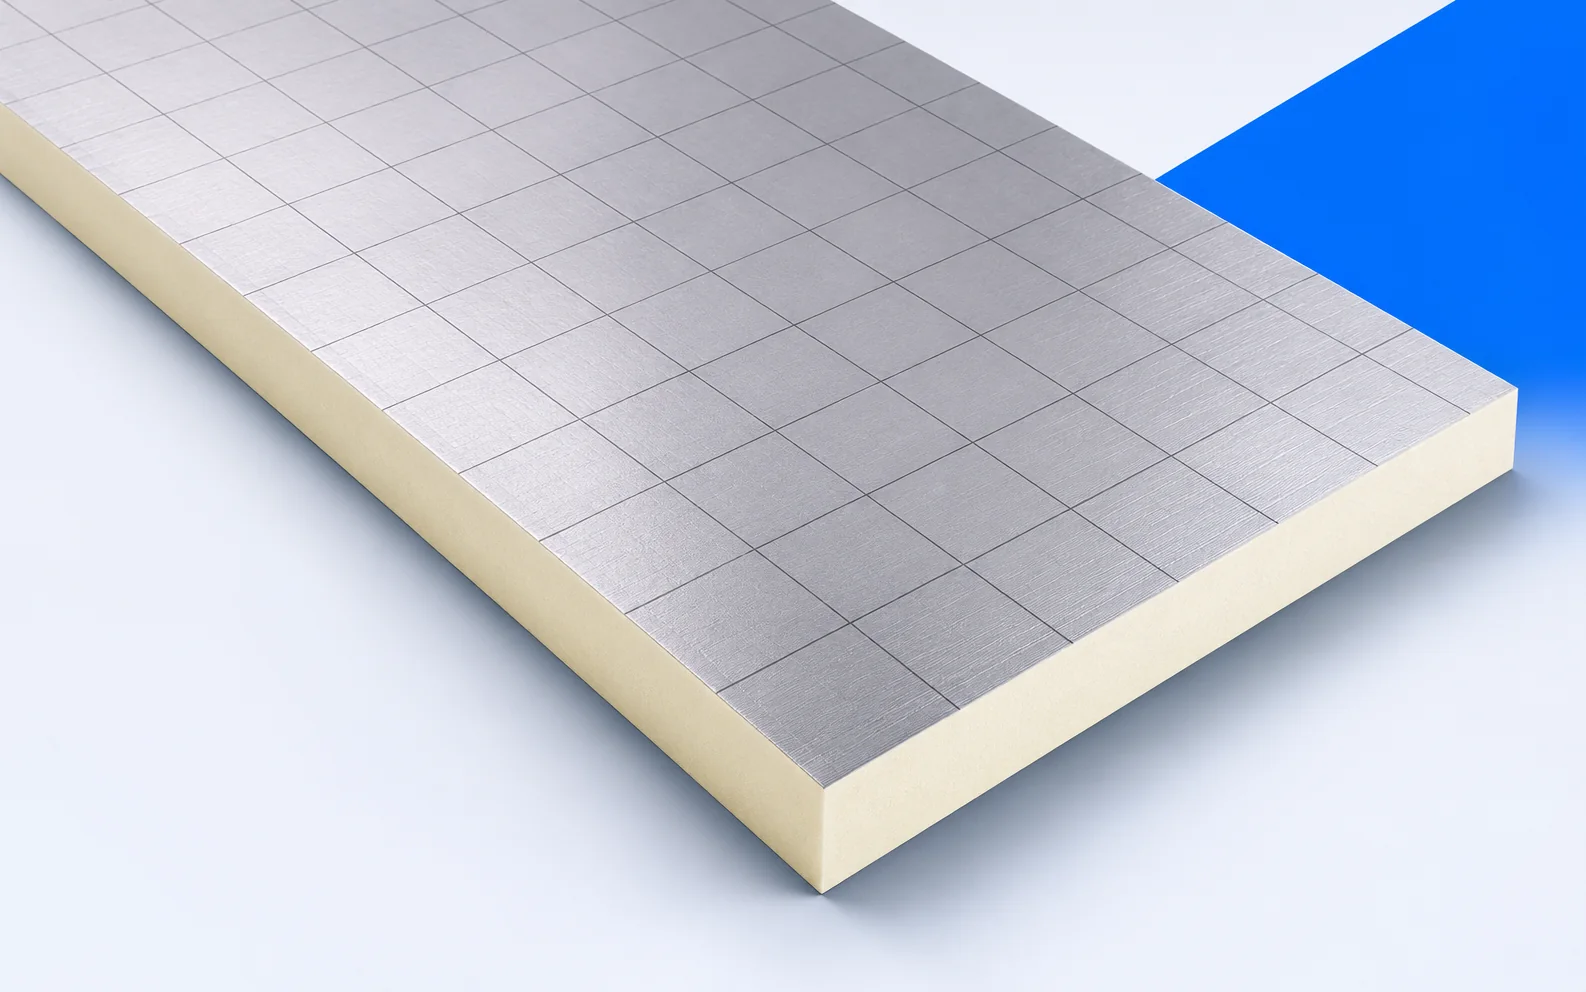
Changing Eurothane Silver thickness can change more than the insulation value. The 20 mm version has different format options and compressive performance…
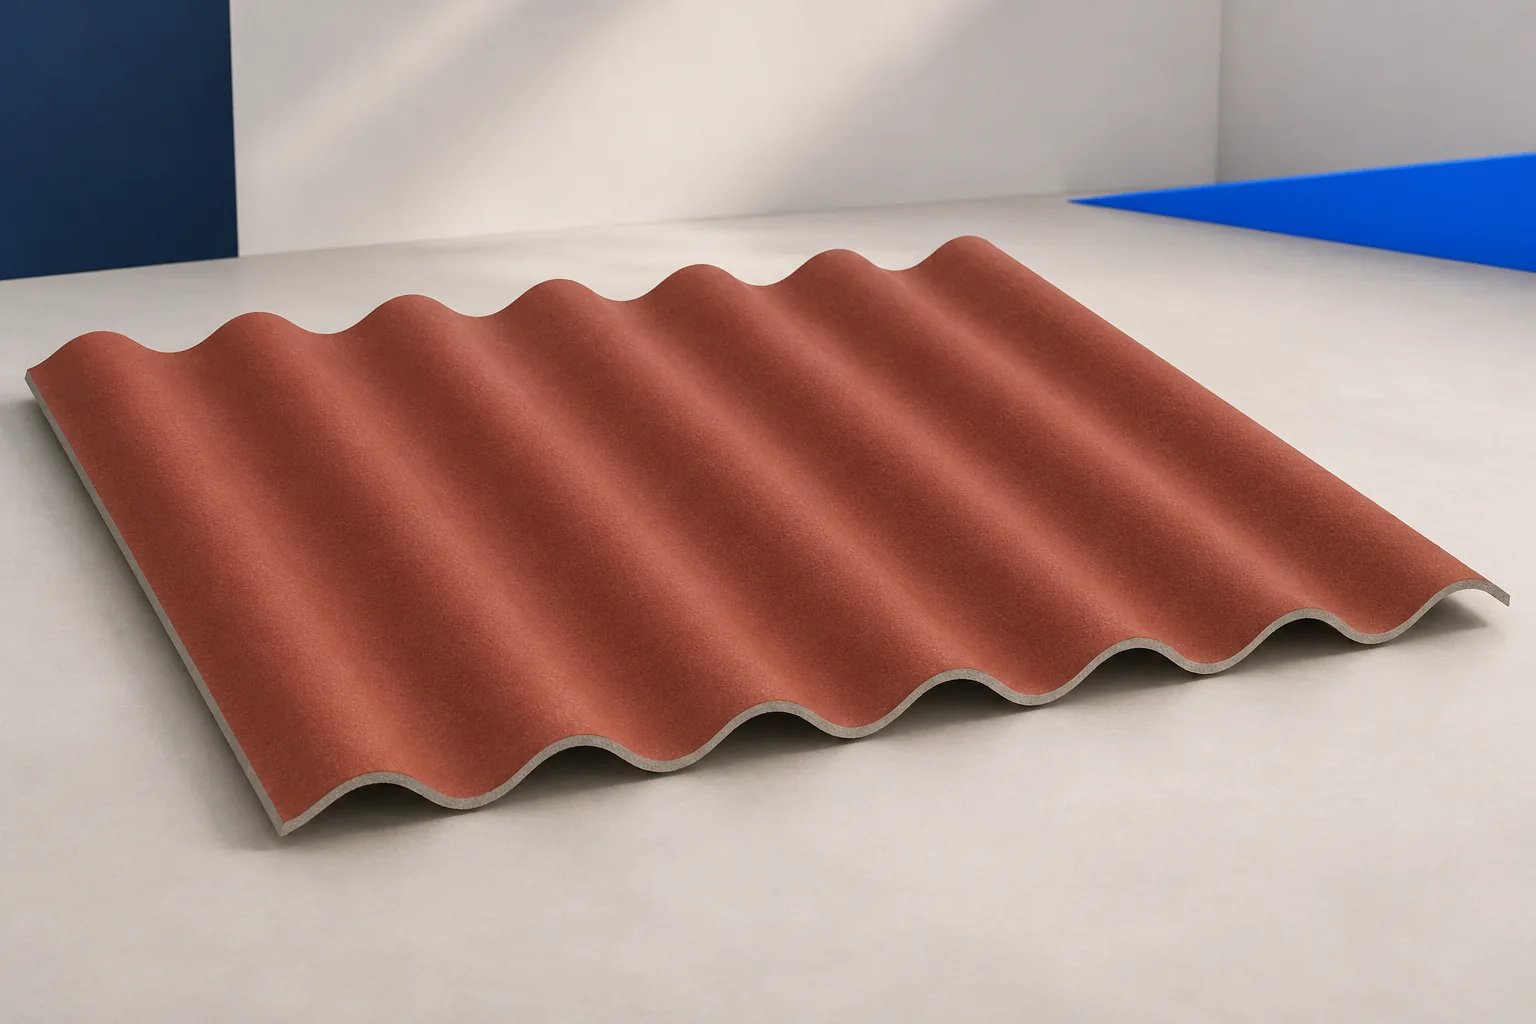
Sheet length affects the number of joints, cutting waste, support positions and how the crew can get material onto the roof. The…
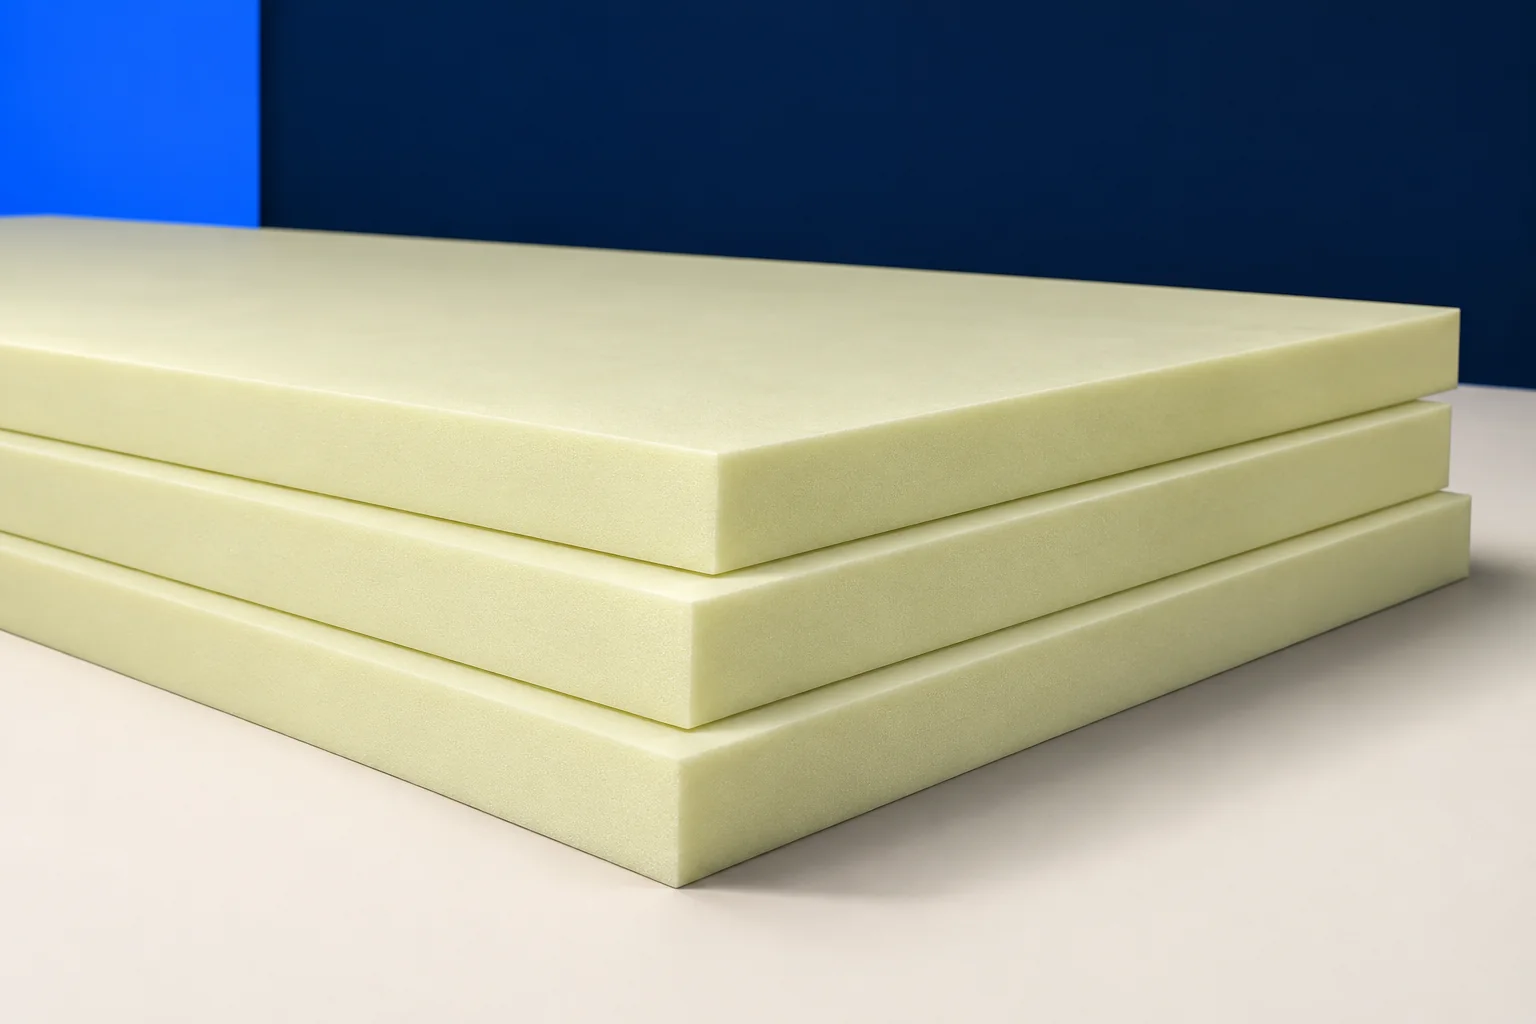
Inspect XPS immediately before concreting, backfilling or fitting a lining hides it. Identify the boards, then check thickness, support, joints and continuity…
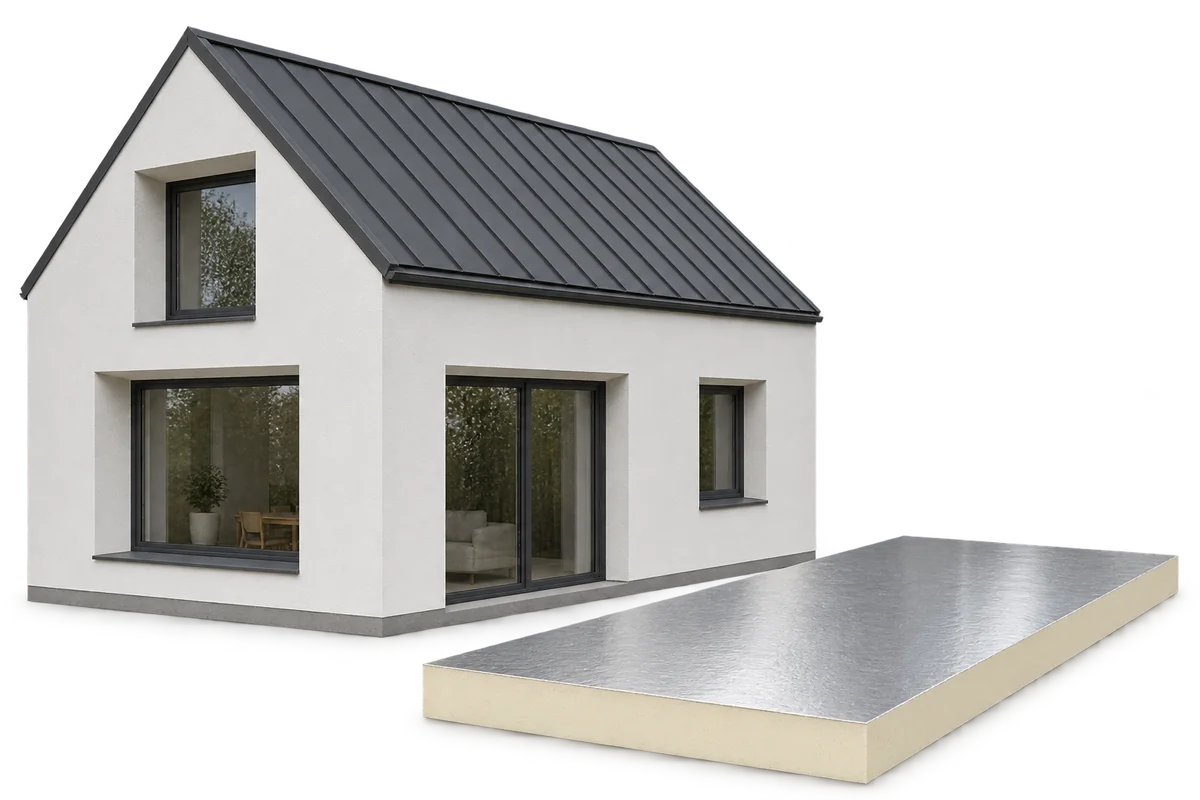
When reviewing a passive house design, first establish which plot and occupancy assumptions were used to calculate its heating demand. Window orientation,…
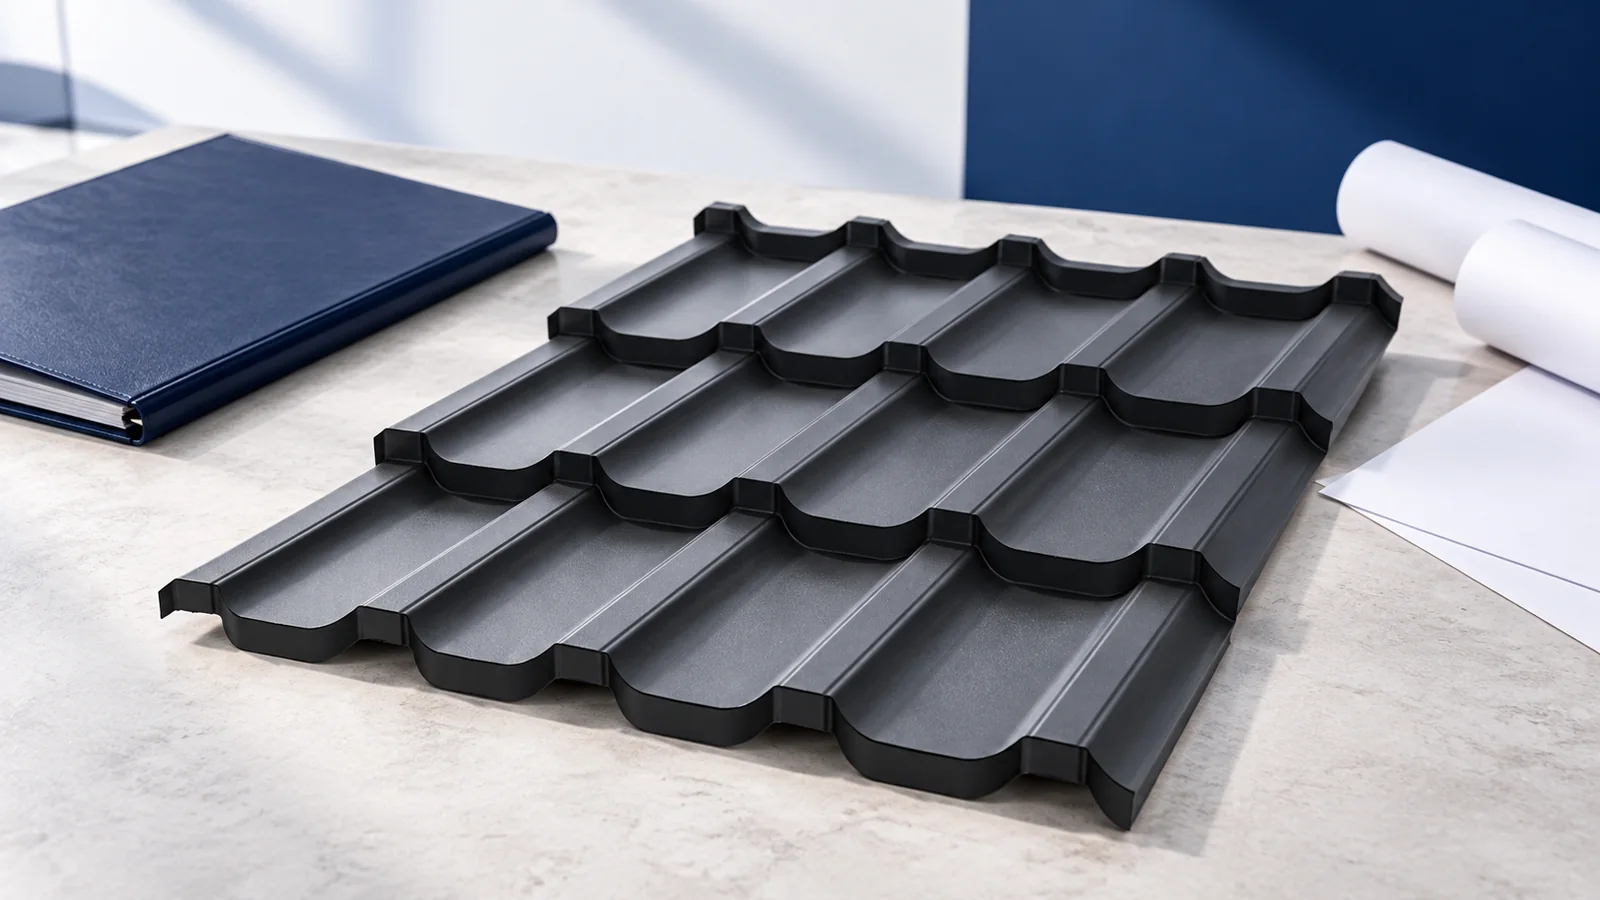
If you suspect unauthorised building work in Poland, compare the existing building with its records before ordering renovation materials. Establish what was…